2014 NISSAN ARMADA ECO mode
[x] Cancel search: ECO modePage 3 of 24
Please see your Owner’s Manual for important safety
information and system operation limitations.
•
A cellular telephone should not be used for any purpose while
driving so full attention may be given to vehicle operation.
• Always wear your seat belt.
•
Supplement
al air bags do not replace proper seat belt usage.
•
Children
12 and under should always ride in the rear seat
properly secured in child restraints or seat belts according to
their age and weight.
• Do not drink and drive.
For more information, refer to the “Safety –– Seats, seat belts and
supplemental restraint system (section 1)”, “Monitor, climate, audio,
phone and voice recognition systems (section 4)” and the “Starting
and driving (section 5)” of your Owner’s Manual.
TABLE OF CONTENTS
NEW SYSTEM FEATURES
RearV
iew Monitor (if so equipped)
.................................2
E
SSENTIAL INFORMATION
T
ire Pressure Monitoring System (TPMS)
...........................2
Loose Fuel Cap................................................3
Fuel-filler Door.................................................3
Cloc
k Set/Adjustment
...........................................3
FI
RST DRIVE FEATURES
N
ISSAN Intelligent Key
® System (if so equipped)....................4
P
ower Liftgate Release (if so equipped)
............................4
P
ower Front Seat Adjustments
....................................5
2nd Row Seat Adjustments (if so equipped)
........................
5
3rd Row P
ower Folding Seats (if so equipped) ......................
6
Automatic Drive P
ositioner (if so equipped) .........................
6
Outside Mirror Control Switc
h
....................................7
St
arting/Stopping the Engine
(NISSAN Intelligent Key
® models only - if so equipped)...............7
Headlight Control Switc
h ........................................
7
W
indshield Wiper and Washer Switch .............................
8
Automatic Climate Controls . . . . . . . . . . . . . . . . . . . . . . . . . . . . . . . . . . . .\
. . 9
FM/AM/SiriusXM
® Satellite Radio with CD/DVD Player (if so equipped)...10
U
SB/Aux Jack and iPod® Interface ...............................11
Cruise Control . . . . . . . . . . . . . . . . . . . . . . . . . . . . . . . . . . . .\
. . . . . . . . . . . . 11
P
ower Outlets
................................................
12
S
YSTEM GUIDE
V
ehicle Information Display
......................................13
Bluetooth
® Hands-free Phone System ............................13
System Operating T
ips
.....................................13
Bluetooth
® System without Navigation (if so equipped) ..............14
Bluetooth® System with Navigation (if so equipped).................16
Navigation System (if so equipped)...............................18
Dual Head Restraint D
VD System (if so equipped) . . . . . . . . . . . . . . . . . . 19
HomeLink
® Universal Transceiver (if so equipped)...................20
Additional information about your vehicle is also available in your Owner’s Manual, Navigation System Owner’s Manual and at www.nissanusa.com. To view detailed
instructional videos, go to
www.nissanownersinfo.mobi/ 2014/armada
or snap this barcode with an appropriate barcode reader.
1590747_14b_Armada_QRG_011614.indd 51/16/14 10:40 AM
Page 4 of 24
2
TIRE PRESSURE MONITORING SYSTEM (TPMS)
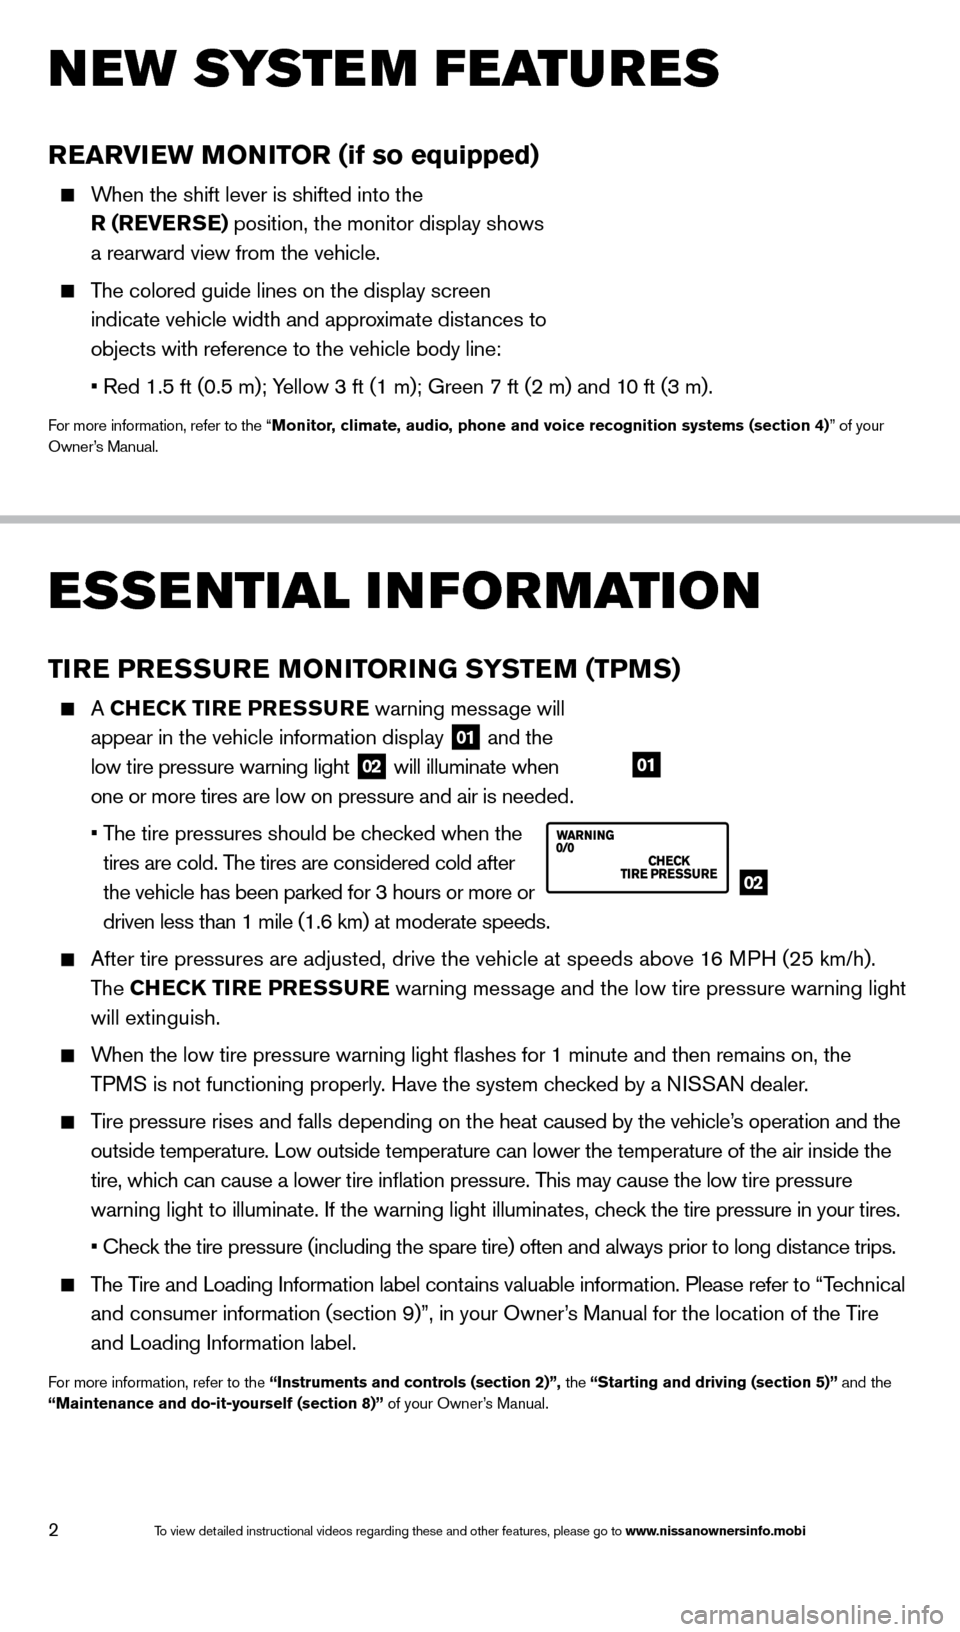
A CHECK TIRE PRESSURE warning message will
appear in the vehicle information display
01 and the
low tire pressure warning light 02 will illuminate when
one or more tires are low on pressure and air is needed.
•
T
he tire pressures should be checked when the
tires are cold. The tires are considered cold after
the vehicle has been parked for 3 hours or more or
driven less than 1 mile (1.6 km) at moderate speeds.
After tire pressures are adjusted, drive the vehicle at speeds above 1 6 MPH (25 km/h).
The CHECK TIRE PRESSURE warning message and the low tire pressure warning light
will extinguish.
When the low tire pressure warning light flashes for 1 minute and then \
remains on, the TPMS is not functioning properly. Have the system checked by a NISSAN dealer.
Tire pressure rises and falls depending on the heat caused by the vehicle’s operation and the
outside temperature. Low outside temperature can lower the temperature o\
f the air inside the
tire, which can cause a lower tire inflation pressure. This may cause the low tire pressure
warning light to illuminate. If the warning light illuminates, check the tire pressure in your tires.
•
Chec
k the tire pressure (including the spare tire) often and always prior \
to long distance trips.
The Tire and Loading Information label contains valuable information. Please refer to “Technical and consumer information (section 9)”, in your Owner’s Manual for the location of the Tire
and Loading Information label.
For more information, refer to the “Instruments and controls (section 2)”, the “Starting and driving (section 5)” and the
“Maintenance and do-it-yourself (section 8)” of your Owner’s Manual.
ESSE NTIAL I N FOR MATION
02
01
NEW SYSTEM FEATURES
REARVIEW MONITOR (if so equipped)
When the shift lever is shifted into the
R (REVERSE) position, the monitor display shows
a rearward view from the vehicle.
The colored guide lines on the display screen indicate vehicle width and approximate distances to
objects with reference to the vehicle body line:
•
Red 1.5 ft (0.5 m); Y
ellow 3 ft (1 m); Green 7 ft (2 m) and 10 ft (3 m).
For more information, refer to the “Monitor, climate, audio, phone and voice recognition systems (section 4)” of your
Owner’s Manual.
1590747_14b_Armada_QRG_011614.indd 21/16/14 10:40 AM
To view detailed instructional videos regarding these and other features, please go\
to www.nissanownersinfo.mobi
Page 12 of 24
10
FIRST DRIVE FEATURES
FM/AM/SiriusXM®* SATELLITE RADIO WITH CD/DVD PLAYER
(if so equipped)
01 VOLUME/ON•OFF CONTROL KNOB
Press the
VOL/ON•OFF control knob to turn the system on or off.
Turn the knob right or left to increase or decrease the volume.
02 TUNE/FOLDER/AUDIO CONTROL KNOB
To manually tune the radio, turn the TUNE/FOLDER/AUDIO knob left or right.
03 SEEK/CAT AND TRACK BUTTONS
To scan quickly and stop at the previous or next broadcast station, press the SEEK/
CAT button or the TRACK
button.
For satellite radio, press the SEEK/CAT button or the TRACK button to switch to
the first channel of the previous or next category.
To change tracks on a CD, press the SEEK/CAT button or the TRACK button.
To fast forward or rewind a track on a CD, press and hold the SEEK/CAT button or
the TRACK
button.
02
0306
05
01
0404
*SiriusXM® Satellite Radio is only available on vehicles equipped with an optional s\
atellite radio subscription service.
07 AIR RECIRCULATION BUTTON
Press the air recirculation button
to recirculate air inside the vehicle. The indicator
light on the button will illuminate. This mode helps to adjust the inside vehicle temperature
more effectively.
Press the air recirculation button again to turn air recirculation off. This allows
outside air to be drawn into the passenger compartment to prevent foggin\
g in defrost,
floor or defrost/floor modes.
The air recirculation mode cannot be activated when the climate control s\
ystem is in the
front defroster mode
or front defroster and foot vent mode.
08 A/C B UTTON
Press the
A/C button to manually turn the A/C on or off.
09 OFF BUTTON
Press the
OFF button to turn the climate control system off.
For more information, refer to the “Instruments and controls (section 2)” and the “Monitor, climate, audio, phone and voice
recognition systems (section 4)” of your Owner’s Manual.
1590747_14b_Armada_QRG_011614.indd 101/16/14 10:41 AM
To view detailed instructional videos regarding these and other features, please go\
to www.nissanownersinfo.mobi
Page 15 of 24
13
VEHICLE INFORMATION DISPLAY
The vehicle information display 01 is located to the
left of the speedometer.
Press the vehicle information display INFO button
02 located on the instrument panel to toggle through
the following modes:
•
M
PG – Displays the instant fuel economy since
the last reset.
•
RAN
GE – Displays the estimated distance the
vehicle can be driven before refueling.
•
W
ARNING – Displays when a warning is present.
To highlight the desired menu option within the selected mode, turn the INFO button.
To enter the highlighted menu, press the INFO button.
To reset TR IP A or TRIP B, go to the desired mode on the trip computer and press and
hold the change button
03 for more than 1 second.
For more information, refer to the “Instruments and controls (section 2)” of your Owner’s Manual.
01
02
BLUETOOTH® HANDS-FREE PHONE SYSTEM
Bluetooth Streaming Audio (available with Navigation
System only) allows you to use a compatible Bluetooth
phone to play audio files on your device. Your
compatible cellular phone can be connected to the
vehicle’s audio system allowing audio files to play
through the vehicle’s speakers.
A cellular telephone should not be used while driving
so full attention may be given to vehicle operation.*
SYSTEM OPERATING TIPS
Press the or button to interrupt the voice
prompts at any time and speak a command after
the tone.
To use the system faster, you may speak the second
level commands with the main menu command on the
main menu. For example, press the
or button
and after the tone say “Call Redial”.
The “Help” command can be used to hear a list of
available commands at any time.
Reduce bac kground noise as much as possible by
closing windows and pointing HVAC vents away from ceiling.
Speak naturally without long pauses and without raising your voice.
Bluetooth® Controls
Microphone
SYSTEM GUIDE
*Some jurisdictions prohibit the use of cellular telephones while drivin\
g.
03
1590747_14b_Armada_QRG_011614.indd 131/16/14 10:41 AM
To view detailed instructional videos regarding these and other features, please go\
to www.nissanownersinfo.mobi
Page 16 of 24

14
SYSTEM GUIDE
When speaking Phonebook names, please be aware some phones require the la\
st name to be spoken before the first name. For example, “Michael Smith” may be spoken
as “Smith Michael”.
To cancel a voice recognition session, say “Cancel” or “Quit”, or press and hold the
or button.
If the Voice Recognition system does not recognize your voice commands, train th\
e system
using the Speaker Adaptation Mode. See your Owner’s Manual for detailed information.
For more detailed information and instructions, refer to your cellular phone Owner’s Manual and visit www.nissanusa.com/bluetooth.
Bluetooth® System without Navigation* (if so equipped)
PAIRING PROCEDURE
The vehicle must be stationary when pairing the phone.
1.
Press the
button on the steering wheel. The system announces the available commands.
2.
S
ay: “Setup”. The system acknowledges the command and announces the next set of
available commands.
3.
S
ay: “Pair phone”. The system acknowledges the command and announces the next set of
available commands.
4.
S
ay: “New phone”. The system acknowledges the command and asks you to initiate pairing
from the phone handset.
5.
Initiate connecting from the phone.
•
T
he pairing procedure varies according to each cellular phone model. For detailed pairing
instructions and a list of compatible phones, please visit www.nissanusa.com/bluetooth.
•
W
hen prompted for a PASSKEY code, enter “1234” from the handset. (The PASSKEY
code is assigned by NISSAN and cannot be changed.)
6.
W
hen the system asks you to provide a name for the
phone, say the name. You can give the phone a name
of your choice.
7
.
W
hen the system asks you for a priority level, say a
number between 1 and 5. The priority level determines
which phone interacts with the system when two or
more paired phones are active in the vehicle at the
same time. Choose 1 if this is the only phone or the
primary phone.
8.
W
hen the system asks if you would like to select a
custom ring tone, say “Yes” or “No”. Follow the instructions provided by the
system to choose a ring tone.
*Some jurisdictions prohibit the use of cellular telephones while drivin\
g.
1590747_14b_Armada_QRG_011614.indd 141/16/14 10:41 AM
To view detailed instructional videos regarding these and other features, please go\
to www.nissanownersinfo.mobi
Page 21 of 24
19
08 DISPLAY
– Press to access the display settings.
09 STATUS – Press multiple times to display audio information with either the \
air conditioner
status, fuel economy or navigation directions.
10 S ETTING – Press to access the system settings.
11 BAC K
– Press to return to the previous screen. In a settings screen, this\
button can also
be used to apply the setting. In a character input screen, this button can also delete the
characters that have been entered.
12 V OICE – Press to hear the current voice guidance for a programmed route.
For more information, refer to your Navigation System Owner’s Manual.
DUAL HEAD RESTRAINT DVD SYSTEM
(if so equipped)
With this Dual Head Restraint DVD System you can
play video files via a DVD or CD, providing images and
sound both from the front and rear display screens.
You can also connect auxiliary devices such as video games, camcorders or portable video players to the
auxiliary jacks
01 located on the back of the center
console. (Your device will be controlled through its
own control panel.)
Rear Auxiliary Mode allows rear seat passengers
to independently display different sources on
each screen.
Use the remote controller 02 provided with the
system to operate the rear display screens.
Use the headphones 03, also provided with
the system, to listen to audio wirelessly and
independently. You may also connect your own
wired-headphones to the headphone jacks
04
located on the back of the center console.
For optimum performance, select the appropriate
headphone channel
05 that corresponds to the
headrest display being viewed directly in front of you.
To watch or control videos on the front display make sure the vehicle is in the P (PARK) position and the parking brake is applied.
To reduce driver distraction, the wireless headphones will not operate while located in the front seats and movies will not be shown on the
front display while the vehicle is in any drive position.
To access standard DVD controls on the front display while playing a DVD on the rear display, press the DISC•AUX button on the audio
control panel while the vehicle is in the P (PARK) position and the parking brake is applied.
For more information, refer to the “Monitor, climate, audio, phone and voice recognition systems (section 4)” of your
Owner’s Manual.
03
05
02
01
04
1590747_14b_Armada_QRG_011614.indd 191/16/14 10:41 AM
To view detailed instructional videos regarding these and other features, please go\
to www.nissanownersinfo.mobi