2014 MERCEDES-BENZ SLK-CLASS ROADSTER tow
[x] Cancel search: towPage 186 of 356
Parking Guidance may also display spaces
not suitable for parking, e.g.:
R where parking or stopping is prohibited
R in front of driveways or entrances and exits
R on unsuitable surfaces
Use Parking Guidance for parking spaces:
R that are parallel to the direction of travel
R that are on straight roads, not bends
R that are on the same level as the road, i.e.
not on the pavement, for example. Parking
Guidance may not detect flat curbs
Parking tips:
R On narrow roads, drive as close to the
parking space as possible.
R Parking spaces that are littered or
overgrown might be identified or measured
incorrectly.
R Parking spaces that are partially occupied
by trailer drawbars might not be identified
as such or be measured incorrectly.
R Snowfall or heavy rain may lead to a parking
space being measured inaccurately.
R Pay attention to the PARKTRONIC
(Y page 182) warning messages during the
parking procedure.
R When transporting a load which protrudes
from your vehicle, you must not use Parking
Guidance.
R Never use Parking Guidance with snow
chains or an emergency spare wheel
mounted.
R Make sure that the tire pressures are
always correct. This has a direct effect on
the steering instructions.
R The way your vehicle is positioned in the
parking space after parking is dependent
on various factors. These include the
position and shape of the vehicles parked
in front and behind it and the conditions of
the location. In some cases, Parking
Guidance may guide you too far or not far
enough into a parking space. In some
cases, it may also lead you across or onto the curb. If necessary, cancel the parking
procedure with Parking Guidance.
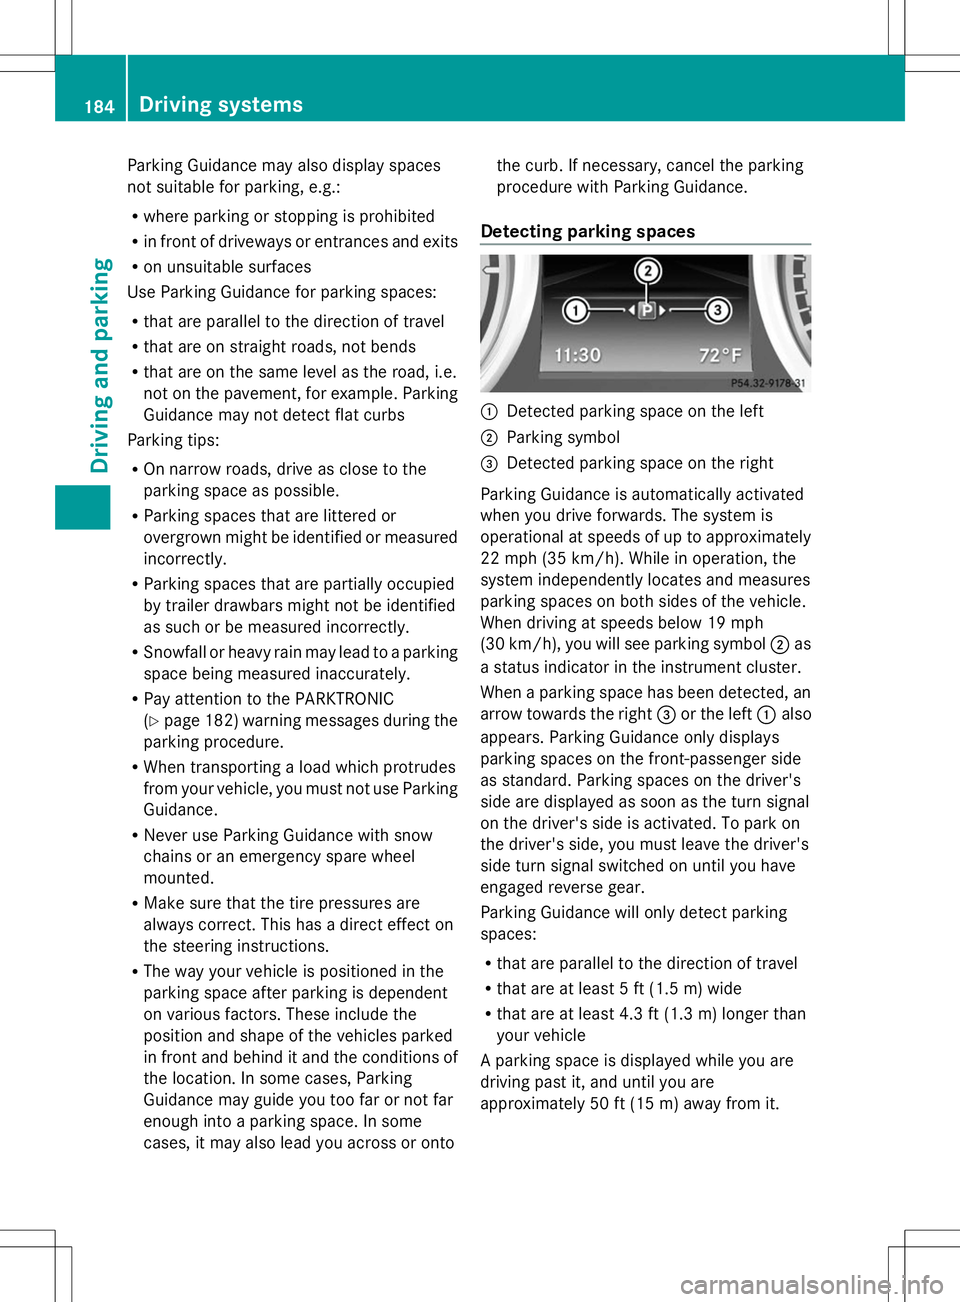
Detecting parking spaces :
Detected parking space on the left
; Parking symbol
= Detected parking space on the right
Parking Guidance is automatically activated
when you drive forwards. The system is
operational at speeds of up to approximately
22 mph (35 km/h). While in operation, the
system independently locates and measures
parking spaces on both sides of the vehicle.
When driving at speeds below 19 mph
(30 km/h), you will see parking symbol ;as
a status indicator in the instrument cluster.
When a parking space has been detected, an
arrow towards the right =or the left :also
appears. Parking Guidance only displays
parking spaces on the front-passenger side
as standard. Parking spaces on the driver's
side are displayed as soon as the turn signal
on the driver's side is activated. To park on
the driver's side, you must leave the driver's
side turn signal switched on until you have
engaged reverse gear.
Parking Guidance will only detect parking
spaces:
R that are parallel to the direction of travel
R that are at least 5 ft (1.5 m) wide
R that are at least 4.3 ft (1.3 m) longer than
your vehicle
A parking space is displayed while you are
driving past it, and until you are
approximately 50 ft (15 m) away from it. 184
Driving systemsDriving and parking
Page 187 of 356
Parking
Moving the vehicle into the stop position
X Stop the vehicle when the parking space
symbol shows the desired parking space in
the instrument cluster.
X Vehicles with manual transmission: shift to
reverse gear.
Vehicles with automatic transmission: shift
into position R.
The multifunction display shows the
Check Vehicle Surroundings Press
Check Vehicle Surroundings Press
'OK' to Confirm 'OK' to Confirm message. X
Press the abutton on the multifunction
steering wheel to confirm.
The multifunction display switches to
Parking Guidance.
Depending on your distance from the
parking space, the Please Drive
Please Drive
Backward Backward message will appear in the
multifunction display.
X If necessary, reverse towards the parking
space. This is indicated by an arrow
pointing backwards.
Continue backing up until you hear a tone.
Stop – the stop position has been reached.
The arrow is white.
The Please Steer Wheel to the
Please Steer Wheel to the
Right Right orPlease Steer Wheel to the
Please Steer Wheel to the
Left
Left message appears in the multifunction
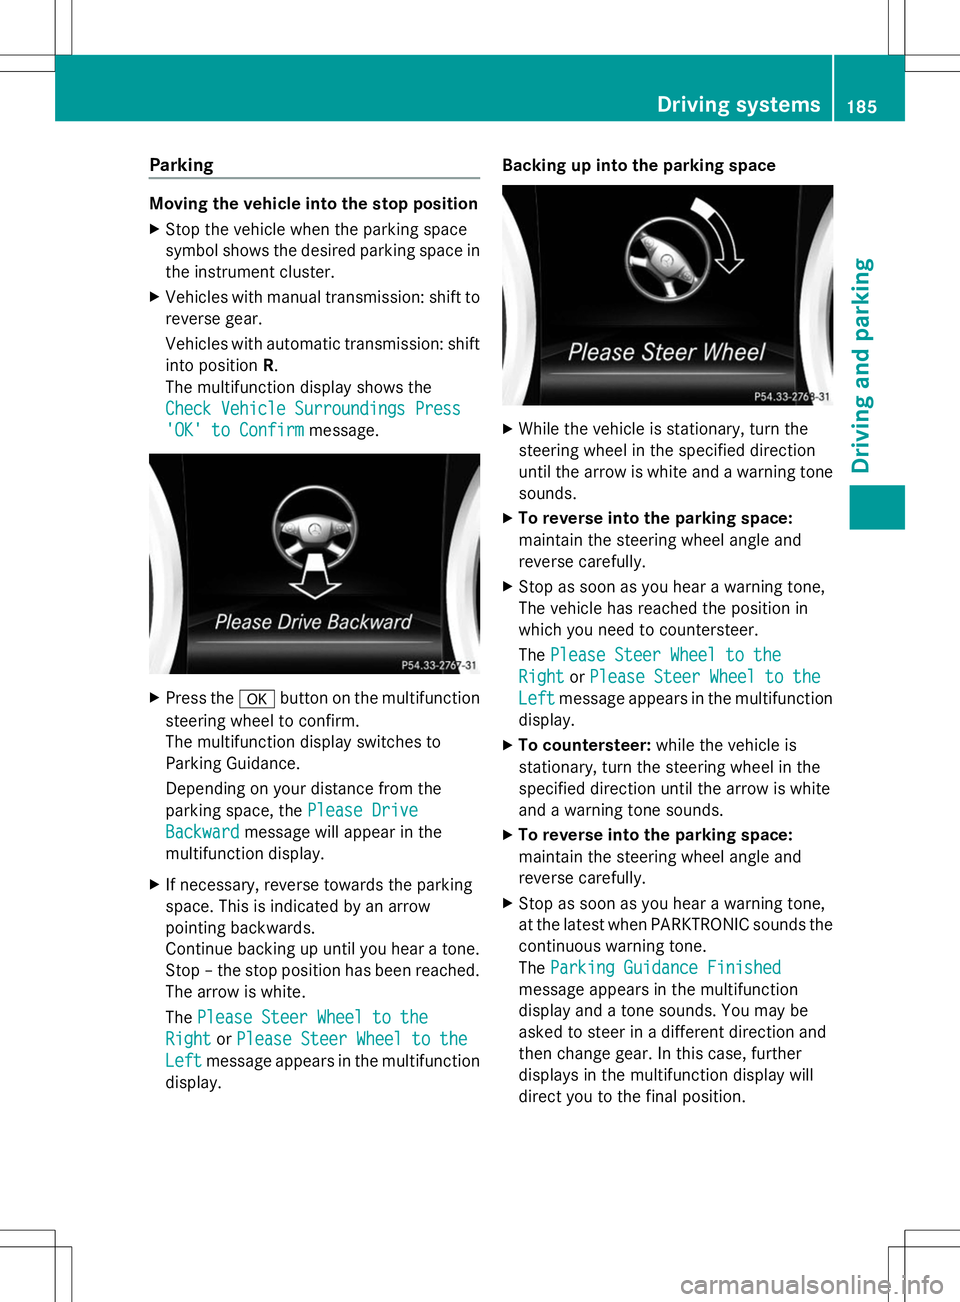
display. Backing up into the parking space
X
While the vehicle is stationary, turn the
steering wheel in the specified direction
until the arrow is white and a warning tone
sounds.
X To reverse into the parking space:
maintain the steering wheel angle and
reverse carefully.
X Stop as soon as you hear a warning tone,
The vehicle has reached the position in
which you need to countersteer.
The Please Steer Wheel to the Please Steer Wheel to the
Right
Right orPlease Steer Wheel to the
Please Steer Wheel to the
Left
Left message appears in the multifunction
display.
X To countersteer: while the vehicle is
stationary, turn the steering wheel in the
specified direction until the arrow is white
and a warning tone sounds.
X To reverse into the parking space:
maintain the steering wheel angle and
reverse carefully.
X Stop as soon as you hear a warning tone,
at the latest when PARKTRONIC sounds the
continuous warning tone.
The Parking Guidance Finished Parking Guidance Finished
message appears in the multifunction
display and a tone sounds. You may be
asked to steer in a different direction and
then change gear. In this case, further
displays in the multifunction display will
direct you to the final position. Driving systems
185Driving and parking Z
Page 199 of 356

R
"From Reset" trip computer
R ECO display
i When you reset the values in the "ECO
display", the values in the trip computer
"From Start" are likewise reset. When you
reset the values in the trip computer "From
Start", the values in the "ECO display" are
likewise reset. Navigation system menu
Displaying navigation instructions In the
Navi Navimenu, the multifunction display
shows navigation instructions. For more
information on navigation, see the separate
operating instructions.
X Switch on COMAND (see the separate
operating instructions).
X Press the =or; button on the
steering wheel to select the Navi Navimenu.
Route guidance not active :
Direction of travel
; Current road
Route guidance active No change of direction announced
:
Distance to the destination
; Distance to the next change of direction =
Current road
? "Follow the road's course" symbol
Change of direction announced without a
lane recommendation :
Road into which the change of direction
leads
; Distance to change of direction and visual
distance display
= Change-of-direction symbol
When a change of direction is announced, you
will see symbol =for the change of direction
and distance graphic ;. The distance
indicator shortens towards the top of the
display as you approach the point of the
announced change of direction.
Change of direction announced with a
lane recommendation :
Road into which the change of direction
leads
; Distance to change of direction and visual
distance display
= New lane during a change of direction
? Uninterrupted lane
A Lane recommendation
B Change-of-direction symbol
On multilane roads, the system can display
lane recommendation =for the next change
of direction. During the change of direction,
additional lanes may be displayed. Menus and submenus
197On-board computer and displays Z
Page 242 of 356
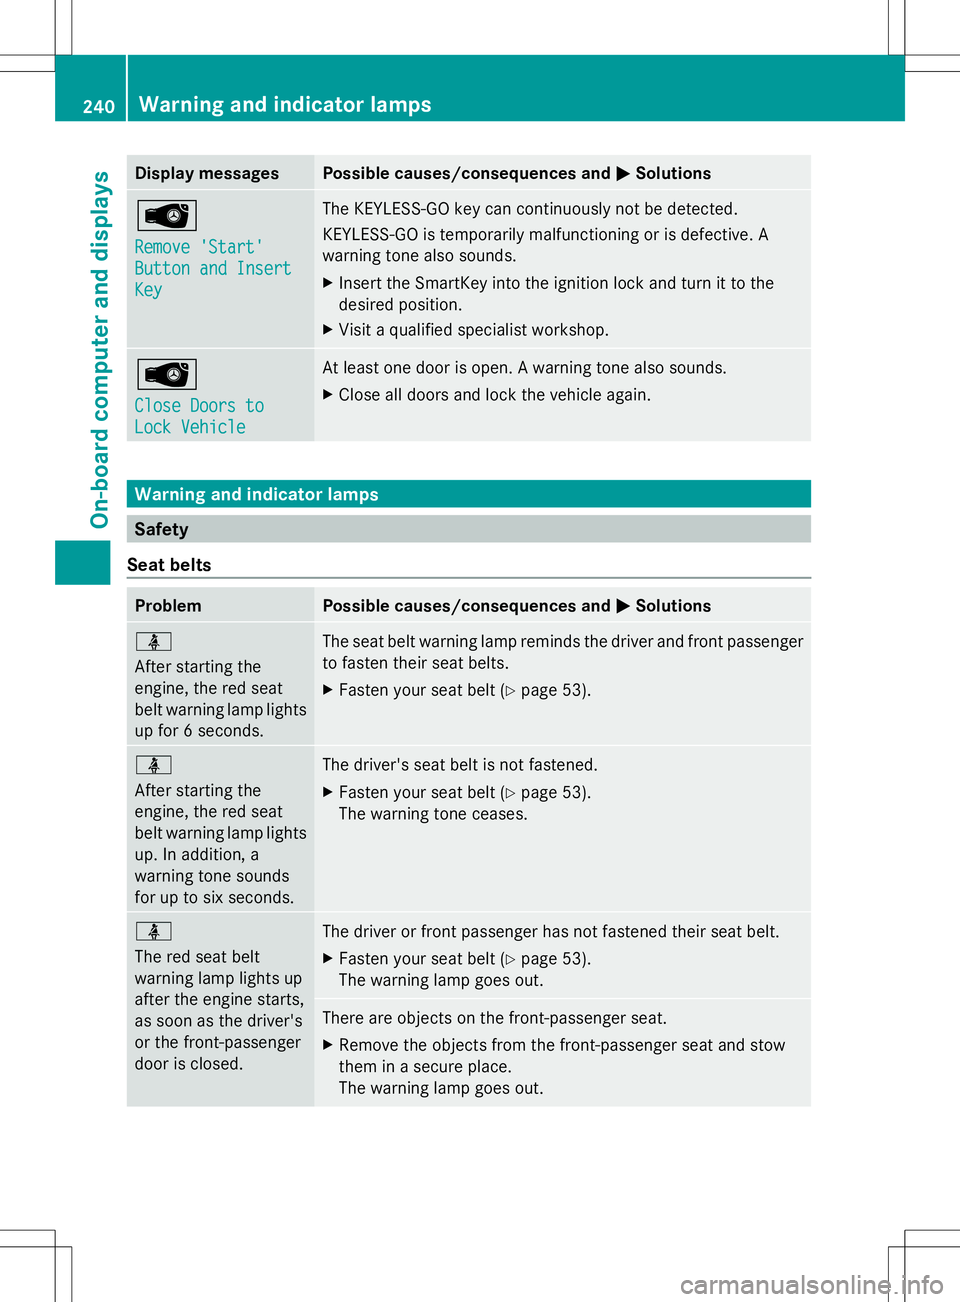
Display messages Possible causes/consequences and
M
MSolutions Â
Remove 'Start' Remove 'Start'
Button and Insert Button and Insert
Key Key The KEYLESS-GO key can continuously not be detected.
KEYLESS-GO is temporarily malfunctioning or is defective. A
warning tone also sounds.
X
Insert the SmartKey into the ignition lock and turn it to the
desired position.
X Visit a qualified specialist workshop. Â
Close Doors to Close Doors to
Lock Vehicle Lock Vehicle At least one door is open. A warning tone also sounds.
X
Close all doors and lock the vehicle again. Warning and indicator lamps
Safety
Seat belts Problem Possible causes/consequences and
M MSolutions ü
After starting the
engine, the red seat
belt warning lamp lights
up for 6 seconds.
The seat belt warning lamp reminds the driver and front passenger
to fasten their seat belts.
X
Fasten your seat belt (Y page 53).ü
After starting the
engine, the red seat
belt warning lamp lights
up. In addition, a
warning tone sounds
for up to six seconds.
The driver's seat belt is not fastened.
X
Fasten your seat belt (Y page 53).
The warning tone ceases. ü
The red seat belt
warning lamp lights up
after the engine starts,
as soon as the driver's
or the front-passenger
door is closed. The driver or front passenger has not fastened their seat belt.
X
Fasten your seat belt (Y page 53).
The warning lamp goes out. There are objects on the front-passenger seat.
X
Remove the objects from the front-passenger seat and stow
them in a secure place.
The warning lamp goes out. 240
Wa
rning and indi cator lampsOn-boardcompu ter and displays
Page 243 of 356
Problem Possible causes/consequences and
M
MSolutions ü
The red seat belt
warning lamp flashes
and an intermittent
audible warning
sounds.
The driver or front passenger has not fastened their seat belt. The
car is being driven faster than 15 mph (25 km/h) or has briefly
been driven faster than 15 mph (25 km/h).
X
Fasten your seat belt (Y page 53).
The warning lamp goes out and the intermittent warning tone
ceases. There are objects on the front-passenger seat. The car is being
driven faster than 15 mph (25 km/h) or has briefly been driven
faster than 15 mph (25 km/h).
X
Remove the objects from the front-passenger seat and stow
them in a secure place.
The warning lamp goes out and the intermittent warning tone
ceases. Warning and indicator lamps
241On-board computer and displays Z
Page 255 of 356
Useful information
............................254
Stowage areas .................................. 254
Features ............................................. 256 253Stowage and features
Page 256 of 356
Useful information
i This Operator's Manual describes all
models and all standard and optional
equipment of your vehicle available at the
time of publication of the Operator's
Manual. Country-specific differences are
possible. Please note that your vehicle may
not be equipped with all features
described. This also applies to safety-
related systems and functions.
i Read the information on qualified
specialist workshops: (Y page 24).Stowage areas
Stowage space
Important safety notes G
WARNING
If you do not correctly store objects in the
vehicle interior, they can slip or be flung
around, thus striking vehicle occupants.
There is a risk of injury, especially when
braking or abruptly changing directions.
R Always store objects so that they cannot be
flung around in these or in similar
situations.
R Always make sure that objects do not
protrude from stowage compartments,
parcel nets or stowage nets.
R Close lockable stowage compartments
while driving.
R Stow and secure objects that are heavy,
hard, pointy, sharp-edged, fragile or too
large in the trunk. Glove box X
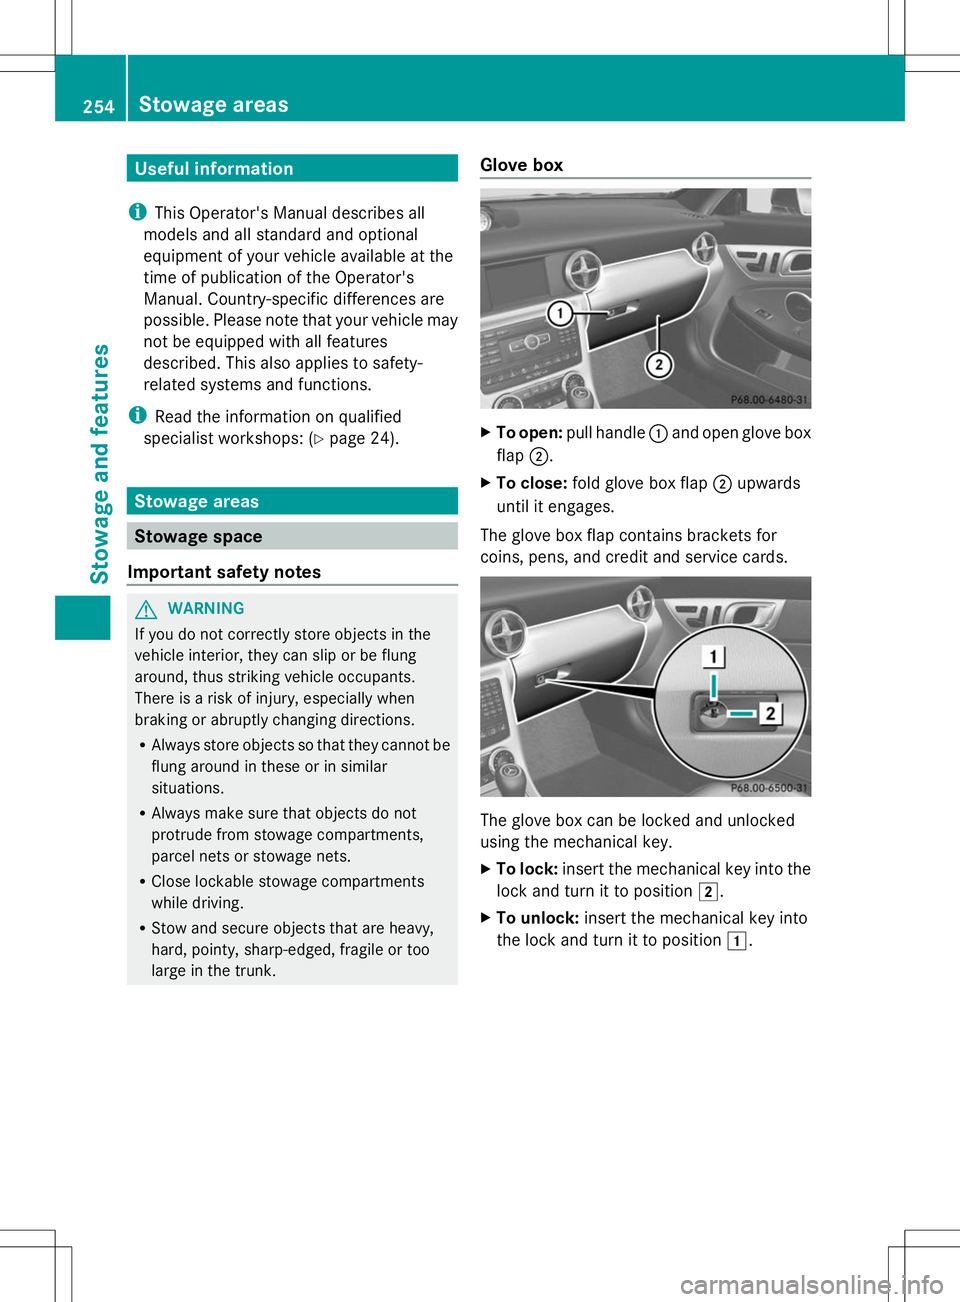
To open: pull handle :and open glove box
flap ;.
X To close: fold glove box flap ;upwards
until it engages.
The glove box flap contains brackets for
coins, pens, and credit and service cards. The glove box can be locked and unlocked
using the mechanical key.
X To lock: insert the mechanical key into the
lock and turn it to position 2.
X To unlock: insert the mechanical key into
the lock and turn it to position 1.254
Stowage areasStowage and features
Page 257 of 356
Stowage compartment/telephone
compartment under the armrest
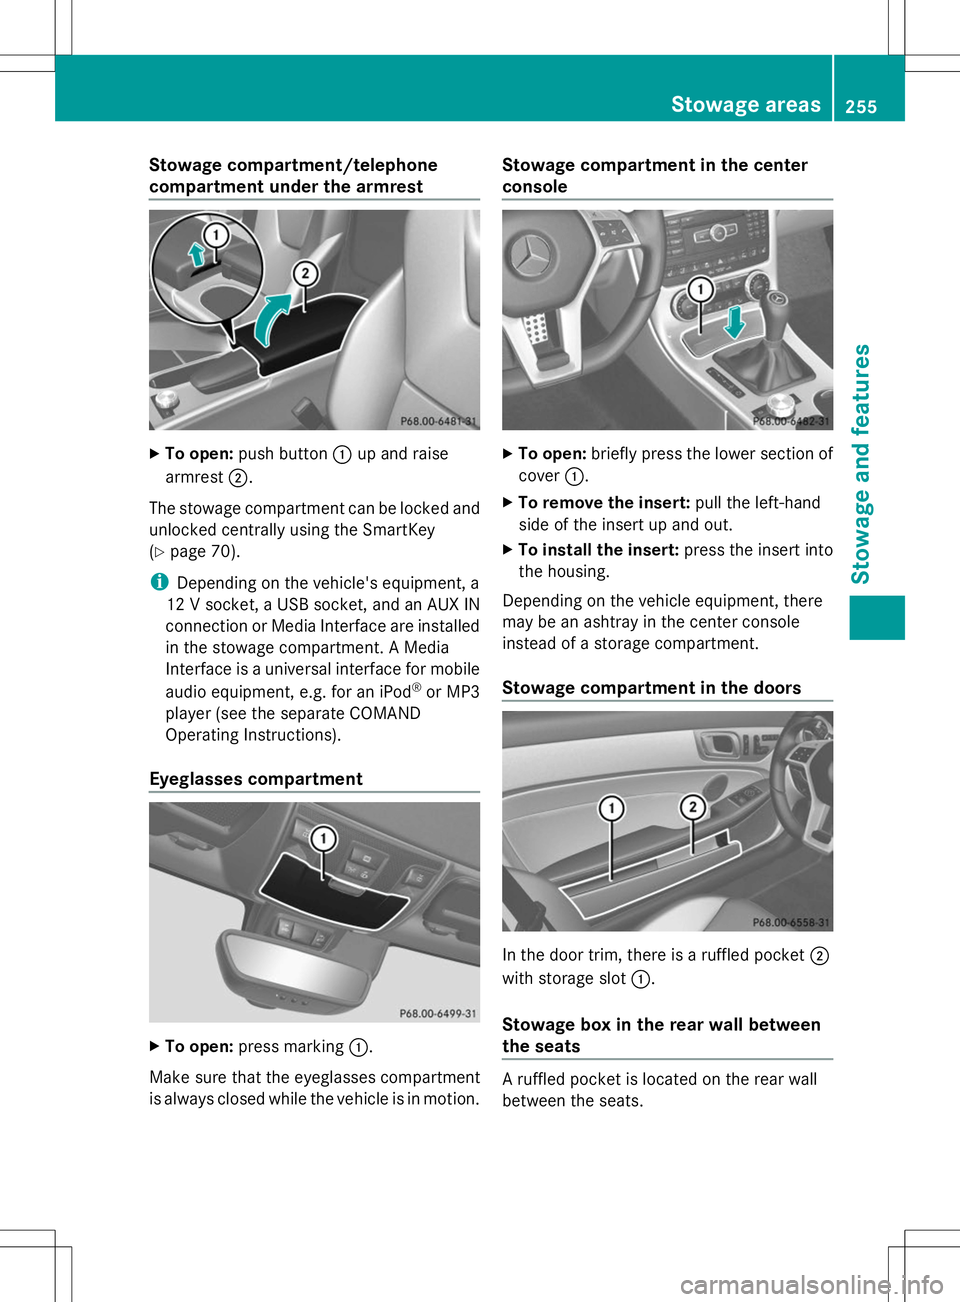
X
To open: push button :up and raise
armrest ;.
The stowage compartment can be locked and
unlocked centrally using the SmartKey
(Y page 70).
i Depending on the vehicle's equipment, a
12 V socket, a USB socket, and an AUX IN
connection or Media Interface are installed
in the stowage compartment. A Media
Interface is a universal interface for mobile
audio equipment, e.g. for an iPod ®
or MP3
player (see the separate COMAND
Operating Instructions).
Eyeglasses compartment X
To open: press marking :.
Make sure that the eyeglasses compartment
is always closed while the vehicle is in motion. Stowage compartment in the center
console
X
To open: briefly press the lower section of
cover :.
X To remove the insert: pull the left-hand
side of the insert up and out.
X To install the insert: press the insert into
the housing.
Depending on the vehicle equipment, there
may be an ashtray in the center console
instead of a storage compartment.
Stowage compartment in the doors In the door trim, there is a ruffled pocket
;
with storage slot :.
Stowage box in the rear wall between
the seats A ruffled pocket is located on the rear wall
between the seats. Stowage areas
255Stowage and features Z