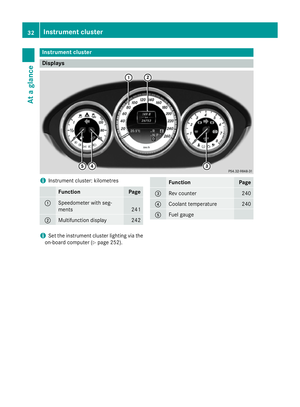
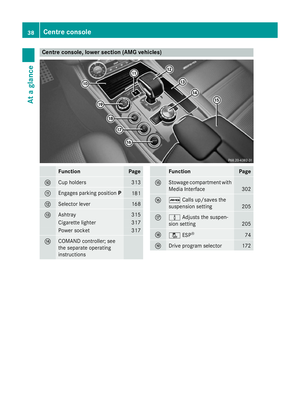
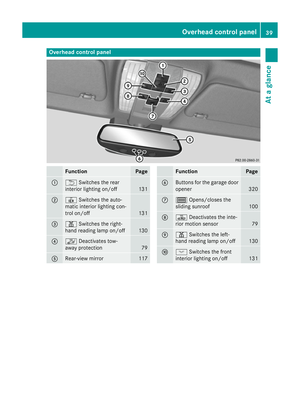
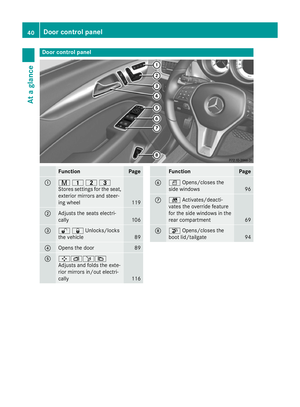
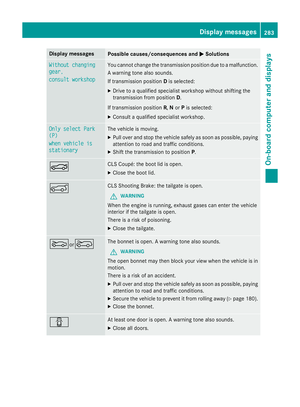
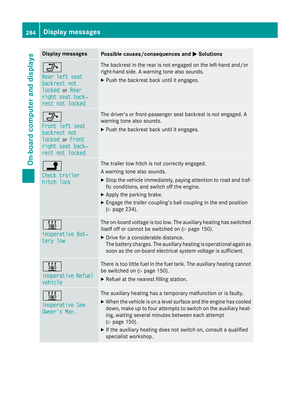
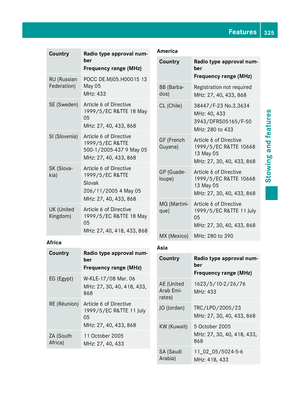
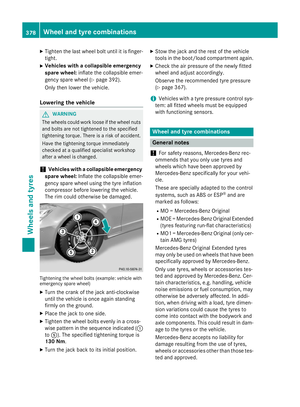
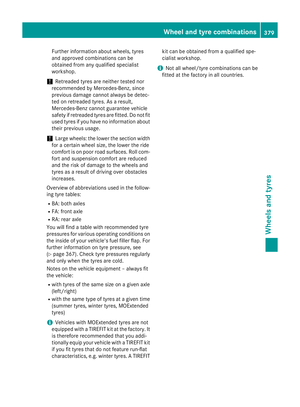
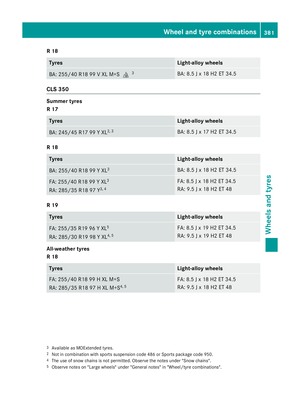
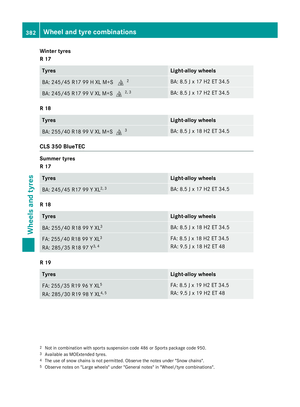
Page 313 of 417

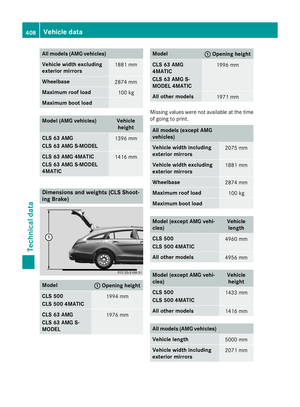
EASY-PACK load-securing kit (CLS
Shooting Brake)
Components and storage The EASY-PACK load-securing kit allows you
to use your luggage compartment for a variety of purposes. The following accessory parts
are located under the luggage compartment
floor:
R telescopic rod (on the underside of the lug-
gage compartment floor)
R bag containing the brackets and luggage
holder (below the luggage compartment
floor or in one of the side stowage nets in
the luggage compartment)
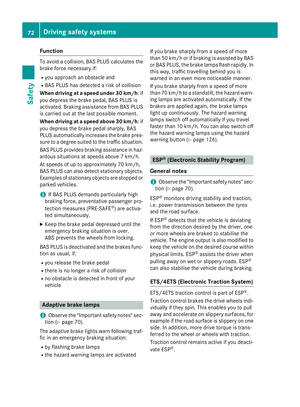
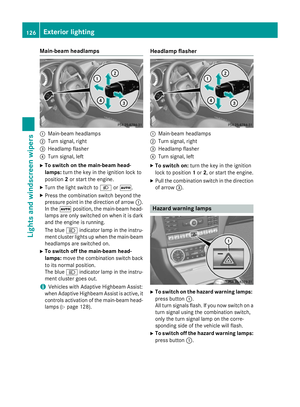
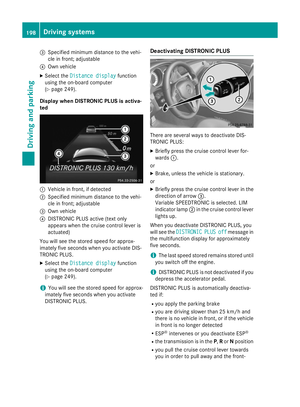
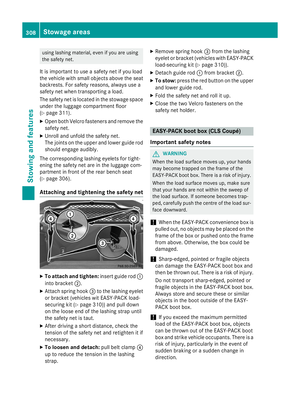
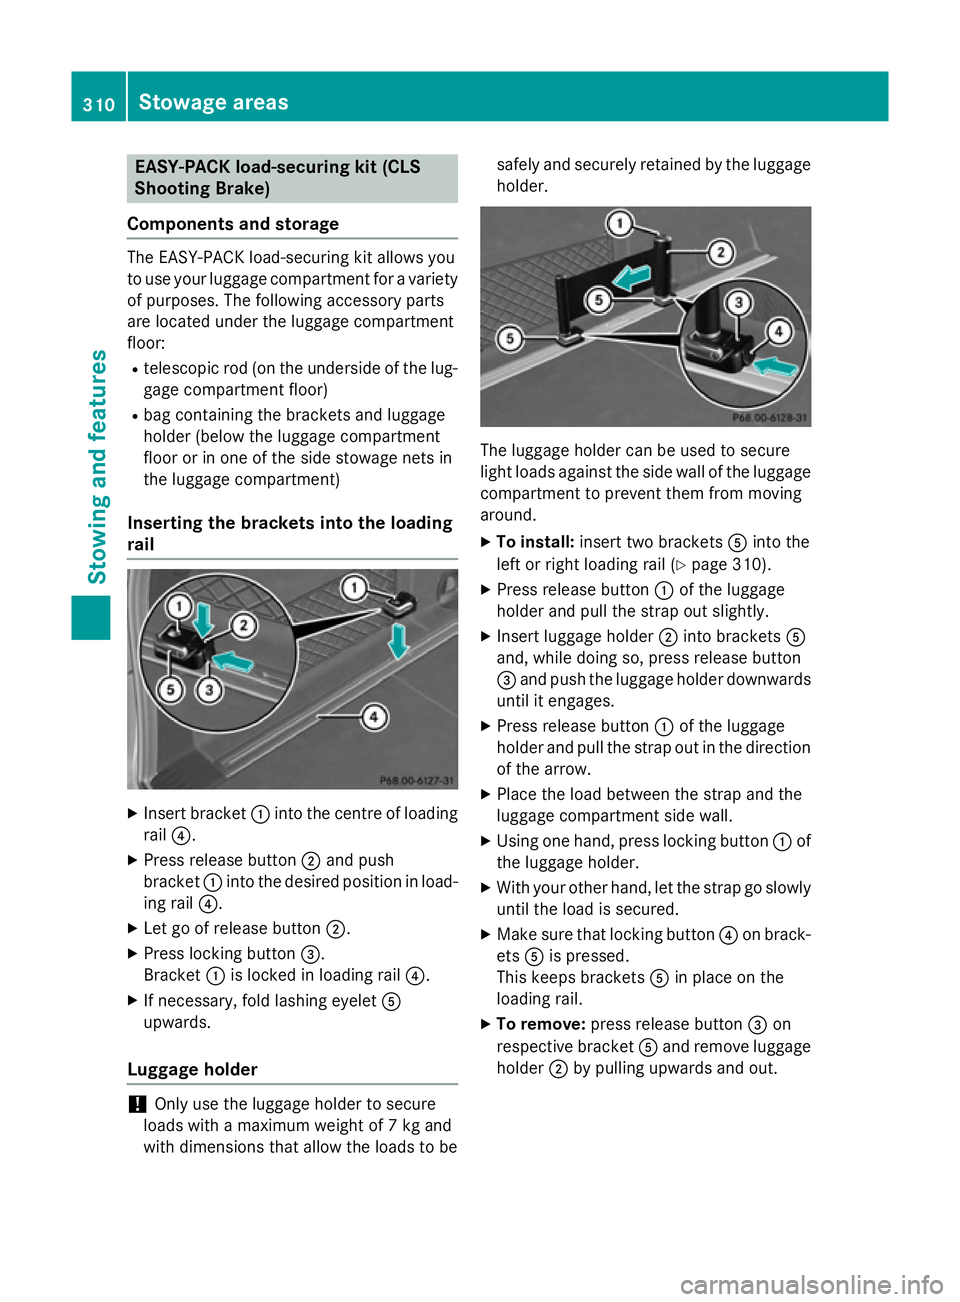
Inserting the brackets into the loading
rail X
Insert bracket :into the centre of loading
rail ?.
X Press release button ;and push
bracket :into the desired position in load-
ing rail ?.
X Let go of release button ;.
X Press locking button =.
Bracket :is locked in loading rail ?.
X If necessary, fold lashing eyelet A
upwards.
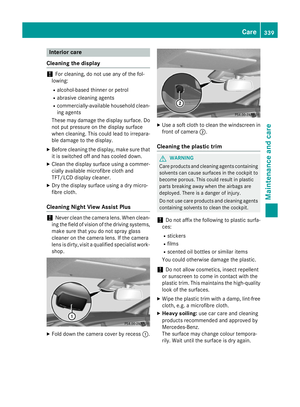
Luggage holder !
Only use the luggage holder to secure
loads with a maximum weight of 7 kg and
with dimensions that allow the loads to be safely and securely retained by the luggage
holder. The luggage holder can be used to secure
light loads against the side wall of the luggage
compartment to prevent them from moving
around.
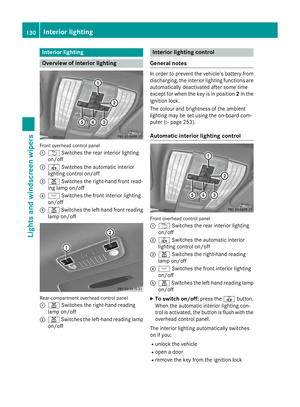
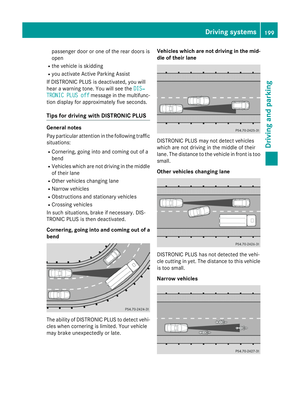
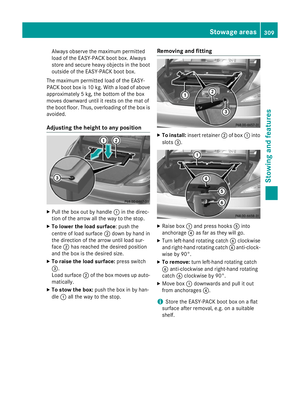
X To install: insert two brackets Ainto the
left or right loading rail (Y page 310).
X Press release button :of the luggage
holder and pull the strap out slightly.
X Insert luggage holder ;into brackets A
and, while doing so, press release button
= and push the luggage holder downwards
until it engages.
X Press release button :of the luggage
holder and pull the strap out in the direction
of the arrow.
X Place the load between the strap and the
luggage compartment side wall.
X Using one hand, press locking button :of
the luggage holder.
X With your other hand, let the strap go slowly
until the load is secured.
X Make sure that locking button ?on brack-
ets Ais pressed.
This keeps brackets Ain place on the
loading rail.
X To remove: press release button =on
respective bracket Aand remove luggage
holder ;by pulling upwards and out. 310
Stowage areasStowing and features
Page 314 of 417

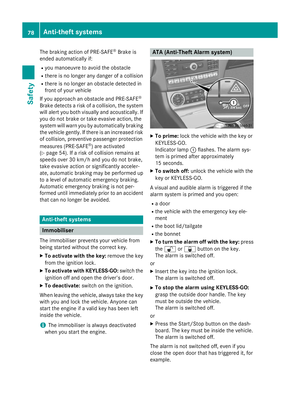
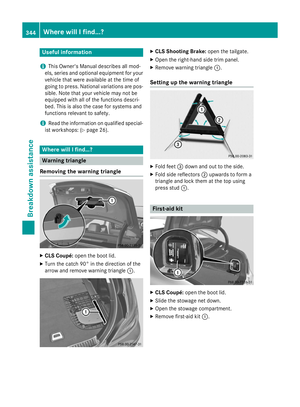
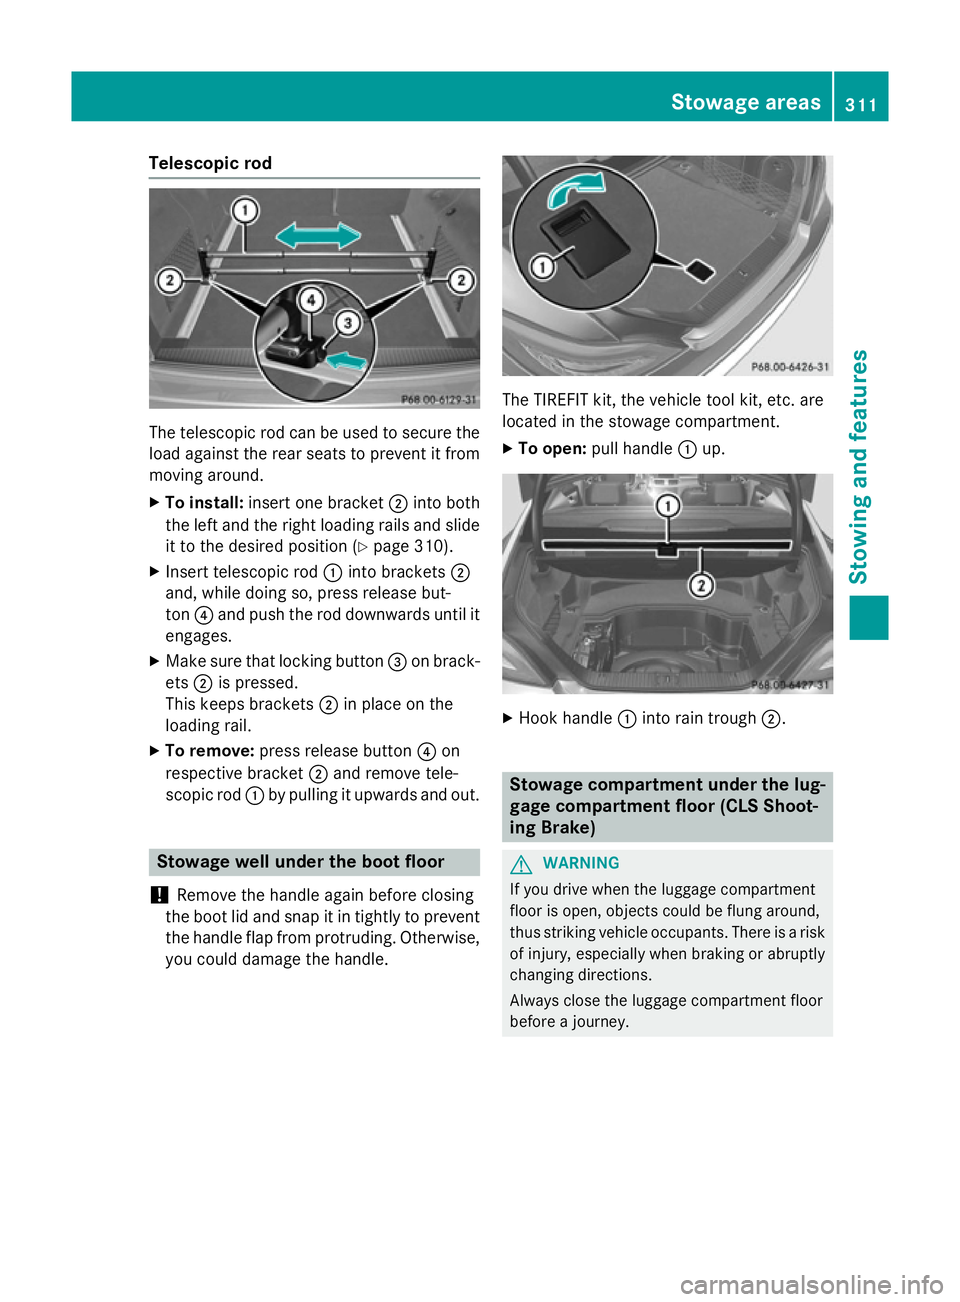
Telescopic rod
The telescopic rod can be used to secure the
load against the rear seats to prevent it from
moving around.
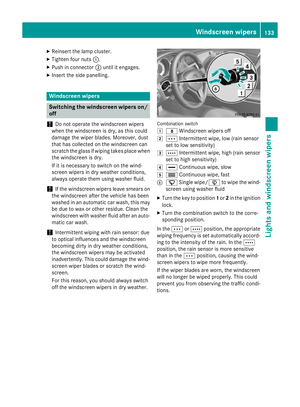
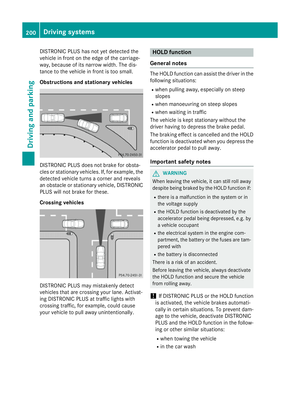
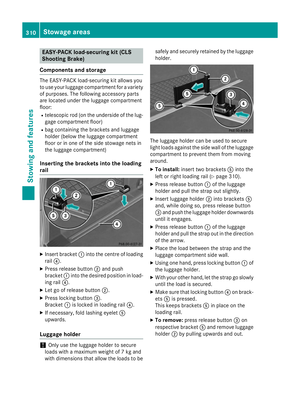
X To install: insert one bracket ;into both
the left and the right loading rails and slide it to the desired position (Y page 310).
X Insert telescopic rod :into brackets ;
and, while doing so, press release but-
ton ?and push the rod downwards until it
engages.
X Make sure that locking button =on brack-
ets ;is pressed.
This keeps brackets ;in place on the
loading rail.
X To remove: press release button ?on
respective bracket ;and remove tele-
scopic rod :by pulling it upwards and out. Stowage well under the boot floor
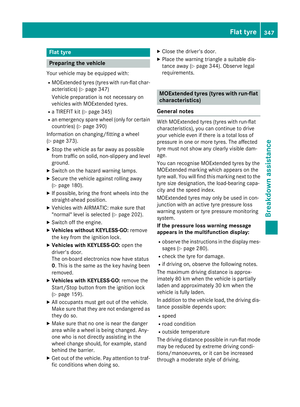
! Remove the handle again before closing
the boot lid and snap it in tightly to prevent the handle flap from protruding. Otherwise,
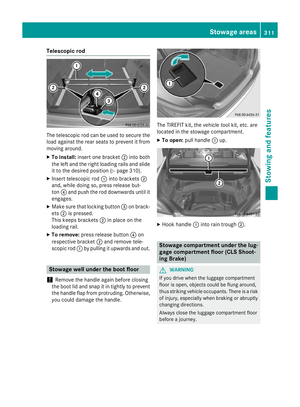
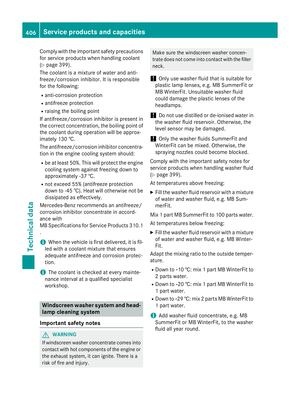
you could damage the handle. The TIREFIT kit, the vehicle tool kit, etc. are
located in the stowage compartment.
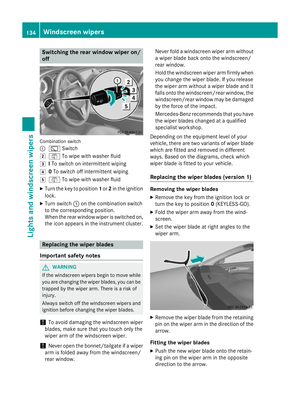
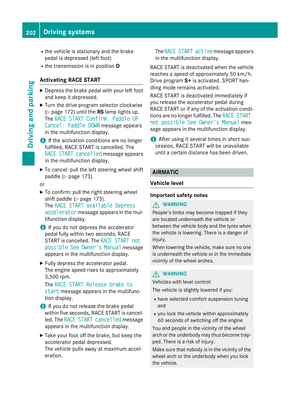
X To open: pull handle :up. X
Hook handle :into rain trough ;. Stowage compartment under the lug-
gage compartment floor (CLS Shoot-
ing Brake) G
WARNING
If you drive when the luggage compartment
floor is open, objects could be flung around,
thus striking vehicle occupants. There is a risk of injury, especially when braking or abruptly
changing directions.
Always close the luggage compartment floor
before a journey. Sto
wage areas
311Stowing and features Z
Page 315 of 417

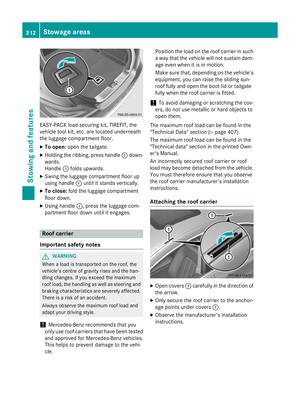
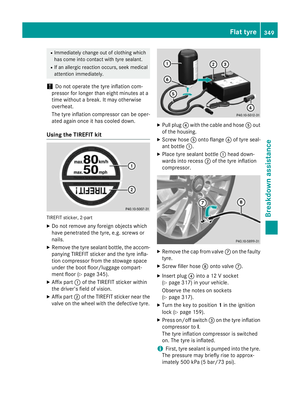
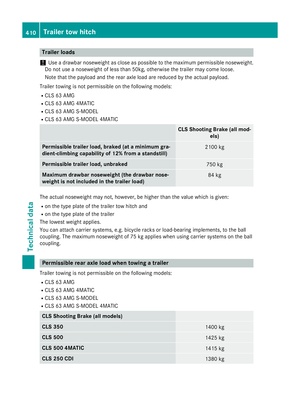
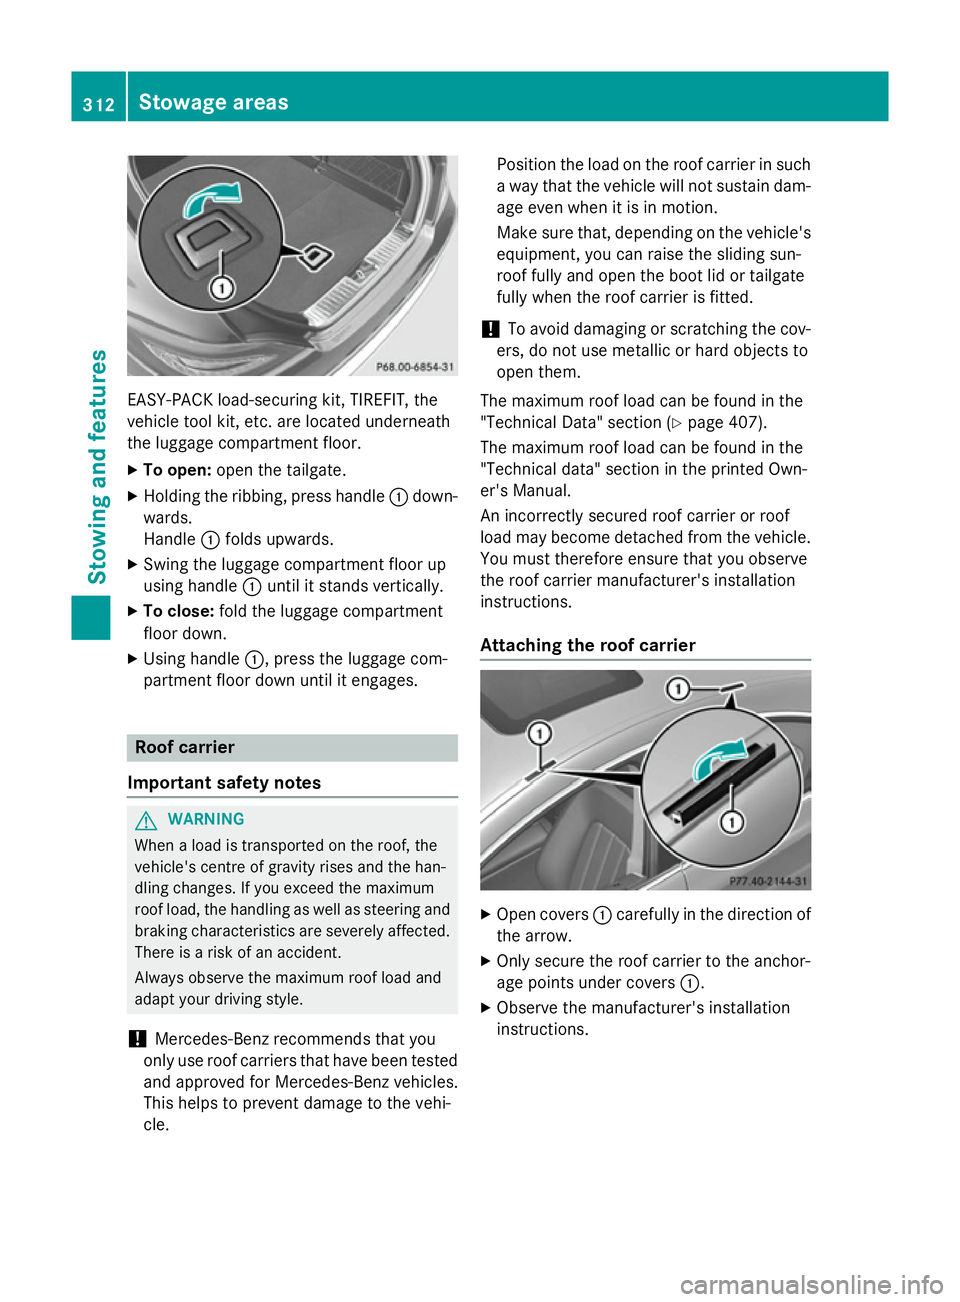
EASY-PACK load-securing kit, TIREFIT, the
vehicle tool kit, etc. are located underneath
the luggage compartment floor.
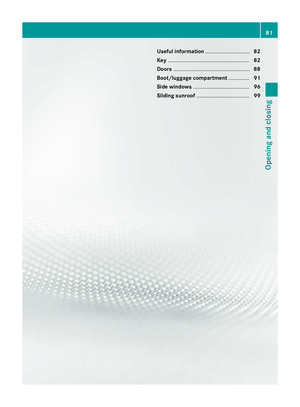
X To open: open the tailgate.
X Holding the ribbing, press handle :down-
wards.
Handle :folds upwards.
X Swing the luggage compartment floor up
using handle :until it stands vertically.
X To close: fold the luggage compartment
floor down.
X Using handle :, press the luggage com-
partment floor down until it engages. Roof carrier
Important safety notes G
WARNING
When a load is transported on the roof, the
vehicle's centre of gravity rises and the han-
dling changes. If you exceed the maximum
roof load, the handling as well as steering and braking characteristics are severely affected.
There is a risk of an accident.
Always observe the maximum roof load and
adapt your driving style.
! Mercedes-Benz recommends that you
only use roof carriers that have been tested and approved for Mercedes-Benz vehicles.
This helps to prevent damage to the vehi-
cle. Position the load on the roof carrier in such
a way that the vehicle will not sustain dam-
age even when it is in motion.
Make sure that, depending on the vehicle's equipment, you can raise the sliding sun-
roof fully and open the boot lid or tailgate
fully when the roof carrier is fitted.
! To avoid damaging or scratching the cov-
ers, do not use metallic or hard objects to
open them.
The maximum roof load can be found in the
"Technical Data" section (Y page 407).
The maximum roof load can be found in the
"Technical data" section in the printed Own-
er's Manual.
An incorrectly secured roof carrier or roof
load may become detached from the vehicle.
You must therefore ensure that you observe
the roof carrier manufacturer's installation
instructions.
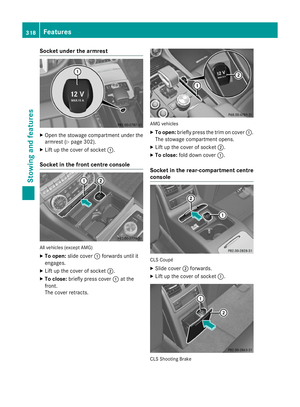
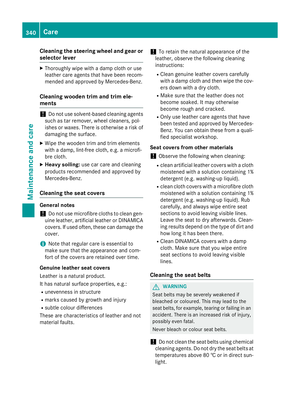
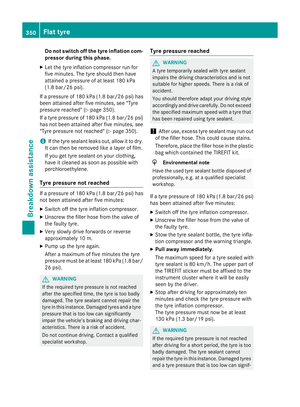
Attaching the roof carrier X
Open covers :carefully in the direction of
the arrow.
X Only secure the roof carrier to the anchor-
age points under covers :.
X Observe the manufacturer's installation
instructions. 312
Sto
wage areasStowing an d features
Page 316 of 417

Features
Cup holders
Important safety notes !
Only use the cup holders for containers of
the right size and which have lids. The
drinks could otherwise spill.
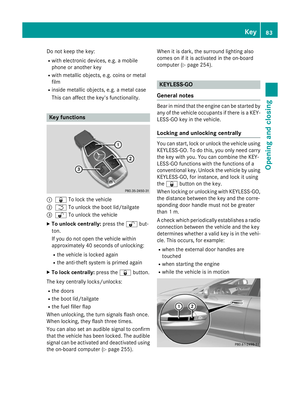
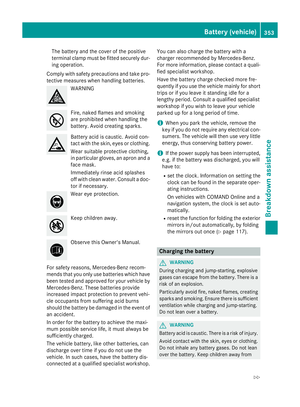
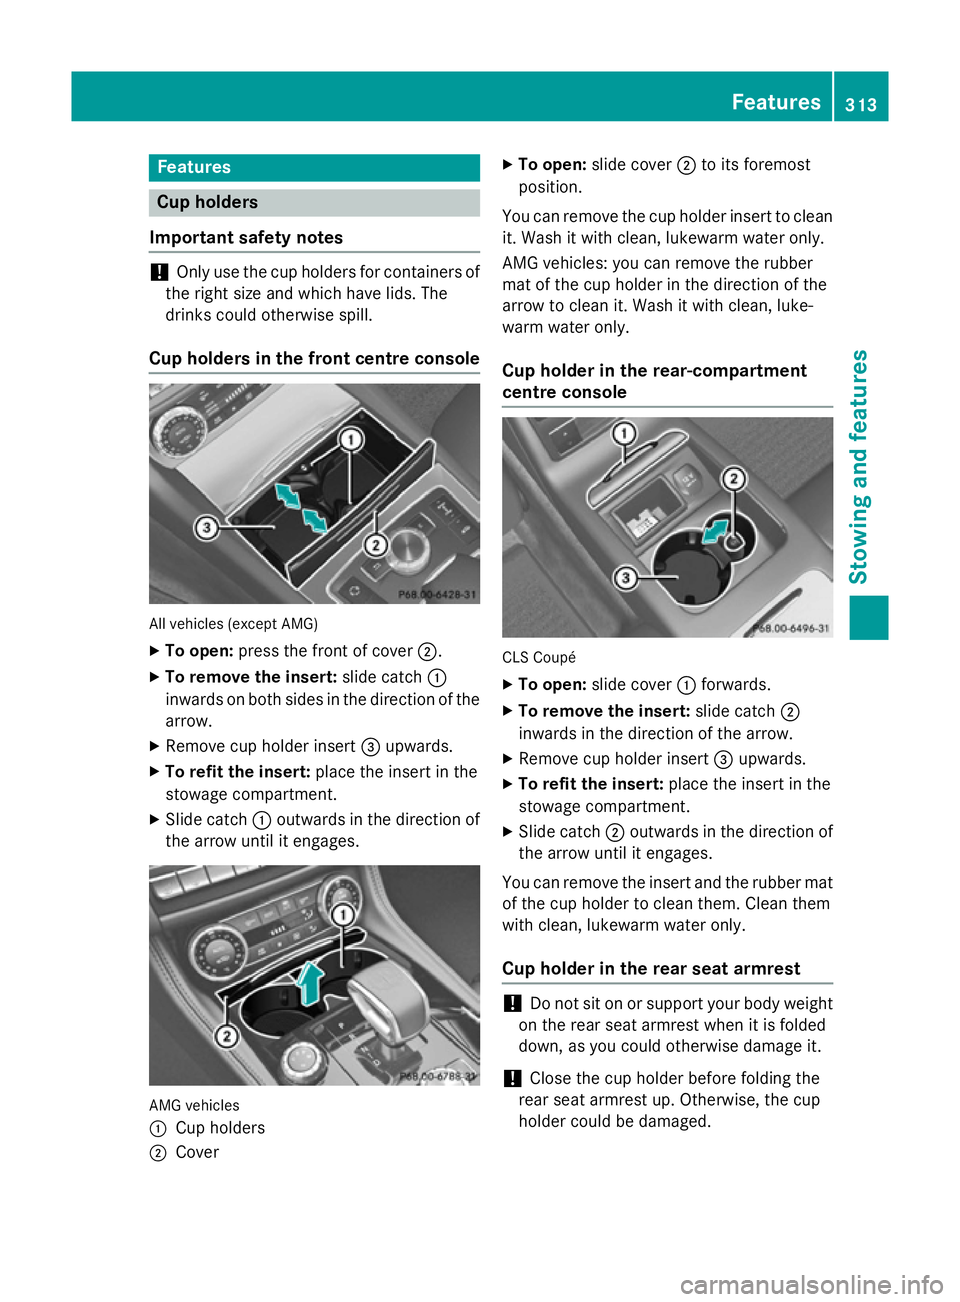
Cup holders in the front centre console All vehicles (except AMG)
X To open: press the front of cover ;.
X To remove the insert: slide catch:
inwards on both sides in the direction of the arrow.
X Remove cup holder insert =upwards.
X To refit the insert: place the insert in the
stowage compartment.
X Slide catch :outwards in the direction of
the arrow until it engages. AMG vehicles
:
Cup holders
; Cover X
To open: slide cover ;to its foremost
position.
You can remove the cup holder insert to clean
it. Wash it with clean, lukewarm water only.
AMG vehicles: you can remove the rubber
mat of the cup holder in the direction of the
arrow to clean it. Wash it with clean, luke-
warm water only.
Cup holder in the rear-compartment
centre console CLS Coupé
X To open: slide cover :forwards.
X To remove the insert: slide catch;
inwards in the direction of the arrow.
X Remove cup holder insert =upwards.
X To refit the insert: place the insert in the
stowage compartment.
X Slide catch ;outwards in the direction of
the arrow until it engages.
You can remove the insert and the rubber mat
of the cup holder to clean them. Clean them
with clean, lukewarm water only.
Cup holder in the rear seat armrest !
Do not sit on or support your body weight
on the rear seat armrest when it is folded
down, as you could otherwise damage it.
! Close the cup holder before folding the
rear seat armrest up. Otherwise, the cup
holder could be damaged. Features
313Stowing and featu res Z
Page 317 of 417

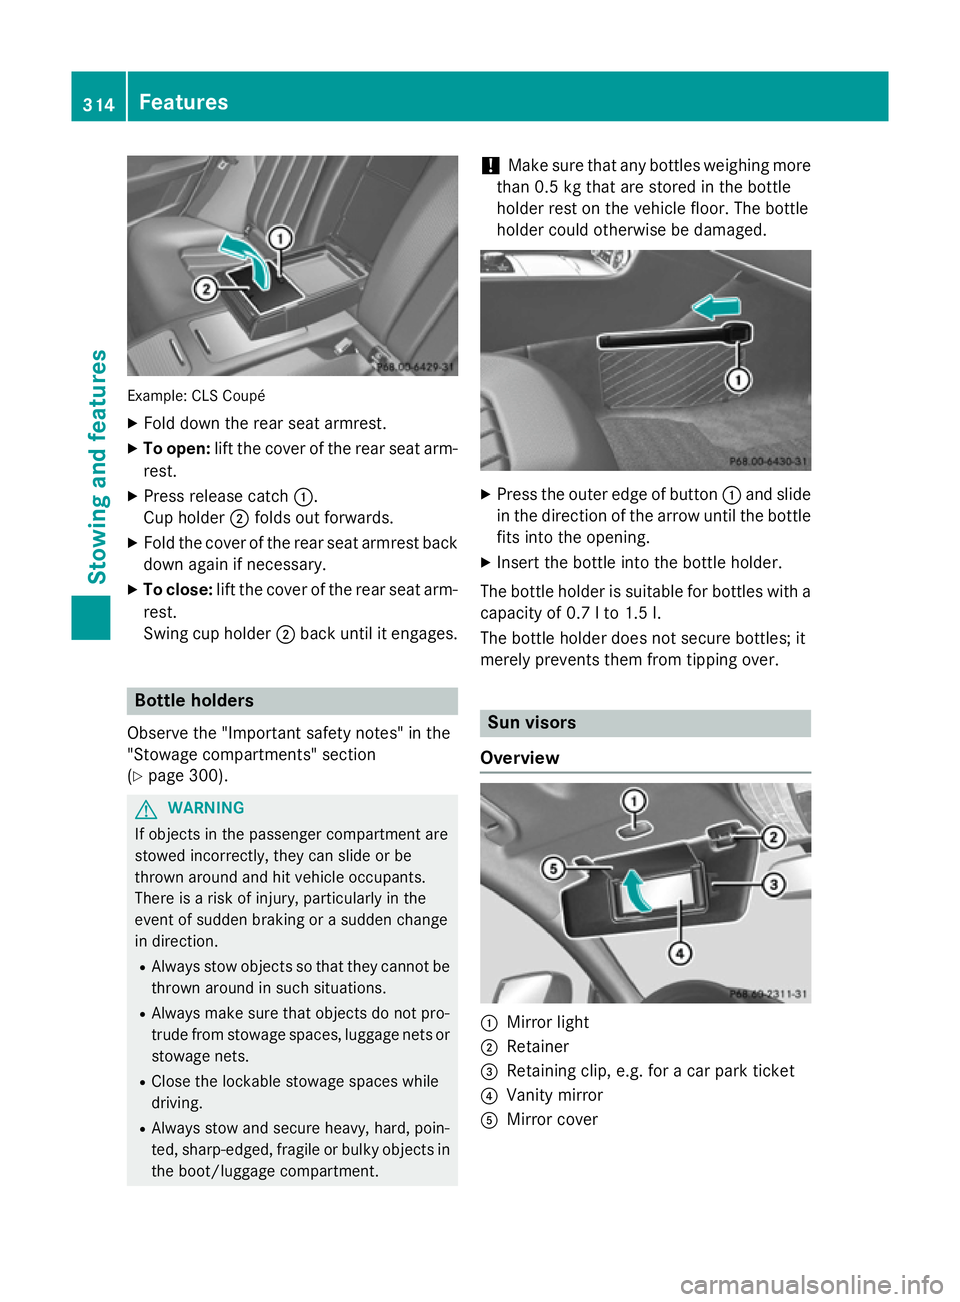
Example: CLS Coupé
X Fold down the rear seat armrest.
X To open: lift the cover of the rear seat arm-
rest.
X Press release catch :.
Cup holder ;folds out forwards.
X Fold the cover of the rear seat armrest back
down again if necessary.
X To close: lift the cover of the rear seat arm-
rest.
Swing cup holder ;back until it engages. Bottle holders
Observe the "Important safety notes" in the
"Stowage compartments" section
(Y page 300). G
WARNING
If objects in the passenger compartment are
stowed incorrectly, they can slide or be
thrown around and hit vehicle occupants.
There is a risk of injury, particularly in the
event of sudden braking or a sudden change
in direction.
R Always stow objects so that they cannot be
thrown around in such situations.
R Always make sure that objects do not pro-
trude from stowage spaces, luggage nets or stowage nets.
R Close the lockable stowage spaces while
driving.
R Always stow and secure heavy, hard, poin-
ted, sharp-edged, fragile or bulky objects in
the boot/luggage compartment. !
Make sure that any bottles weighing more
than 0.5 kg that are stored in the bottle
holder rest on the vehicle floor. The bottle
holder could otherwise be damaged. X
Press the outer edge of button :and slide
in the direction of the arrow until the bottle
fits into the opening.
X Insert the bottle into the bottle holder.
The bottle holder is suitable for bottles with a
capacity of 0.7 lto 1.5 l.
The bottle holder does not secure bottles; it
merely prevents them from tipping over. Sun visors
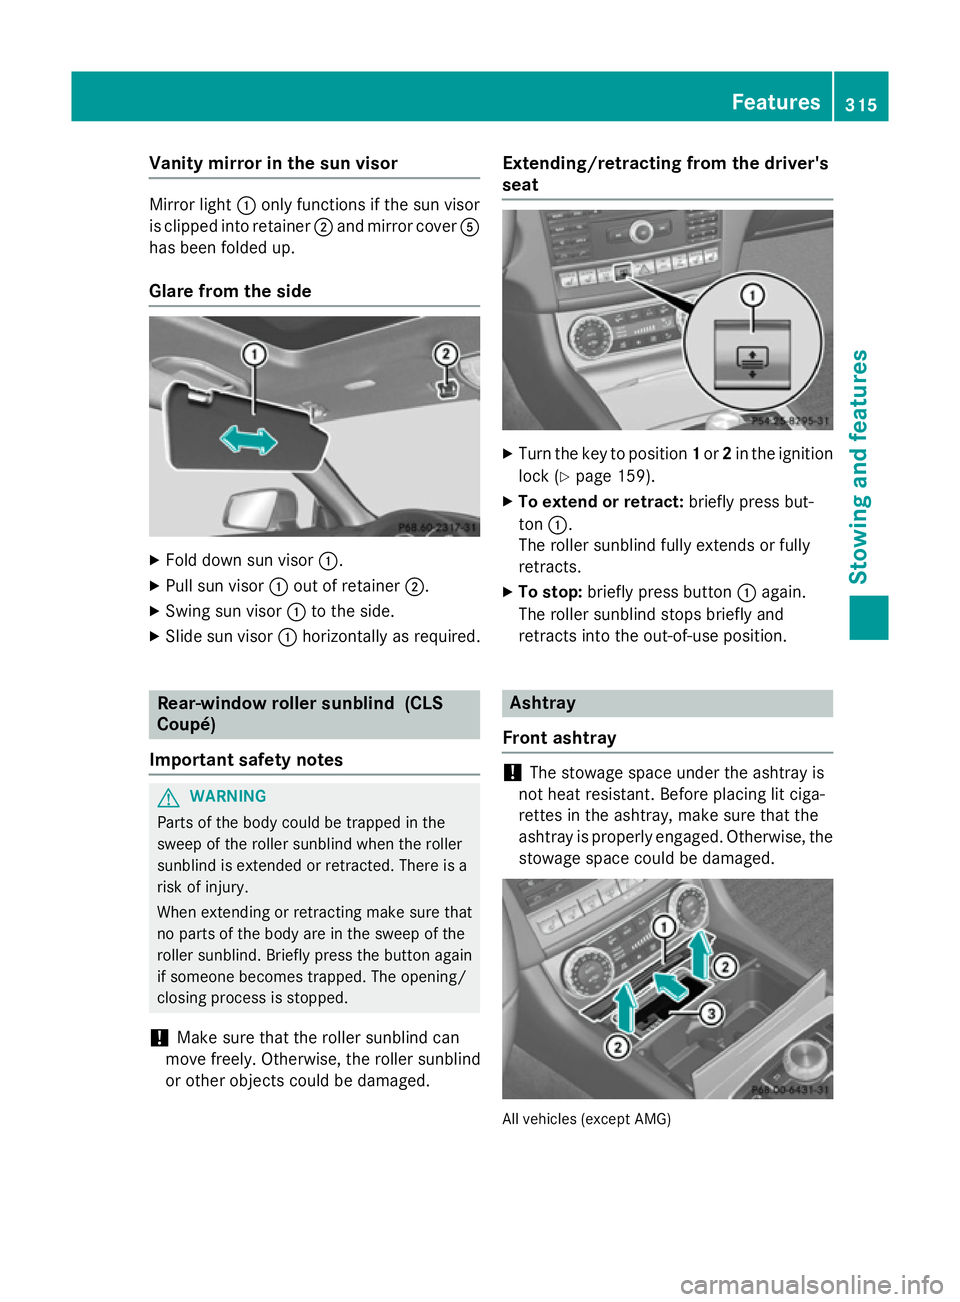
Overview :
Mirror light
; Retainer
= Retaining clip, e.g. for a car park ticket
? Vanity mirror
A Mirror cover 314
FeaturesStowing and features
Page 318 of 417

Vanity mirror in the sun visor
Mirror light
:only functions if the sun visor
is clipped into retainer ;and mirror cover A
has been folded up.
Glare from the side X
Fold down sun visor :.
X Pull sun visor :out of retainer ;.
X Swing sun visor :to the side.
X Slide sun visor :horizontally as required. Rear-window roller sunblind (CLS
Coupé)
Important safety notes G
WARNING
Parts of the body could be trapped in the
sweep of the roller sunblind when the roller
sunblind is extended or retracted. There is a
risk of injury.
When extending or retracting make sure that
no parts of the body are in the sweep of the
roller sunblind. Briefly press the button again if someone becomes trapped. The opening/
closing process is stopped.
! Make sure that the roller sunblind can
move freely. Otherwise, the roller sunblind
or other objects could be damaged. Extending/retracting from the driver's
seat
X
Turn the key to position 1or 2in the ignition
lock (Y page 159).
X To extend or retract: briefly press but-
ton :.
The roller sunblind fully extends or fully
retracts.
X To stop: briefly press button :again.
The roller sunblind stops briefly and
retracts into the out-of-use position. Ashtray
Front ashtray !
The stowage space under the ashtray is
not heat resistant. Before placing lit ciga-
rettes in the ashtray, make sure that the
ashtray is properly engaged. Otherwise, the
stowage space could be damaged. All vehicles (except AMG) Features
315Stowing an d features Z
Page 319 of 417

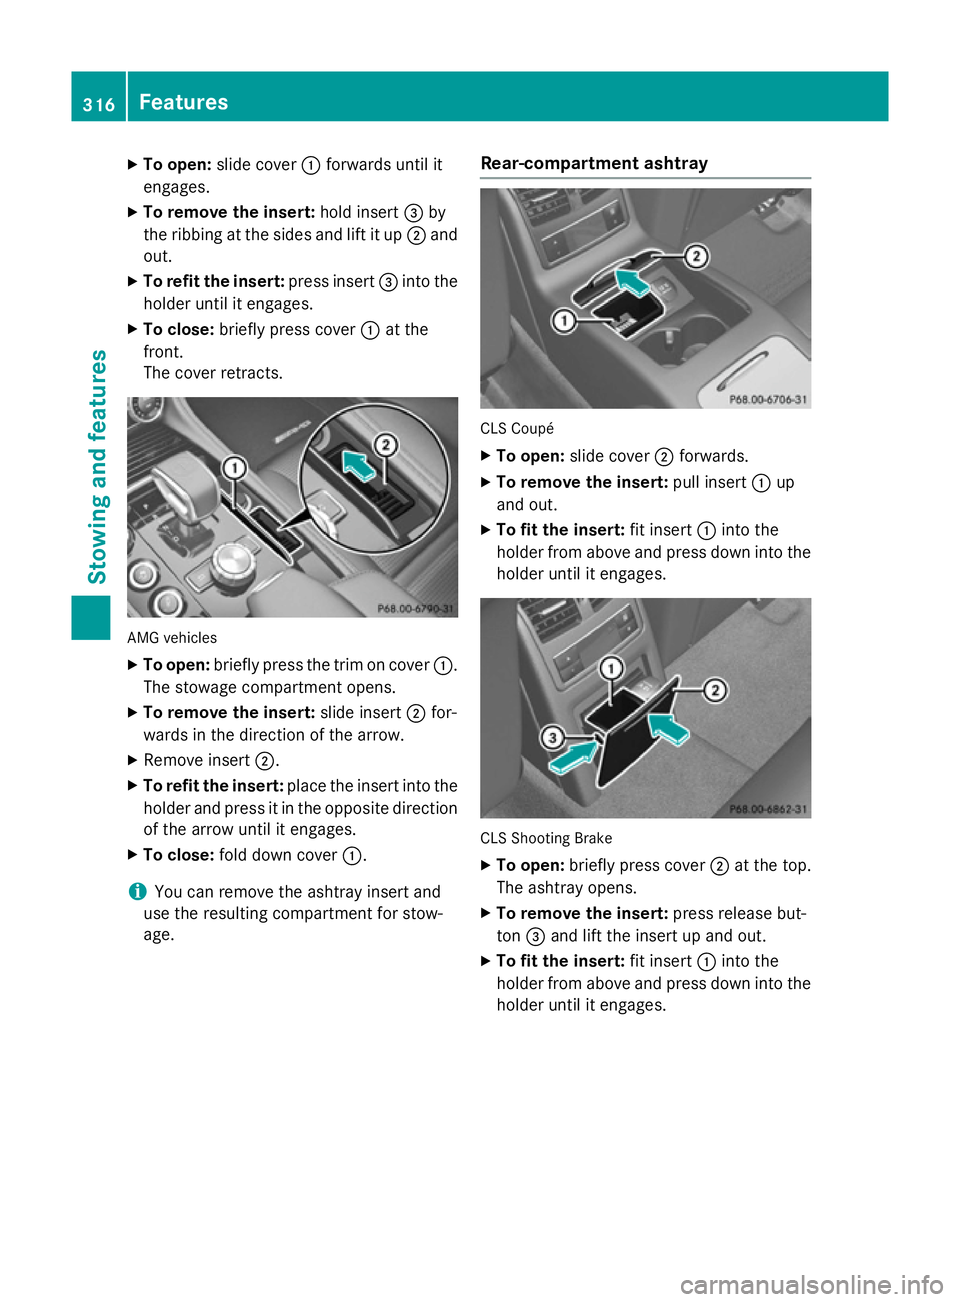
X
To open: slide cover :forwards until it
engages.
X To remove the insert: hold insert=by
the ribbing at the sides and lift it up ;and
out.
X To refit the insert: press insert=into the
holder until it engages.
X To close: briefly press cover :at the
front.
The cover retracts. AMG vehicles
X
To open: briefly press the trim on cover :.
The stowage compartment opens.
X To remove the insert: slide insert;for-
wards in the direction of the arrow.
X Remove insert ;.
X To refit the insert: place the insert into the
holder and press it in the opposite direction of the arrow until it engages.
X To close: fold down cover :.
i You can remove the ashtray insert and
use the resulting compartment for stow-
age. Rear-compartment ashtray CLS Coupé
X To open: slide cover ;forwards.
X To remove the insert: pull insert:up
and out.
X To fit the insert: fit insert:into the
holder from above and press down into the
holder until it engages. CLS Shooting Brake
X To open: briefly press cover ;at the top.
The ashtray opens.
X To remove the insert: press release but-
ton =and lift the insert up and out.
X To fit the insert: fit insert:into the
holder from above and press down into the holder until it engages. 316
FeaturesSto
wing an d features
Page 320 of 417

Cigarette lighter
G
WARNING
You can burn yourself if you touch the hot
heating element or the socket of the cigarette lighter.
In addition, flammable materials can ignite if:
R the hot cigarette lighter falls
R a child holds the hot cigarette lighter to
objects, for example
There is a risk of fire and injury.
Always hold the cigarette lighter by the knob.
Always make sure that the cigarette lighter is
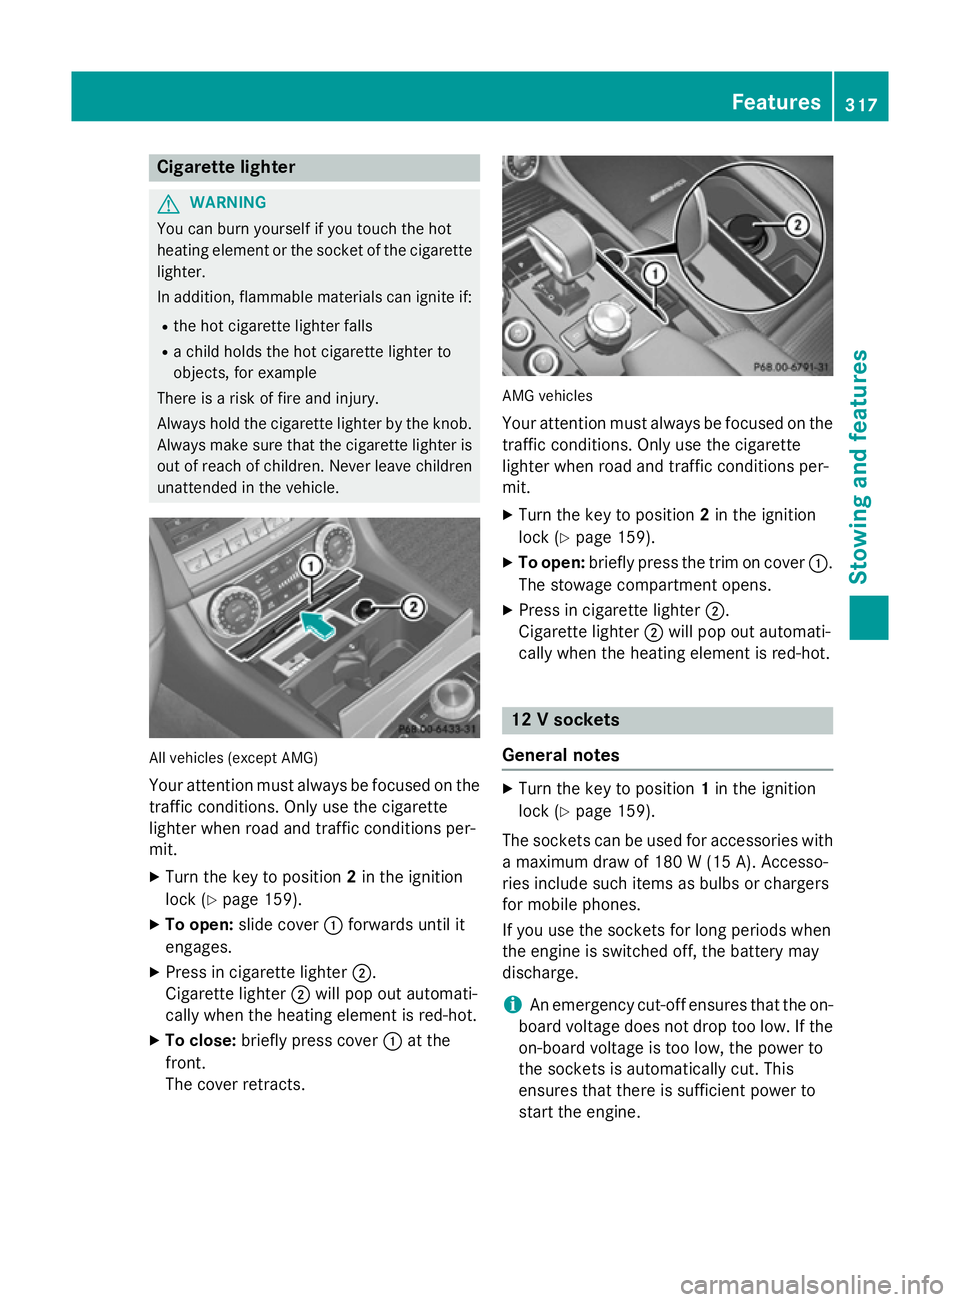
out of reach of children. Never leave children unattended in the vehicle. All vehicles (except AMG)
Your attention must always be focused on the
traffic conditions. Only use the cigarette
lighter when road and traffic conditions per-
mit.
X Turn the key to position 2in the ignition
lock (Y page 159).
X To open: slide cover :forwards until it
engages.
X Press in cigarette lighter ;.
Cigarette lighter ;will pop out automati-
cally when the heating element is red-hot.
X To close: briefly press cover :at the
front.
The cover retracts. AMG vehicles
Your attention must always be focused on the
traffic conditions. Only use the cigarette
lighter when road and traffic conditions per-
mit.
X Turn the key to position 2in the ignition
lock (Y page 159).
X To open: briefly press the trim on cover :.
The stowage compartment opens.
X Press in cigarette lighter ;.
Cigarette lighter ;will pop out automati-
cally when the heating element is red-hot. 12 V sockets
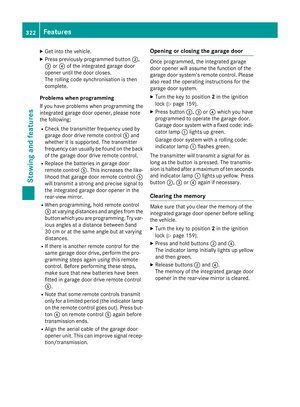
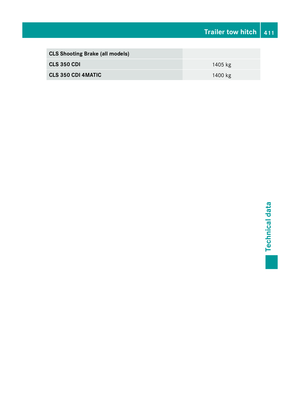
General notes X
Turn the key to position 1in the ignition
lock (Y page 159).
The sockets can be used for accessories with a maximum draw of 180 W (15A). Accesso-
ries include such items as bulbs or chargers
for mobile phones.
If you use the sockets for long periods when
the engine is switched off, the battery may
discharge.
i An emergency cut-off ensures that the on-
board voltage does not drop too low. If the
on-board voltage is too low, the power to
the sockets is automatically cut. This
ensures that there is sufficient power to
start the engine. Features
317Stowing and fea tures Z