2014 LINCOLN MKZ HYBRID remove seats
[x] Cancel search: remove seatsPage 136 of 445

Saving a Pre-Set Position
1. Switch the ignition on.
2. Adjust the seat, exterior mirrors and
power steering column to your desired
position.
3. Press and hold the desired pre-set button until you hear a single chime.
Up to three pre-set memory positions may
be saved. A memory pre-set may be saved
at any time.
Recalling a Pre-Set Position
Press and release the pre-set button
associated with your desired driving
position. The seat, mirrors and steering
column will move to the position stored
for that pre-set.
Note: A pre-set memory position can only
be recalled when the ignition is off, or
when the transmission selector lever is in
position P or N (and your vehicle is not
moving) if the ignition is on.
A pre-set memory position can also be
recalled by pressing the unlock button on
your remote control or intelligent access
key if it is linked to a pre-set position. Linking a Pre-Set Position to your
Remote Control or Intelligent Access
Key
Your vehicle can save the pre-set memory
positions for up to three remote controls
or intelligent access (IA) keys.
1.
With the ignition on, move the memory
positions to the desired positions.
2. Press and hold the desired pre-set button for about five seconds. A chime
will sound after about two seconds.
Continue holding until a second chime
is heard.
3. Within three seconds, press the lock button on the remote control you are
linking.
To unlink a remote control, follow the
same procedure – except in step 3, press
the unlock button on the remote control.
Note: To stop seat movement during a
recall, press any driver seat adjustment
control, any of the memory buttons, or any
mirror control switch.
Seat movement will also stop if you move
your vehicle.
Note: If more than one linked remote
control or IA key is in range, the memory
function will move to the settings of the
first key stored.
Easy Entry and Exit Function
If you enable the easy entry and exit
feature, it automatically moves the driver
seat position rearward up to five
centimeters when the transmission
selector lever is in position
P and you
remove the key or the keyless start ignition
is turned off.
134
MKZ (CC9) SeatsE142554
Page 169 of 445

GENERAL INFORMATION
WARNING
Have the battery pack serviced only
by an authorized electric vehicle
technician. Improper handling can result
in personal injury or death. Note:
The high-voltage battery does not
require regular service maintenance.
Your vehicle consists of various
high-voltage components and wiring. All
of the high-voltage power flows through
specific wiring assemblies labeled as such
or covered with a solid orange convolute,
or orange striped tape, or both. Do not
come in contact with these components.
The high-voltage battery system is a
high-voltage, lithium-ion battery system.
The pack is located in the rear cargo area.
The high-voltage battery system uses an
air-cooled system to regulate the
high-voltage battery temperature and help
maximize high-voltage battery life. Note:
The high-voltage battery is
equipped with air vents in the package
tray that help to regulate its temperature.
It is important to keep these openings free
of obstructions. Do not block the flow of
cabin air to this area.
HIGH-VOLTAGE SERVICE
DISCONNECT
The high-voltage service disconnect turns
off power from the high-voltage battery.
Note: There is a disconnect circuit in your
vehicle. Disconnecting the circuit will
automatically disable the high-voltage
battery.
To disable the battery and stop all
high-voltage electric activity in the vehicle
you can access the high-voltage
disconnect circuit. To do this, you must
unplug the circuit from the circuit port
connected to the battery.
The service disconnect is equipped with
an outer lever. This is to aid in properly
seating the service disconnect lever.
Remove this to disconnect the
high-voltage service disconnect.
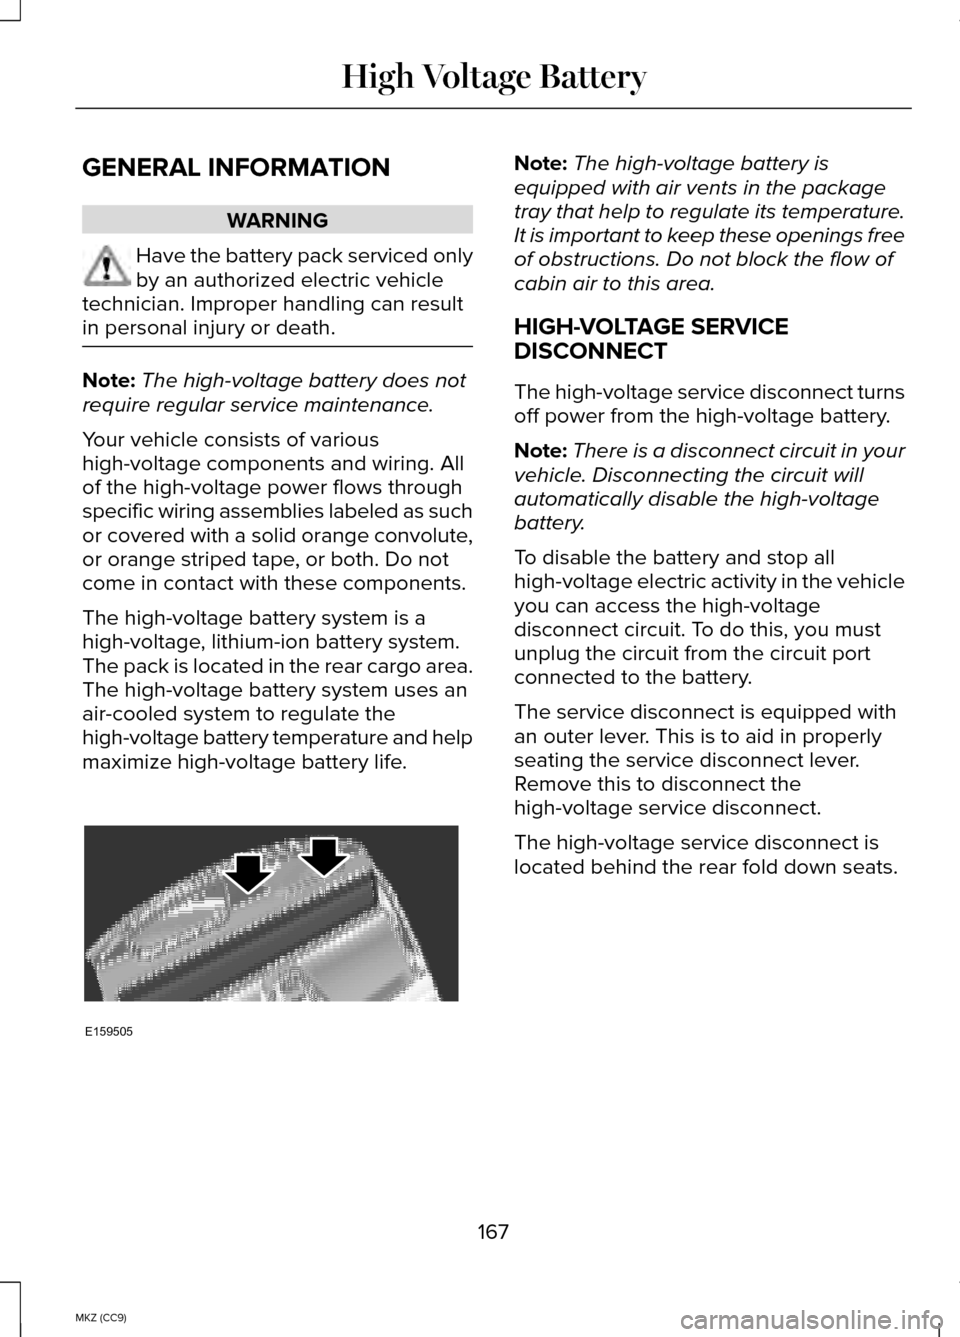
The high-voltage service disconnect is
located behind the rear fold down seats.
167
MKZ (CC9) High Voltage BatteryE159505
Page 170 of 445

Disabling the High-Voltage Battery
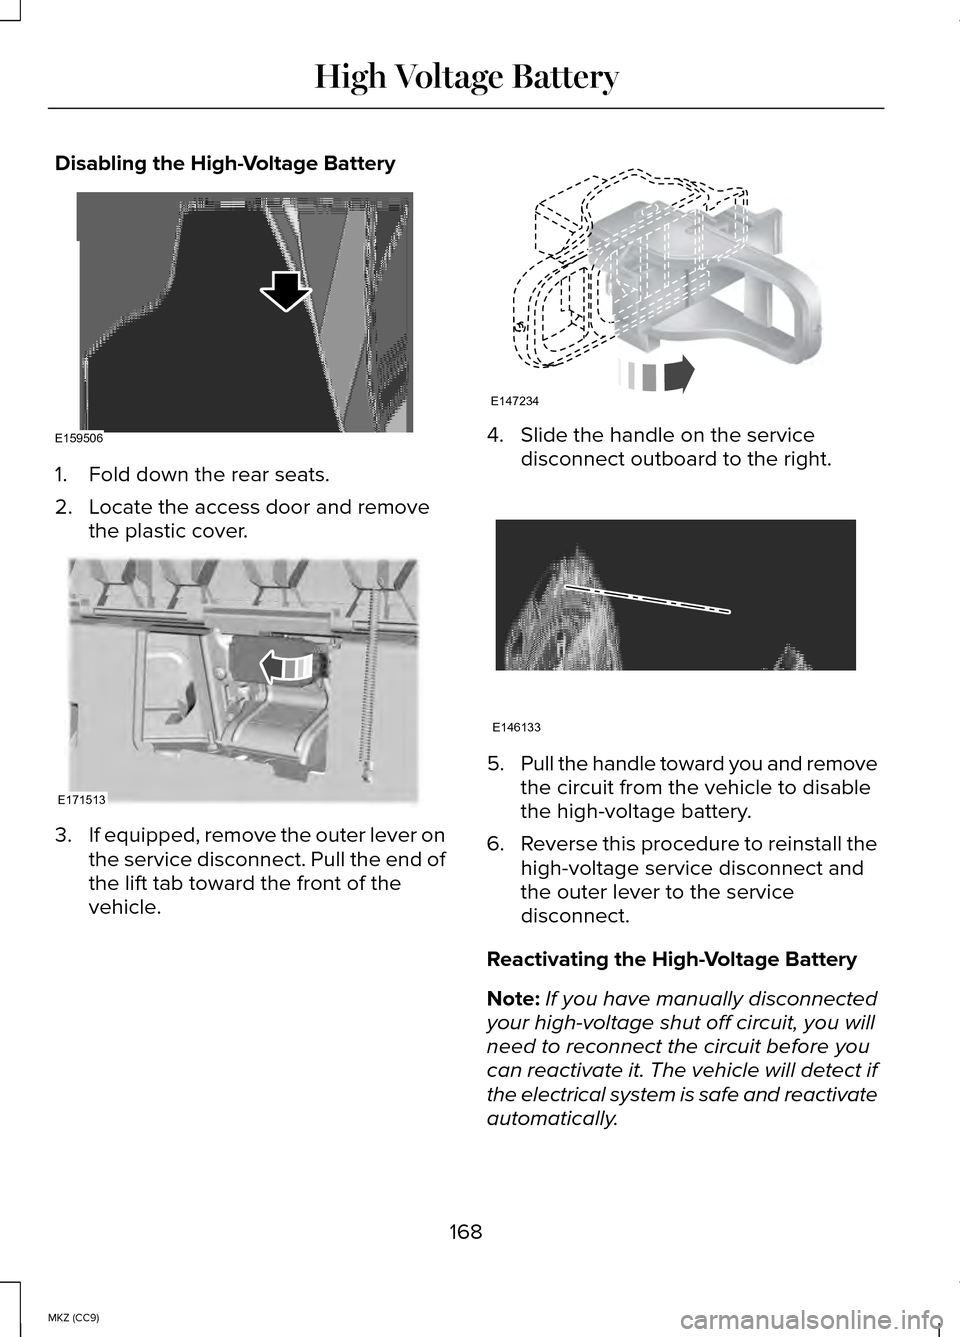
1. Fold down the rear seats.
2. Locate the access door and remove
the plastic cover. 3.
If equipped, remove the outer lever on
the service disconnect. Pull the end of
the lift tab toward the front of the
vehicle. 4. Slide the handle on the service
disconnect outboard to the right. 5.
Pull the handle toward you and remove
the circuit from the vehicle to disable
the high-voltage battery.
6. Reverse this procedure to reinstall the
high-voltage service disconnect and
the outer lever to the service
disconnect.
Reactivating the High-Voltage Battery
Note: If you have manually disconnected
your high-voltage shut off circuit, you will
need to reconnect the circuit before you
can reactivate it. The vehicle will detect if
the electrical system is safe and reactivate
automatically.
168
MKZ (CC9) High Voltage BatteryE159506 E171513 E147234 E146133
Page 272 of 445

When washing:
•
Take care when using a power washer
to clean the engine. The high-pressure
fluid could penetrate the sealed parts
and cause damage.
• Do not spray a hot engine with cold
water to avoid cracking the engine
block or other engine components.
• Spray Motorcraft Engine Shampoo and
Degreaser on all parts that require
cleaning and pressure rinse clean. In
Canada, use Motorcraft Engine
Shampoo.
• Never wash or rinse the engine while
it is hot or running; water in the running
engine may cause internal damage.
• Never wash or rinse any ignition coil,
spark plug wire or spark plug well, or
the area in and around these locations.
• Cover the battery, power distribution
box, and air filter assembly to prevent
water damage when cleaning the
engine.
CLEANING THE WINDOWS AND
WIPER BLADES
Car wash chemicals and environmental
fallout can result in windshield and wiper
blade contamination. Dirty windshield and
wipers will result in poor windshield wiper
operation. Keep the windshield and wiper
blades clean to maintain windshield wiper
performance. To clean the windshield and wiper blades:
•
Clean the windshield with a
non-abrasive glass cleaner.
• For windshields contaminated with tree
sap, chemicals, wax or bugs, clean the
entire windshield using steel wool (no
greater than 0000 grade) in a circular
motion and rinse with water.
• Clean the wiper blades with isopropyl
rubbing alcohol or windshield washer
fluid.
Note: Do not use razor blades or other
sharp objects to clean or remove decals
from the inside of the heated rear
window. The vehicle warranty does not
cover damage caused to the heated rear
window grid lines.
CLEANING THE INTERIOR WARNINGS
Do not use cleaning solvents, bleach
or dye on the vehicle
’s safety belts,
as these actions may weaken the belt
webbing. On vehicles equipped with
seat-mounted airbags, do not use
chemical solvents or strong detergents.
Such products could contaminate the side
airbag system and affect performance of
the side airbag in a collision. For fabric, carpets, cloth seats, safety belts
and seats equipped with side airbags:
•
Remove dust and loose dirt with a
vacuum cleaner.
• Remove light stains and soil with
Motorcraft Professional Strength
Carpet & Upholstery Cleaner.
270
MKZ (CC9) Vehicle Care
Page 274 of 445

4. Remove the soaked cloth and if it is
not soiled badly, use this cloth to clean
the area by using a rubbing motion for
60 seconds.
5. Following this, wipe area dry with a clean, white, cotton cloth.
CLEANING LEATHER SEATS (IF
EQUIPPED)
For routine cleaning, wipe the surface with
a soft, damp cloth. For more thorough
cleaning, wipe the surface with a mild soap
and water solution. Dry the area with a soft
cloth.
If you cannot completely clean the leather
using a mild soap and water solution, you
can try a commercially available leather
cleaning product designed for automotive
interiors.
Note: To check for compatibility, first test
any cleaner or stain remover on an
inconspicuous part of the leather.
You should:
• remove dust and loose dirt with a
vacuum cleaner
• clean spills and stains as quickly as
possible
• check for compatibility by first testing
any cleaner or stain remover on an
inconspicuous part of the leather.
Do not use the following products as these
may damage the leather:
• oil/petroleum-based leather
conditioners
• household cleaners •
alcohol solutions
• solvents or cleaners intended
specifically for rubber, vinyl and
plastics.
REPAIRING MINOR PAINT
DAMAGE
Your authorized dealer has touch-up paint
to match your vehicle ’s color. Take your
color code (printed on a sticker in the
driver’ s door jamb) to your authorized
dealer to ensure you get the correct color.
• Remove particles such as bird
droppings, tree sap, insect deposits,
tar spots, road salt and industrial fallout
before repairing paint chips.
• Always read the instructions before
using the products.
CLEANING THE ALLOY WHEELS
Note: Do not apply a cleaning chemical
to warm or hot wheel rims and covers.
Note: Some automatic car washes may
cause damage to the finish on your wheel
rims and covers.
Note: Industrial-strength or heavy-duty
cleaners in combination with brush
agitation to remove brake dust and dirt,
could wear away the clear coat finish over
a period time.
Note: Do not use hydrofluoric acid-based
or high caustic-based wheel cleaners,
steel wool, fuels or strong household
detergents.
272
MKZ (CC9) Vehicle Care