2014 FORD EXPEDITION ECU
[x] Cancel search: ECUPage 82 of 519
Disarming the Alarm
To disarm the alarm, do any of the following:
•Press the power door unlock button within the 20-second pre-armed
mode.
•Press the unlock button on the remote control.
•Unlock the doors with the keyless entry pad.
•Turn the ignition on with a valid key.
•Press the panic button on the remote control. The alarm system will
still be armed, but this shuts off the horn and turn lamps when the
alarm is sounding.
Note:If the driver’s door is unlocked with a key, a chime will sound
when you open the door. You will have 12 seconds to disarm the alarm
using any of the actions above, otherwise the alarm will trigger.
Security81
2014 Expedition(exd)
Owners Guide gf, 1st Printing, June 2013
USA(fus)
Page 104 of 519
High Beam
It will illuminate when the headlamp high beam is switched on.
It will flash when you use the headlamp flasher.
Low Fuel Level
It will illuminate when the fuel level is low or near empty.
Refuel as soon as possible.
Low Tire Pressure Warning
It will illuminate when your tire pressure is low. If the lamp
remains on with the engine running or when driving, check
your tire pressure as soon as possible.
The lamp also illuminates momentarily when you switch the ignition on
to confirm the lamp is functional. If it does not illuminate when you
switch the ignition on, or begins to flash at any time, have the system
checked by your authorized dealer.
Low Washer Fluid
It will illuminate when the windshield washer fluid is low.
Powertrain Malfunction/Reduced Power
Illuminates when a powertrain fault has been detected. Contact
your authorized dealer as soon as possible.
Security/Anti-Theft System
Flashes when the SecuriLock® passive anti-theft system has
been activated.
Instrument Cluster103
2014 Expedition(exd)
Owners Guide gf, 1st Printing, June 2013
USA(fus)
Page 141 of 519
Recalling Saved Memory Positions
To recall position 1 settings, press and release memory button 1.
The memory features will move to the saved memory 1 position.
You can also recall the memory positions when you:
•press your remote control transmitter unlock button (if the remote
control is programmed to a memory position) or,
•enter a valid Securicode personal entry code that is programmed to a
memory position.
If the easy entry and exit feature is on, the mirrors and pedals will move
to the programmed memory position and the seat will move to the easy
entry position. The seat will move to the driving memory position when
the ignition is activated.
You can recall a programmed memory position:
•in any gearshift position if the ignition is not on.
•only in positionPorNif the ignition is on.
Easy Entry and Exit Feature (If Equipped)
If you enable the easy entry and exit feature, it automatically moves the
driver’s seat 2 inches (5 centimeters) rearward when the transmission
selector lever is in positionPand the key is removed from the ignition.
Note:If the seat is located less than 2 inches (5 centimeters) from
the rear of the seat track, the seat travel will be less than 2 inches
(5 centimeters) rearward.
The driver’s seat will return to the previous position when the key is put
in the ignition.
Enable or disable this feature through the information display. See the
Information Displayschapter for more information.
140Seats
2014 Expedition(exd)
Owners Guide gf, 1st Printing, June 2013
USA(fus)
Page 155 of 519
UNIVERSAL GARAGE DOOR OPENER
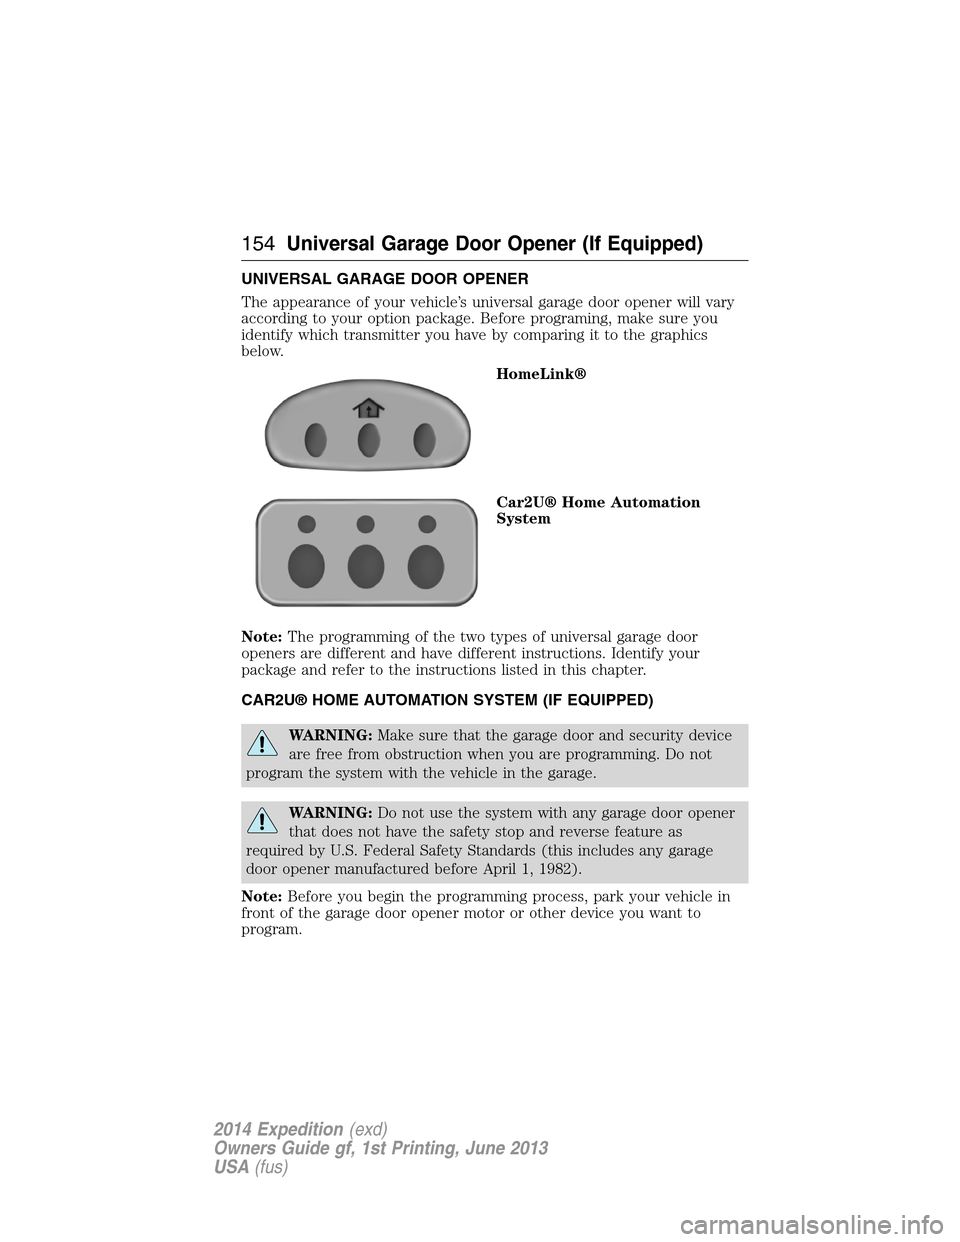
The appearance of your vehicle’s universal garage door opener will vary
according to your option package. Before programing, make sure you
identify which transmitter you have by comparing it to the graphics
below.
HomeLink®
Car2U® Home Automation
System
Note:The programming of the two types of universal garage door
openers are different and have different instructions. Identify your
package and refer to the instructions listed in this chapter.
CAR2U® HOME AUTOMATION SYSTEM (IF EQUIPPED)
WARNING:Make sure that the garage door and security device
are free from obstruction when you are programming. Do not
program the system with the vehicle in the garage.
WARNING:Do not use the system with any garage door opener
that does not have the safety stop and reverse feature as
required by U.S. Federal Safety Standards (this includes any garage
door opener manufactured before April 1, 1982).
Note:Before you begin the programming process, park your vehicle in
front of the garage door opener motor or other device you want to
program.
154Universal Garage Door Opener (If Equipped)
2014 Expedition(exd)
Owners Guide gf, 1st Printing, June 2013
USA(fus)
Page 156 of 519
Note:Make sure you keep the original remote control transmitter for
use in other vehicles as well as for future system programming.
Note:We recommend that upon the sale or lease termination of your
vehicle, you erase the programmed function buttons for security reasons.
SeeErasing the Function Button Codeslater in this section.
Note:You can program a maximum of three devices. To change or
replace any of the three devices after it has been initially programmed,
you must first erase the current settings. SeeErasing the Function
Button Codeslater in this section.
Note:Programming the system to a community gate will require a
unique set of instructions depending on the gate system model. Contact
the help line at 1-866-572-2728 for further information.
Note:If you accidently enter the program mode by pressing and
releasing the outer two buttons or all three buttons simultaneously, do
not press any button until the module times out after a few seconds and
resets to normal mode. When the module has timed out, all three LED
lamps will flash rapidly for a few seconds then turn off. Any settings
should remain as previously set.
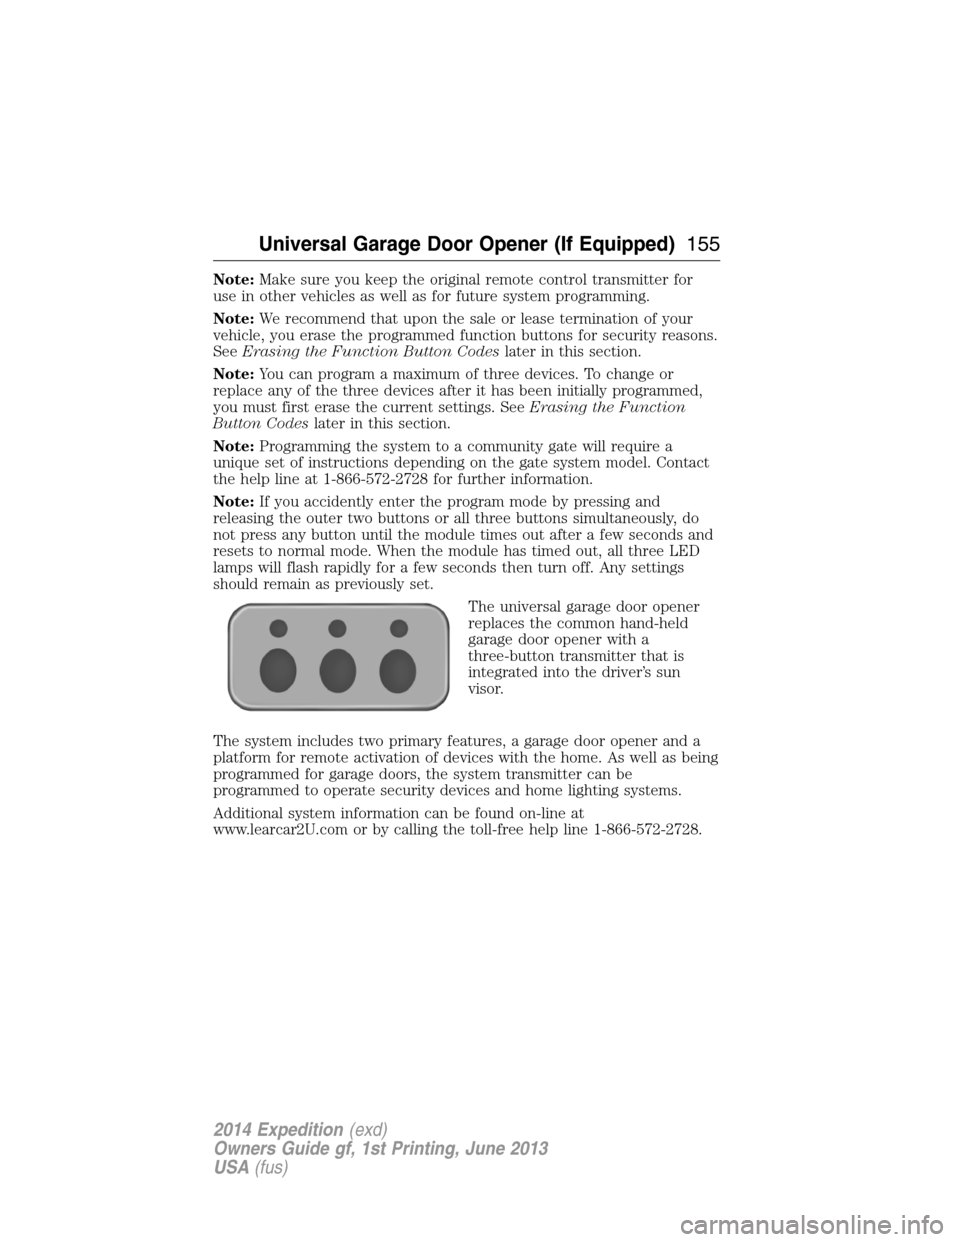
The universal garage door opener
replaces the common hand-held
garage door opener with a
three-button transmitter that is
integrated into the driver’s sun
visor.
The system includes two primary features, a garage door opener and a
platform for remote activation of devices with the home. As well as being
programmed for garage doors, the system transmitter can be
programmed to operate security devices and home lighting systems.
Additional system information can be found on-line at
www.learcar2U.com or by calling the toll-free help line 1-866-572-2728.
Universal Garage Door Opener (If Equipped)155
2014 Expedition(exd)
Owners Guide gf, 1st Printing, June 2013
USA(fus)
Page 159 of 519
8. The LED lamp will begin to flash rapidly until programming is
complete. If your garage door does not operate, repeat the previous
steps. Otherwise, call the toll-free help line at 1-866-572-2728.
The LED lamp above the selected button will illuminate to confirm that
the system is responding to the button command.
Erasing the Function Button Codes
Note:You cannot erase individual
buttons.
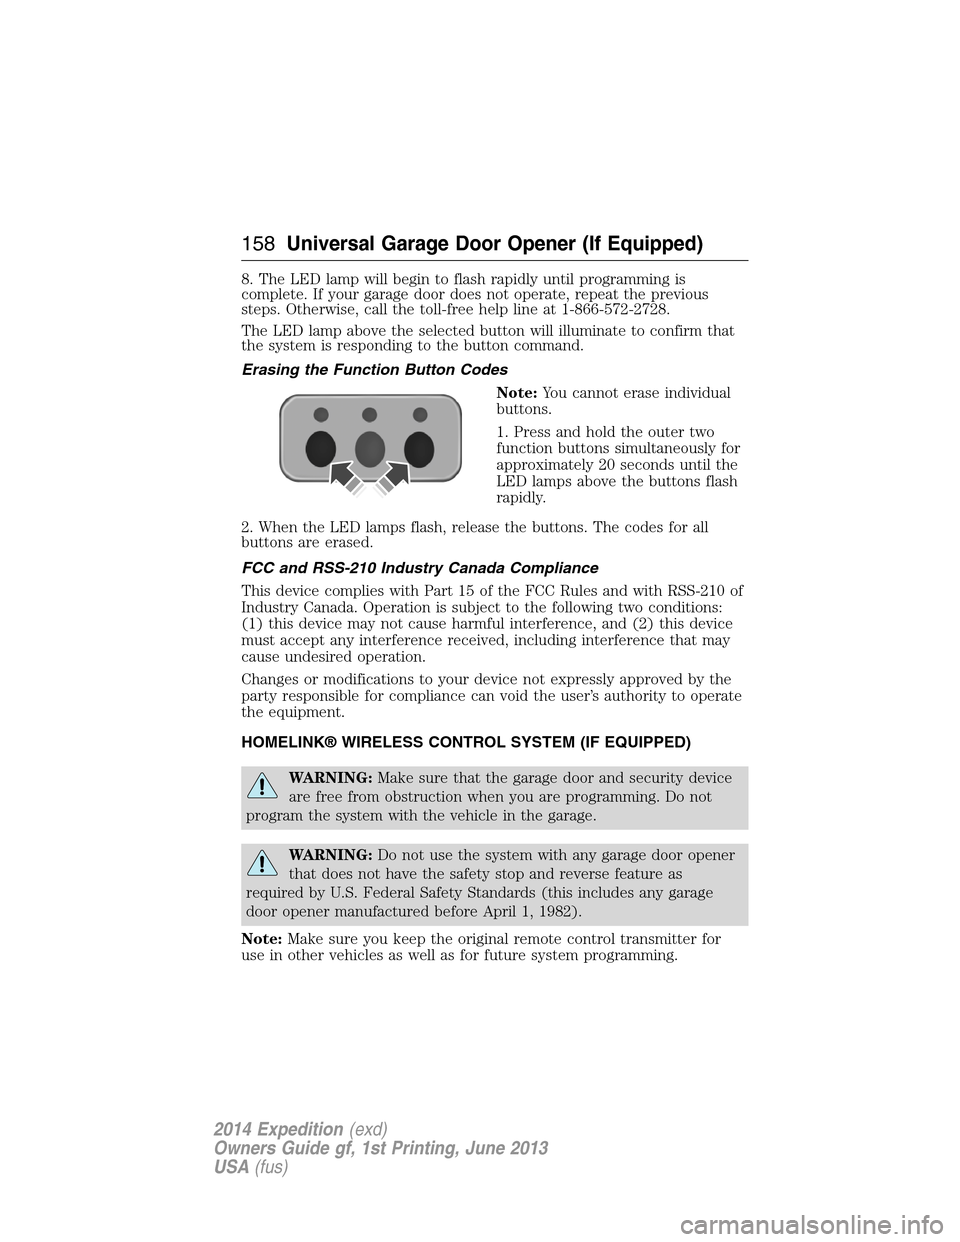
1. Press and hold the outer two
function buttons simultaneously for
approximately 20 seconds until the
LED lamps above the buttons flash
rapidly.
2. When the LED lamps flash, release the buttons. The codes for all
buttons are erased.
FCC and RSS-210 Industry Canada Compliance
This device complies with Part 15 of the FCC Rules and with RSS-210 of
Industry Canada. Operation is subject to the following two conditions:
(1) this device may not cause harmful interference, and (2) this device
must accept any interference received, including interference that may
cause undesired operation.
Changes or modifications to your device not expressly approved by the
party responsible for compliance can void the user’s authority to operate
the equipment.
HOMELINK® WIRELESS CONTROL SYSTEM (IF EQUIPPED)
WARNING:Make sure that the garage door and security device
are free from obstruction when you are programming. Do not
program the system with the vehicle in the garage.
WARNING:Do not use the system with any garage door opener
that does not have the safety stop and reverse feature as
required by U.S. Federal Safety Standards (this includes any garage
door opener manufactured before April 1, 1982).
Note:Make sure you keep the original remote control transmitter for
use in other vehicles as well as for future system programming.
158Universal Garage Door Opener (If Equipped)
2014 Expedition(exd)
Owners Guide gf, 1st Printing, June 2013
USA(fus)
Page 160 of 519
Note:We recommend that upon the sale or lease termination of your
vehicle, you erase the programmed function buttons for security reasons.
SeeErasing the function button codeslater in this section.
Note:You can program a maximum of three devices. To change or
replace any of the three devices after it has been initially programmed,
you must first erase the current settings. SeeErasing the function
button codeslater in this section.
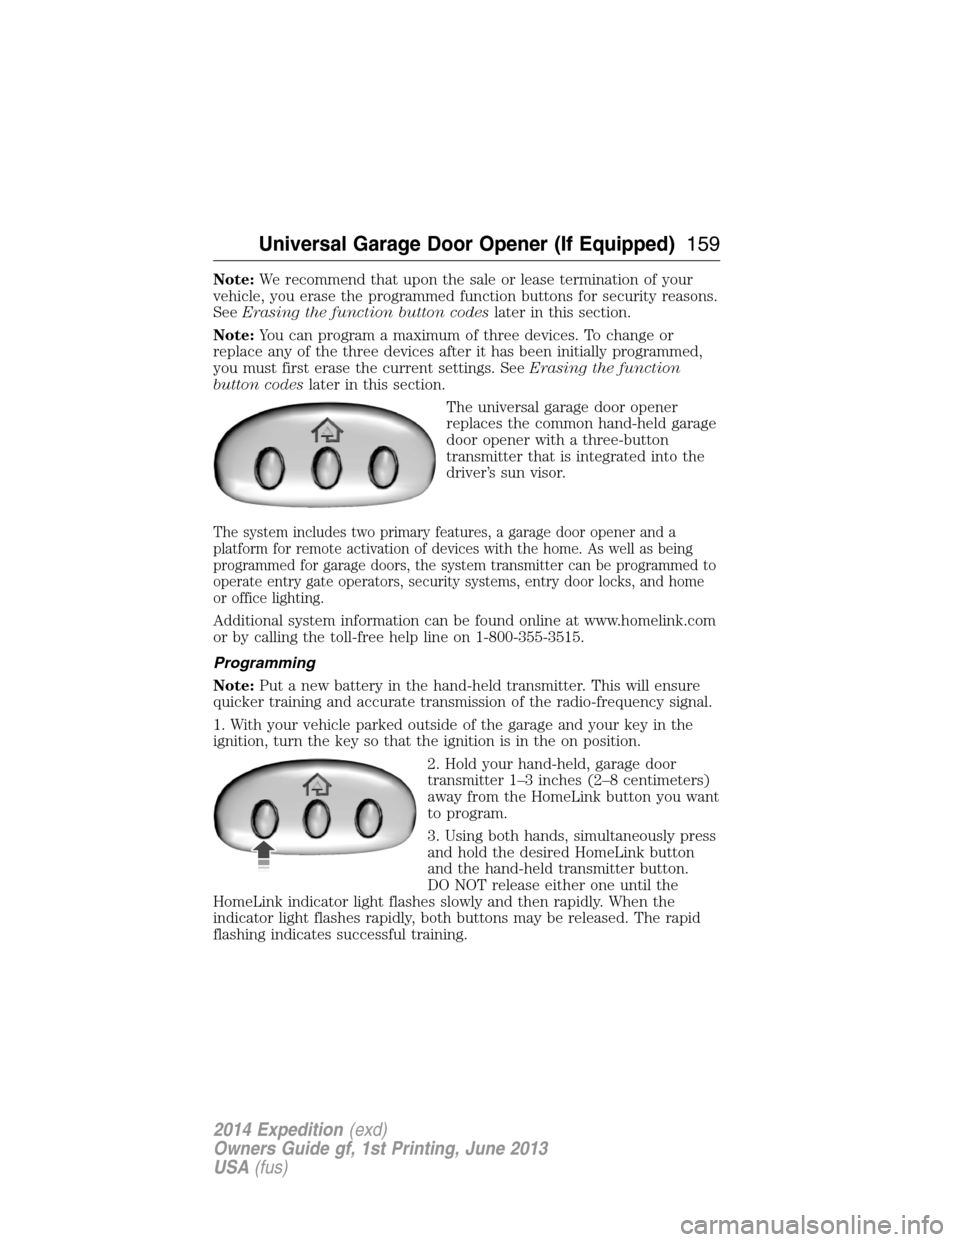
The universal garage door opener
replaces the common hand-held garage
door opener with a three-button
transmitter that is integrated into the
driver’s sun visor.
The system includes two primary features, a garage door opener and a
platform for remote activation of devices with the home. As well as being
programmed for garage doors, the system transmitter can be programmed to
operate entry gate operators, security systems, entry door locks, and home
or office lighting.
Additional system information can be found online at www.homelink.com
or by calling the toll-free help line on 1-800-355-3515.
Programming
Note:Put a new battery in the hand-held transmitter. This will ensure
quicker training and accurate transmission of the radio-frequency signal.
1. With your vehicle parked outside of the garage and your key in the
ignition, turn the key so that the ignition is in the on position.
2. Hold your hand-held, garage door
transmitter 1–3 inches (2–8 centimeters)
away from the HomeLink button you want
to program.
3. Using both hands, simultaneously press
and hold the desired HomeLink button
and the hand-held transmitter button.
DO NOT release either one until the
HomeLink indicator light flashes slowly and then rapidly. When the
indicator light flashes rapidly, both buttons may be released. The rapid
flashing indicates successful training.
Universal Garage Door Opener (If Equipped)159
2014 Expedition(exd)
Owners Guide gf, 1st Printing, June 2013
USA(fus)
Page 185 of 519
AUTOMATIC TRANSMISSION
WARNING:Always set the parking brake fully and make sure
the gearshift is latched in P (Park). Turn the ignition to the off
position and remove the key whenever you leave your vehicle.
WARNING:Do not use the Tow/Haul feature when driving in icy
or slippery conditions as the increased engine braking can cause
the rear wheels to slide and the vehicle to swing around with the
possible loss of vehicle control.
Your vehicle is equipped with an Adaptive Transmission Shift Strategy.
The Adaptive Transmission Shift Strategy offers the optimal transmission
operation and shift quality. When the engine is turned off, the shift data
which includes the adaptive information will be stored automatically in
the Powertrain Control Module. If the battery is disconnected for any
reason, the stored information from the last time the key was turned to
OFF will be read. This way, no information will be lost with any battery
removal or battery disconnect.
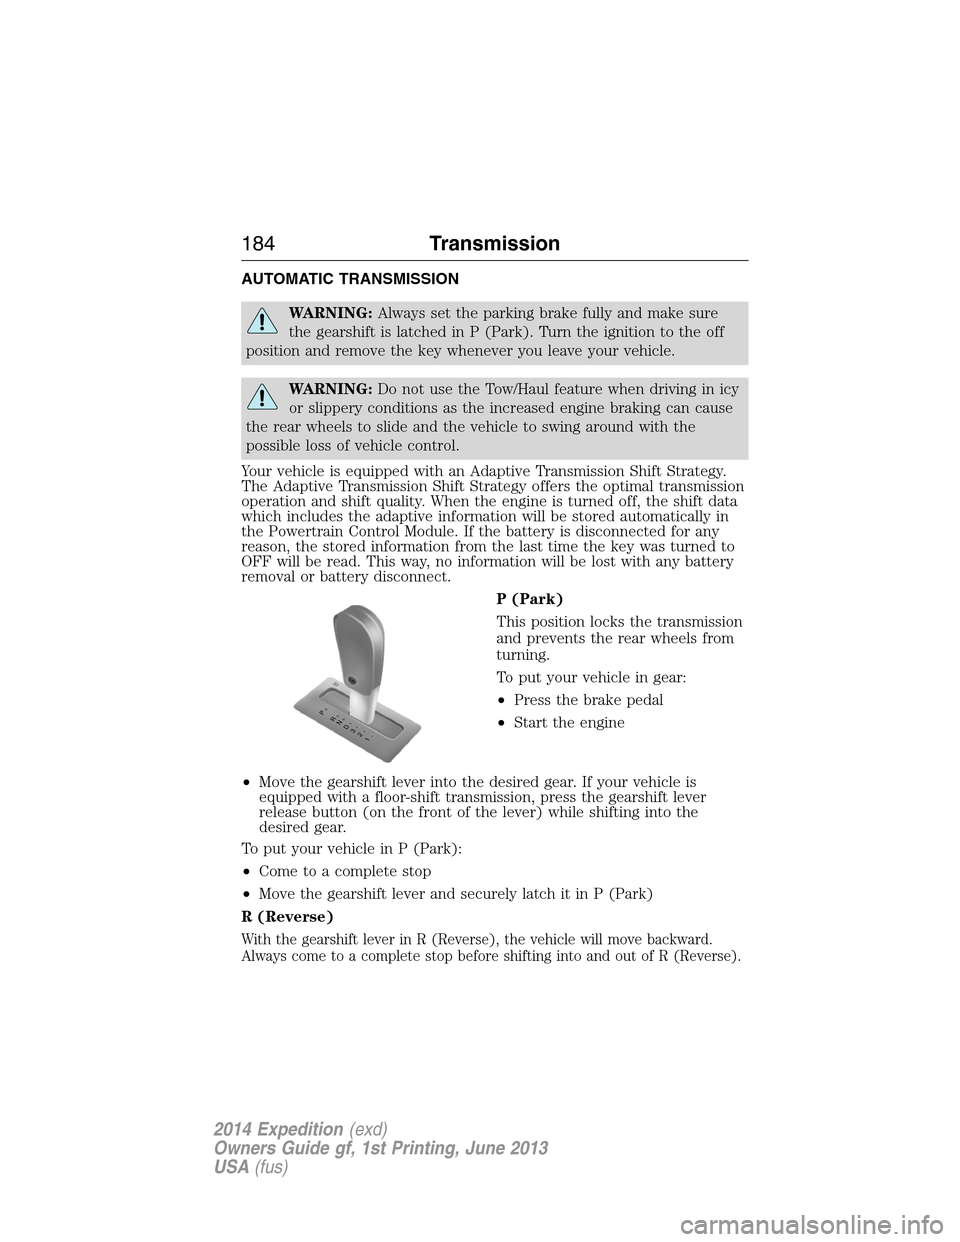
P (Park)
This position locks the transmission
and prevents the rear wheels from
turning.
To put your vehicle in gear:
•Press the brake pedal
•Start the engine
•Move the gearshift lever into the desired gear. If your vehicle is
equipped with a floor-shift transmission, press the gearshift lever
release button (on the front of the lever) while shifting into the
desired gear.
To put your vehicle in P (Park):
•Come to a complete stop
•Move the gearshift lever and securely latch it in P (Park)
R (Reverse)
With the gearshift lever in R (Reverse), the vehicle will move backward.
Always come to a complete stop before shifting into and out of R (Reverse).
T/H
PR
N
D
3
2
1
184Transmission
2014 Expedition(exd)
Owners Guide gf, 1st Printing, June 2013
USA(fus)