2014 FORD EXPEDITION ECU
[x] Cancel search: ECUPage 202 of 519
HINTS ON DRIVING WITH ANTI-LOCK BRAKES
When the system is operating, the brake pedal will pulse and may travel
further. Maintain pressure on the brake pedal. You may also hear a noise
from the system. This is normal.
The anti-lock braking system will not eliminate the dangers inherent
when:
•you drive too closely to the vehicle in front of you.
•your vehicle is hydroplaning.
•you take corners too fast.
•the road surface is poor.
PARKING BRAKE
WARNING:Always set the parking brake fully and make sure that
the transmission selector lever is securely latched in positionP.
To set the parking brake, press the parking brake pedal down until the
pedal stops.
The brake warning lamp will illuminate and will remain illuminated until
the parking brake is released.
To release, pull the brake release lever located at the lower left side of
the instrument panel.
Brakes201
2014 Expedition(exd)
Owners Guide gf, 1st Printing, June 2013
USA(fus)
Page 216 of 519
ROOF RACKS AND LOAD CARRIERS
WARNING:When loading the roof rail crossbars, it is
recommended to evenly distribute the load, as well as maintain a
low center of gravity. Loaded vehicles, with higher centers of gravity,
may handle differently than unloaded vehicles. Extra precautions, such
as slower speeds and increased stopping distance, should be taken
when driving a heavily loaded vehicle.
Note:The maximum recommended load is 200 pounds (90 kilograms),
evenly distributed on the crossbars.
Note:Loads should never be placed directly on the roof panel. The roof
panel is not designed to directly carry a load.
For proper function of the roof rack system, loads must be placed
directly on crossbars affixed to the roof rack side rails. Your vehicle may
be equipped with factory-installed crossbars. Ford Genuine Accessory
crossbars, designed specifically for your vehicle, are also recommended
for use with your roof rack system.
Make sure that the load is securely fastened. Check the tightness of the
load before driving and at each fuel stop.
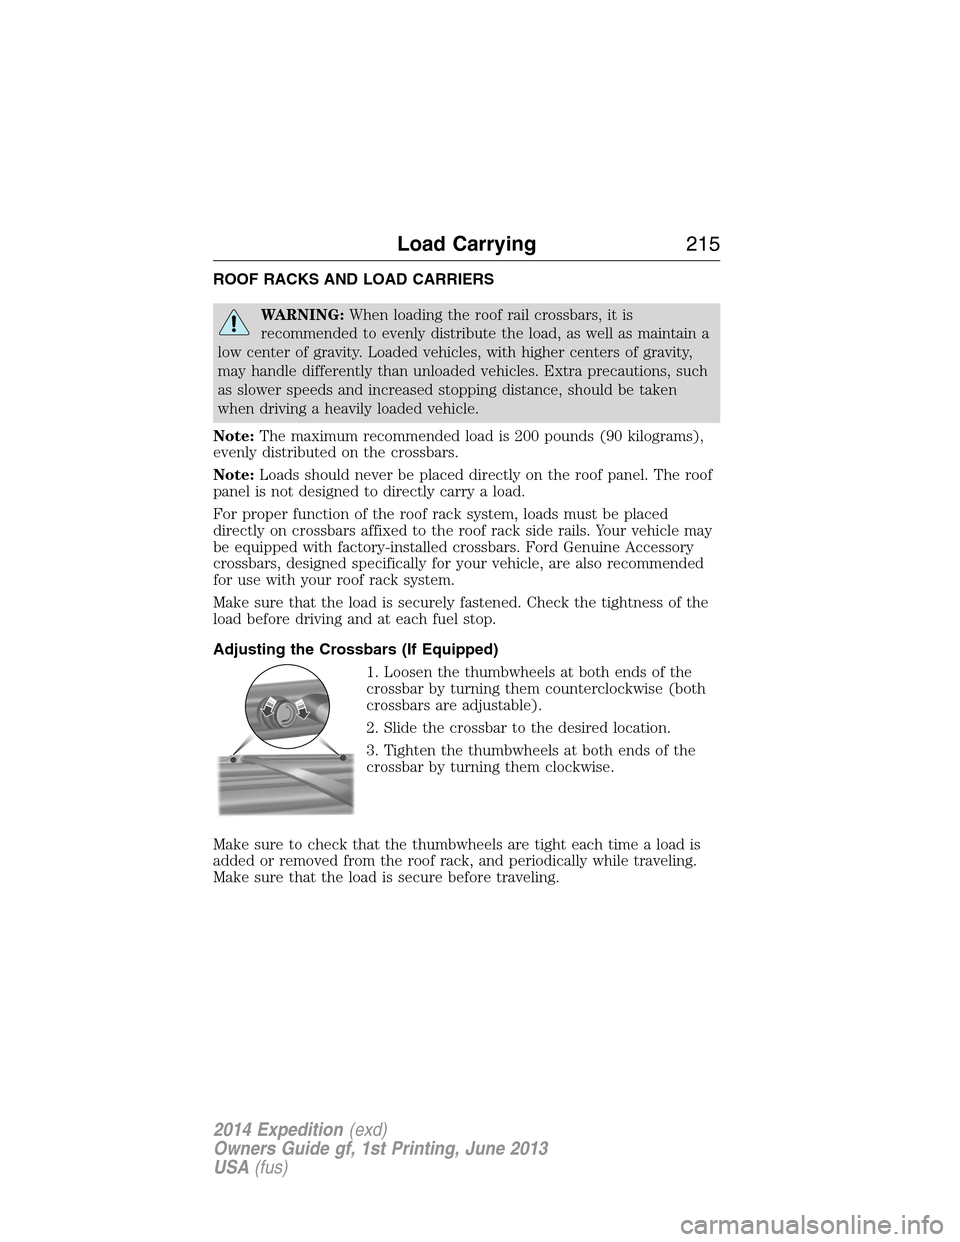
Adjusting the Crossbars (If Equipped)
1. Loosen the thumbwheels at both ends of the
crossbar by turning them counterclockwise (both
crossbars are adjustable).
2. Slide the crossbar to the desired location.
3. Tighten the thumbwheels at both ends of the
crossbar by turning them clockwise.
Make sure to check that the thumbwheels are tight each time a load is
added or removed from the roof rack, and periodically while traveling.
Make sure that the load is secure before traveling.
Load Carrying215
2014 Expedition(exd)
Owners Guide gf, 1st Printing, June 2013
USA(fus)
Page 233 of 519
Once the trailer is level or slightly nose down toward the vehicle:
•Lock the bar tension adjuster in place.
•Check that the trailer tongue securely attaches and locks onto the
hitch.
•Install safety chains, lighting, and trailer brake controls as required by
law or the trailer manufacturer.
Weight-distributing Hitch – Vehicles with Automatic Leveling
Suspension
WARNING:Do not adjust a weight-distributing hitch to any
position where the rear bumper of the vehicle is higher than it
was before attaching the trailer. Doing so will defeat the function of the
weight-distributing hitch, which may cause unpredictable handling, and
could result in serious personal injury.
Note:If you do not move the loaded vehicle for approximately 12 hours,
the leveling system may bleed down to a lower height. This can be
especially apparent if you leave a trailer attached to the parked vehicle
for long periods. You must drive your vehicle in order to re-level the
suspension.
When connecting a trailer to a vehicle with automatic leveling suspension
using a weight-distributing hitch, always use the following procedure:
1. Load the interior of the vehicle to a weight similar to that which you
intend to carry when towing. This includes things such as passenger
weight and cargo.
2. Drive the vehicle for approximately 2 miles (3 kilometers) to re-level
the suspension.
3. Park your vehicle, without the trailer, on a level surface.
4. Measure the height to the top of your vehicle’s front wheel opening
on the fender. This is H1.
5. Attach the trailer to your vehicle without the weight-distributing bars
connected.
6. Make sure you securely attach and lock the trailer tongue to the
hitch.
7. Install safety chains, lighting, and trailer brake controls as required
by law or the trailer manufacturer.
8. Drive the vehicle and trailer at 20–25 mph (32–40 km/h) for
approximately 2 miles (3 kilometers) to re-level the suspension.
9. Park your vehicle and trailer on a level surface.
10. Measure the height to the top of your vehicles front wheel opening
on the fender a second time. This is H2.
232Towing
2014 Expedition(exd)
Owners Guide gf, 1st Printing, June 2013
USA(fus)
Page 234 of 519
11. Install and adjust the tension in the weight distributing bars so that
the height of the front fender is approximately halfway between H1
and H2.
12. Check that the trailer is level or slightly nose down toward the
vehicle. If it is not, remove the trailer, adjust the ball height
accordingly, and repeat Steps 5 -11.
Once the trailer is level or slightly nose down toward the vehicle:
•Lock the bar tension adjuster in place.
•Check that the trailer tongue securely attaches and locks onto the
hitch.
•Install safety chains, lighting, and trailer brake controls as required by
law or the trailer manufacturer.
Safety Chains
Note:Do not attach safety chains to the bumper.
Always connect the trailer’s safety chains to the frame or hook retainers
of your vehicle hitch.
To connect the trailer’s safety chains, cross the chains under the trailer
tongue and allow enough slack for turning tight corners. Do not allow the
chains to drag on the ground.
Trailer Brakes
WARNING:Do not connect a trailer’s hydraulic brake system
directly to your vehicle’s brake system. Your vehicle may not have
enough braking power and your chances of having a collision greatly
increase.
Electric brakes and manual, automatic or surge-type trailer brakes are
safe if you install them properly and adjust them to the manufacturer’s
specifications. The trailer brakes must meet local and federal regulations.
The rating for the tow vehicle’s braking system operation is at
the gross vehicle weight rating, not the gross combined weight
rating.
Separate functioning brake systems are required for safe control
of towed vehicles and trailers weighing more than 1500 pounds
(680 kilograms) when loaded.
Towing233
2014 Expedition(exd)
Owners Guide gf, 1st Printing, June 2013
USA(fus)
Page 245 of 519
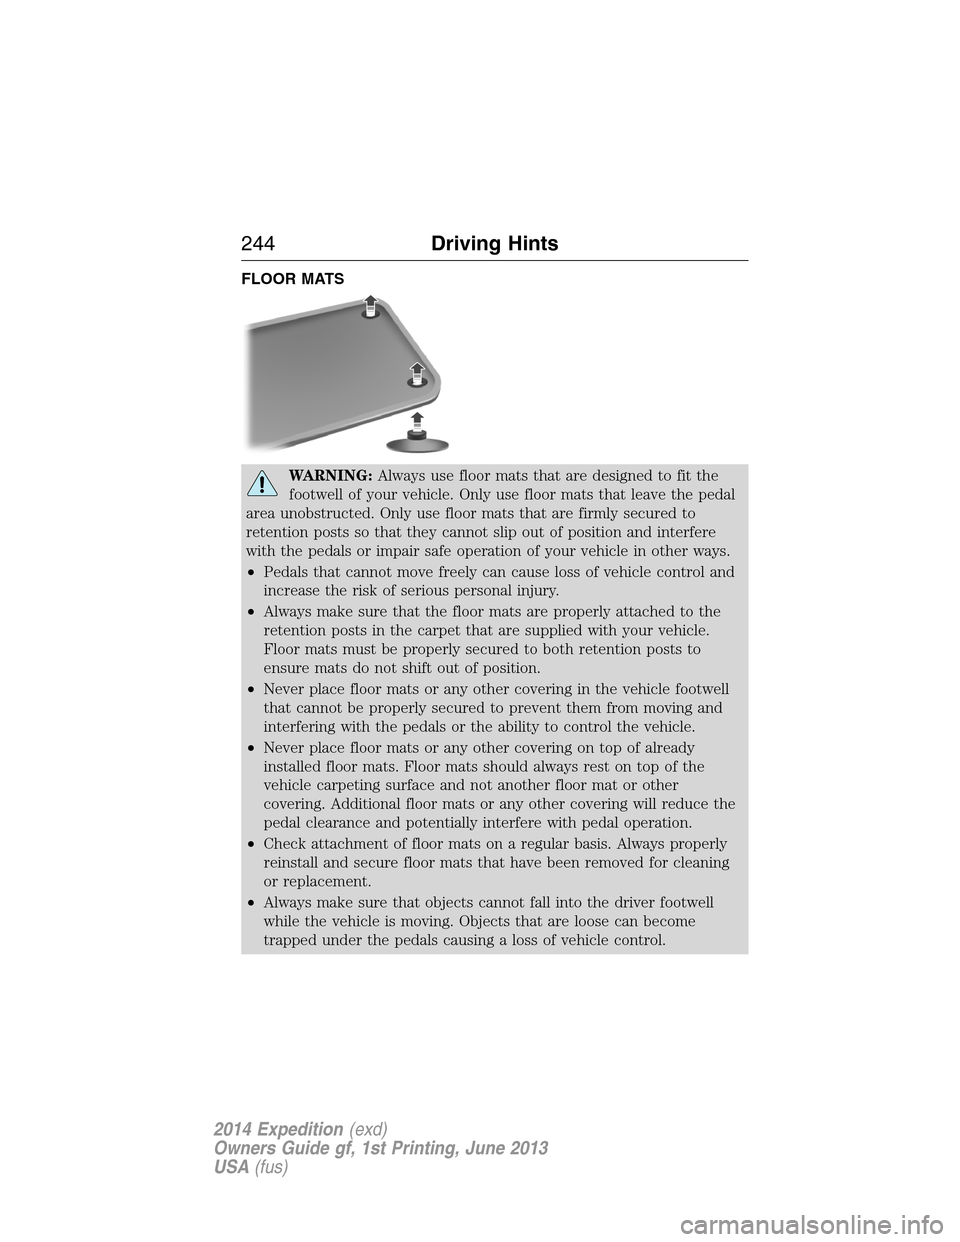
FLOOR MATS
WARNING:Always use floor mats that are designed to fit the
footwell of your vehicle. Only use floor mats that leave the pedal
area unobstructed. Only use floor mats that are firmly secured to
retention posts so that they cannot slip out of position and interfere
with the pedals or impair safe operation of your vehicle in other ways.
•Pedals that cannot move freely can cause loss of vehicle control and
increase the risk of serious personal injury.
•Always make sure that the floor mats are properly attached to the
retention posts in the carpet that are supplied with your vehicle.
Floor mats must be properly secured to both retention posts to
ensure mats do not shift out of position.
•Never place floor mats or any other covering in the vehicle footwell
that cannot be properly secured to prevent them from moving and
interfering with the pedals or the ability to control the vehicle.
•Never place floor mats or any other covering on top of already
installed floor mats. Floor mats should always rest on top of the
vehicle carpeting surface and not another floor mat or other
covering. Additional floor mats or any other covering will reduce the
pedal clearance and potentially interfere with pedal operation.
•Check attachment of floor mats on a regular basis. Always properly
reinstall and secure floor mats that have been removed for cleaning
or replacement.
•Always make sure that objects cannot fall into the driver footwell
while the vehicle is moving. Objects that are loose can become
trapped under the pedals causing a loss of vehicle control.
244Driving Hints
2014 Expedition(exd)
Owners Guide gf, 1st Printing, June 2013
USA(fus)
Page 255 of 519
IN CALIFORNIA (U.S. ONLY)
California Civil Code Section 1793.2(d) requires that, if a manufacturer
or its representative is unable to repair a motor vehicle to conform to
the vehicle’s applicable express warranty after a reasonable number of
attempts, the manufacturer shall be required to either replace the
vehicle with one substantially identical or repurchase the vehicle and
reimburse the buyer in an amount equal to the actual price paid or
payable by the consumer (less a reasonable allowance for consumer
use). The consumer has the right to choose whether to receive a refund
or replacement vehicle.
California Civil Code Section 1793.22(b) presumes that the manufacturer
has had a reasonable number of attempts to conform the vehicle to its
applicable express warranties if, within the first 18 months of ownership
of a new vehicle or the first 18000 mi (29 000 km), whichever occurs
first:
1. Two or more repair attempts are made on the same nonconformity
likely to cause death or serious bodily injury OR
2. Four or more repair attempts are made on the same nonconformity
(a defect or condition that substantially impairs the use, value or safety
of the vehicle) OR
3. The vehicle is out of service for repair of nonconformities for a total of
more than 30 calendar days (not necessarily all at one time).
In the case of 1 or 2 above, the consumer must also notify the
manufacturer of the need for the repair of the nonconformity at the
following address:
Ford Motor Company
16800 Executive Plaza Drive
Mail Drop 3NE-B
Dearborn, MI 48126
You are required to submit your warranty dispute to BBB AUTO LINE
before asserting in court any rights or remedies conferred by California
Civil Code Section 1793.22(b). You are also required to use BBB AUTO
LINE before exercising rights or seeking remedies created by the Federal
Magnuson-Moss Warranty Act, 15 U.S.C. sec. 2301 et seq. If you choose
to seek redress by pursuing rights and remedies not created by California
Civil Code Section 1793.22(b) or the Magnuson-Moss Warranty Act,
resorting to BBB AUTO LINE is not required by those statutes.
254Customer Assistance
2014 Expedition(exd)
Owners Guide gf, 1st Printing, June 2013
USA(fus)
Page 273 of 519
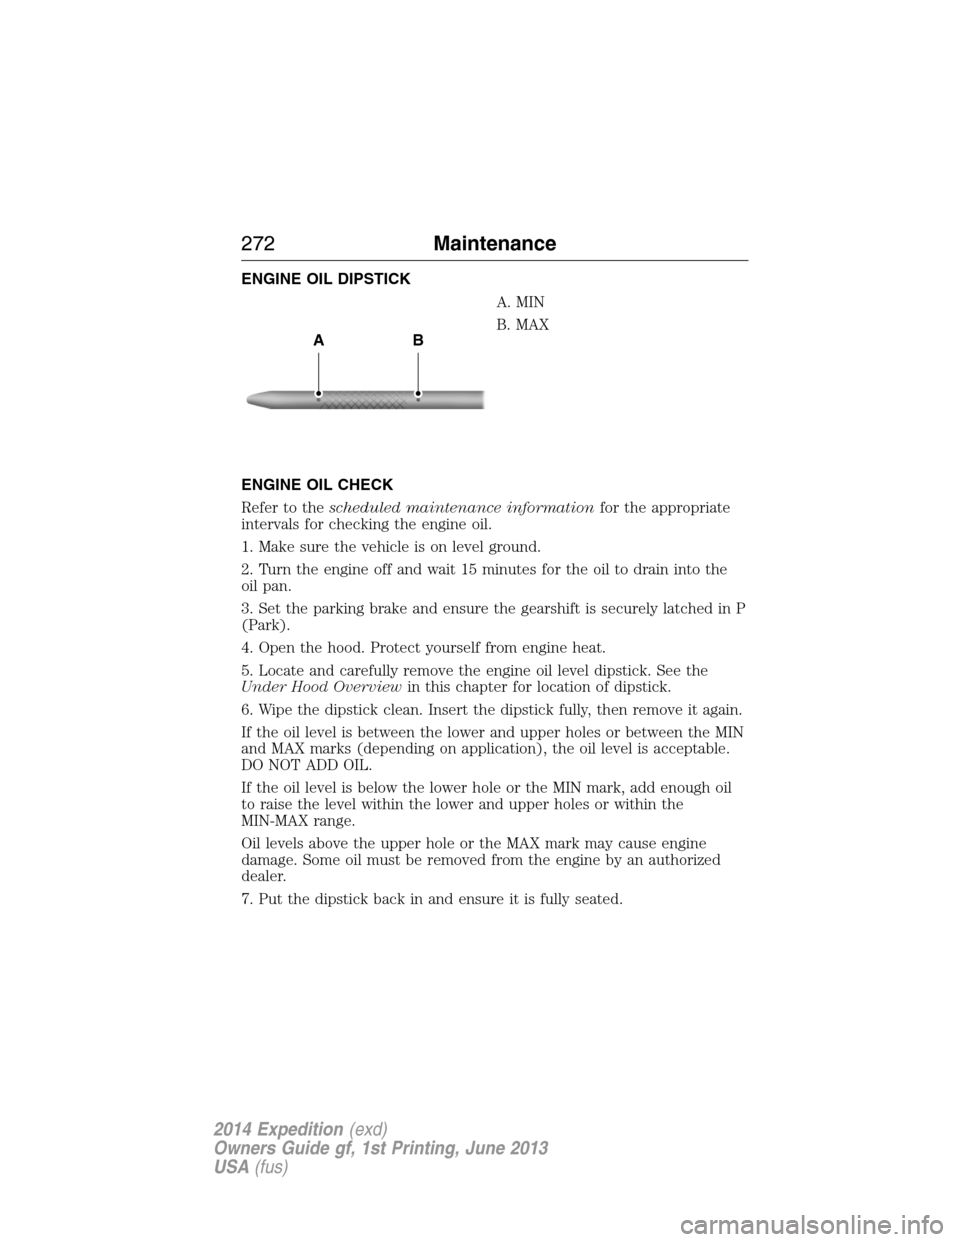
ENGINE OIL DIPSTICK
A. MIN
B. MAX
ENGINE OIL CHECK
Refer to thescheduled maintenance informationfor the appropriate
intervals for checking the engine oil.
1. Make sure the vehicle is on level ground.
2. Turn the engine off and wait 15 minutes for the oil to drain into the
oil pan.
3. Set the parking brake and ensure the gearshift is securely latched in P
(Park).
4. Open the hood. Protect yourself from engine heat.
5. Locate and carefully remove the engine oil level dipstick. See the
Under Hood Overviewin this chapter for location of dipstick.
6. Wipe the dipstick clean. Insert the dipstick fully, then remove it again.
If the oil level is between the lower and upper holes or between the MIN
and MAX marks (depending on application), the oil level is acceptable.
DO NOT ADD OIL.
If the oil level is below the lower hole or the MIN mark, add enough oil
to raise the level within the lower and upper holes or within the
MIN-MAX range.
Oil levels above the upper hole or the MAX mark may cause engine
damage. Some oil must be removed from the engine by an authorized
dealer.
7. Put the dipstick back in and ensure it is fully seated.
AB
272Maintenance
2014 Expedition(exd)
Owners Guide gf, 1st Printing, June 2013
USA(fus)
Page 286 of 519

5. Release the three clamps that secure
the cover to the air filter housing. Push
the air filter cover toward the center of
the vehicle and up slightly to release it.
6. Remove the air filter element
from the air filter housing.
7. Install a new air filter element.
8. Replace the air filter housing
cover and secure the clamps.
Be careful not to crimp the filter
element edges between the air filter
housing and cover and ensure that
the tabs on the edge are properly
aligned into the slots.
9. Slip the air tube onto the air
filter housing and tighten the
air-tube clamp bolt snugly, but do
not overtighten it.
10. Reconnect the mass air flow
sensor electrical connector to the
outlet tube. Make sure the locking
tab on the connector is in the
“locked” position (connector shown
from below for clarity).
Maintenance285
2014 Expedition(exd)
Owners Guide gf, 1st Printing, June 2013
USA(fus)