Page 114 of 476
Extendible Sun Visor
To extend the sun visor, proceed as follows:
1. Place the sun visor against the door glass by detach-ing it from the hook and turning it toward the side
window.
2. Slide the visor.
3. Slide out the sun visor extender.Power Outlets
The front power outlet is located under the center stack
of the instrument panel. It only operates with the
ignition in the RUN position.
NOTE: The power outlet can be changed to “battery”
powered all the time by switching the power outlet
Engine Compartment Fuses/Distribution Unit fuse
from location F84 to F23.
Models equipped with the optional �smoker kit,�will
have a cigar lighter instead of the power outlet.
Fully Extended Sun Visor
12 Volt Power Outlet
112 GETTING TO KNOW YOUR VEHICLE
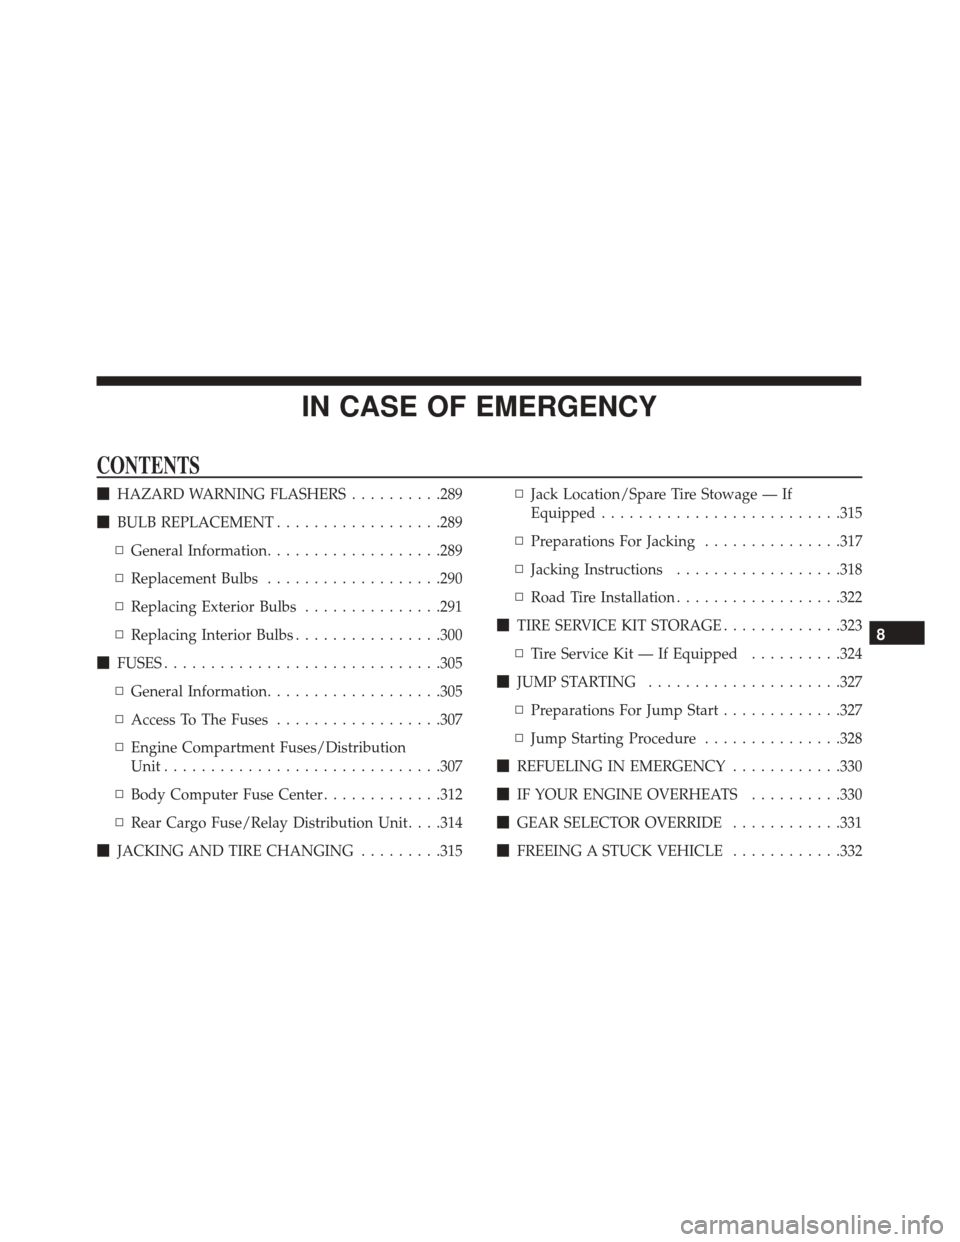
Page 289 of 476

IN CASE OF EMERGENCY
CONTENTS
�HAZARD WARNING FLASHERS ..........289
� BULB REPLACEMENT ..................289
▫ General Information ...................289
▫ Replacement Bulbs ...................290
▫ Replacing Exterior Bulbs ...............291
▫ Replacing Interior Bulbs ................300
� FUSES ............................. .305
▫ General Information ...................305
▫ Access To The Fuses ..................307
▫ Engine Compartment Fuses/Distribution
Unit ............................. .307
▫ Body Computer Fuse Center .............312
▫ Rear Cargo Fuse/Relay Distribution Unit. . . .314
� JACKING AND TIRE CHANGING .........315▫
Jack Location/Spare Tire Stowage — If
Equipped ......................... .315
▫ Preparations For Jacking ...............317
▫ Jacking Instructions ..................318
▫ Road Tire Installation ..................322
� TIRE SERVICE KIT STORAGE .............323
▫ Tire Service Kit — If Equipped ..........324
� JUMP STARTING .....................327
▫ Preparations For Jump Start .............327
▫ Jump Starting Procedure ...............328
� REFUELING IN EMERGENCY ............330
� IF YOUR ENGINE OVERHEATS ..........330
� GEAR SELECTOR OVERRIDE ............331
� FREEING
A STUCK VEHICLE ............332
8
Page 307 of 476

WARNING!(Continued)
account the technical characteristics can cause
malfunctions with the risk of fire.
• Halogen lamps contain gas under pressure, in the
event of breakage be careful of the projection of
fragments of glass.
• Halogen lamps must be handled by touching only
the metallic part. If the transparent bulb is in
contact with the fingers, reduces the intensity of
the emitted light and you can also affect the life of
the lamp. In case of accidental contact, rub the
bulb with a cloth dampened with alcohol and
allow to dry.
FUSES
WARNING!
• When replacing a blown fuse, always use an
appropriate replacement fuse with the same amp
rating as the original fuse. Never replace a fuse
with another fuse of higher amp rating. Never
replace a blown fuse with metal wires or any
(Continued)
WARNING! (Continued)
other material. Failure to use proper fuses may
result in serious personal injury, fire and/or prop-
erty damage.
• Before replacing a fuse, make sure that the igni-
tion is off and that all the other services are
switched off and/or disengaged.
• If the replaced fuse blows again, contact an au-
thorized dealer.
• If a general protection fuse for safety systems (air
bag system, braking system), power unit systems
(engine system, gearbox system) or steering sys-
tem blows, contact an authorized dealer.
General Information
The fuses protect electrical systems against excessive
current.
When a device does not work, you must check the
electrical circuit inside the fuse for a break/melt.
8
IN CASE OF EMERGENCY 305
Page 308 of 476
Also please be aware that when using power outlets for
extended periods of time with the engine off may result
in vehicle battery discharge.Fuse Removal
To replace a fuse use the extractor attached to the fuse
cover (located on the inside of the engine compartment
fuse cover.
Blade Fuses
1 — Electrical Circuit
2 — Blade Fuse With Good Electrical Circuit
3 — Blade Fuse With Bad Electrical Circuit
Fuse Extractor Location
306 IN CASE OF EMERGENCY
Page 309 of 476
Access To The Fuses
The fuses are grouped into four controllers located in
the engine compartment, under the instrument panel
and on the inside of the left side cargo trim panel.
Engine Compartment Fuses/Distribution Unit
The engine compartment fuse panel is located on the
left side of the engine compartment.Removing Fuse Cover and Locking Screw
Proceed as follows:
1. Slowly turn the screw counterclockwise.
2. Slowly release the screw.
3. Remove the fuse cover by sliding it upward.
Engine Compartment Fuse Cavities
Fuse Panel And Cover Location
1 — Mounting Screw
2 — Fuse Cover8
IN CASE OF EMERGENCY 307
Page 316 of 476
Rear Cargo Fuse/Relay Distribution Unit
To access the fuses, remove the access door from the left
rear panel of the rear cargo area.Push on the left side of the access door to unhinge and
remove.
Cavity
Mini Fuse Description
F2 20 Amp Yellow Audio System
F3 20 Amp Yellow Electric Sunroof
F5 30 Amp Green Power Seat (driver side)
F6 7.5 Amp Brown Power Seat (driver side) Lumbar Adjustment
F8 20 Amp Yellow Heating Front Seats
Access Door Location
Rear Cargo Fuse Cavities
314 IN CASE OF EMERGENCY
Page 355 of 476
ENGINE COMPARTMENT — 1.4L TURBO ENGINE
1 — Air Cleaner Filter4 — Brake Fluid Reservoir7 — Washer Fluid Reservoir
2 — Engine Oil Dipstick 5 — Battery8 — Coolant Pressure Bottle Cap
3 — Oil Fill Cap 6 — Power Distribution Center (Fuses) 9 — Coolant Pressure Bottle
9
MAINTAINING AND CARING FOR YOUR VEHICLE 353
Page 356 of 476
ENGINE COMPARTMENT — 2.4L ENGINE
MAINTENANCE PROCEDURES
The pages that follow contain therequiredmaintenance
services determined by the engineers who designed
your vehicle. Besides those maintenance items specified in the fixed
maintenance schedule, there are other components
which may require servicing or replacement in the
future.
1 — Engine Air Cleaner Filter
4 — Brake Fluid Reservoir7 — Washer Fluid Reservoir
2 — Engine Oil Dipstick 5 — Battery8 — Coolant Pressure Bottle Cap
3 — Engine Oil Fill Cap 6 — Power Distribution Center (Fuses) 9 — Coolant Pressure Bottle
354 MAINTAINING AND CARING FOR YOUR VEHICLE