Page 41 of 188

ELECTRONIC SHIFTER
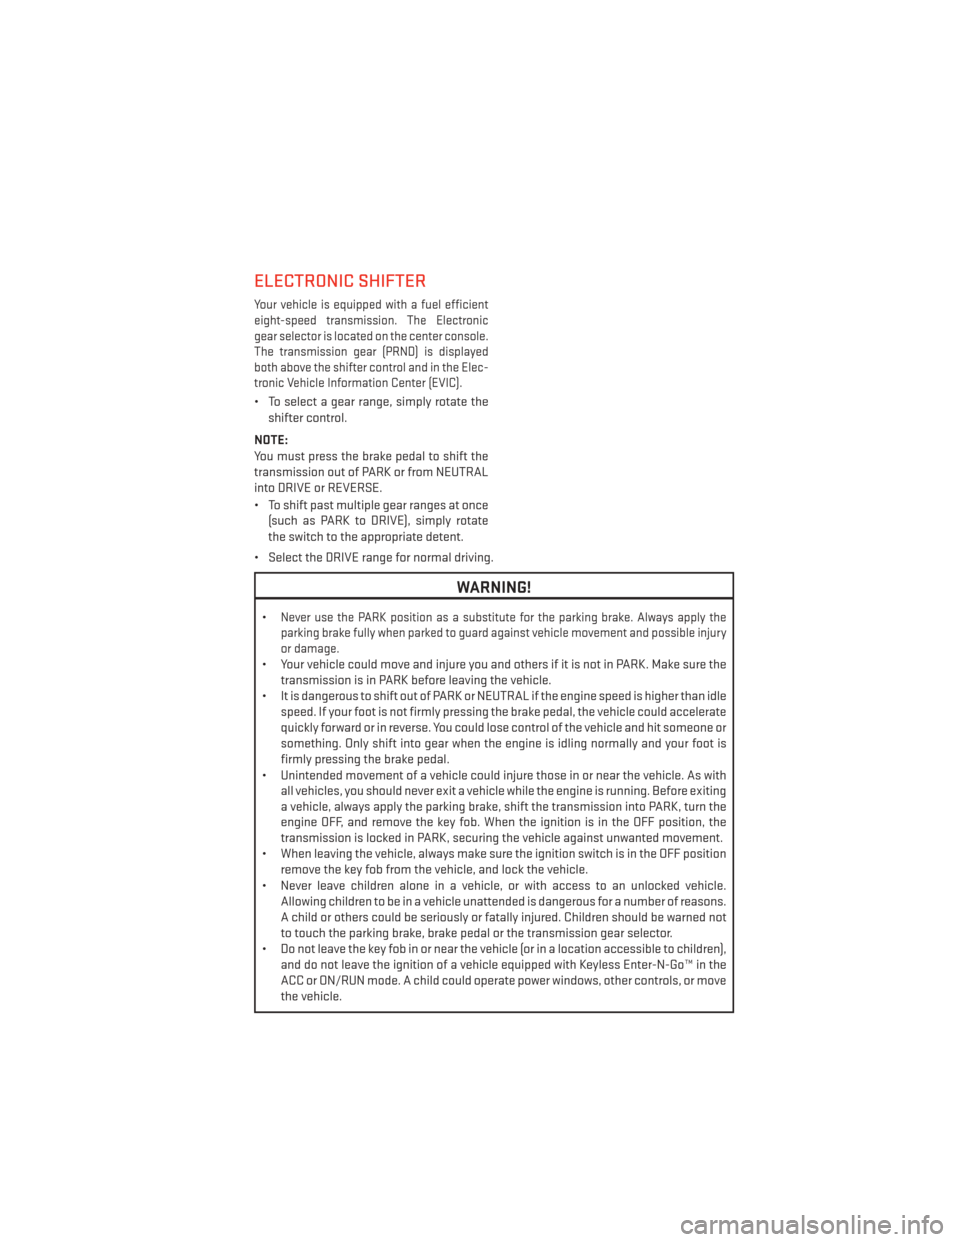
Your vehicle is equipped with a fuel efficient
eight-speed transmission. The Electronic
gear selector is located on the center console.
The transmission gear (PRND) is displayed
both above the shifter control and in the Elec-
tronic Vehicle Information Center (EVIC).
• To select a gear range, simply rotate theshifter control.
NOTE:
You must press the brake pedal to shift the
transmission out of PARK or from NEUTRAL
into DRIVE or REVERSE.
• To shift past multiple gear ranges at once (such as PARK to DRIVE), simply rotate
the switch to the appropriate detent.
• Select the DRIVE range for normal driving.
WARNING!
•Never use the PARK position as a substitute for the parking brake. Always apply the
parking brake fully when parked to guard against vehicle movement and possible injury
or damage.
• Your vehicle could move and injure you and others if it is not in PARK. Make sure the transmission is in PARK before leaving the vehicle.
• It is dangerous to shift out of PARK or NEUTRAL if the engine speed is higher than idle speed. If your foot is not firmly pressing the brake pedal, the vehicle could accelerate
quickly forward or in reverse. You could lose control of the vehicle and hit someone or
something. Only shift into gear when the engine is idling normally and your foot is
firmly pressing the brake pedal.
• Unintended movement of a vehicle could injure those in or near the vehicle. As with all vehicles, you should never exit a vehicle while the engine is running. Before exiting
a vehicle, always apply the parking brake, shift the transmission into PARK, turn the
engine OFF, and remove the key fob. When the ignition is in the OFF position, the
transmission is locked in PARK, securing the vehicle against unwanted movement.
• When leaving the vehicle, always make sure the ignition switch is in the OFF position remove the key fob from the vehicle, and lock the vehicle.
• Never leave children alone in a vehicle, or with access to an unlocked vehicle. Allowing children to be in a vehicle unattended is dangerous for a number of reasons.
A child or others could be seriously or fatally injured. Children should be warned not
to touch the parking brake, brake pedal or the transmission gear selector.
• Do not leave the key fob in or near the vehicle (or in a location accessible to children), and do not leave the ignition of a vehicle equipped with Keyless Enter-N-Go™ in the
ACC or ON/RUN mode. A child could operate power windows, other controls, or move
the vehicle.
OPERATING YOUR VEHICLE
39
Page 42 of 188

AUTOSTICK®
AutoStick® is a driver-interactive transmis-
sion feature providing manual shift control,
giving you more control of the vehicle.
AutoStick® allows you to maximize engine
braking, eliminate undesirable upshifts and
downshifts, and improve overall vehicle per-
formance. This system can also provide you
with more control during passing, city driving, cold slippery conditions, mountain driving,
trailer towing, and many other situations.
Operation
• When the transmission is in DRIVE, it will operate automatically, shifting between theeight available gears. To engage AutoStick®, simply tap one of the steering wheel-
mounted shift paddles (+/-). Tapping (-) to enter AutoStick® will downshift the transmis-
sion to the next lower gear, while using (+) to enter AutoStick® will retain the current gear.
When AutoStick® is active, the current transmission gear is displayed in the instrument
cluster.
In AutoStick® mode, the transmission will shift up or down when (+/-) is manually selected
by the driver, unless an engine lugging or overspeed condition would result.
NOTE:
To disengage AutoStick® mode, press and hold the (+) shift paddle until "D" is once again
displayed in the instrument cluster. You can shift in or out of AutoStick® mode at any time
without taking your foot off the accelerator pedal.
WARNING!
Do not downshift for additional engine braking on a slippery surface. The drive wheels
could lose their grip and the vehicle could skid, causing a collision or personal injury.
OPERATING YOUR VEHICLE
40
Page 43 of 188
FUEL ECONOMY (ECO) MODE
The Fuel Economy (ECO) mode can improve
the vehicle’s overall fuel economy during
normal driving conditions.
Each time the vehicle is started ECO mode is
engaged and a amber light in the center stack
of the instrument panel will be illuminated.
• To disable ECO mode, press the “ECO”switch in the center stack of the instru-
ment panel and the amber light will go out
indicating ECO mode is disabled.
When the Fuel Economy (ECO) Mode is en-
gaged, the vehicle control systems will be
able to change the following:
• The transmission will upshift sooner and downshift later.
• The overall driving performance will be more conservative.
• Some ECO mode functions may be temporarily inhibited based on temperature and other factors.
OPERATING YOUR VEHICLE
41
Page 44 of 188
AUTOMATIC CLIMATE CONTROLS WITH TOUCHSCREEN
Touchscreen Automatic Climate Controls
Climate Control Knobs
Uconnect® 8.4
OPERATING YOUR VEHICLE
42
Page 45 of 188

• Press the AUTO button or AUTO soft-key.
• Select the desired temperature by pushing the up or down temperature buttons for thedriver or passenger.
• The system will maintain the set temperature automatically.
Air Conditioning (A/C)
• If the air conditioning button is pressed while in AUTO mode, the system will exit AUTO mode and stay in A/C. The mode and blower will be set at the closest mode and blower
position that the system was operating in AUTO.
MAX A/C
• MAX A/C sets the control for maximum cooling performance.
• Touch and release to toggle between MAX A/C and the prior settings. The soft-key illuminates when MAX A/C is ON.
• In MAX A/C, the blower level and mode position can be adjusted to desired user settings. Pressing other settings will cause the MAX A/C operation to switch to the prior settings
and the MAX A/C indicator will turn off.
SYNC Temperature Soft-Key
• Touch the “SYNC” soft-key on the Uconnect® radio to control the driver and passengertemperatures simultaneously. Touch the “SYNC” soft-key a second time to control the
temperatures individually.
Air Recirculation
• Use Recirculation for maximum A/C operation.
• For window defogging, turn the Recirculation button off.
• If the Recirculation button is pressed while in front defrost mode, the indicator will flashthree times to indicate that recirculation state is not allowed in front defrost mode.
Heated Mirrors
The mirrors are heated to melt frost or ice. This feature is activated whenever you turn on
the rear window defroster.
OPERATING YOUR VEHICLE
43
Page 46 of 188
Rear Temperature Controls
The rear controls for the ATC System are located in the headliner, near the center of the
vehicle.
The rear temperature controls can be turned on two ways:
• Press the REAR control soft-key on the Uconnect® front temperature control screen andadjust to the desired rear temperature.
• Rotate the Rear Temperature Control or the Rear Blower Control knobs on the rear temperature controls.
• Press the REAR soft-key and then the OFF button on the Uconnect® front temperature control screen to turn the rear controls off.
Rear Temperature Controls
OPERATING YOUR VEHICLE
44
Page 47 of 188

PARKSENSE® REAR PARK ASSIST
The four ParkSense® sensors, located in the rear fascia/bumper, monitor the area behind
the vehicle that is within the sensors’ field of view.
The sensors can detect obstacles from approximately 12 in (30 cm) up to 79 in (200 cm)
from the rear bumper while the vehicle is in REVERSE, a warning will display in the Electronic
Vehicle Information Center (EVIC) and a chime will sound (when Sound and Display is
selected from the Customer Programmable Features section of the Uconnect® System
screen). As the vehicle moves closer to the object, the chime rate will change from single
1/2 second tone, to slow, to fast, to continuous.
Cleaning The ParkSense® Sensors
If “CLEAN PARK ASSIST SENSORS” appears in the Electronic Vehicle Information Center
(EVIC), clean the ParkSense® sensors with water, car wash soap and a soft cloth. Do not use
rough or hard cloths. Do not scratch or poke the sensors. Otherwise, you could damage the
sensors.
NOTE:
When the Instrument Cluster reads either Clean Sensor or Blinded, please clean off the
bumper sensors to see if the condition is corrected.
PARKVIEW® REAR BACK-UP CAMERA
You can see an on-screen image of the rear of your vehicle whenever the shift lever/gear
selector is put into REVERSE. The ParkView® Rear Back-Up Camera image will be displayed
on the radio display screen, located on the center stack of the instrument panel.
If the radio display screen appears foggy, clean the camera lens located on the liftgate.
WARNING!
Drivers must be careful when backing up; even when using the ParkView® Rear Back-Up
Camera. Always check carefully behind your vehicle, and be sure to check for pedestri-
ans, animals, other vehicles, obstructions, or blind spots before backing up. You must
continue to pay attention while backing up. Failure to do so can result in serious injury or
death.
OPERATING YOUR VEHICLE
45
Page 48 of 188

BLIND SPOT MONITORING
The Blind Spot Monitoring (BSM) system uses two radar-based sensors, located inside the
rear bumper fascia, to detect Highway licensable vehicles (automobiles, trucks, motor-
cycles etc.) that enter the blind spot zones from the rear/front/side of the vehicle.
The Blind Spot Monitoring (BSM) system warning light, located in the outside mirrors, will
illuminate if a vehicle moves into a blind spot zone.
The BSM system can also be configured to sound an audible (chime) alert and mute the
radio to notify you of objects that have entered the detection zones.
Refer to your Owner's Manual on the DVD for further details.
POWER SUNROOF
The power sunroof switch is located on the overhead console.
Opening Sunroof
Express Open
• Press the switch rearward and release itwithin one-half second. The sunroof will
fully open and stop automatically.
Manual Open
• Press and hold the switch rearward to open the sunroof. Any release of the
switch will stop the movement, and the
sunroof will remain in a partially open
position until the switch is pressed again.
Venting Sunroof
• Press and release the button and the sun-roof will open to the vent position.
This is called “Express Vent” and will occur
regardless of sunroof position. During Ex-
press Vent operation, any movement of the
switch will stop the sunroof.
Power Sunroof Switch
1 — Opening Sunroof
2 — Venting Sunroof
3 — Closing Sunroof
OPERATING YOUR VEHICLE
46