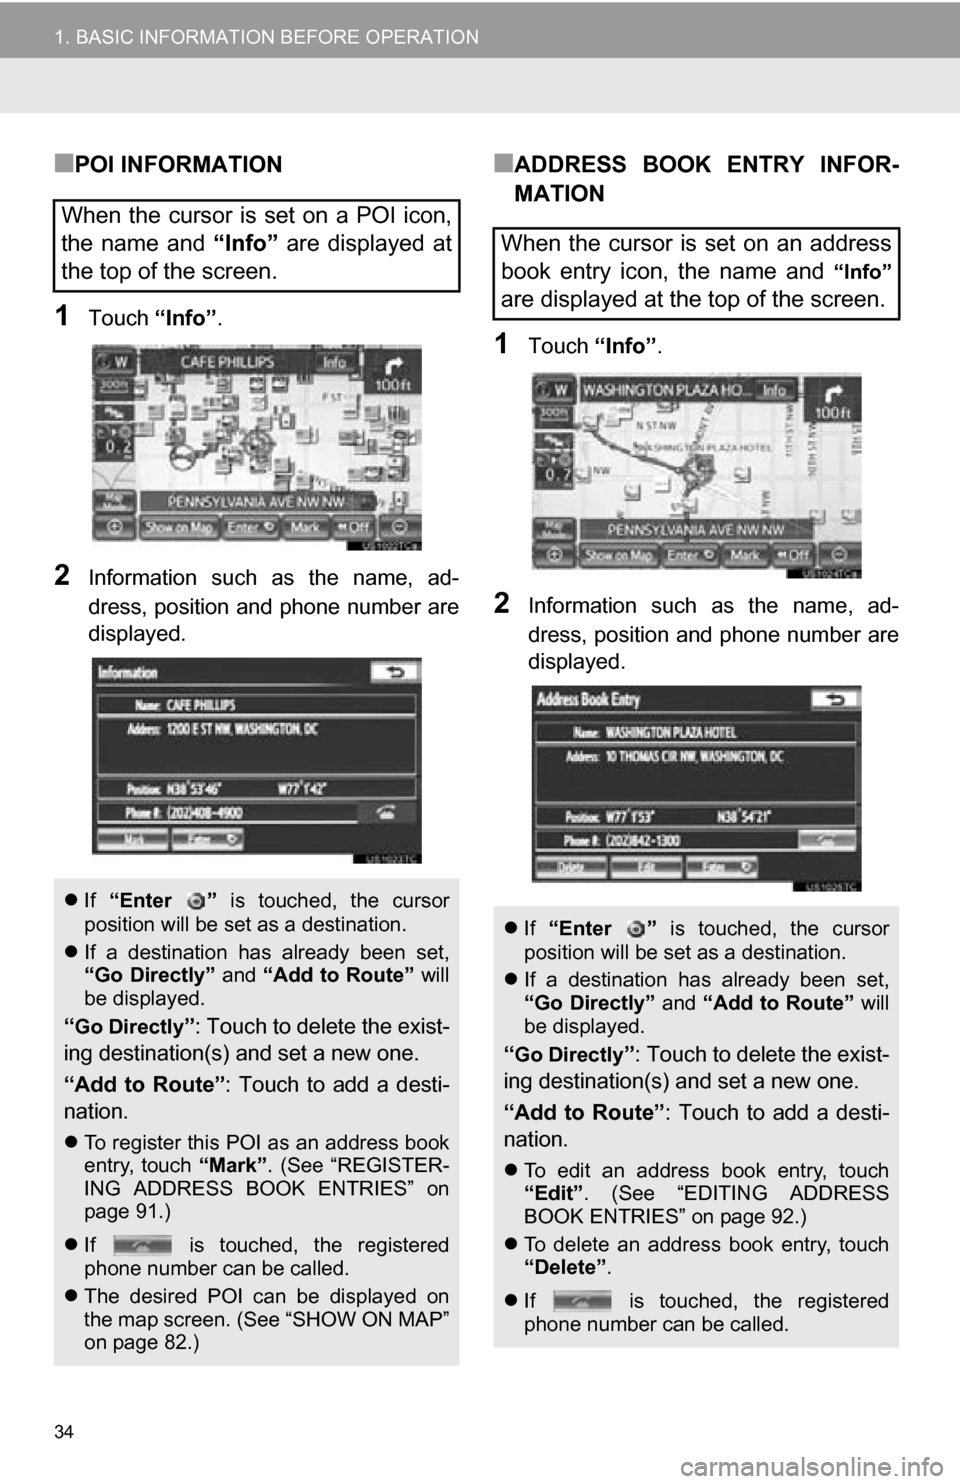
Page 33 of 328
33
1. BASIC INFORMATION BEFORE OPERATION
2
BASIC FUNCTION
1Touch “Enter ” .
The screen changes and displays the map
location of the selected destination and
the route preference. (See “STARTING
ROUTE GUIDANCE” on page 66.)
1Touch “Mark” .
2This screen is displayed.
The registered point is shown by on the
map.
To display information about an icon, set
the cursor on it.
TO SET THE CURSOR
POSITION AS A DESTINATION
A specific point on the map can be set
as a destination using the scroll func-
tion.
TO REGISTER THE CURSOR
POSITION AS AN ADDRESS
BOOK ENTRY
Address book entry registration en-
ables easy access to a specific point.
To change the icon or name, etc., see
“EDITING ADDRESS BOOK ENTRIES”
on page 92.
INFORMATION
●Up to 100 address book entries can be
registered. If there is an attempt to regis-
ter more than 100 address book entries,
an error message will appear.
TO SEE INFORMATION ABOUT
THE ICON WHERE THE
CURSOR IS SET
Page 34 of 328

34
1. BASIC INFORMATION BEFORE OPERATION
■POI INFORMATION
1Touch “Info”.
2Information such as the name, ad-
dress, position and phone number are
displayed.
■ADDRESS BOOK ENTRY INFOR-
MATION
1Touch “Info”.
2Information such as the name, ad-
dress, position and phone number are
displayed.
When the cursor is set on a POI icon,
the name and “Info” are displayed at
the top of the screen.
If “Enter ” is touched, the cursor
position will be set as a destination.
If a destination has already been set,
“Go Directly” and “Add to Route” will
be displayed.
“Go Directly”: Touch to delete the exist-
ing destination(s) and set a new one.
“Add to Route” : Touch to add a desti-
nation.
To register this POI as an address book
entry, touch “Mark”. (See “REGISTER-
ING ADDRESS BOOK ENTRIES” on
page 91.)
If is touched, the registered
phone number can be called.
The desired POI can be displayed on
the map screen. (See “SHOW ON MAP”
on page 82.)
When the cursor is set on an address
book entry icon, the name and
“Info”
are displayed at the top of the screen.
If “Enter ” is touched, the cursor
position will be set as a destination.
If a destination has already been set,
“Go Directly” and “Add to Route” will
be displayed.
“Go Directly”: Touch to delete the exist-
ing destination(s) and set a new one.
“Add to Route” : Touch to add a desti-
nation.
To edit an address book entry, touch
“Edit” . (See “EDITING ADDRESS
BOOK ENTRIES” on page 92.)
To delete an address book entry, touch
“Delete” .
If is touched, the registered
phone number can be called.
Page 35 of 328
35
1. BASIC INFORMATION BEFORE OPERATION
2
BASIC FUNCTION
■DESTINATION INFORMATION
1Touch “Info”.
2Information such as the name, ad-
dress, position and phone number are
displayed.
To delete a destination, touch “Delete”.
■XM NavTraffic® TEXT INFORMA-
TION
1Touch “Info”.
2Traffic information is displayed on the
screen.
To display detailed traffic event informa-
tion, touch “Detail”.
When the cursor is set on a destination
icon, the name and “Info” are dis-
played on the top of the screen.
If is touched, the registered
phone number can be called.
When the XM NavTraffic® icon on the
map screen is touched, the XM
NavTraffic
® information bar will appear
on the upper part of the screen.
Page 36 of 328

36
1. BASIC INFORMATION BEFORE OPERATION
1Touch “Map Mode” .
2Touch the screen buttons to select the
desired configuration.
Depending on the conditions, certain
screen configuration buttons cannot be
selected.
■MAP ONLY
The screen shows the single map.
SWITCHING THE SCREENS
Any of the screen configurations can
be selected.
Screen buttonFunction
“Map Only”Touch to display the single
map screen. (See page
36.)
“Turn List”Touch to display the turn
list screen. (See page 71.)
“Intersection”
Touch to display the inter-
section guidance screen
or the guidance screen on
the freeway. (See page
70.)
“Audio”Touch to display the audio
screen. (See page 37.)
“Other Infor-
mation”
Touch to display the fol-
lowing 4 screen configura-
tions: “Dual map”,
“Compass”, “Turn-by-Turn
Arrow” and “Freeway Exit
List”.
“Dual map”Touch to display the dual
map screen. (See page
37.)
“Compass”
Touch to display the com-
pass mode screen. (See
page 38.)
“Turn-by-Turn Arrow”Touch to display the turn-
by-turn arrow screen.
(See page 71.)
“Freeway Exit List”Touch to display the free-
way exit list screen. (See
page 69.)
SCREEN CONFIGURATIONS
This is a regular map screen.
While on a different screen, touching
“Map Only” will display the single map
screen.
Screen buttonFunction
Page 37 of 328
37
1. BASIC INFORMATION BEFORE OPERATION
2
BASIC FUNCTION
■AUDIO
Information on the current radio station or
track is displayed.
■DUAL MAP
This screen shows the dual map. The map
on the left is the main map.
■EDITING RIGHT MAP
1Touch the desired screen button.
The following procedures can be per-
formed on this screen:
2Touch “OK” when editing is complet-
ed.
The screen returns to the dual map
screen.
The audio screen and the map screen
are displayed.
If a different screen is displayed, touch
“Audio” on the “Map Mode” screen.
For audio system operation, refer to
“AUDIO/VIDEO SYSTEM OPERA-
TION”. (See page 168.)
The map screen can be split into two.
While on a different screen, touching
“Dual map” will display the dual map
screen.
The right side map can be edited by
touching any point on the right side
map.
No.Function
Changing the orientation of
the map
Displaying POI icons
Showing XM NavTraffic® in-
formation (See page 265.)
Changing the map scale
Page 38 of 328

38
1. BASIC INFORMATION BEFORE OPERATION
■COMPASS
Information about the destination, current
position and a compass is displayed on
the screen.
1Touch or to change the scale
of the map screen.
The scale bar and indicator at the bottom
of the screen indicate the map scale
menu. The scale range is from 150 feet
(50 m) to 250 miles (400 km).
Touch and hold or to continue
changing the scale of the map screen.
The scale of the map screen can be
changed by touching the scale bar
directly. This function is not available while
driving.
The current position is indicated with a
compass.
While on a different screen, touching
“Compass” will display the compass
mode screen.
INFORMATION
● The destination mark is displayed in the
direction of the destination. When driv-
ing, refer to the longitude and latitude
coordinates, and the compass, to make
sure that the vehicle is headed in the
direction of the destination.
● When the vehicle travels out of the cov-
erage area, the guidance screen
changes to the compass mode screen.
MAP SCALE
INFORMATION
●The map scale is displayed under the
north-up or heading-up symbol at the
top left of the screen.
● When the map scale is at the maximum
range of 250 miles (400 km), is not
shown. When the map scale is at the
minimum range of 150 feet (50 m),
is not shown.
Page 39 of 328
39
1. BASIC INFORMATION BEFORE OPERATION
2
BASIC FUNCTION
1Touch or .
North-up screen
Heading-up screen
: North-up symbol
Regardless of the direction of vehicle trav-
el, north is always up.
: Heading-up symbol
The direction of vehicle travel is always up.
ORIENTATION OF THE MAP
The orientation of the map can be
changed from north-up to heading-up
by touching the orientation symbol at
the top left of the screen.
Both the north-up and heading-up sym-
bols display the vehicles direction as a
letter (e.g. N for north).
STANDARD MAP ICONS
IconName
Island
Park
Industry
Business facility
Airport
Military
University
Hospital
Stadium
Shopping mall
Golf
Page 40 of 328
40
2. SETUP
1. GENERAL SETTINGS
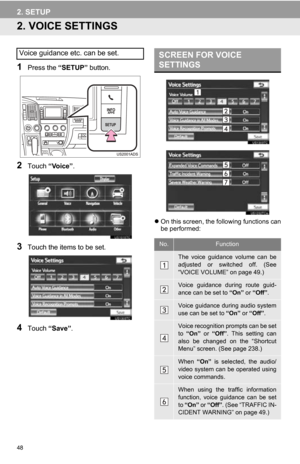
1Press the “SETUP” button.
2Touch “General” .
3Touch the items to be set.
4Touch “Save” .
On this screen, the following functions can
be performed:
Used for language selection and the
on/off settings of operation sounds and
automatic screen change, etc.SCREENS FOR GENERAL
SETTINGS
No.Function
Touch to change the time zone and
select “On” or “Off” for daylight sav-
ing time. (See “SYSTEM TIME SET-
TINGS” on page 41.)
Touch to change the language. (See
“SELECTING A LANGUAGE” on
page 42.)
Touch to change the distance unit.
(See “UNIT OF MEASUREMENT” on
page 43.)
Touch to turn the sound beeps “On”
or “Off” .