2013 NISSAN QUEST ECO mode
[x] Cancel search: ECO modePage 6 of 36
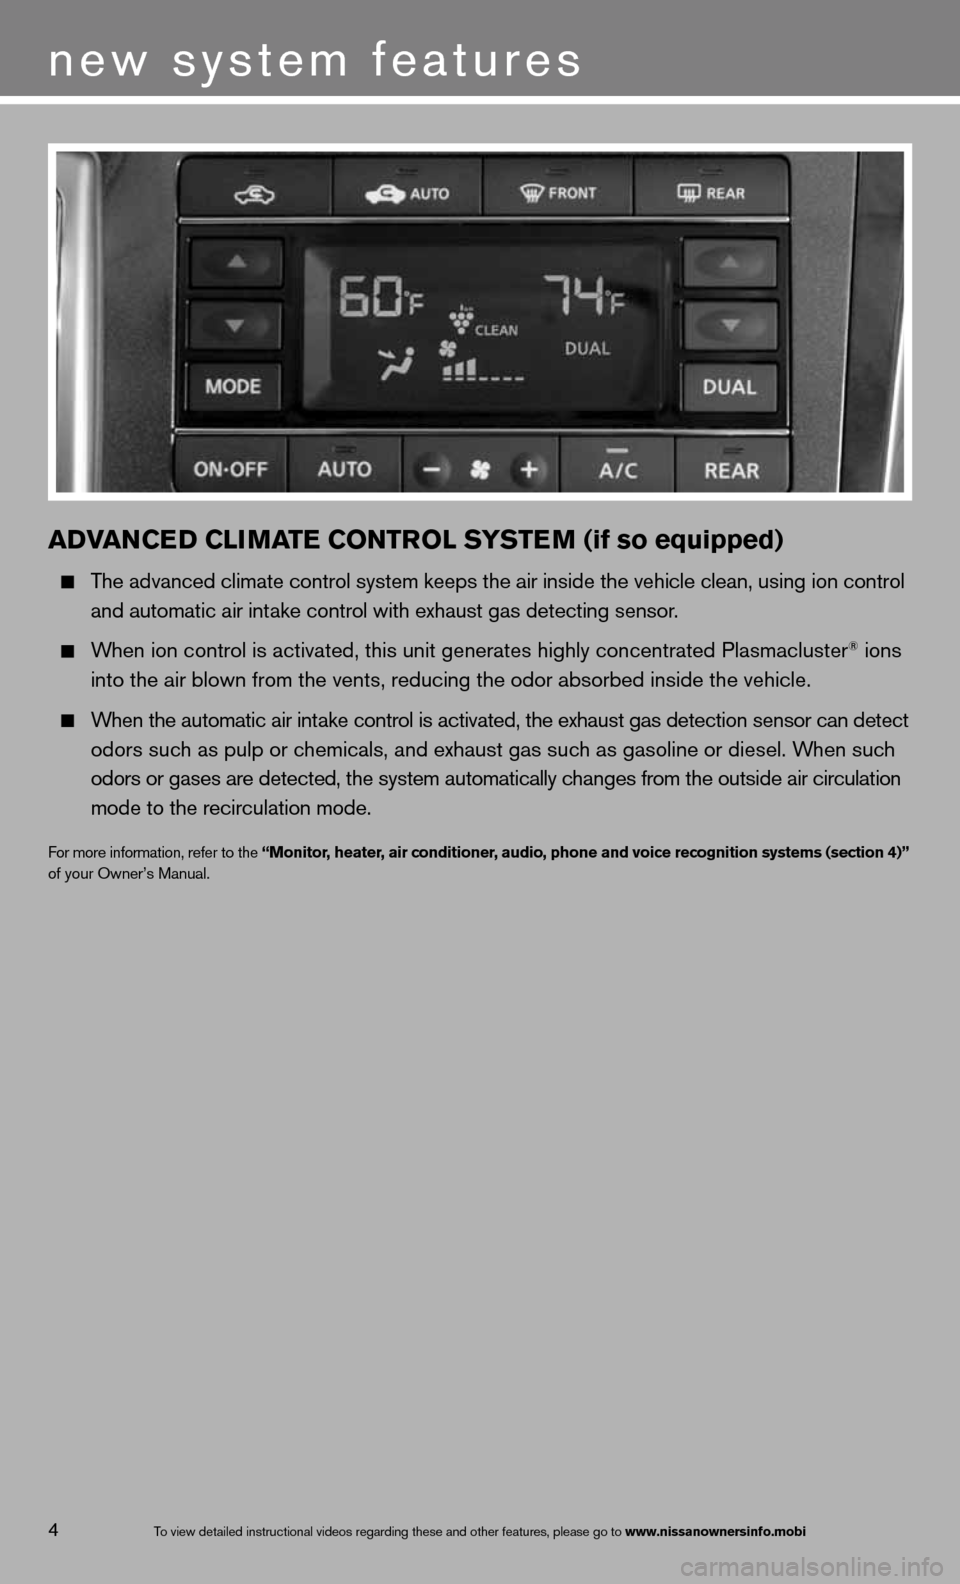
aDVaNCe D CLIMa Te CONTr OL SYSTe M (if so equipped)
The advanced climate control system keeps the air inside the vehicle clea\
n, using ion control
and automatic air intake control with exhaust gas detecting sensor.
When ion control is activated, this unit generates highly concentrated Pl\
asmacluster® ions
into the air blown from the vents, reducing the odor absorbed inside the\
vehicle.
When the automatic air intake control is activated, the exhaust gas detection sensor can detect
odors such as pulp or chemicals, and exhaust gas such as gasoline or diesel. When such
odors or gases are detected, the system automatically changes from the outside air circulation
mode to the recirculation mode.
for more information, refer to the “Monitor, heater, air conditioner, audio, phone and voice recognition systems (section 4)”
of your Owner’s Manual.
4
new system features
To view detailed in\fstructional videos\f regarding these a\fnd other features\f \fplease go to www.nissanownersin\Ifo.mobi
Page 7 of 36
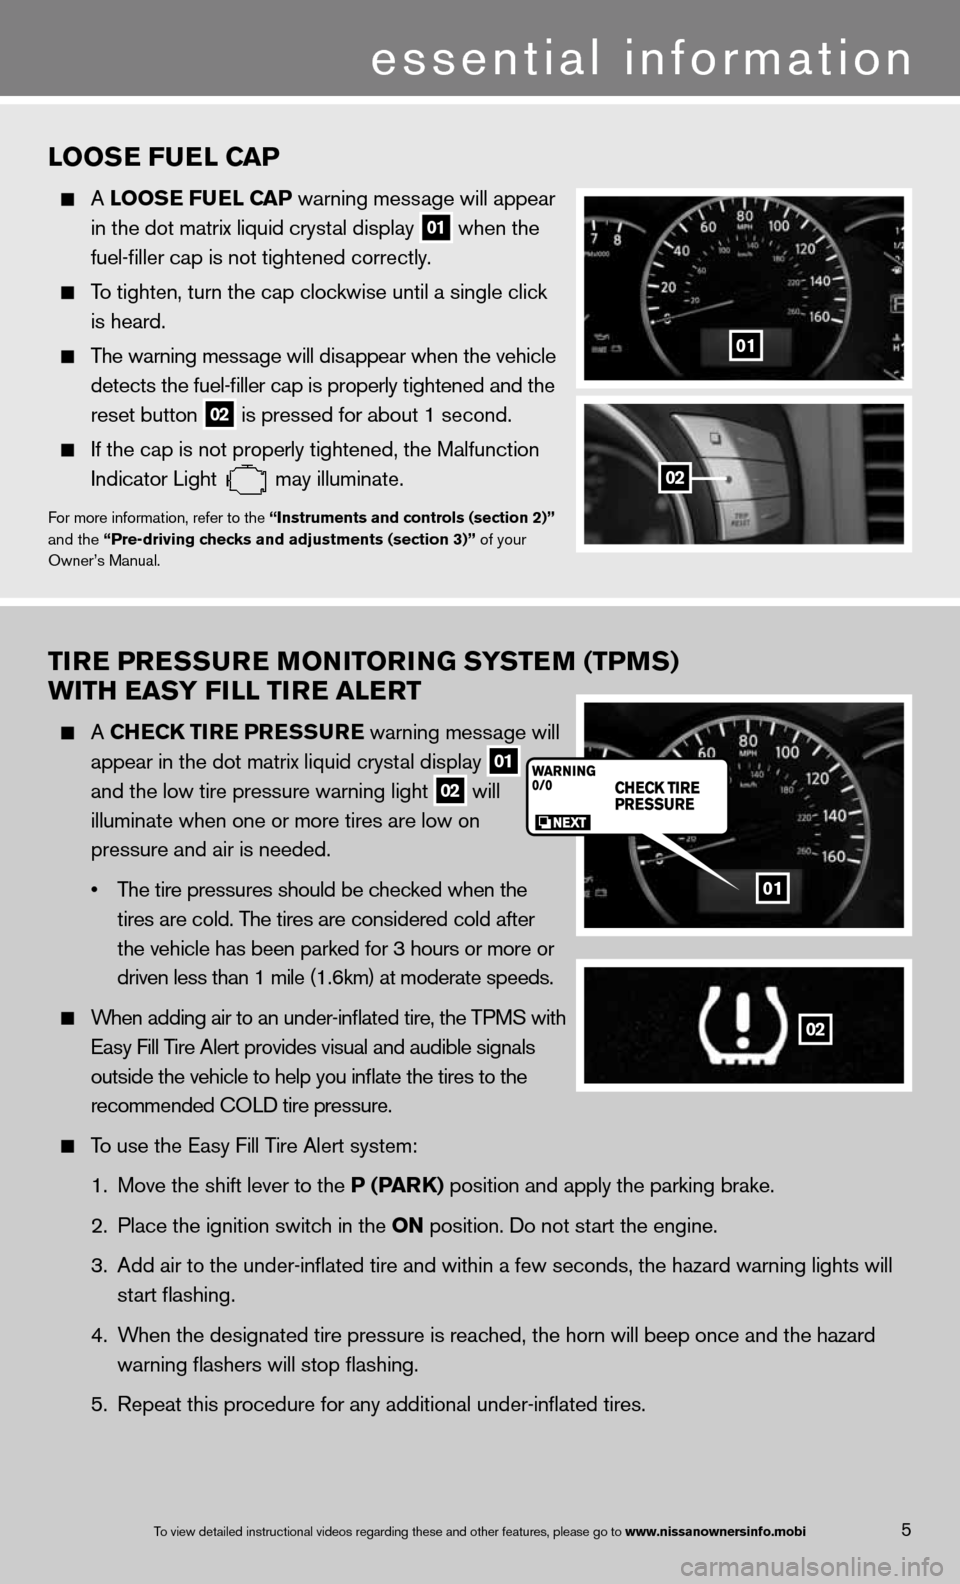
TIre Pre SSure MONITOr ING SYSTeM (TPMS)
wITH eaSY FILL TI re aLerT
A CHe CK TIre P reSSure warning message will
appear in the dot matrix liquid crystal display
01
and the low tire pressure warning light
02 will
illuminate when one or more tires are low on
pressure and air is needed.
• The tire pressures should be checked when the
tires are cold. The tires are considered cold after
the vehicle has been parked for 3 hours or more or
driven less than 1 mile (1.6km) at moderate speeds.
When adding air to an under-inflated tire, the TPMS with
easy fill Tire Alert provides visual and audible signals
outside the vehicle to help you inflate the tires to the
recommended c OLd tire pressure.
To use the easy fill Tire Alert system:
1. Move the shift lever to the P (P arK) position and apply the parking brake.
2. Place the ignition switch in the ON position. do not start the engine.
3. Add air to the under-inflated tire and within a few seconds, the hazar\
d warning lights will
start flashing.
4. When the designated tire pressure is reached, the horn will beep once and the hazard
warning flashers will stop flashing.
5. Repeat this procedure for any additional under-inflated tires.
01
02
5To view detailed in\fstructional videos\f regarding these a\fnd other features\f \fplease go to www.nissanownersin\Ifo.mobi
LOOS e Fue L CaP
A LOOS e Fue L CaP warning message will appear
in the dot matrix liquid crystal display
01 when the
fuel-filler cap is not tightened correctly.
To tighten, turn the cap clockwise until a single click
is heard.
The warning message will disappear when the vehicle
detects the fuel-filler cap is properly tightened and the
reset button
02 is pressed for about 1 second.
if the cap is not properly tightened, the Malfunction
indicator Light
may illuminate.f
or more information, refer to the “Instruments and controls (section 2)”
and the “Pre-driving checks and adjustments (section 3)” of your
Owner’s Manual.
01
02
essential information
Page 14 of 36
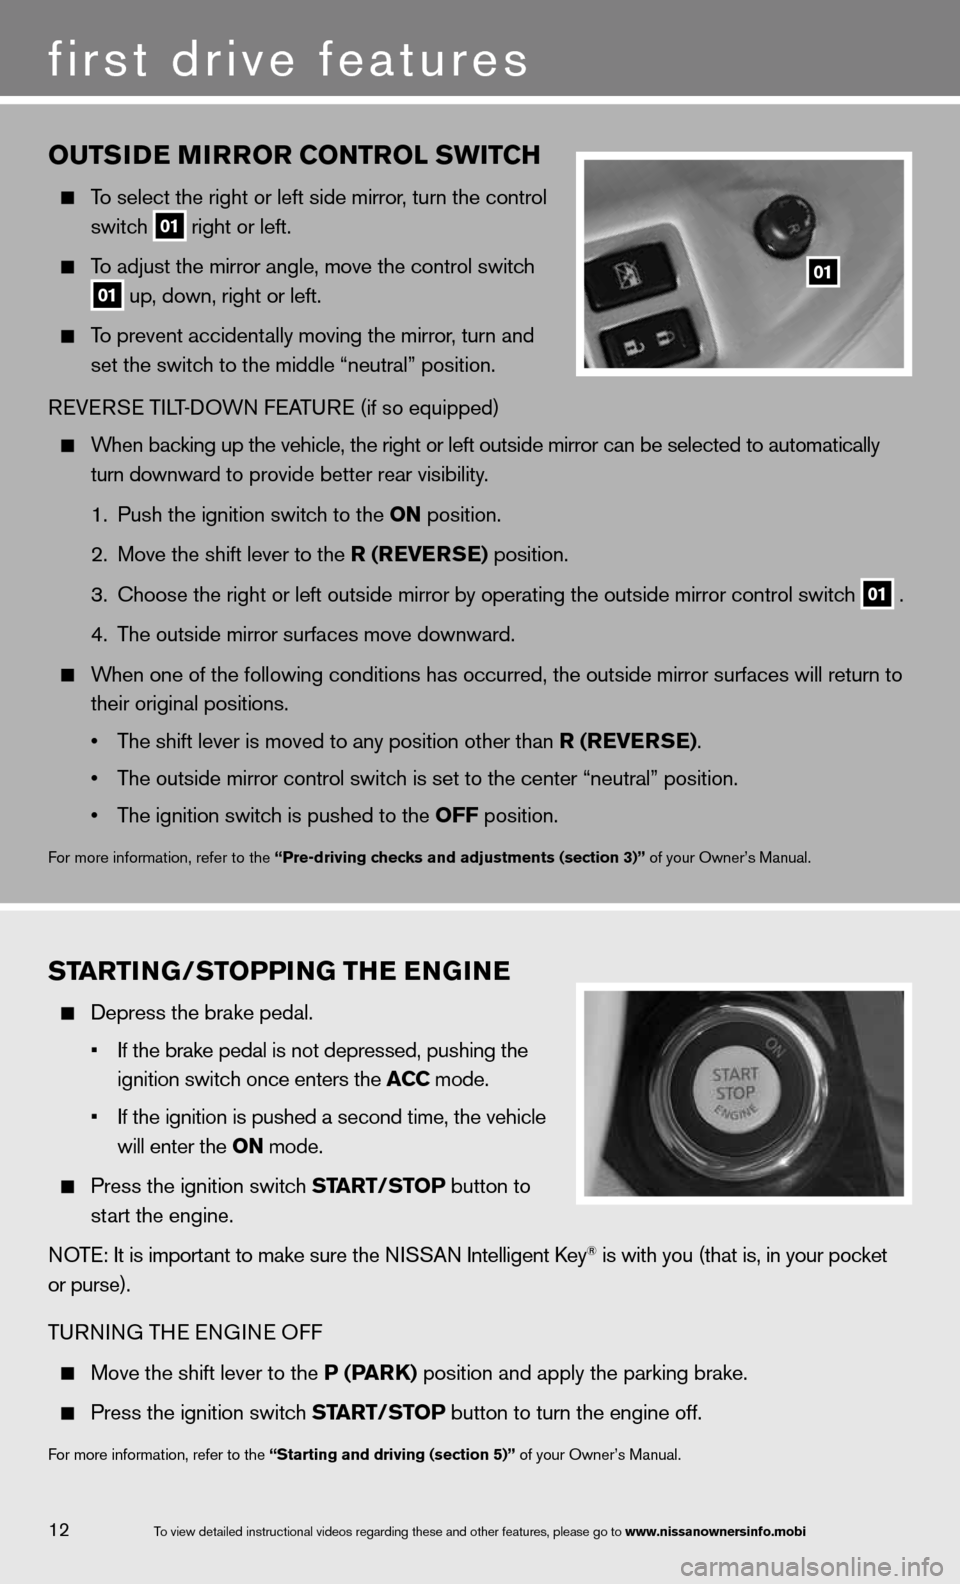
OuTSIDe MIrrOr CONTr OL SwITCH
To select the right or left side mirror , turn the control
switch
01 right or left.
To adjust the mirror angle, move the control switch
01 up, down, right or left.
To prevent accidentally moving the mirror, turn and
set the switch to the middle “neutral” position.
R eVe RSe Ti LT-d OWn feATu Re (if so equipped)
When backing up the vehicle, the right or left outside mirror can be selected to\
automatically
turn downward to provide better rear visibility.
1. Push the ignition switch to the ON position.
2. Move the shift lever to the r (reVer Se) position.
3. choose the right or left outside mirror by operating the outside mirror c\
ontrol switch
01 .
4. The outside mirror surfaces move downward.
When one of the following conditions has occurred, the outside mirror sur\
faces will return to
their original positions.
• The shift lever is moved to any position other than r (reVer Se).
• The outside mirror control switch is set to the center “neutral” position.
• The ignition switch is pushed to the OFF position.
for more information, refer to the “Pre-driving checks and adjustments (section 3)” of your Owner’s Manual.
01
ST arTING/STOPPING TH e eNGIN e
depress the brake pedal.
• If the \brake pedal i\fs not depressed\f pu\fshing the
ignition switch on\fce enters the ACC mode.
• If the ignition is \fpushed a second ti\fme\f the vehicle
will enter the ON mode.
Press the ignition switch ST arT/STOP button to
start the engine.
n OTe: it is important to make sure the ni SSAn intelligent key
® is with you (that is, in your pocket
or purse).
T uRnin G THe enGine Off
Move the shift lever to the P (P arK) position and apply the parking brake.
Press the ignition switch ST arT/STOP button to turn the engine off.
for more information, refer to the “Starting and driving (section 5)” of your Owner’s Manual.
12
first drive features
To view detailed in\fstructional videos\f regarding these a\fnd other features\f \fplease go to www.nissanownersin\Ifo.mobi
Page 22 of 36
07 aI
r re CIrCu LaTION B uTTON
Press the air recirculation button to recirculate interior air inside the vehicle. The
indicator light on the button will illuminate. This system is used to avoid certain outside
odors and helps to adjust the inside vehicle temperature more effectivel\
y.
The air recirculation mode cannot be activated when the air conditioner i\
s in the front
defrosting mode
FRONT .
08 auTO-re
CIrCu LaTION B uTTON
Press the auto-recirculation button
to switch to the automatic air intake control
mode. The indicator light on the button will illuminate.
in this mode, the sensor detects certain odors and gasses to automatically switch
between the air recirculation mode and the outside air circulation mode.\
The auto-air recirculation mode cannot be activated when the air flow c\
ontrol mode is in
the front defrosting mode
FRONT .
09 D
eFr OSTING/D eFOGGING Fr ONT aND SID e wINDOwS
Press the front defroster control button
FRONT to turn the system on. The A/c
automatically turns on when the defroster mode is selected. This feature removes humidity
from the air.
Press the temperature control buttons
or
to set the desired temperature.
To defrost the front and side windows quickly, set the temperature controls and fan speed
controls to their maximum settings.
10 D
eFr OSTING rear wINDO w aND OuTSIDe MIrrOr S
Push the rear window defroster switch
REAR to turn the system on or off.
This function automatically turns off after approximately 15 minutes.
11 a/C B
uTTON
Press the a/C button to turn the air conditioner system on or off. This system helps cool
and dehumidify the air inside the cabin and defog the windows.
12 rear CONTr
OL BuTTON
To control the rear automatic air conditioning
system with the front air conditioner control
panel, press the rear button.
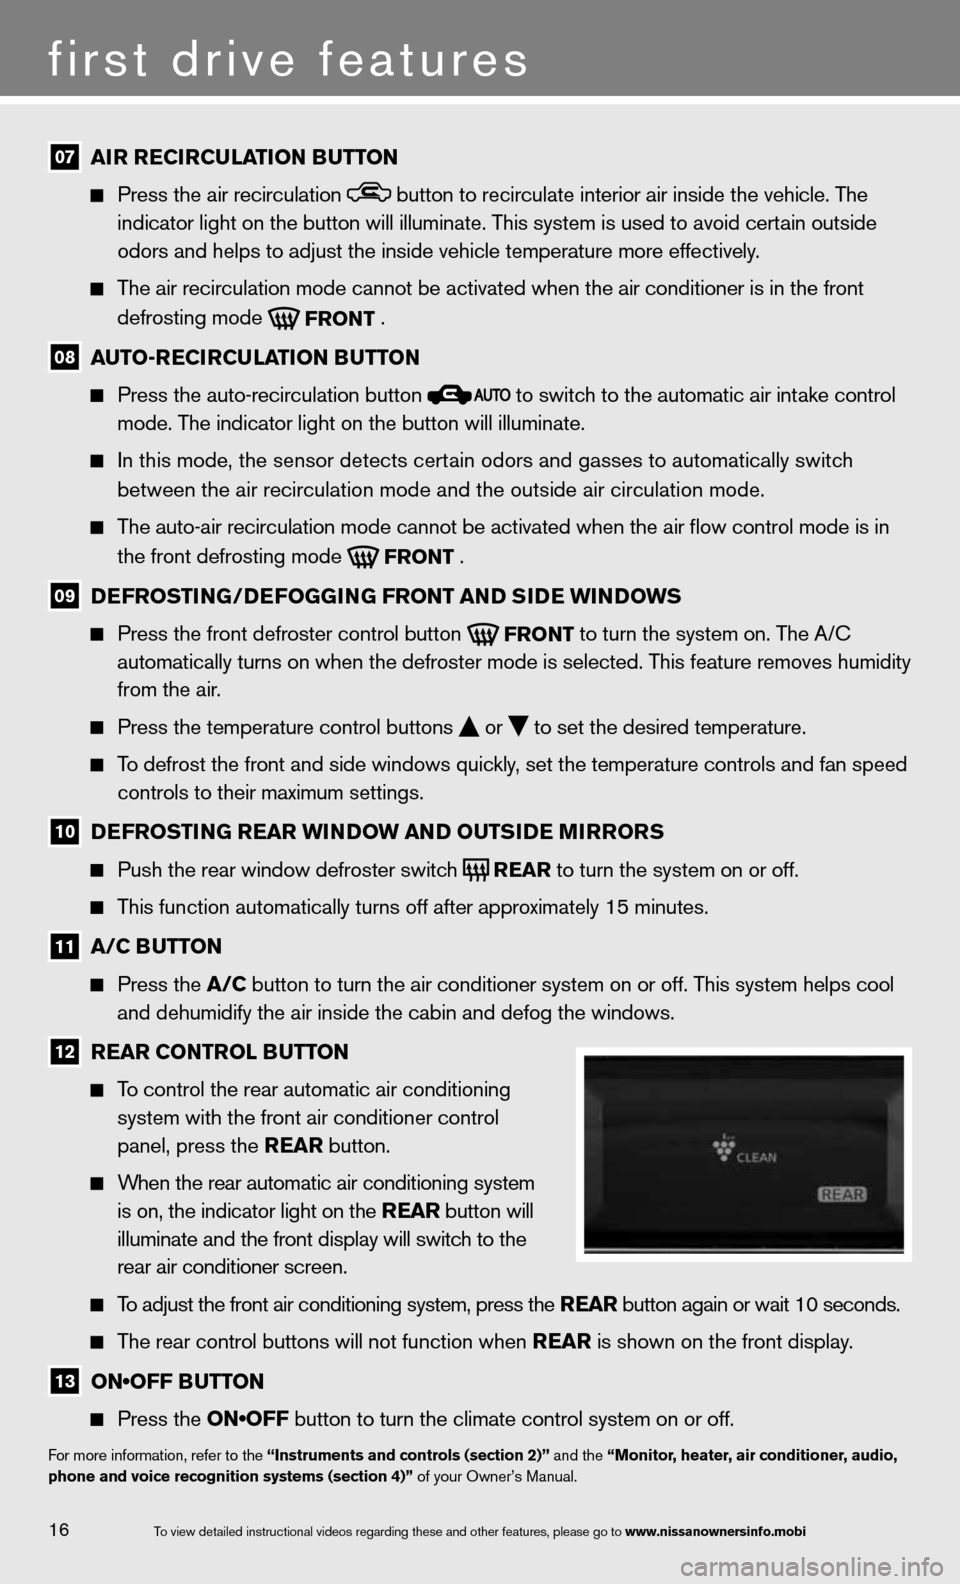
When the rear automatic air conditioning system
is on, the indicator light on the rear button will
illuminate and the front display will switch to the
rear air conditioner screen.
To adjust the front air conditioning system, press the rear button again or wait 10 seconds.
The rear control buttons will not function when rear is shown on the front display.
13 ON•OFF BUTTON
Press the ON•OFF button to turn the climate control system on or off.
for more information, refer to the “Instruments and controls (section 2)” and the “Monitor, heater, air conditioner, audio,
phone and voice recognition systems (section 4)” of your Owner’s Manual.
16
first drive features
To view detailed in\fstructional videos\f regarding these a\fnd other features\f \fplease go to www.nissanownersin\Ifo.mobi
Page 26 of 36
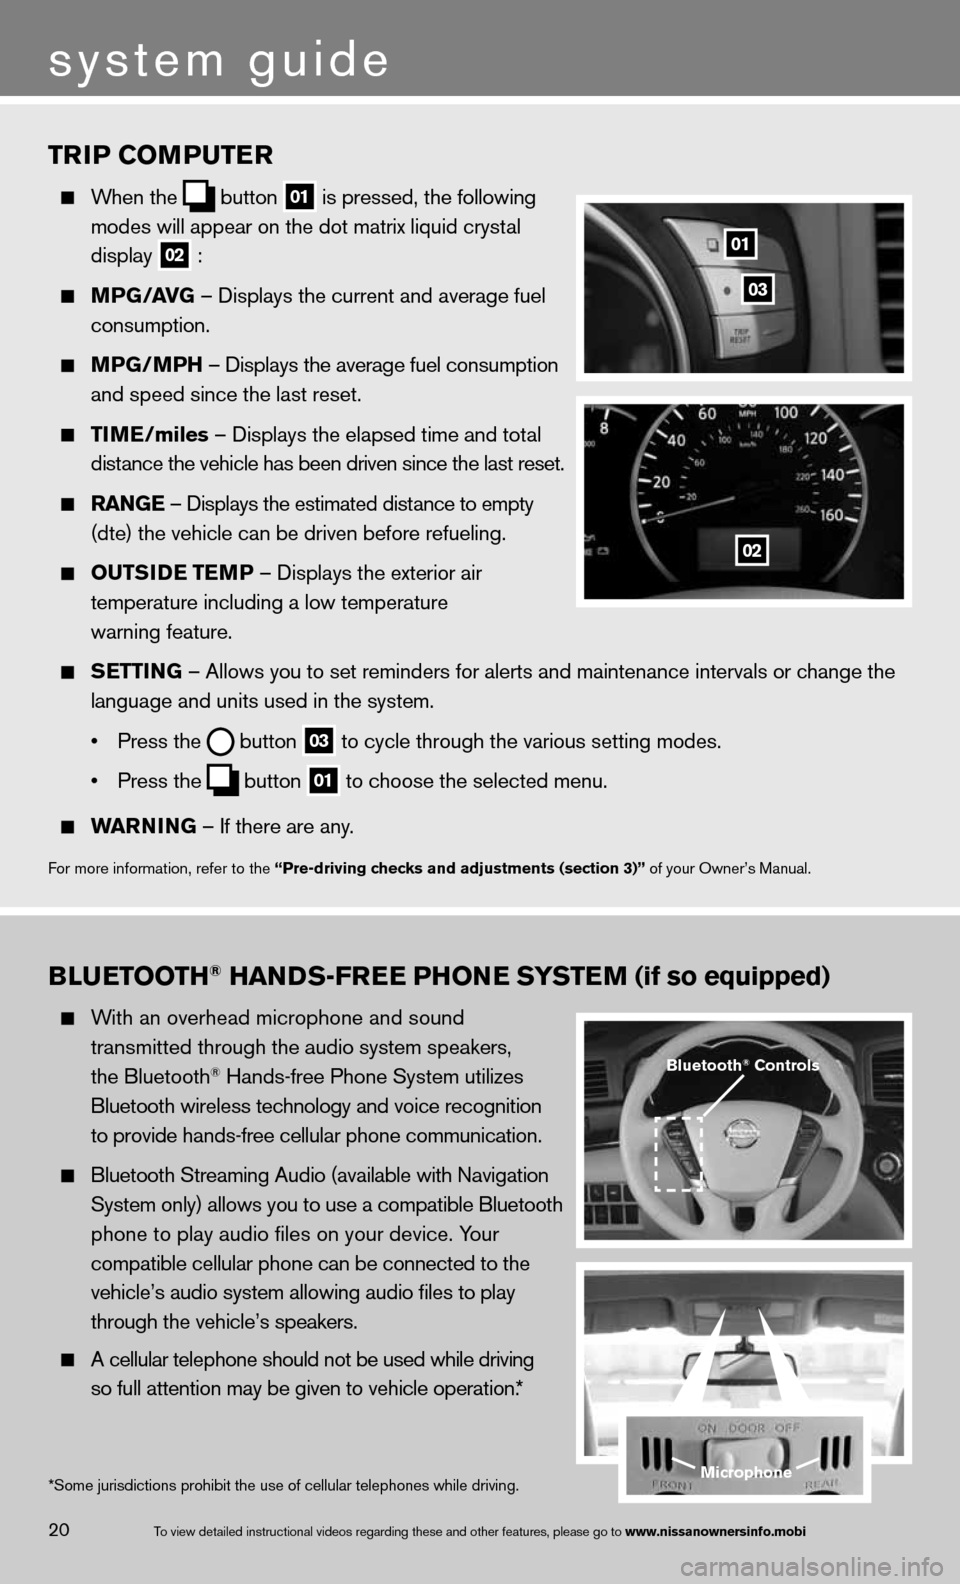
TrIP COMPuTer
When the
button
01 is pressed, the following
modes will appear on the dot matrix liquid crystal
display
02 :
MPG/ aVG – displays the current and average fuel
consumption.
MPG/MPH – displays the average fuel consumption
and speed since the last reset.
TIM e/miles – displays the elapsed time and total
distance the vehicle has been driven since the last reset.
raNG e – displays the estimated distance to empty
(dte) the vehicle can be driven before refueling.
OuTSID e TeMP – displays the exterior air
temperature including a low temperature
warning feature.
SeTTING – Allows you to set reminders for alerts and maintenance intervals o\
r change the
language and units used in the system.
• Press the
button
03 to cycle through the various setting modes.
• Press the
button
01 to choose the selected menu.
warNING – if there are any.
for more information, refer to the “Pre-driving checks and adjustments (section 3)” of your Owner’s Manual.
01
02
03
BLueTOOTH® HaNDS-Free PHON e SYSTeM (if so equipped)
With an overhead microphone and sound
transmitted through the audio system speakers,
the Bluetooth
® Hands-free Phone System utilizes
Bluetooth wireless technology and voice recognition
to provide hands-free cellular phone communication.
Bluetooth Streaming Audio (available with navigation
System only) allows you to use a compatible Bluetooth
phone to play audio files on your device. Your
compatible cellular phone can be connected to the
vehicle’s audio system allowing audio files to play
through the vehicle’s speakers.
A cellular telephone should not be used while driving
so full attention may be given to vehicle operation.*
Microphone
Bluetooth® Controls
*Some jurisdictions prohibit the use of cellular telephones while drivin\
g.
system guide
20To view detailed in\fstructional videos\f regarding these a\fnd other features\f \fplease go to www.nissanownersin\Ifo.mobi
Page 27 of 36
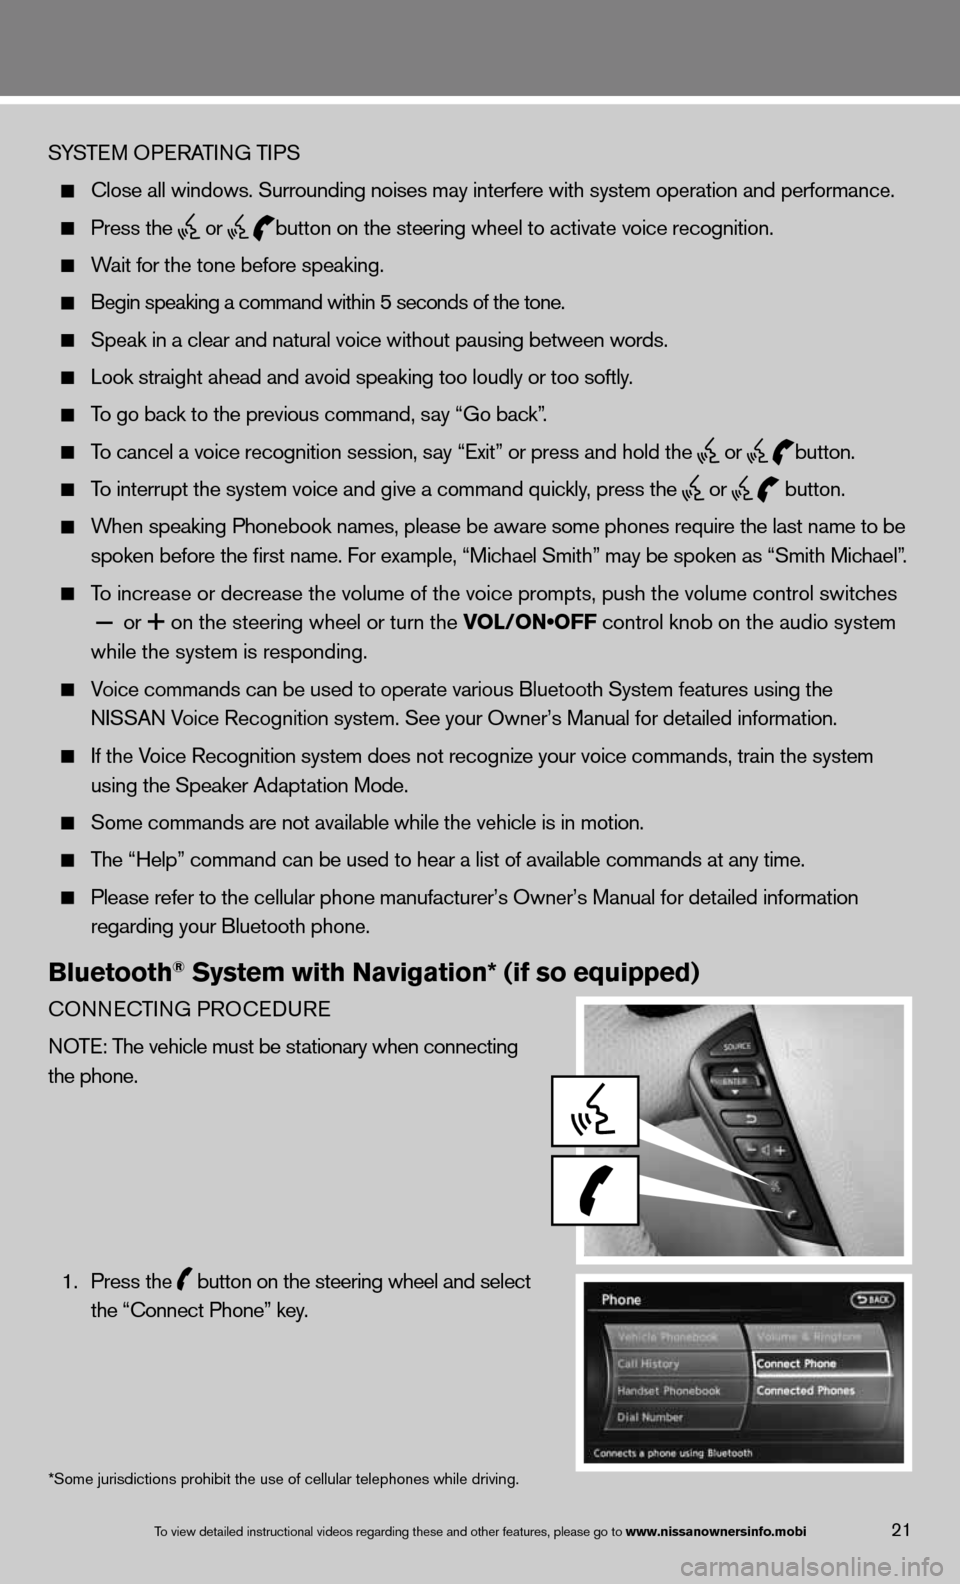
SYSTeM OPeRATin G TiPS
close all windows. Surrounding noises may interfere with system operation\
and performance.
Press the
or
button on the steering wheel to activate voice recognition.
Wait for the tone before speaking.
Begin speaking a command within 5 seconds of the tone.
Speak in a clear and natural voice without pausing between words.
Look straight ahead and avoid speaking too loudly or too softly.
To go back to the previous command, say “Go back”.
To cancel a voice recognition session, say “exit” or press and hold the
or
button.
To interrupt the system voice and give a command quickly, press the
or
button.
When speaking Phonebook names, please be aware some phones require the la\
st name to be
spoken before the first name. f or example, “Michael Smith” may be spoken as “Smith Michael”.
To increase or decrease the volume of the voice prompts, push the volume \
control switches
or
on the steering wheel or turn the VOL/ON•OFF control knob on the audio system
while the system is responding.
Voice commands can \f\be used to operate \fvarious Bluetooth \fSystem features usi\fng the
NISSAN Voice Recognition s\fystem. See your Owner’s Manual for detailed information.
if the Voice Recognition system does not recognize your voice commands, train th\
e system
using the Speaker Adaptation Mode.
Some commands are not available while the vehicle is in motion.
The “Help” command can be used to hear a list of available commands\
at any time.
Please refer to the cellular phone manufacturer’s Owner’s Manual f\
or detailed information
regarding your Bluetooth phone.
Bluetooth® System with Navigation* (if so equipped)
cOnnec TinG PROcedu Re
n OTe: The vehicle must be stationary when connecting
the phone.
1. Press the
button on the steering wheel and select
the “connect Phone” key.
*Some jurisdictions prohibit the use of cellular telephones while drivin\
g.
To view detailed in\fstructional videos\f regarding these a\fnd other features\f \fplease go to www.nissanownersin\Ifo.mobi21
Page 31 of 36
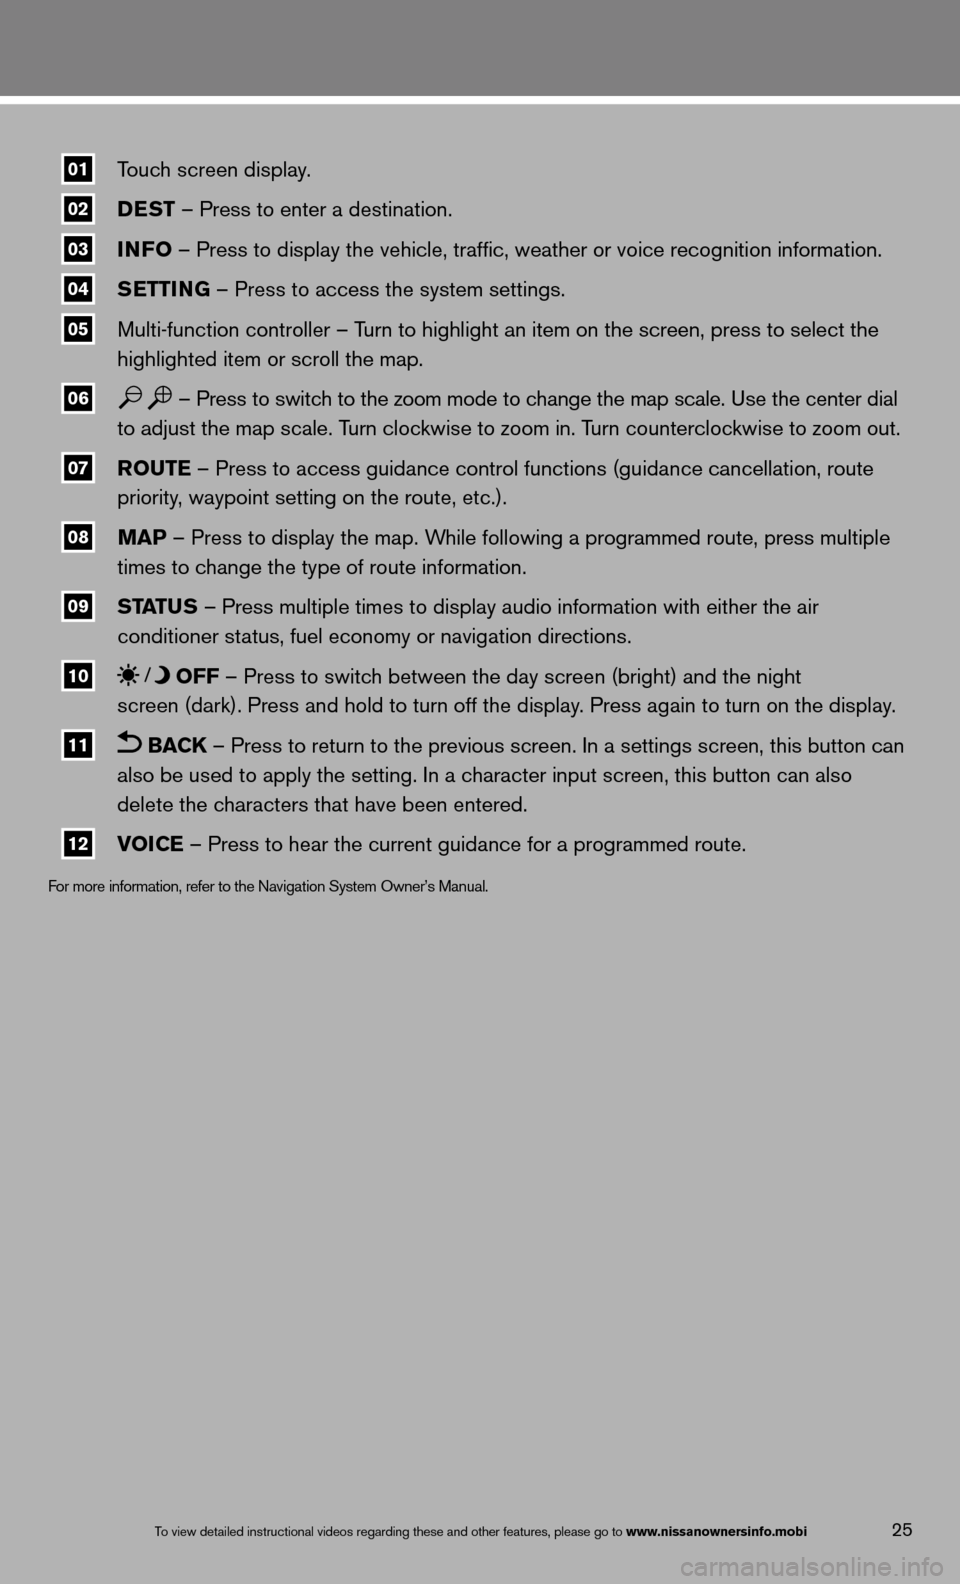
01\fTouch screen display.
02\f DeST
– Press to enter a destination.
03\f INFO
– Press to display the vehicle, traffic, weather or voice recognit\
ion information.
04\f S
eTTING – Press to access the system settings.
05\f Multi-function controller – Turn to highlight an item on the screen, press to select the
highlighted item or scroll the map.
06\f – Press to switch to the zoom mode to change the map scale. use the center dial
to adjust the map scale. Turn clockwise to zoom in. Turn counterclockwise to zoom out.
07\f r
OuTe – Press to access guidance control functions (guidance cancellation\
, route
priority, waypoint setting on the route, etc.).
08\f MaP – Press to display the map. While following a programmed route, press multiple
times to change the type of route information.
09\f ST
aTu S – Press multiple times to display audio information with either the \
air
conditioner status, fuel economy or navigation directions.
10\f OFF – Press to switch between the day screen (bright) and the night
screen (dark). Press and hold to turn off the display. Press again to turn on the display.
11\f BaCK – Press to return to the previous screen. in a settings screen, this button can
also be used to apply the setting. in a character input screen, this button can also
delete the characters that have been entered.
12\f VOICe – Press to hear the current guidance for a programmed route.
f
or more information, refer to the navigation System Owner’s Manual.
To view detailed in\fstructional videos\f regarding these a\fnd other features\f \fplease go to www.nissanownersin\Ifo.mobi25