Page 185 of 275

COMMUNICATIONSMobile phone preparation Bluetooth
184
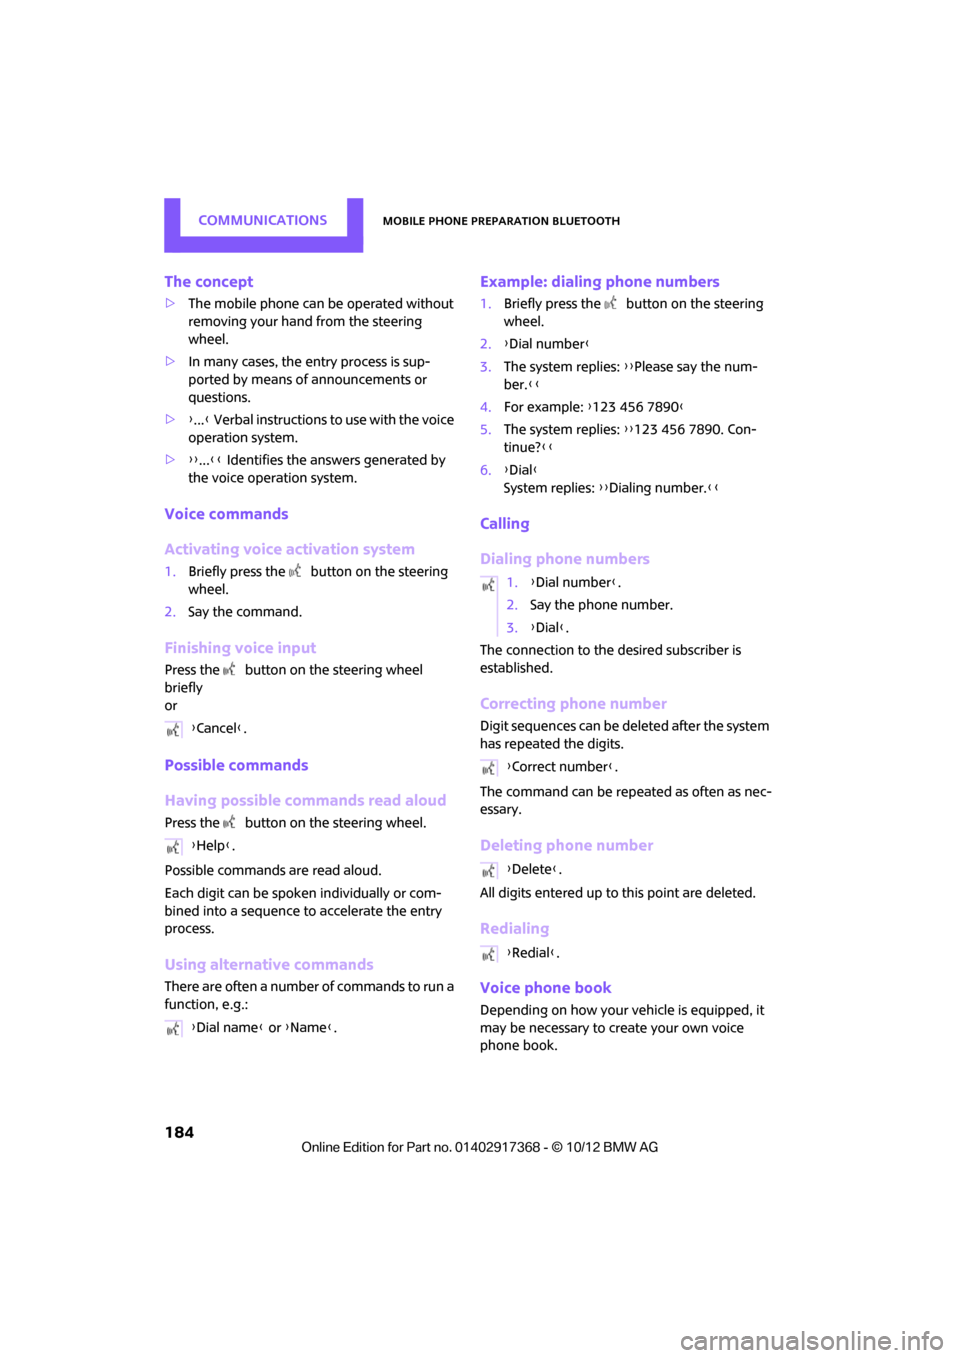
The concept
>The mobile phone can be operated without
removing your hand from the steering
wheel.
> In many cases, the entry process is sup-
ported by means of announcements or
questions.
> {... } Verbal instructions to use with the voice
operation system.
> {{...}} Identifies the answers generated by
the voice oper ation system.
Voice commands
Activating voice activation system
1.Briefly press the button on the steering
wheel.
2. Say the command.
Finishing voice input
Press the button on the steering wheel
briefly
or
Possible commands
Having possible commands read aloud
Press the button on the steering wheel.
Possible commands are read aloud.
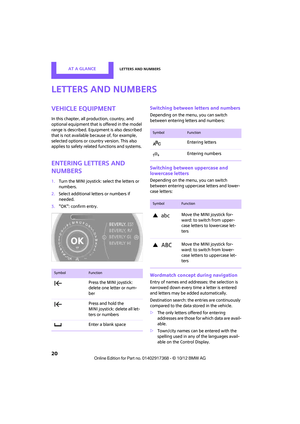
Each digit can be spoken individually or com-
bined into a sequence to accelerate the entry
process.
Using alternative commands
There are often a number of commands to run a
function, e.g.:
Example: dialing phone numbers
1. Briefly press the button on the steering
wheel.
2. {Dial number }
3. The system replies: {{Please say the num-
ber. }}
4. For example: {123 456 7890 }
5. The system replies: {{123 456 7890. Con-
tinue? }}
6. {Dial }
System replies: {{Dialing number. }}
Calling
Dialing phone numbers
The connection to the desired subscriber is
established.
Correcting phone number
Digit sequences can be deleted after the system
has repeated the digits.
The command can be repeated as often as nec-
essary.
Deleting phone number
All digits entered up to this point are deleted.
Redialing
Voice phone book
Depending on how your vehicle is equipped, it
may be necessary to create your own voice
phone book.
{
Cancel} .
{ Help }.
{ Dial name } or {Name }.
1.{Dial number}.
2. Say the phone number.
3. {Dial }.
{ Correct number }.
{ Delete} .
{ Redial }.
00320051004F004C00510048000300280047004C0057004C005200510003
Page 186 of 275

Mobile phone preparation BluetoothCOMMUNICATIONS
185
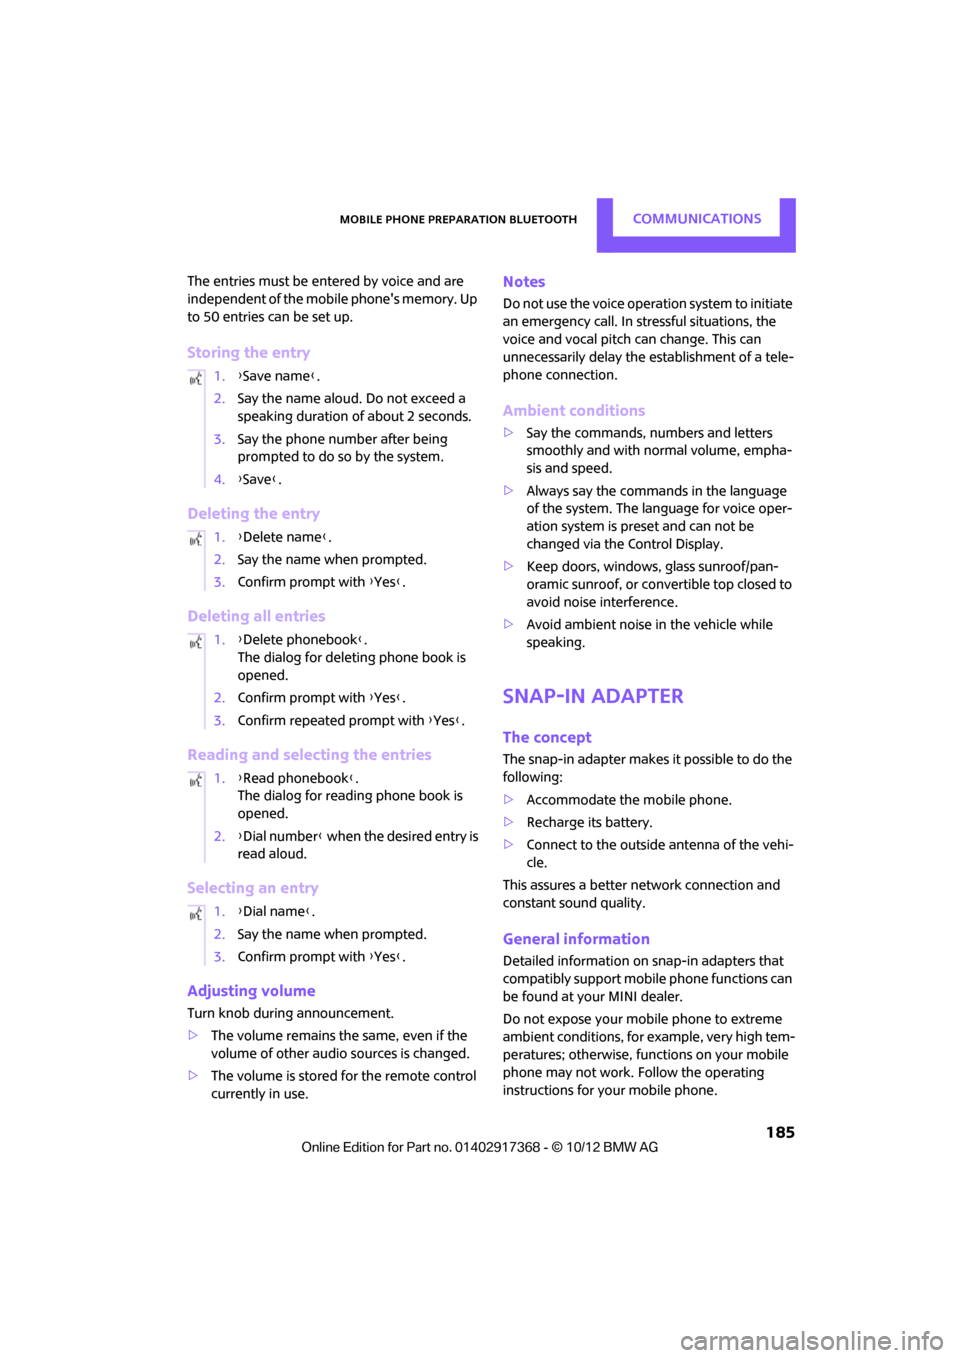
The entries must be entered by voice and are
independent of the mobile phone's memory. Up
to 50 entries can be set up.
Storing the entry
Deleting the entry
Deleting all entries
Reading and selecting the entries
Selecting an entry
Adjusting volume
Turn knob during announcement.
>The volume remains the same, even if the
volume of other audio sources is changed.
> The volume is stored for the remote control
currently in use.
Notes
Do not use the voice operation system to initiate
an emergency call. In stressful situations, the
voice and vocal pitch can change. This can
unnecessarily delay the establishment of a tele-
phone connection.
Ambient conditions
>Say the commands, numbers and letters
smoothly and with normal volume, empha-
sis and speed.
> Always say the commands in the language
of the system. The language for voice oper-
ation system is pres et and can not be
changed via the Control Display.
> Keep doors, windows, glass sunroof/pan-
oramic sunroof, or convertible top closed to
avoid noise interference.
> Avoid ambient noise in the vehicle while
speaking.
Snap-in adapter
The concept
The snap-in adapter makes it possible to do the
following:
>Accommodate the mobile phone.
> Recharge its battery.
> Connect to the outside antenna of the vehi-
cle.
This assures a better network connection and
constant sound quality.
General information
Detailed information on snap-in adapters that
compatibly support mobile phone functions can
be found at your MINI dealer.
Do not expose your mobile phone to extreme
ambient conditions, for example, very high tem-
peratures; otherwise, functions on your mobile
phone may not work. Follow the operating
instructions for your mobile phone.
1.
{Save name }.
2. Say the name aloud. Do not exceed a
speaking duration of about 2 seconds.
3. Say the phone number after being
prompted to do so by the system.
4. {Save }.
1. {Delete name }.
2. Say the name when prompted.
3. Confirm prompt with {Yes }.
1. {Delete phonebook }.
The dialog for deleti ng phone book is
opened.
2. Confirm prompt with {Yes }.
3. Confirm repeated prompt with {Yes }.
1. {Read phonebook }.
The dialog for reading phone book is
opened.
2. {Dial number } when the desired entry is
read aloud.
1. {Dial name }.
2. Say the name when prompted.
3. Confirm prompt with {Yes }.
00320051004F004C00510048000300280047004C0057004C005200510003
Page 187 of 275
COMMUNICATIONSMobile phone preparation Bluetooth
186
Installation location
In the center armrest.
Inserting snap-in adapter
1.Press the button and remove the cover.
2. Insert the snap-in ad apter at the front,
arrow 1, and press downward, arrow 2, until
it clicks into place.
Inserting mobile phone
1. Depending on the mobile phone, it may be
necessary to remove the protective cap of
the antenna connector and from the USB
connection of the mobile phone.
2. Push the mobile phone with the buttons fac-
ing upward toward the electrical connec-
tions and press down until it engages.
Removing mobile phone
Press the button and remove the mobile phone.
00320051004F004C00510048000300280047004C0057004C005200510003
Page 188 of 275

OfficeCOMMUNICATIONS
187
Office
Vehicle equipment
In this chapter, all production, country, and
optional equipment that is offered in the model
range is described. Equipment is also described
that is not available because of, for example,
selected options or count ry version. This also
applies to safety related functions and systems.
Overview
General information
Contacts, appointments, tasks, notes, text mes-
sages and mobile phone e-mails can be dis-
played using the Control Display if the mobile
phone compatibly supports these functions and
the required Bluetooth radio standards.
For information about which mobile phones and
functions are available, go to www.mini.com/
connectivity.
A limited number of compatible mobile phones
are available for Office.
Contents are only displayed completely when
the vehicle is stopped.
Only read access to the mobile phone is possi-
ble.
Do not use Office while driving. Make
entries only when traffic and road condi-
tions permit; otherwise, you may endanger
vehicle occupants and other road users by being
distracted. <
Requirements
>A suitable mobile phon e is paired with the
vehicle and connected . In some mobile
phones, the data access to the mobile
phone must be confirmed. >
Time zones, time, and date, refer to
page 66, are correctly adju sted on the Con-
trol Display and on the mobile phone in
order, for example, to correctly display
appointments.
Updating
Every time that the mobile phone is connected
to the vehicle, data ar e updated. Appointments,
tasks, notes and reminders can be updated sep-
arately.
1. "Office"
2. "Current office", "C alendar", "Tasks",
"Notes" or "Reminders"
3. Open "Options".
4. "Update data"
Data from the mobile phone are again trans-
ferred to the vehicle.
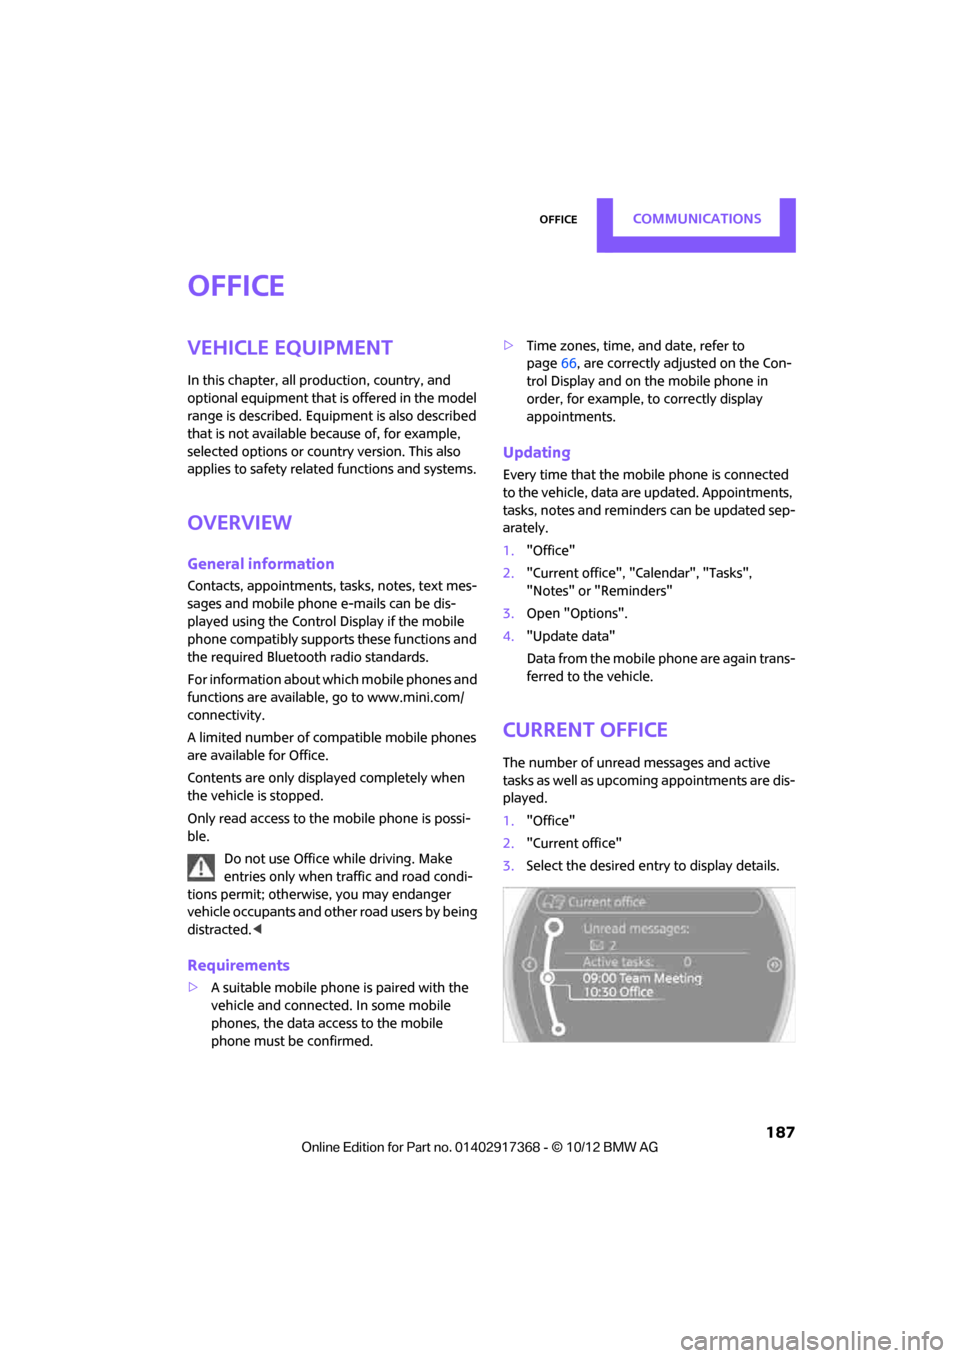
Current office
The number of unread messages and active
tasks as well as upcoming appointments are dis-
played.
1. "Office"
2. "Current office"
3. Select the desired entry to display details.
00320051004F004C00510048000300280047004C0057004C005200510003
Page 189 of 275

COMMUNICATIONSOffice
188
Contacts
General information
Contacts can be created and edited. The con-
tacts from the mobile phone are displayed as
well if this function is supported by the mobile
phone. The addresses can be used as destina-
tions for navigation and the phone numbers can
be dialed.
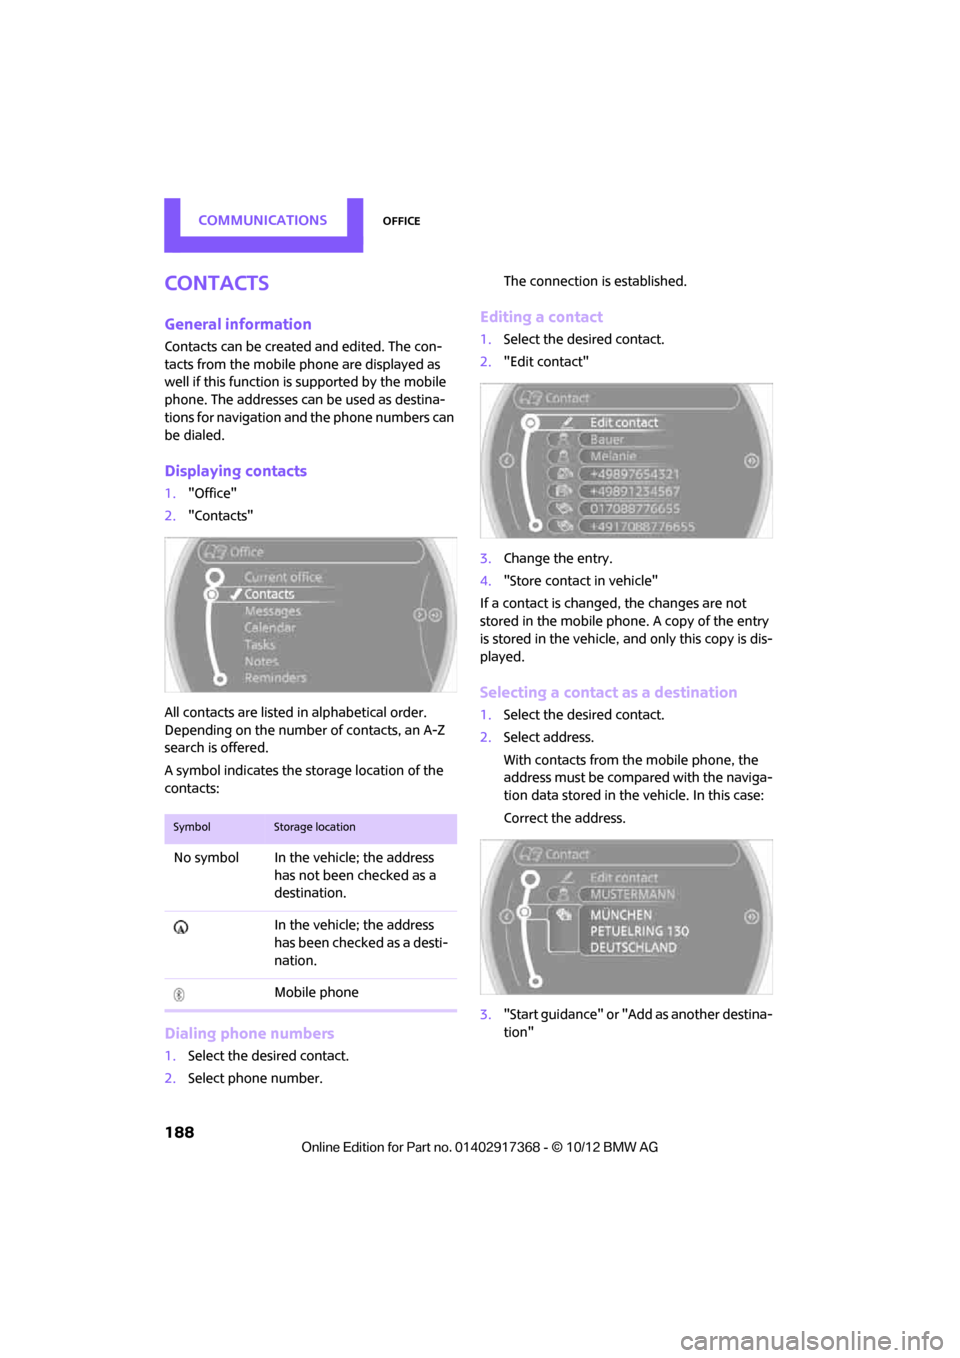
Displaying contacts
1. "Office"
2. "Contacts"
All contacts are listed in alphabetical order.
Depending on the number of contacts, an A-Z
search is offered.
A symbol indicates the st orage location of the
contacts:
Dialing phone numbers
1. Select the desired contact.
2. Select phone number. The connection is established.
Editing a contact
1.
Select the desired contact.
2. "Edit contact"
3. Change the entry.
4. "Store contact in vehicle"
If a contact is change d, the changes are not
stored in the mobile phone. A copy of the entry
is stored in the vehicle, and only this copy is dis-
played.
Selecting a contact as a destination
1. Select the desired contact.
2. Select address.
With contacts from the mobile phone, the
address must be compared with the naviga-
tion data stored in the vehicle. In this case:
Correct the address.
3. "Start guidance" or "Add as another destina-
tion"
SymbolStorage location
No symbol In the vehicle; the address
has not been checked as a
destination.
In the vehicle; the address
has been checked as a desti-
nation.
Mobile phone
00320051004F004C00510048000300280047004C0057004C005200510003
Page 190 of 275

OfficeCOMMUNICATIONS
189
Checking the address as a destination
An address that is to be used in route guidance
must correspond to the navigation data stored
in the vehicle. The address can be checked to
ensure this.
1.Select the desired contact and highlight the
address.
2. Open "Options".
3. "Check as destination"
4. Correct and store the address, if necessary.
If the address is corrected and stored, a copy of
it is stored in the vehicle. The address is not
changed on the mobile phone.
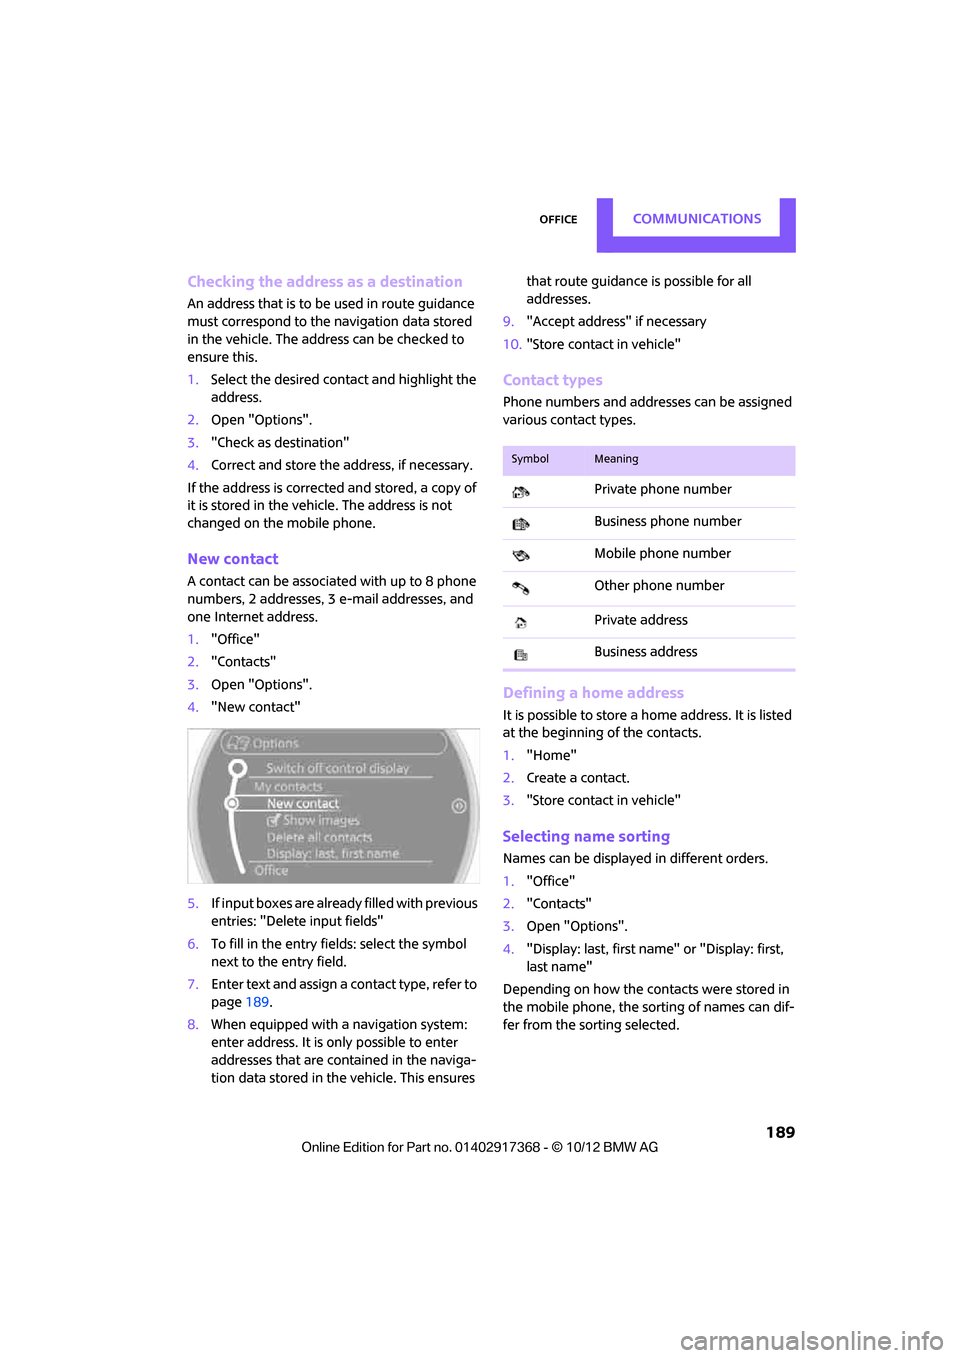
New contact
A contact can be associated with up to 8 phone
numbers, 2 addresses, 3 e-mail addresses, and
one Internet address.
1. "Office"
2. "Contacts"
3. Open "Options".
4. "New contact"
5. If input boxes are already filled with previous
entries: "Delete input fields"
6. To fill in the entry fields: select the symbol
next to the entry field.
7. Enter text and assign a contact type, refer to
page 189.
8. When equipped with a navigation system:
enter address. It is only possible to enter
addresses that are cont ained in the naviga-
tion data stored in the vehicle. This ensures that route guidance is possible for all
addresses.
9. "Accept address" if necessary
10. "Store contact in vehicle"
Contact types
Phone numbers and addresses can be assigned
various contact types.
Defining a home address
It is possible to store a ho me address. It is listed
at the beginning of the contacts.
1. "Home"
2. Create a contact.
3. "Store contact in vehicle"
Selecting name sorting
Names can be displayed in different orders.
1."Office"
2. "Contacts"
3. Open "Options".
4. "Display: last, first name " or "Display: first,
last name"
Depending on how the contacts were stored in
the mobile phone, the sorting of names can dif-
fer from the sorting selected.
SymbolMeaning
Private phone number
Business phone number
Mobile phone number
Other phone number
Private address
Business address
00320051004F004C00510048000300280047004C0057004C005200510003
Page 191 of 275

COMMUNICATIONSOffice
190
Displaying contact pictures
Pictures stored with contacts are stored in the
vehicle when the mobile phone is connected to
the vehicle. The number of pictures transmitted
depends on the mobile phone. The mobile
phone must support this function.
1."Office"
2. "Contacts"
3. Open "Options".
4. "Configure Bluetooth®"
5. "Show images"
The display of all contact pictures is activated or
deactivated.
Deleting contacts
Only contacts that are stored in the vehicle are
deleted. The contacts on the mobile phone can-
not be deleted.
1. "Office"
2. "Contacts"
3. Highlight the contact.
4. "Options"
5. "Delete contact" or "Delete all contacts".
Messages
General information
The displaying of text messages and e-mails
depends on whether the mobile phone supports
transmission to the vehicle. Text messages and
e-mails may not be supported by the service
provider or the function may have to be sepa-
rately activated. After a mobile phone is paired
for the first time, the transmission may take sev-
eral minutes. Messages are only displayed com-
pletely when the vehicle is stopped. Messages
from the auxiliary phone are not transmitted.
Displaying messages
1."Office"
2. "Messages"
Message type
A symbol indicates the type of message.
Read message.
Unread message.
Filtering message lists
A message list can be filtered if there is more
than one message type.
1. "Filter:"
2. Select message type.
>"All"
All messages are displayed.
> "Text message"
Only text messages from mobile phones
are displayed.
> "E-mail"
Only text messages from mobile phones
are displayed.
Text message
Calling a text message sender
1. Select the desired message.
2. Select the symbol.
Saving sender in the contacts
1.Highlight the desired message.
2. Open "Options".
3. "Store as new contact" or "Add to existing
contact"
Using contact data
Contact data from deadli nes, tasks, text mes-
sages, e-mails and notes can be stored or
selected, see page 193.
SymbolMessage type
Text message
E-mail from mobile phone
00320051004F004C00510048000300280047004C0057004C005200510003
Page 192 of 275

OfficeCOMMUNICATIONS
191
Reading text messages aloud
Reading text messages aloud, refer to page193.
E-mail
Displaying e-mail
1."Office"
2. "Messages"
3. Select the desired message.
Displaying e-mail contacts
If the sender and receiver of an e-mail were
transmitted from a mobile phone, they will be
displayed in the e-mail.
"Sender/Recipient"
If the e-mail address is stored in the contacts,
then the contact is displayed. Select contact to
display details.
If the e-mail address is not stored in the con-
tacts, then it may be that only the e-mail address
is displayed.
Using contact data
Contact data from deadlines, tasks, text mes-
sages, e-mails and notes can be stored or
selected, see page 193.
Deactivating entire display
When opening an e-mail when in the vehicle, it
is completely transferred to the vehicle. This
may result in charges.
1."Office"
2. "Messages"
3. Open "Options".
4. "Fully download e-mails"
Only a part of an e-mail from a mobile
phone is loaded into the vehicle.
Reading e-mail
Reading e-mail, see page 193.
Calendar
Displaying calendar
Appointments from the last 20 days and the
next 50 days can be displayed.
1."Office"
2. "Calendar"
Appointments of the current day are dis-
played.
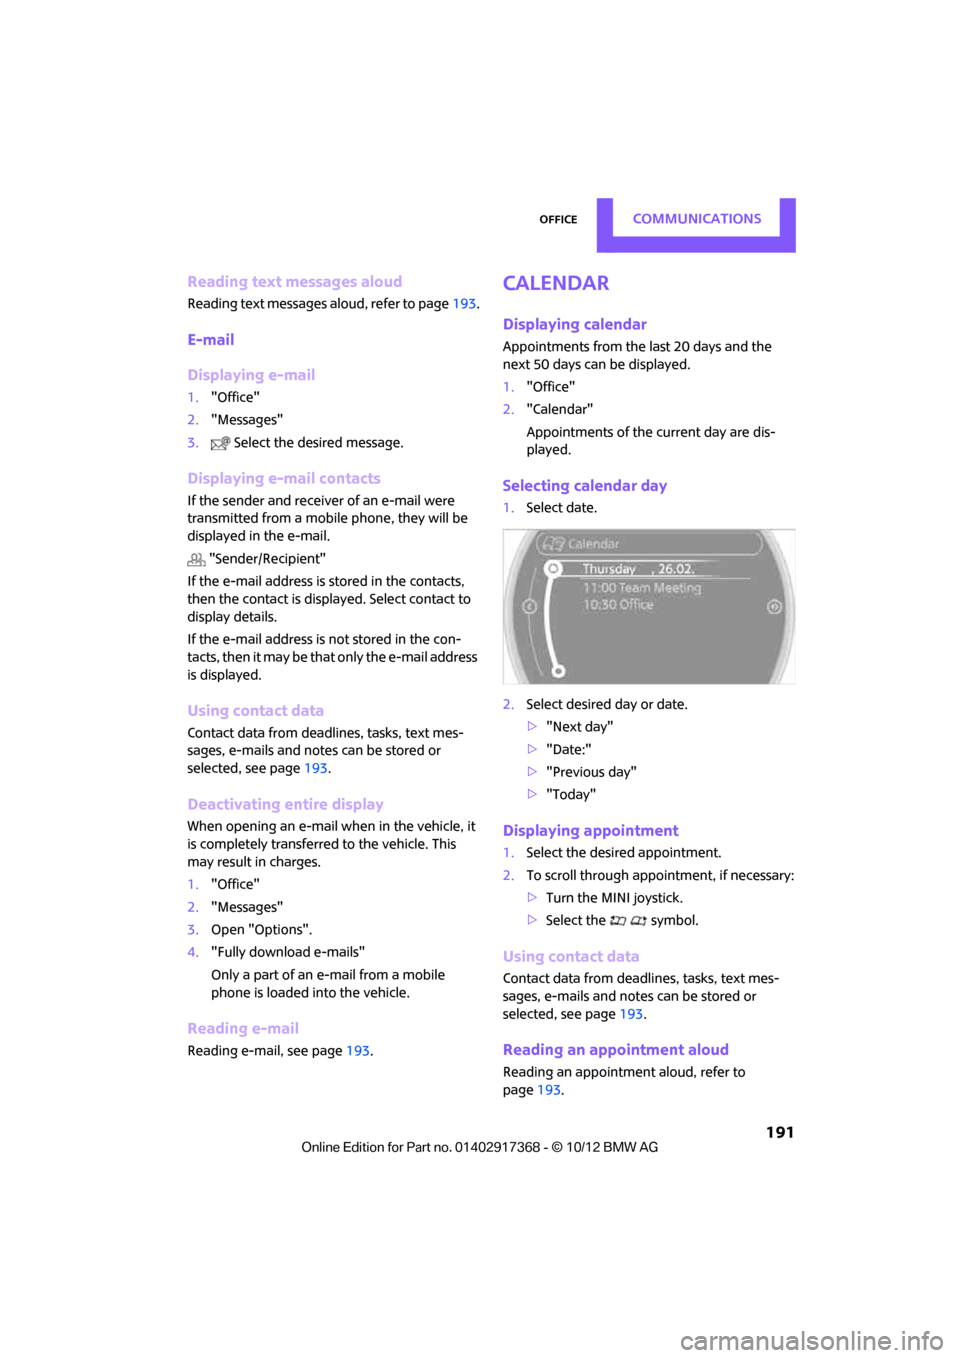
Selecting calendar day
1.Select date.
2. Select desired day or date.
>"Next day"
> "Date:"
> "Previous day"
> "Today"
Displaying appointment
1. Select the desired appointment.
2. To scroll through appointment, if necessary:
>Turn the MINI joystick.
> Select the symbol.
Using contact data
Contact data from deadli nes, tasks, text mes-
sages, e-mails and notes can be stored or
selected, see page 193.
Reading an appointment aloud
Reading an appointment aloud, refer to
page193.
00320051004F004C00510048000300280047004C0057004C005200510003