2013 MERCEDES-BENZ SL-CLASS ROADSTER warning light
[x] Cancel search: warning lightPage 174 of 572

Setting the specified minimum distance
G
WARNING
It is up to the driver to exercise discretion to
select the appropriate setting given road
conditions, traffic, driver's preferred driving
style and applicable laws and driving
recommendations for
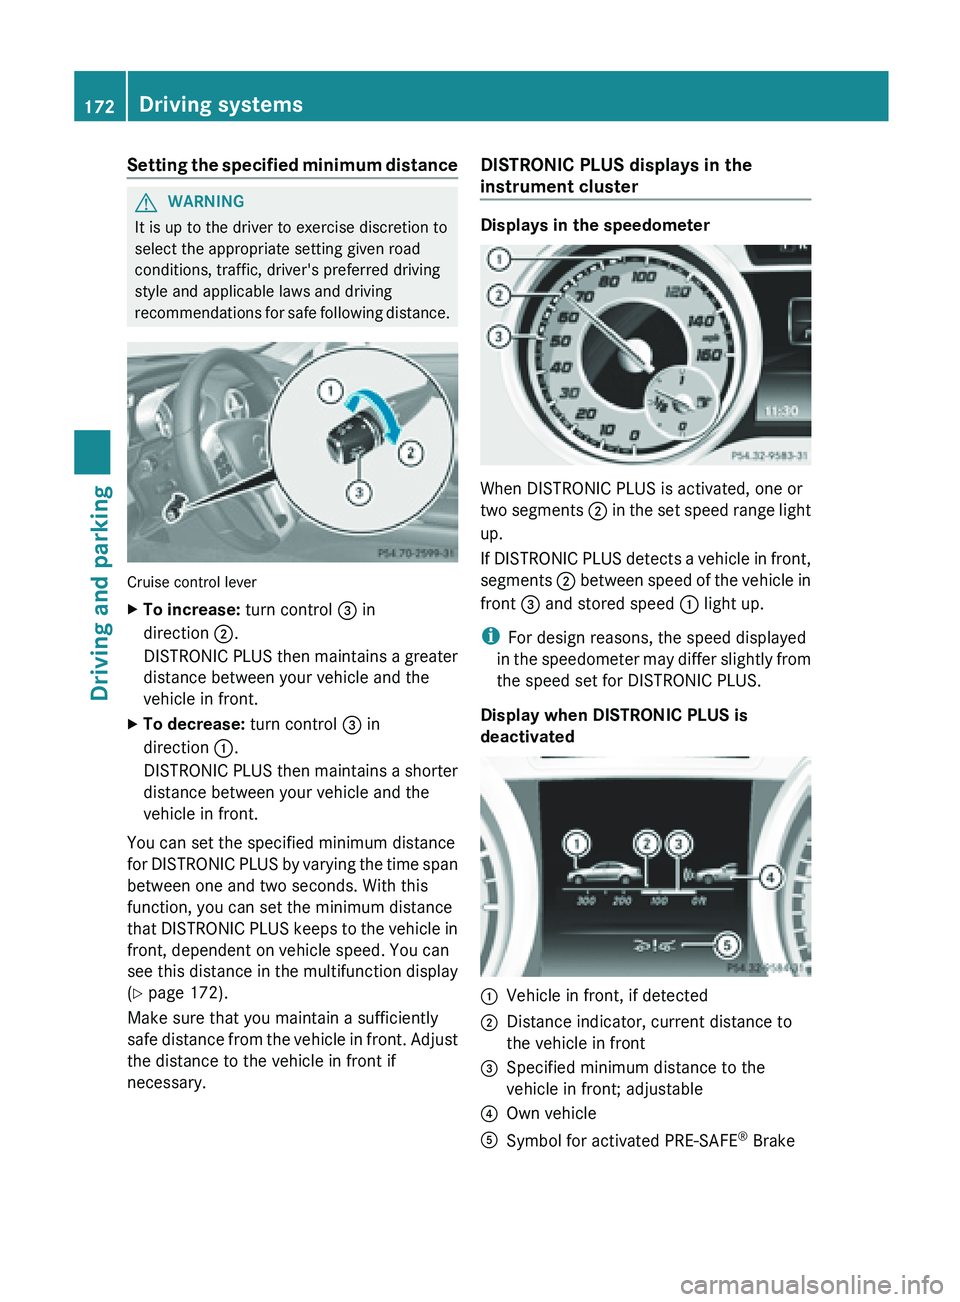
safe following distance.Cruise control lever
X
To increase: turn control = in
direction ;.
DISTRONIC PLUS
then maintains a greater
distance between your vehicle and the
vehicle in front.
X To decrease: turn control = in
direction :.
DISTRONIC PLUS
then maintains a shorter
distance between your vehicle and the
vehicle in front.
You can set the specified minimum distance
for DISTRONIC
PLUS by varying the time span
between one and two seconds. With this
function, you can set the minimum distance
that DISTRONIC PLUS keeps to the vehicle in
front, dependent on vehicle speed. You can
see this distance in the multifunction display
(Y page 172).
Make sure that you maintain a sufficiently
safe distance from the vehicle in front. Adjust
the distance to the vehicle in front if
necessary. DISTRONIC PLUS displays in the
instrument cluster Displays in the speedometer
When DISTRONIC PLUS is activated, one or
two
segments ;
in the set speed range light
up.
If DISTRONIC PLUS detects a vehicle in front,
segments ; between speed of the vehicle in
front = and stored speed : light up.
i For design reasons, the speed displayed
in the speedometer may differ slightly from
the speed set for DISTRONIC PLUS.
Display when DISTRONIC PLUS is
deactivated :
Vehicle in front, if detected
; Distance indicator, current distance to
the vehicle in front
= Specified minimum distance to the
vehicle in front; adjustable
? Own vehicle
A Symbol for activated PRE-SAFE ®
Brake 172
Driving systems
Driving and parking
Page 177 of 572

Other vehicles changing lanes
DISTRONIC PLUS has not detected the
vehicle cutting in yet. The distance to this
vehicle will be too short.
Narrow vehicles
DISTRONIC PLUS has not yet detected the
vehicle in front on the edge of the road,
because of its narrow width. The distance to
the vehicle in front will be too short.
Obstructions and stationary vehicles
DISTRONIC PLUS does not brake for
obstacles or stationary vehicles. If, for example, the detected vehicle turns a corner
and
reveals
an obstacle or stationary vehicle,
DISTRONIC PLUS will not brake for these.
Crossing vehicles DISTRONIC PLUS may mistakenly detect
vehicles that are crossing your lane.
Activating DISTRONIC PLUS at traffic lights
with
crossing
traffic, for example, could cause
your vehicle to pull away unintentionally. HOLD function
Important safety notes G
WARNING
The vehicle's brakes are applied when the
HOLD function is activated. For this reason,
deactivate the
HOLD function if the vehicle is
to be set in motion by other means (e.g. in a
car wash or by towing). G
WARNING
Never get out of the vehicle when the HOLD
function is activated.
The HOLD function must never be operated
or deactivated
by a passenger or from outside
the vehicle.
The HOLD function does not replace the
electric parking brake and must not be used
for parking. Driving systems
175
Driving and parking
Z
Page 179 of 572

R
a system malfunction occurs.
R the power supply is not sufficient.
If a
malfunction occurs, then the transmission
may also be shifted into position P
automatically. RACE START
Important safety notes G
WARNING
RACE START is only available when SPORT
handling mode is activated. SPORT handling
mode only stabilizes the vehicle to a limited
extent in the event of swerving or wheelspin.
RACE START
should only be used on specially
designated roads. Always adapt your speed
and driving style to the prevailing road and
weather conditions.
RACE START enables optimal acceleration
from a standing start. The precondition for
this is a suitable high-grip road surface.
i RACE START is only available for the
SL 63 AMG model.
Conditions for activation You can activate RACE START if:
R
the doors are closed.
R the engine
is running and it has reached an
operating temperature of approximately
176 ‡ (80 †. This is the case when the
engine oil temperature in the multifunction
display stops flashing.
R SPORT handling mode is activated
(Y page 61).
R the steering wheel is in the straight-ahead
position.
R the vehicle is stationary and the brake
pedal is depressed (left foot).
R the transmission is in position D. Activating RACE START X
Depress the brake pedal with your left foot
and keep it depressed.
X Turn the drive program selector clockwise
(Y page 147) until the RS lamp lights up.
The multifunction
display shows the RACE
START Confirm: Paddle UP Cancel:
Paddle DOWN message.
i If the activation conditions are no longer
fulfilled, RACE START is canceled. The
multifunction display shows the RACE
START Canceled message.
X To cancel: pull the left steering wheel
paddle shifter (
Y
page 148).
or
X To confirm: pull the right steering wheel
paddle shifter ( Y
page 148).
The RACE START Available Depress
gas pedal message appears in the
multifunction display.
i If you do not depress the accelerator
pedal fully within two seconds, RACE
START is canceled. The multifunction
display shows the RACE START Not
Possible See Operator's Manual
message.
X Fully depress the accelerator pedal.
The engine speed increases to at least
3500 rpm.
The RACE START Release brake to
start. message appears in the
multifunction display.
i If you do not release the brake pedal
within five seconds, RACE START is
canceled. The multifunction display shows
the RACE START Canceled message.
X Take your foot off the brake, but keep the
accelerator pedal depressed.
The vehicle pulls away at maximum
acceleration.
The RACE START
Active message appears
in the multifunction display.
RACE START is deactivated when the vehicle
reaches a speed of approximately 30 mph Driving systems
177
Driving and parking Z
Page 181 of 572

Active Body Control (except AMG
vehicles)
Vehicle level Important safety notes
G
WARNING
You can raise and lower the level of the
stationary vehicle using the corresponding
button.
Someone could
become trapped if the vehicle
is raised or lowered.
Therefore, make sure that nobody is in the
vicinity of the wheel housing or under the
vehicle. Otherwise limbs, e.g. hands and feet,
could become trapped.
In order to reduce fuel consumption and
improve the driving dynamics, the vehicle is
lowered as its speed increases. With the
SPORT suspension tuning, it is lowered by up
to 0.5 in (13mm), with COMFORT by up to
0.2 in (5mm). As the speed is reduced, the
vehicle is raised up to the set vehicle height.
Select the "Normal" setting for normal road
surfaces and "Raised" for driving with snow
chains or on particularly poor road surfaces.
Your selection remains stored even if you
remove the SmartKey from the ignition lock. Setting raised level X
Make
sure that the engine is running or that
it has been switched off by the ECO start/
stop function.
X Make sure that a speed of 75 mph
(120 km/h ) is not exceeded.
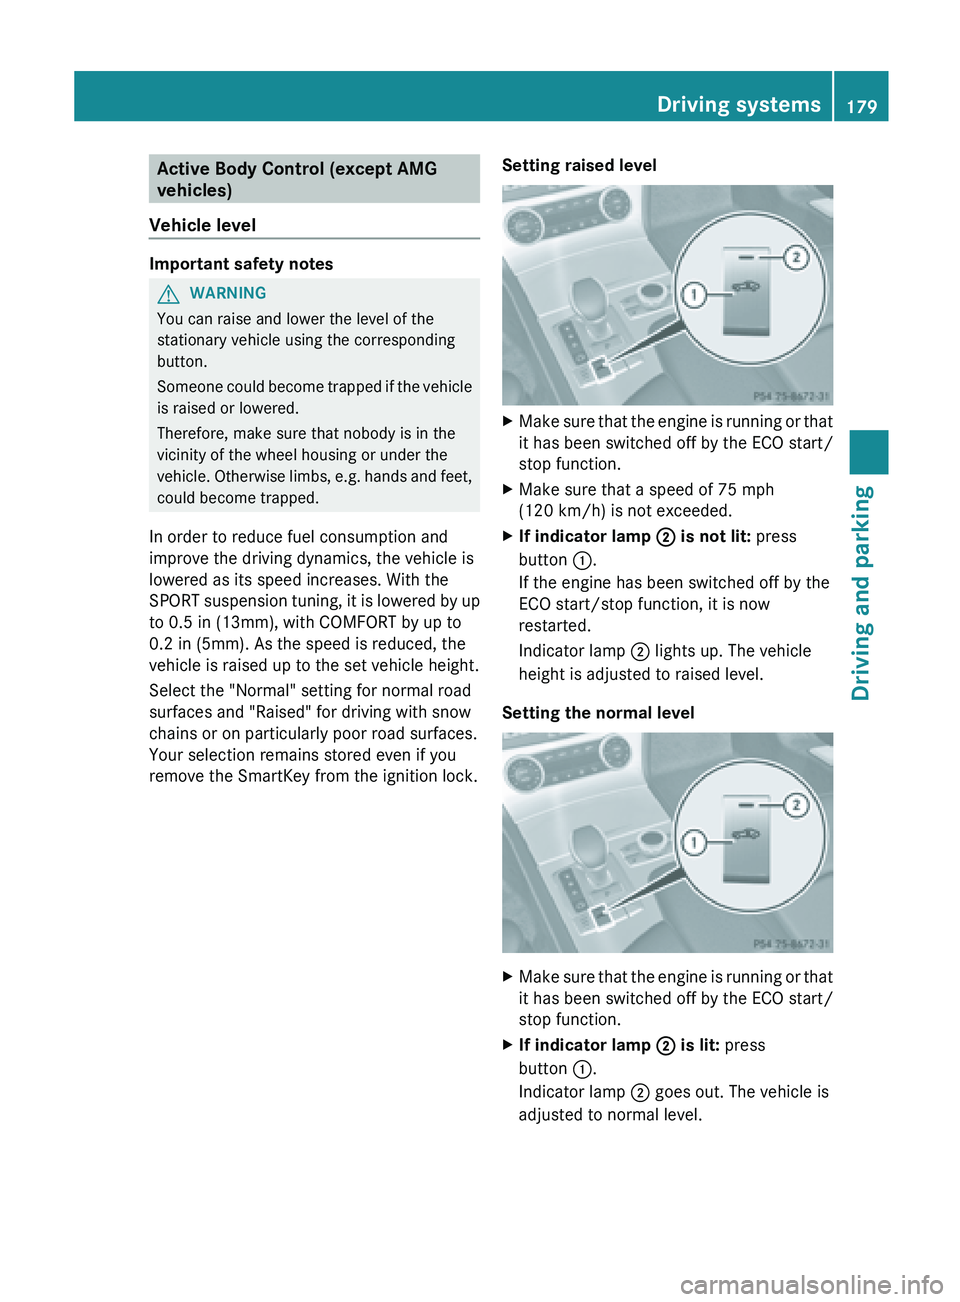
X If indicator lamp
; is not lit: press
button :.
If the engine has been switched off by the
ECO start/stop function, it is now
restarted.
Indicator lamp ; lights up. The vehicle
height is adjusted to raised level.
Setting the normal level X
Make
sure that the engine is running or that
it has been switched off by the ECO start/
stop function.
X If indicator lamp ; is lit: press
button :.
Indicator lamp ; goes out. The vehicle is
adjusted to normal level. Driving systems
179
Driving and parking Z
Page 186 of 572

PARKTRONIC monitors the area around your
vehicle
using
six sensors in the front bumper
and four sensors in the rear bumper.
Range of the sensors General notes
:
Sensors in the front bumper, left-hand
side (example) Side view
Top view
The sensors must be free of dirt, ice and
slush. Otherwise, they may not function
correctly.
Clean
the sensors regularly, taking care not to scratch or damage them
(Y page 504).
Front sensors
Center approximately 40in
(approximately
100cm) Corners approximately 24in
(approximately
60cm) Rear sensors
Center approximately 48in
(approximately
120cm) Corners approximately 32in
(approximately
80cm) Minimum distance
Center approximately 8in
(approximately
20cm) Corners approximately 6in
(approximately
15cm) If there is an obstacle within this range, the
relevant warning displays light up and a
warning tone sounds. If the distance falls
below the minimum, the distance may no
longer be shown.184
Driving systems
Driving and parking
Page 187 of 572

Warning displays
Warning display for the front area
:
Segments on the left-hand side of the
vehicle
; Segments on the right-hand side of the
vehicle
= Segments showing operational readiness
The warning displays show the distance
between the sensors and the obstacle. The
warning display for the front area is located
on the
dashboard above the center air vents.
The warning display for the rear area is
located on the cover behind the seats in the
rear compartment.
The warning display for each side of the
vehicle is divided into five yellow and two red
segments. PARKTRONIC is operational if
yellow segments showing operational
readiness = light up.
The selected transmission position and the
direction in which the vehicle is rolling
determine which warning display is active
when the engine is running. Transmission
position Warning display
D
Front area activated
R, N or the vehicle
is rolling
backwards Rear and front areas
activated
P
No areas activated One or more segments light up as the vehicle
approaches an obstacle, depending on the
vehicle's distance from the obstacle.
R
Front area: following the sixth segment,
you will hear an intermittent warning tone.
From the seventh segment, you will hear a
continuous warning
tone for approximately
two seconds. This indicates that you have
now reached the minimum distance.
R Rear area: from the first segment onwards,
you will hear an intermittent warning tone.
The interval gets shorter after each
segment. At the seventh segment, you will
hear a continuous warning tone for
approximately two seconds. This indicates
that you have now reached the minimum
distance.
Deactivating/activating PARKTRONIC :
Indicator lamp
; To deactivate/activate PARKTRONIC
If indicator lamp : lights
up, PARKTRONIC is
deactivated. Active Park Assist is then also
deactivated.
i PARKTRONIC is automatically activated
when you turn the key to position 2 in the
ignition lock. Driving systems
185
Driving and parking Z
Page 188 of 572

Problems with PARKTRONIC
Problem Possible causes/consequences and
M SolutionsOnly the red segments
in the PARKTRONIC
warning
displays
are lit.
You also hear a warning
tone for approximately
two seconds.
PARKTRONIC is
deactivated after
approximately five
seconds, and the
indicator lamp in the
PARKTRONIC button
lights up. PARKTRONIC has malfunctioned and has switched off.
X
If problems persist, have PARKTRONIC checked at a qualified
specialist workshop. Only the red segments
in the PARKTRONIC
warning
displays
are lit.
PARKTRONIC is
deactivated after
approximately five
seconds. The PARKTRONIC sensors are dirty or there is interference.
X
Clean the PARKTRONIC sensors ( Y page 504).
X Switch the ignition back on. The problem may be caused by an external source of radio or
ultrasound waves.
X
See if PARKTRONIC functions in a different location. Active Parking Assist
Important safety notes G
WARNING
PARKTRONIC and Active Parking Assist are
merely parking aids and may not detect all
obstacles. They do not relieve you of the
responsibility of paying attention.
You are always responsible for safety and
must continue to pay attention to your
immediate surroundings when parking,
exiting parking
spaces and maneuvering. You
could otherwise endanger yourself and
others. G
WARNING
When parking or exiting a parking space, you
need to make sure that no obstacles are
located in
the vicinity of the vehicle during the entire operation. Active Parking Assist does
not relieve you of the responsibility of paying
attention. It merely aids you by intervening
actively in the steering.
To stop the vehicle or to avoid an accident,
you need to apply the brakes yourself.
G
WARNING
Make sure no persons or animals are in or
near the area in which you are parking/
maneuvering. Otherwise, they could be
injured.
! If unavoidable, you should drive over
obstacles such as curbs slowly and not at
a sharp
angle. Otherwise, you may damage
the wheels or tires.
Active Parking Assist is an electronic parking
aid with ultrasound. Active steering
intervention can assist you when parking or 186
Driving systems
Driving and parking
Page 192 of 572

X
Shift the transmission to position D or R as
required while the vehicle is stationary.
Active Parking Assist immediately steers in
the other direction.
i You will achieve the best results by
waiting for the steering procedure to
complete before pulling away.
If you
back up after activation, the steering
wheel is moved to the straight-ahead
position.
X Drive forwards or back up the vehicle, being
ready to brake at all times.
X Stop as soon as PARKTRONIC sounds the
continuous warning tone, if not before.
X Drive forwards and back up as instructed
by the PARKTRONIC warning displays.
Once you have exited the parking space
completely, the steering wheel is moved to
the straight-ahead position. You hear a tone
and the message Park Assist Finished
appears in
the multifunction display. You will
then have to steer and merge into traffic on
your own. PARKTRONIC is still available.
Canceling Active Parking Assist You can cancel Active Parking Assist at any
time.
X
Stop the movement of the multifunction
steering wheel or steer yourself.
Active Parking Assist will be canceled at
once. The Park Assist canceled
message appears in the multifunction
display.
or
X Press the PARKTRONIC button on the
center console (
Y page 185).
PARKTRONIC is switched off and Active
Parking Assist is immediately canceled.
The Park Assist canceled message
appears in the multifunction display. Active Parking Assist is canceled
automatically if:
R
parking using Active Parking Assist is no
longer possible.
R you are driving faster than 6mph
(10 km/h).
R a wheel
spins, ESP®
intervenes or fails. The
÷ ESP warning lamp lights up in the
instrument cluster.
A warning tone sounds. The parking space
symbol disappears and the multifunction
display shows the Park Assist canceled
message.
When Active Parking Assist is canceled, you
must steer again yourself. Rear view camera
Important safety notes G
WARNING
Make sure that no persons or animals are in
the maneuvering range. Otherwise, they
could be injured. G
WARNING
The rear view camera is only an aid and may
display obstacles
R from a distorted perspective
R inaccurately
R may not display obstacles at all
The rear view camera does not relieve you of
the responsibility to be cautious. Take care
and pay careful attention. The rear view
camera may not show objects which are
R very close to the rear bumper
R under the rear bumper
R above the trunk handle
You are
responsible for safety at all times and
must continue to pay attention to the
immediate surroundings when parking and
maneuvering. This includes the area behind,
in front of, and beside the vehicle. Otherwise
you could endanger yourself and/or others. 190
Driving systems
Driving and parking