2013 MERCEDES-BENZ SL-CLASS ROADSTER reset
[x] Cancel search: resetPage 297 of 572
If you select
Yes, a prompt will appear again
asking whether you really wish to reset.
X Select Yes or No and press W to confirm.
If you
select Yes, a message will be shown.
COMAND is reset and restarted.
If you select No, the process will be
canceled.
i Resetting personal COMAND data does
not reset the Internet and online settings
(Y page 401). Likewise, resetting the
Internet and
online settings does not reset
personal COMAND data. Navigation
Introduction
Safety notes G
WARNING
For safety reasons, only enter a new
destination when the vehicle is stationary.
When you are driving, another passenger
should enter the destination. Read the
Operator's Manual and select the route
before driving.
Bear in mind that at a speed of only 30 mph
(approximately 50 km/h
), the vehicle covers
a distance of 44 feet (approximately 14 m) per
second.
COMAND calculates the route to the
destination without taking account of the
following, for example:
R traffic lights
R stop and give way signs
R merging lanes
R parking or stopping in a no parking/no
stopping zone
R other road and traffic rules and regulations
R narrow bridges G
WARNING
COMAND may give incorrect navigation
commands if
the actual road/traffic situation
no longer corresponds to the data on the digital map. Digital maps do not cover all
areas nor all routes in an area. For example,
a route may have been diverted or the
direction of a one-way street may have
changed.
For
this
reason, you must always observe road
and traffic rules and regulations during your
journey. Road and traffic rules and regulations
always have priority over the system's driving
recommendations. G
WARNING
Navigation announcements are intended to
direct you
while driving without diverting your
attention from the road and driving.
Please always use this feature instead of
consulting the map display for directions.
Looking at the icons or map display can
distract you from traffic conditions and
driving, and increase the risk of an accident.
General notes Operational readiness of the navigation
system
The navigation system must determine the
position of the vehicle before first use or
whenever operational status is restored.
Therefore, you may have to drive for a while
before precise route guidance is possible.
GPS reception
Correct functioning of the navigation system
depends, amongst other things, on GPS
reception. In certain situations, GPS
reception may be impaired, there may be
interference or there may be no reception at
all, e.g. in tunnels or parking garages.
Entry restriction
On vehicles for certain countries, there is a
restriction on entering data.
The
restriction
is active from a vehicle speed
of above approximately 3 mph (5 km/h). As
soon as the speed falls below approximately Navigation
295
COMAND Z
Page 312 of 572
X
To store the waypoint in the destination
memory: select Presets with the
COMAND controller and press W to
confirm.
Once you
have accepted the waypoint, it is
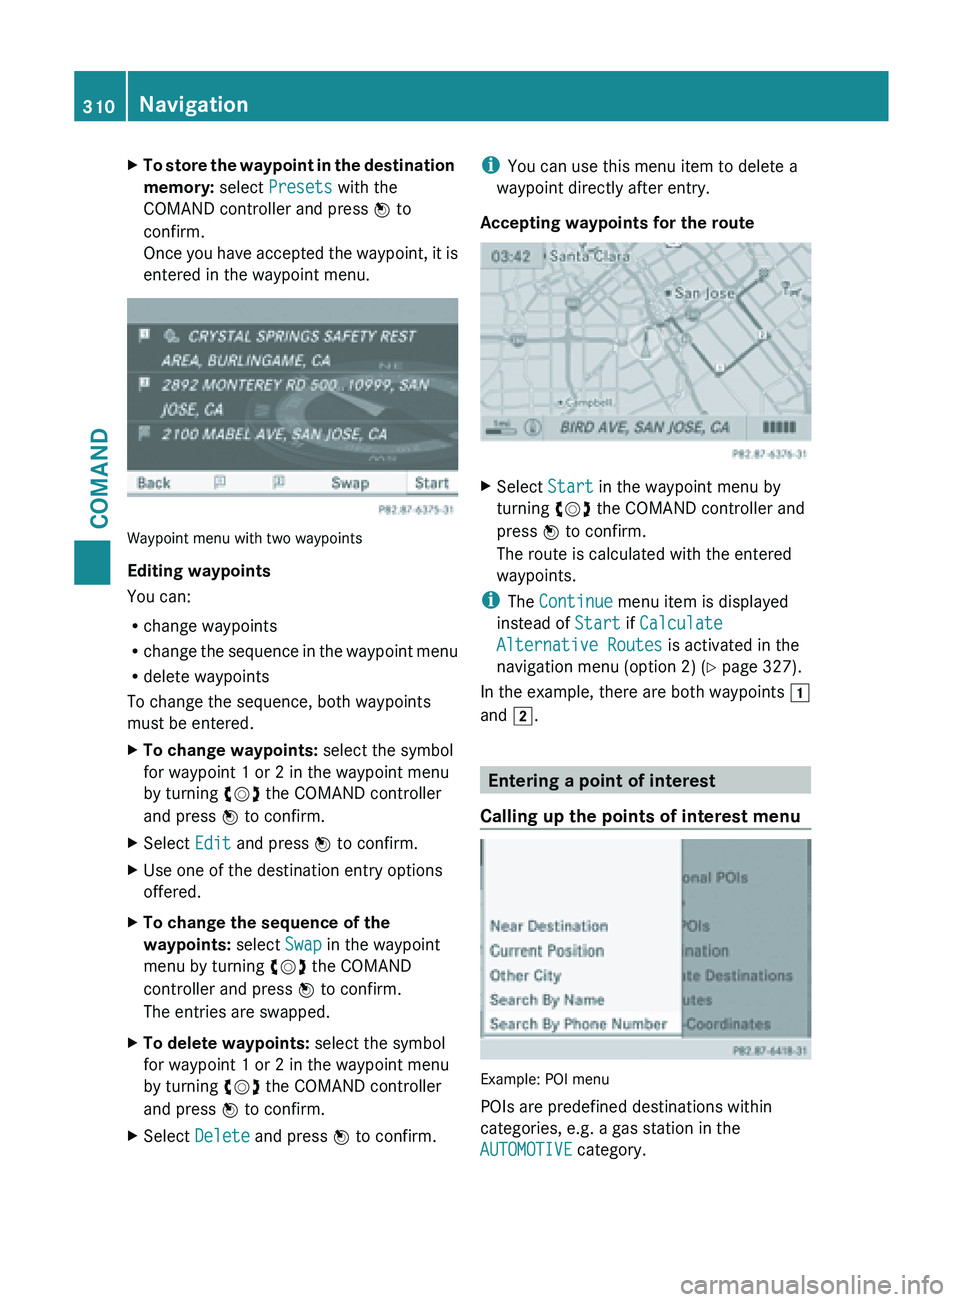
entered in the waypoint menu. Waypoint menu with two waypoints
Editing waypoints
You can:
R
change waypoints
R change the
sequence in the waypoint menu
R delete waypoints
To change the sequence, both waypoints
must be entered.
X To change waypoints: select the symbol
for waypoint 1 or 2 in the waypoint menu
by turning cVd the COMAND controller
and press W to confirm.
X Select Edit and press W to confirm.
X Use one of the destination entry options
offered.
X To change the sequence of the
waypoints: select Swap in the waypoint
menu by turning cVd the COMAND
controller and press W to confirm.
The entries are swapped.
X To delete waypoints: select the symbol
for waypoint 1 or 2 in the waypoint menu
by turning cVd the COMAND controller
and press W to confirm.
X Select Delete and press W to confirm. i
You can use this menu item to delete a
waypoint directly after entry.
Accepting waypoints for the route X
Select Start in the waypoint menu by
turning cVd the COMAND controller and
press W to confirm.
The route is calculated with the entered
waypoints.
i The Continue menu item is displayed
instead of Start if Calculate
Alternative Routes is activated in the
navigation menu (option 2) ( Y page 327).
In the example, there are both waypoints 1
and 2. Entering a point of interest
Calling up the points of interest menu Example: POI menu
POIs are predefined destinations within
categories, e.g. a gas station in the
AUTOMOTIVE category.310
NavigationCOMAND
Page 368 of 572
Option 2:
X
Call up the telephone basic menu
(Y page 363).
X Select Call Lists by sliding VÆ and
turning cVd the COMAND controller and
press W to confirm.
A menu appears.
X Select Speed Dial Preset List by
turning cVd the COMAND controller and
press W to confirm.
The speed dial list appears.
X Select preset and press W to confirm.
The basic telephone menu displays the
selected entry. This initiates dialing.
Functions available during a call Overview
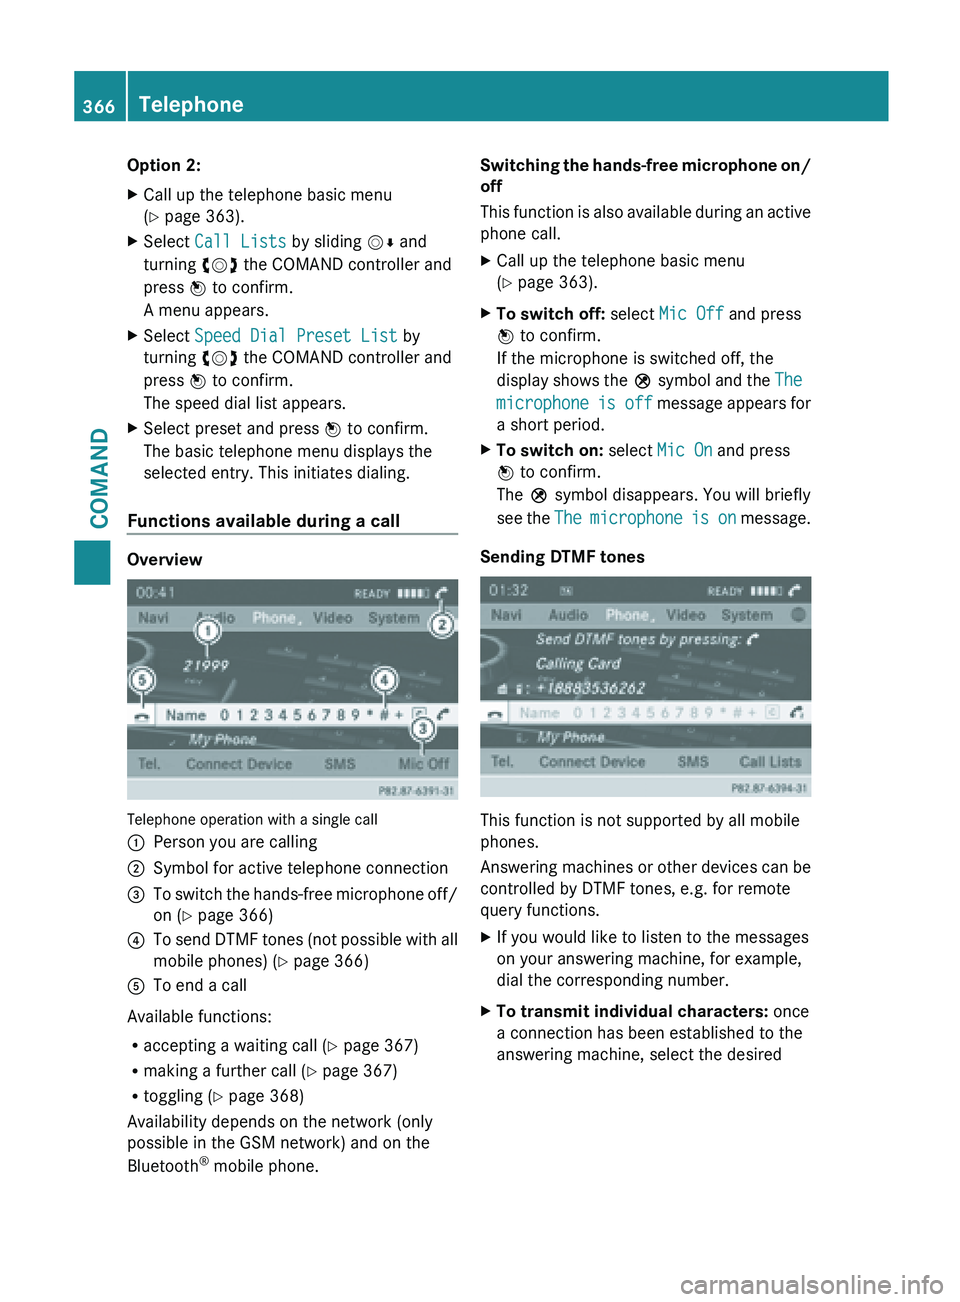
Telephone operation with a single call
:
Person you are calling
; Symbol for active telephone connection
= To switch the hands-free microphone off/
on (Y page 366)
? To send DTMF tones (not possible with all
mobile phones) (
Y
page 366)
A To end a call
Available functions:
R accepting a waiting call (Y
page 367)
R making a further call ( Y page 367)
R toggling (Y page 368)
Availability depends on the network (only
possible in the GSM network) and on the
Bluetooth ®
mobile phone. Switching the hands-free microphone on/
off
This
function
is also available during an active
phone call.
X Call up the telephone basic menu
(Y page 363).
X To switch off: select Mic Off and press
W to confirm.
If the microphone is switched off, the
display shows
the Q symbol and the The
microphone is off message appears for
a short period.
X To switch on: select Mic On and press
W to confirm.
The Q symbol disappears. You will briefly
see the
The
microphone is on message.
Sending DTMF tones This function is not supported by all mobile
phones.
Answering
machines
or other devices can be
controlled by DTMF tones, e.g. for remote
query functions.
X If you would like to listen to the messages
on your answering machine, for example,
dial the corresponding number.
X To transmit individual characters: once
a connection has been established to the
answering machine, select the desired 366
Telephone
COMAND
Page 376 of 572
If you select
No, the process will be
canceled.
X Select the number to be overwritten in the
list by
turning cVd the COMAND controller
and press W to confirm.
COMAND overwrites the selected number
with the new data.
Deleting call lists If you are using a Bluetooth
®
phone
that does
not support the PBAP Bluetooth ®
profile, the
call lists are generated and managed by
COMAND. You can delete these call lists in
COMAND.
If you download call lists from a Bluetooth ®
phone that supports the PBAP Bluetooth ®
profile, you cannot delete them from
COMAND.
X Select Call Lists in the telephone basic
menu by turning cVd the COMAND
controller and press W to confirm.
X Select Delete Call Lists and press W
to confirm.
A prompt
appears asking whether you wish
to delete all call lists.
X Select Yes or No and press W to confirm.
If you select Yes, the call lists are deleted.
If you
select No, the process will be aborted.
i If you delete these call lists from the
mobile phone (see the separate mobile
phone operating instructions), COMAND
updates the
call list display the next time it
connects. Using the speed dial list
Storing an entry You can assign ten speed dial presets (0 – 9)
to the speed dial list. There are two options
available for this purpose. Option 1:
X
Search for a phone book entry in the phone
book (Y page 369).
X If an entry has several phone numbers,
select the desired number by turning
cVd the COMAND controller.
X Select the list symbol to the right of the
entry by sliding VY the COMAND
controller and press W to confirm.
A menu appears.
X Select Speed Dial by turning cVd the
COMAND controller and press W to
confirm.
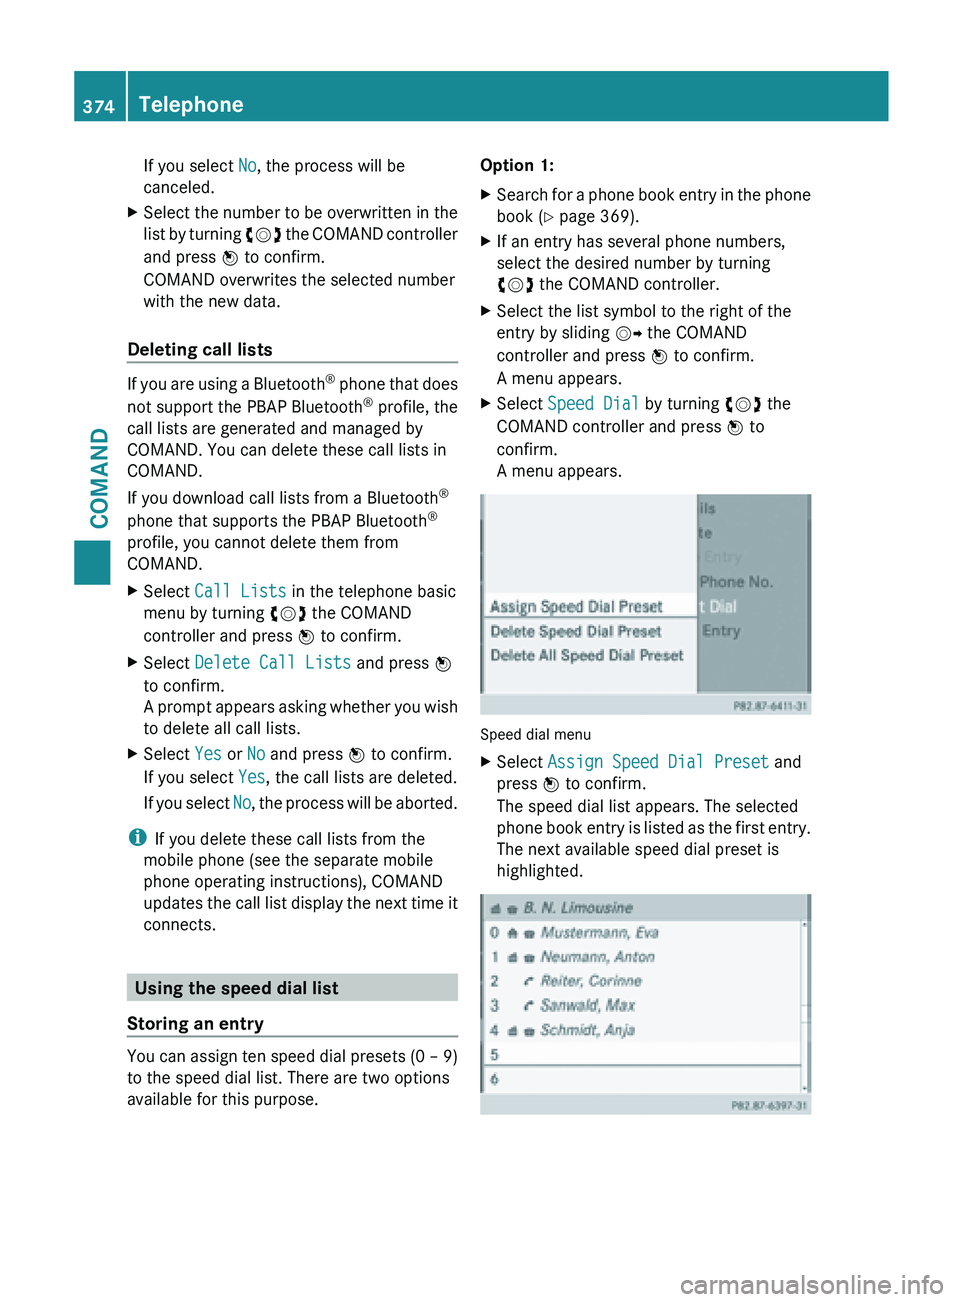
A menu appears. Speed dial menu
X
Select Assign Speed Dial Preset and
press W to confirm.
The speed dial list appears. The selected
phone book
entry is listed as the first entry.
The next available speed dial preset is
highlighted. 374
Telephone
COMAND
Page 377 of 572
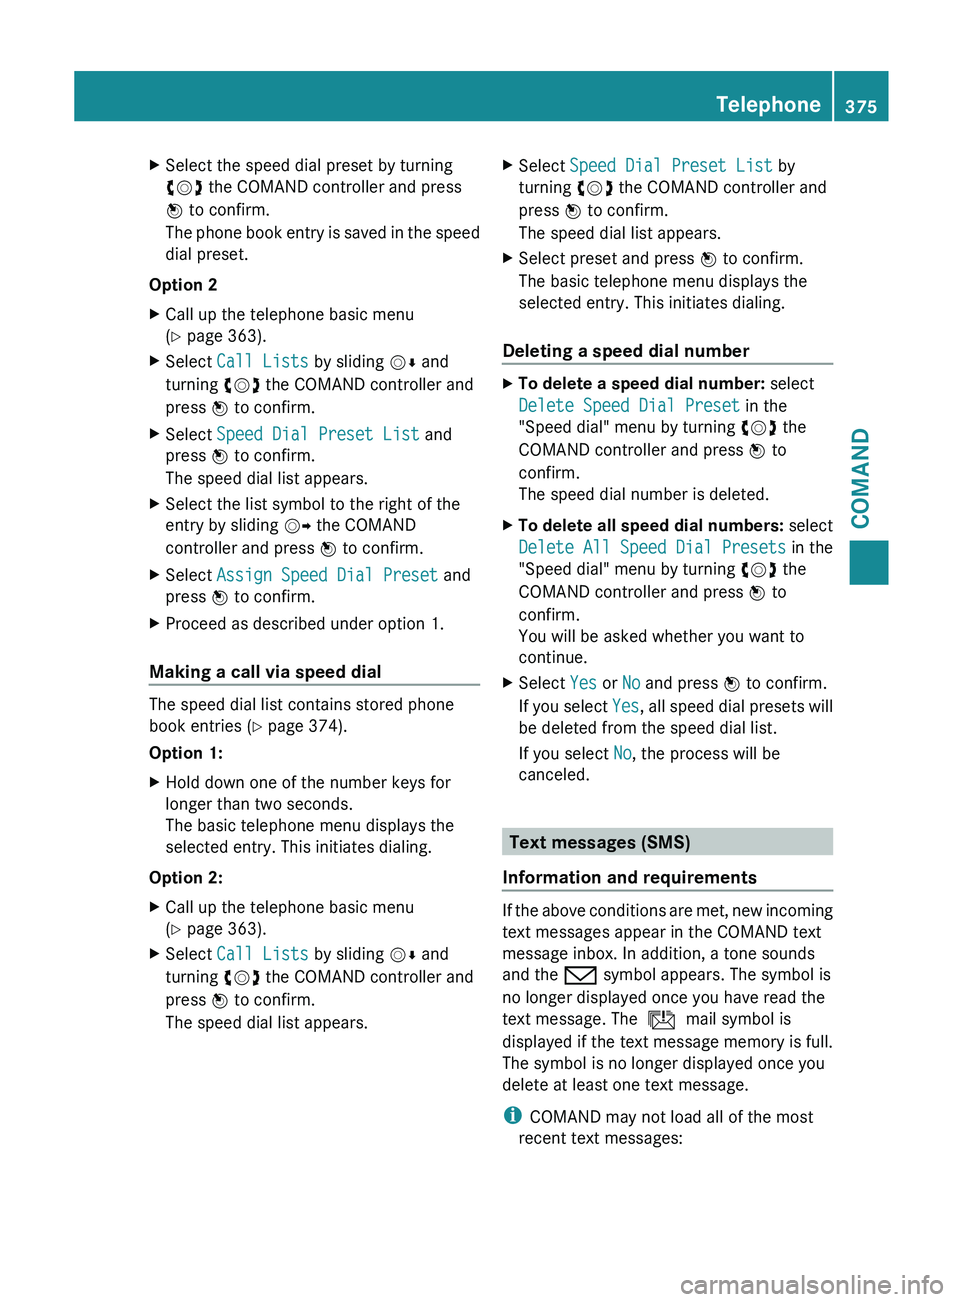
X
Select the speed dial preset by turning
cVd the COMAND controller and press
W to confirm.
The phone
book entry is saved in the speed
dial preset.
Option 2
X Call up the telephone basic menu
(Y page 363).
X Select Call Lists by sliding VÆ and
turning cVd the COMAND controller and
press W to confirm.
X Select Speed Dial Preset List and
press W to confirm.
The speed dial list appears.
X Select the list symbol to the right of the
entry by sliding VY the COMAND
controller and press W to confirm.
X Select Assign Speed Dial Preset and
press W to confirm.
X Proceed as described under option 1.
Making a call via speed dial The speed dial list contains stored phone
book entries (Y page 374).
Option 1:
X
Hold down one of the number keys for
longer than two seconds.
The basic telephone menu displays the
selected entry. This initiates dialing.
Option 2:
X Call up the telephone basic menu
(Y page 363).
X Select Call Lists by sliding VÆ and
turning cVd the COMAND controller and
press W to confirm.
The speed dial list appears. X
Select Speed Dial Preset List by
turning cVd the COMAND controller and
press W to confirm.
The speed dial list appears.
X Select preset and press W to confirm.
The basic telephone menu displays the
selected entry. This initiates dialing.
Deleting a speed dial number X
To delete a speed dial number: select
Delete Speed Dial Preset in the
"Speed dial" menu by turning cVd the
COMAND controller and press W to
confirm.
The speed dial number is deleted.
X To delete all speed dial numbers: select
Delete All Speed Dial Presets in the
"Speed dial" menu by turning cVd the
COMAND controller and press W to
confirm.
You will be asked whether you want to
continue.
X Select Yes or No and press W to confirm.
If you
select Yes, all speed dial presets will
be deleted from the speed dial list.
If you select No, the process will be
canceled. Text messages (SMS)
Information and requirements If the above conditions are met, new incoming
text messages appear in the COMAND text
message inbox. In addition, a tone sounds
and the / symbol appears. The symbol is
no longer displayed once you have read the
text message. The
ú mail symbol is
displayed if the text message memory is full.
The symbol is no longer displayed once you
delete at least one text message.
i COMAND may not load all of the most
recent text messages: Telephone
375
COMAND Z
Page 380 of 572
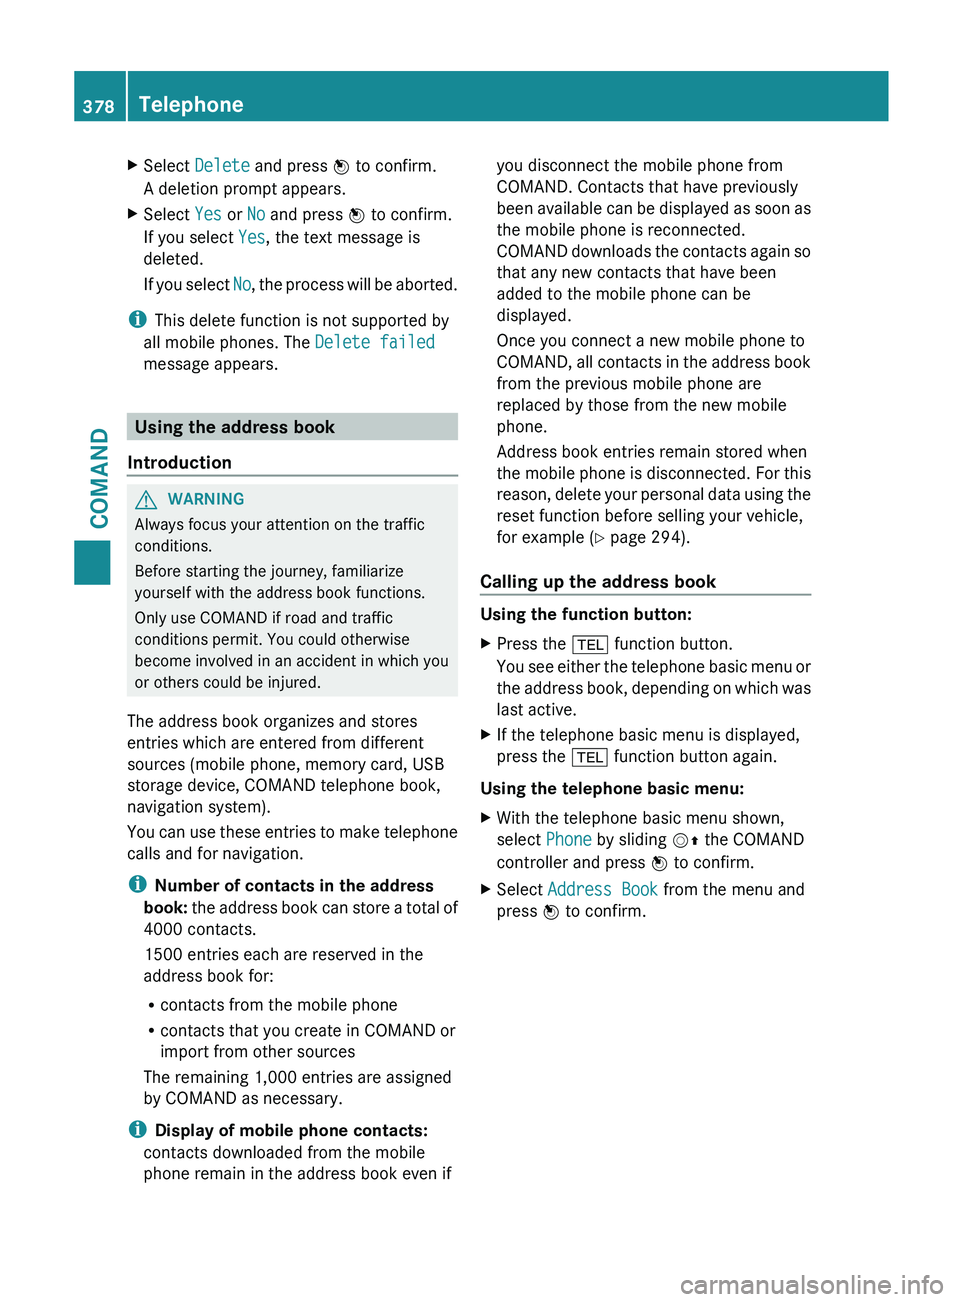
X
Select Delete and press W to confirm.
A deletion prompt appears.
X Select Yes or No and press W to confirm.
If you select Yes, the text message is
deleted.
If you
select No, the process will be aborted.
i This delete function is not supported by
all mobile phones. The Delete failed
message appears. Using the address book
Introduction G
WARNING
Always focus your attention on the traffic
conditions.
Before starting the journey, familiarize
yourself with the address book functions.
Only use COMAND if road and traffic
conditions permit. You could otherwise
become involved in an accident in which you
or others could be injured.
The address book organizes and stores
entries which are entered from different
sources (mobile phone, memory card, USB
storage device, COMAND telephone book,
navigation system).
You can
use these entries to make telephone
calls and for navigation.
i Number of contacts in the address
book: the address book can store a total of
4000 contacts.
1500 entries each are reserved in the
address book for:
R contacts from the mobile phone
R contacts that you create in COMAND or
import from other sources
The remaining 1,000 entries are assigned
by COMAND as necessary.
i Display of mobile phone contacts:
contacts downloaded from the mobile
phone remain in the address book even if you disconnect the mobile phone from
COMAND. Contacts that have previously
been
available
can be displayed as soon as
the mobile phone is reconnected.
COMAND downloads the contacts again so
that any new contacts that have been
added to the mobile phone can be
displayed.
Once you connect a new mobile phone to
COMAND, all contacts in the address book
from the previous mobile phone are
replaced by those from the new mobile
phone.
Address book entries remain stored when
the mobile phone is disconnected. For this
reason, delete your personal data using the
reset function before selling your vehicle,
for example ( Y page 294).
Calling up the address book Using the function button:
X
Press the % function button.
You see
either the telephone basic menu or
the address book, depending on which was
last active.
X If the telephone basic menu is displayed,
press the % function button again.
Using the telephone basic menu:
X With the telephone basic menu shown,
select Phone by sliding VZ the COMAND
controller and press W to confirm.
X Select Address Book from the menu and
press W to confirm. 378
Telephone
COMAND
Page 383 of 572
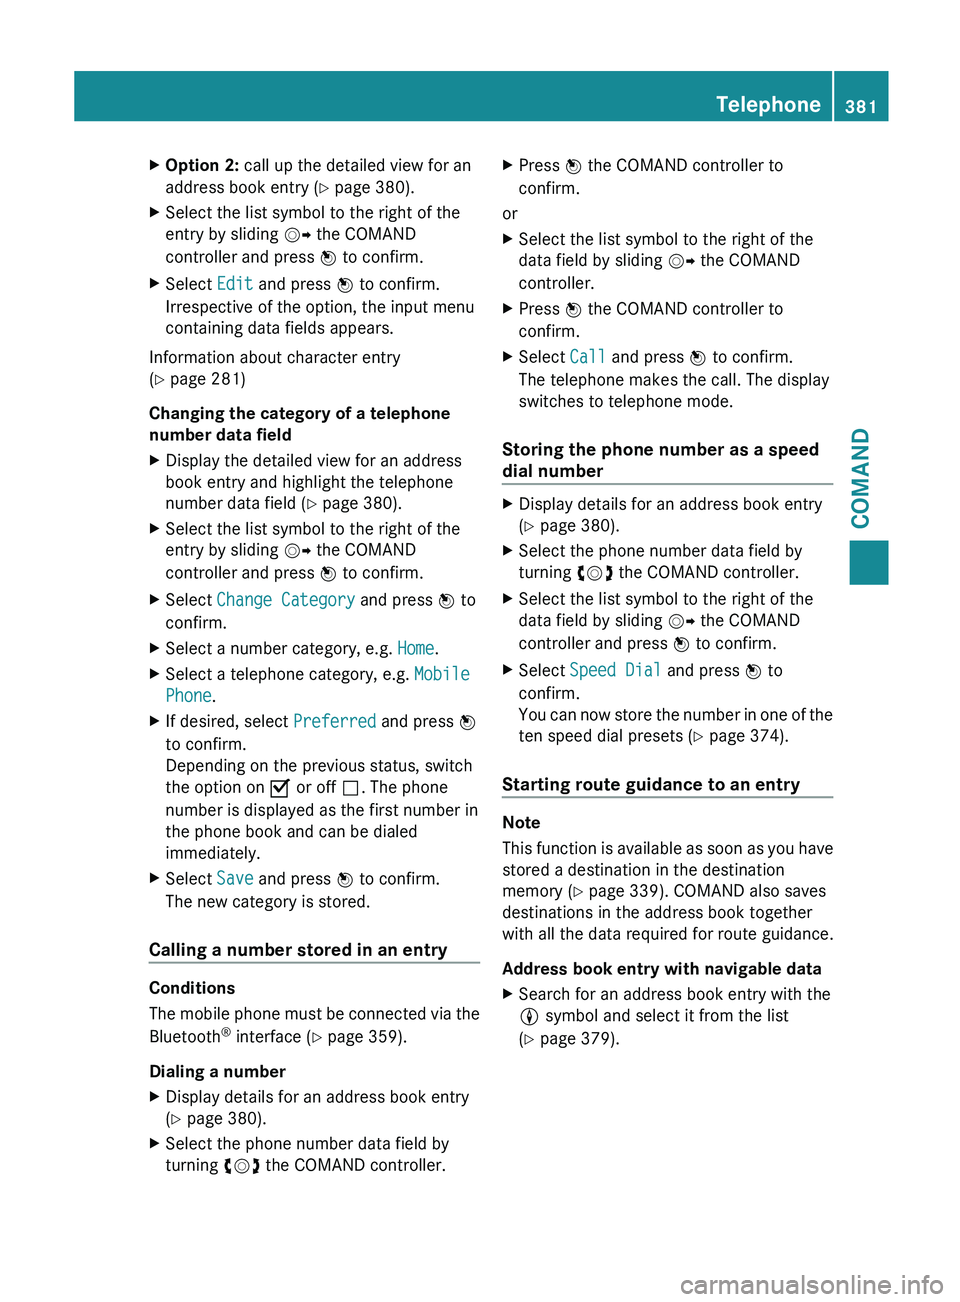
X
Option 2: call up the detailed view for an
address book entry ( Y page 380).
X Select the list symbol to the right of the
entry by sliding VY the COMAND
controller and press W to confirm.
X Select Edit and press W to confirm.
Irrespective of the option, the input menu
containing data fields appears.
Information about character entry
(Y page 281)
Changing the category of a telephone
number data field
X Display the detailed view for an address
book entry and highlight the telephone
number data field (Y
page 380).
X Select the list symbol to the right of the
entry by sliding VY the COMAND
controller and press W to confirm.
X Select Change Category and press W to
confirm.
X Select a number category, e.g. Home.
X Select a telephone category, e.g. Mobile
Phone.
X If desired, select Preferred and press W
to confirm.
Depending on the previous status, switch
the option on O or off ª. The phone
number is displayed as the first number in
the phone book and can be dialed
immediately.
X Select Save and press W to confirm.
The new category is stored.
Calling a number stored in an entry Conditions
The
mobile
phone must be connected via the
Bluetooth ®
interface (Y page 359).
Dialing a number
X Display details for an address book entry
(Y page 380).
X Select the phone number data field by
turning cVd the COMAND controller. X
Press W the COMAND controller to
confirm.
or
X Select the list symbol to the right of the
data field by sliding VY the COMAND
controller.
X Press W the COMAND controller to
confirm.
X Select Call and press W to confirm.
The telephone makes the call. The display
switches to telephone mode.
Storing the phone number as a speed
dial number X
Display details for an address book entry
(Y page 380).
X Select the phone number data field by
turning cVd the COMAND controller.
X Select the list symbol to the right of the
data field by sliding VY the COMAND
controller and press W to confirm.
X Select Speed Dial and press W to
confirm.
You can
now store the number in one of the
ten speed dial presets (Y page 374).
Starting route guidance to an entry Note
This
function
is available as soon as you have
stored a destination in the destination
memory ( Y page 339). COMAND also saves
destinations in the address book together
with all the data required for route guidance.
Address book entry with navigable data
X Search for an address book entry with the
L symbol and select it from the list
(Y page 379). Telephone
381
COMAND Z
Page 398 of 572
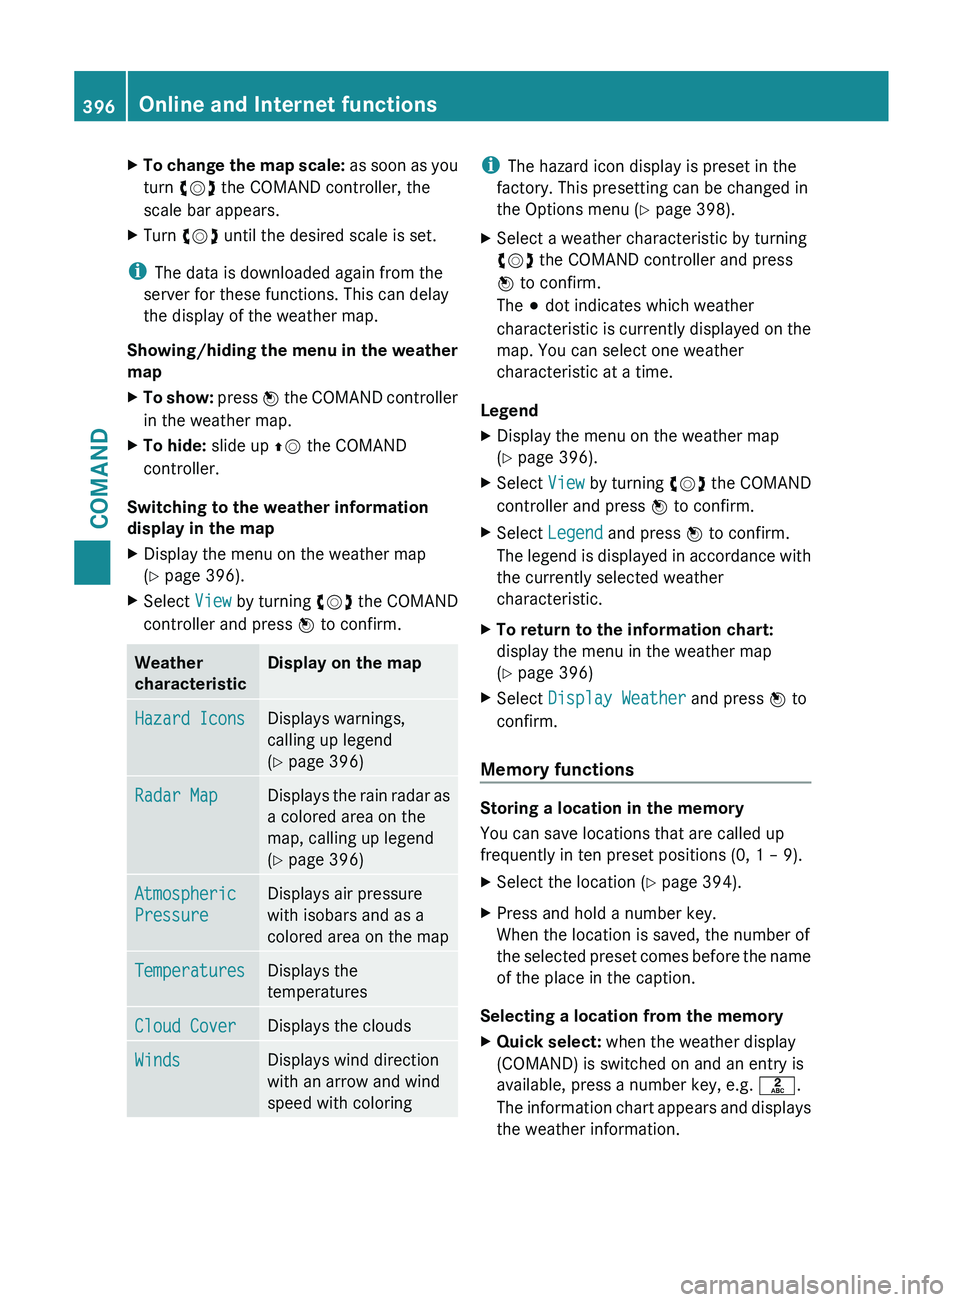
X
To change the map scale: as soon as you
turn cVd the COMAND controller, the
scale bar appears.
X Turn cVd until the desired scale is set.
i The data is downloaded again from the
server for these functions. This can delay
the display of the weather map.
Showing/hiding the
menu in the weather
map
X To show: press W
the COMAND controller
in the weather map.
X To hide: slide up ZV the COMAND
controller.
Switching to the weather information
display in the map
X Display the menu on the weather map
(Y page 396).
X Select View by turning cVd the COMAND
controller and press W to confirm. Weather
characteristic Display on the map
Hazard Icons Displays warnings,
calling up legend
(Y page 396)
Radar Map Displays the rain radar as
a colored area on the
map, calling up legend
(Y page 396)
Atmospheric
Pressure Displays air pressure
with isobars and as a
colored area on the map
Temperatures Displays the
temperatures
Cloud Cover Displays the clouds
Winds Displays wind direction
with an arrow and wind
speed with coloring i
The hazard icon display is preset in the
factory. This presetting can be changed in
the Options menu (Y page 398).
X Select a weather characteristic by turning
cVd the COMAND controller and press
W to confirm.
The # dot indicates which weather
characteristic is
currently displayed on the
map. You can select one weather
characteristic at a time.
Legend
X Display the menu on the weather map
(Y page 396).
X Select View by turning cVd the COMAND
controller and press W to confirm.
X Select Legend and press W to confirm.
The legend
is displayed in accordance with
the currently selected weather
characteristic.
X To return to the information chart:
display the menu in the weather map
(Y page 396)
X Select Display Weather and press W to
confirm.
Memory functions Storing a location in the memory
You can save locations that are called up
frequently in ten preset positions (0, 1 – 9).
X
Select the location ( Y page 394).
X Press and hold a number key.
When the location is saved, the number of
the selected
preset comes before the name
of the place in the caption.
Selecting a location from the memory
X Quick select: when the weather display
(COMAND) is switched on and an entry is
available, press a number key, e.g. l.
The information
chart appears and displays
the weather information. 396
Online and Internet functions
COMAND