2013 MERCEDES-BENZ SL-CLASS ROADSTER reset
[x] Cancel search: resetPage 421 of 572
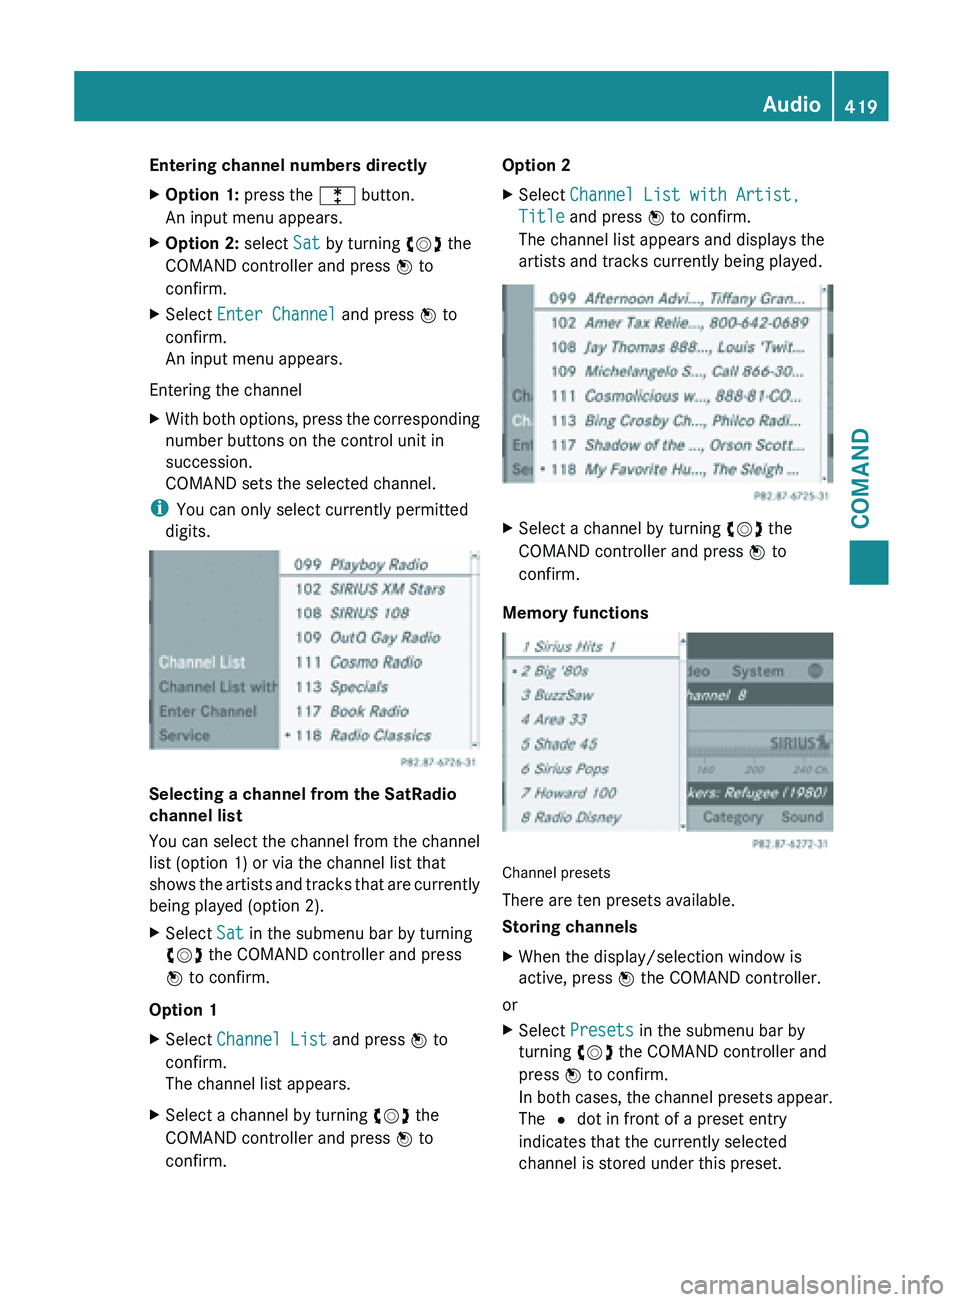
Entering channel numbers directly
X
Option 1: press the l button.
An input menu appears.
X Option 2: select Sat by turning cVd the
COMAND controller and press W to
confirm.
X Select Enter Channel and press W to
confirm.
An input menu appears.
Entering the channel
X With both options, press the corresponding
number buttons on the control unit in
succession.
COMAND sets the selected channel.
i You can only select currently permitted
digits. Selecting a channel from the SatRadio
channel list
You can select the channel from the channel
list (option 1) or via the channel list that
shows
the
artists and tracks that are currently
being played (option 2).
X Select Sat in the submenu bar by turning
cVd the COMAND controller and press
W to confirm.
Option 1
X Select Channel List and press W to
confirm.
The channel list appears.
X Select a channel by turning cVd the
COMAND controller and press W to
confirm. Option 2
X
Select Channel List with Artist,
Title and press W to confirm.
The channel list appears and displays the
artists and tracks currently being played. X
Select a channel by turning cVd the
COMAND controller and press W to
confirm.
Memory functions Channel presets
There are ten presets available.
Storing channels
X
When the display/selection window is
active, press W the COMAND controller.
or
X Select Presets in the submenu bar by
turning cVd the COMAND controller and
press W to confirm.
In both
cases, the channel presets appear.
The # dot in front of a preset entry
indicates that the currently selected
channel is stored under this preset. Audio
419
COMAND Z
Page 422 of 572

X
Select a preset by turning cVd the
COMAND controller and press and hold
W until you hear a tone.
or
X Press and hold a number button, e.g.
n, until you hear a tone.
The channel is stored under the preset.
Storing channels automatically
This function automatically stores channels
with adequate reception in the preset
memory. Channels stored manually in the
preset memory will be overwritten.
X Option 1: press W the COMAND controller
when the display/selection window is
active.
X Select Autostore in
the presets by turning
cVd the COMAND controller and press
W to confirm.
X Option 2: select Presets in the submenu
bar by sliding VÆ and turning cVd the
COMAND controller and press W to
confirm.
X Select Autostore and
press W to confirm.
In both cases, COMAND searches for
channels that can be received. You will see
a message to this effect. The available
channels are automatically stored in the
preset positions.
X To cancel storing: select Cancel and
press W to confirm.
Selecting a channel from the preset list
X To call up the preset list: select
Presets by turning cVd the COMAND
controller and press W to confirm.
The channel preset list appears.
X To set a channel: select a preset by
turning cVd the COMAND controller and
press W to confirm.
or
X Press a number key, such as n.Displaying information
X
Select Info in the submenu bar by turning
cVd
the COMAND controller and press
W to confirm.
Information on the currently received
program is displayed.
If available, you will see:
R the full channel name
R the artist
of the track that is currently being
played
R the track that is currently being played
X To return to the radio display: confirm
Info by pressing W.
X Slide ZV the COMAND controller up.
Displaying service information :
Provider's phone number (SIRIUS XM) or
Call Service Provider
; SIRIUS ID of your satellite receiver
The provider's customer service center is
available by
phone at any time to answer any
general questions or questions on the
versions available. 420
Audio
COMAND
Page 466 of 572
X
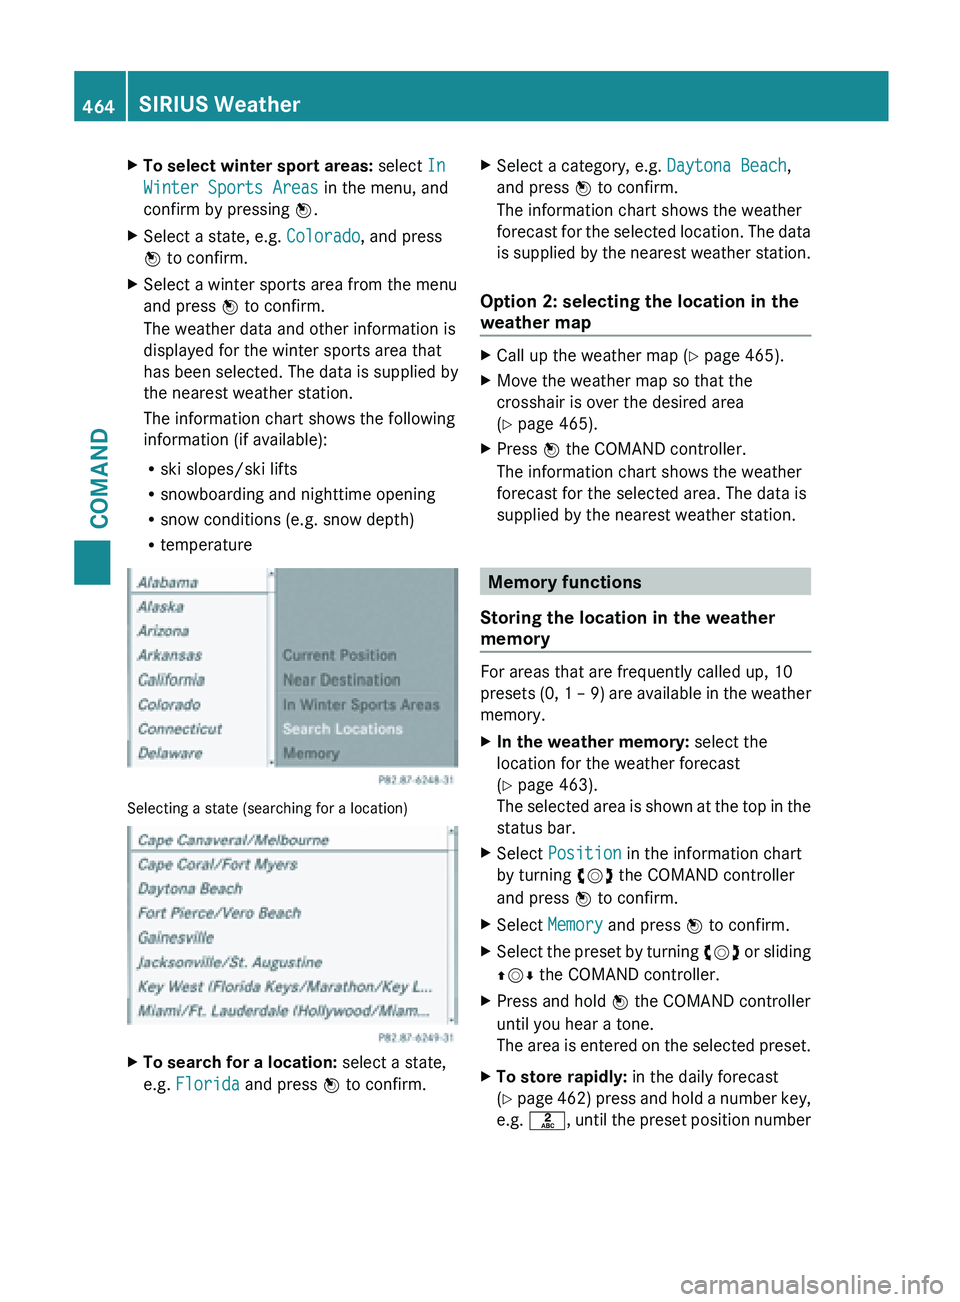
To select winter sport areas: select In
Winter Sports Areas in the menu, and
confirm by pressing W.
X Select a state, e.g. Colorado, and press
W to confirm.
X Select a winter sports area from the menu
and press W to confirm.
The weather data and other information is
displayed for the winter sports area that
has been selected. The data is supplied by
the nearest weather station.
The information chart shows the following
information (if available):
R
ski slopes/ski lifts
R snowboarding and nighttime opening
R snow conditions (e.g. snow depth)
R temperature Selecting a state (searching for a location)
X
To search for a location: select a state,
e.g. Florida and press W to confirm. X
Select a category, e.g. Daytona Beach,
and press W to confirm.
The information chart shows the weather
forecast for
the selected location. The data
is supplied by the nearest weather station.
Option 2: selecting the location in the
weather map X
Call up the weather map ( Y page 465).
X Move the weather map so that the
crosshair is over the desired area
(Y page 465).
X Press W the COMAND controller.
The information chart shows the weather
forecast for the selected area. The data is
supplied by the nearest weather station. Memory functions
Storing the location in the weather
memory For areas that are frequently called up, 10
presets (0,
1 – 9) are available in the weather
memory.
X In the weather memory: select the
location for the weather forecast
(Y page 463).
The selected
area is shown at the top in the
status bar.
X Select Position in the information chart
by turning cVd the COMAND controller
and press W to confirm.
X Select Memory and press W to confirm.
X Select the preset by turning cVd or
sliding
ZVÆ the COMAND controller.
X Press and hold W the COMAND controller
until you hear a tone.
The area
is entered on the selected preset.
X To store rapidly: in the daily forecast
(Y page
462) press and hold a number key,
e.g. l, until the preset position number464
SIRIUS Weather
COMAND
Page 467 of 572
is shown in the status bar in front of the
area name.
i You can
also use this function in the five-
day forecast ( Y page 462), and in the
detailed information view ( Y page 462).
Selecting a location from the weather
memory X
From the weather memory: in the
information chart, select Position by
turning cVd the COMAND controller and
press W to confirm.
X Select Memory and press W to confirm.
X Select a preset that contains an entry by
turning cVd or sliding ZVÆ the COMAND
controller and press W to confirm.
The weather data for the selected area is
displayed.
X Rapid selection: if there is an entry
available in
the weather memory, e.g. when
the daily forecast is shown, briefly press a
number key, such as l.
The weather data for the selected location
is displayed. Weather map
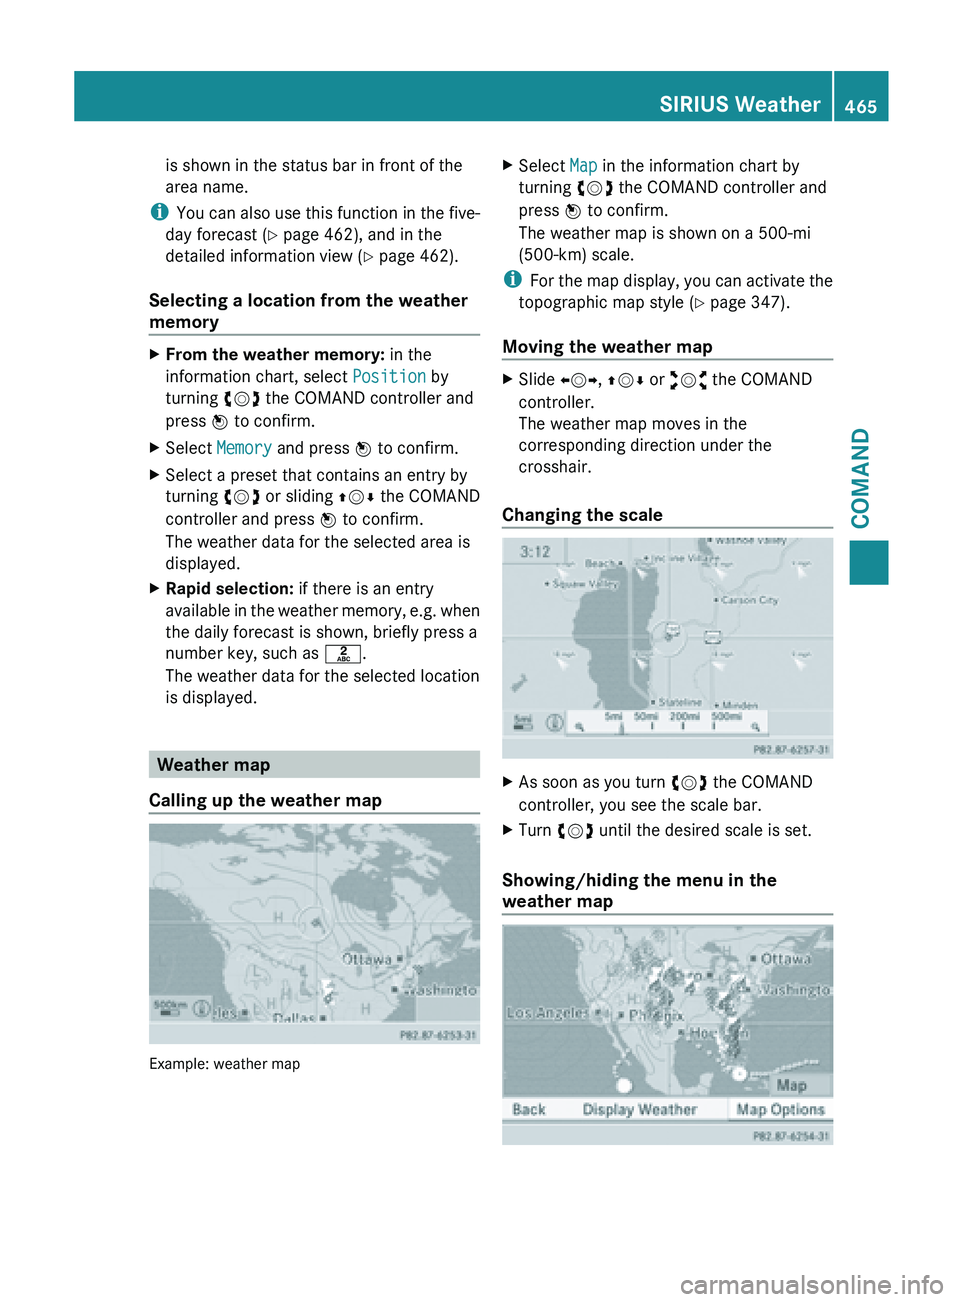
Calling up the weather map Example: weather map X
Select Map in the information chart by
turning cVd the COMAND controller and
press W to confirm.
The weather map is shown on a 500-mi
(500-km) scale.
i For the
map display, you can activate the
topographic map style ( Y page 347).
Moving the weather map X
Slide XVY, ZVÆ or aVb the COMAND
controller.
The weather map moves in the
corresponding direction under the
crosshair.
Changing the scale X
As soon as you turn cVd the COMAND
controller, you see the scale bar.
X Turn cVd until the desired scale is set.
Showing/hiding the menu in the
weather map SIRIUS Weather
465
COMAND Z
Page 517 of 572

clamp. Never swap the terminal clamps.
Otherwise, the vehicle's electronic
system may be damaged.
R in vehicles with automatic transmission,
the transmission is locked in position P
after disconnecting the battery. The
vehicle is secured against rolling away.
You can
then no longer move the vehicle.
The battery and the cover of the positive
terminal clamp must be installed securely
during operation.
In order for the battery to achieve the
maximum possible service life, it must always
be sufficiently charged.
The vehicle battery, like other batteries, can
discharge over time if you do not use the
vehicle. In this case, have the battery
disconnected at a qualified specialist
workshop. You can also charge the battery
with a charger recommended by Mercedes-
Benz. Contact a qualified specialist workshop
for further information.
Have the battery charge level checked more
frequently if you use the vehicle mainly for
short trips or if you leave it standing idle for
a lengthy period. Consult a qualified specialist
workshop if you wish to leave your vehicle
parked up for a long period of time.
Only replace a battery with a battery that has
been recommended by Mercedes-Benz.
i Remove the SmartKey if you park the
vehicle and do not require any electrical
consumers. The vehicle will then use very
little energy, thus conserving battery
power.
i After an interruption to the power supply,
e.g. due to a discharged battery, you must
reset the clock (Y page 289). Charging the battery
G
WARNING
Never charge a battery still installed in the
vehicle unless
a battery charger unit approved by Mercedes-Benz is being used. Gases may
escape
during
charging and cause explosions
that may result in paint damage, corrosion or
personal injury.
A battery charger unit specially adapted for
Mercedes-Benz vehicles and tested and
approved by Mercedes-Benz is available as an
accessory. It permits the charging of the
battery in its installed position. Contact an
authorized Mercedes-Benz Center for further
information and availability.
Charge the battery in accordance with the
separate instructions for the battery charger. G
WARNING
There is a risk of acid burns during the
charging process due to the gases which
escape from
the battery. Do not lean over the
battery during the charging process. G
WARNING
Battery acid is caustic. Avoid contact with the
skin, eyes or clothing.
! Only use battery chargers with a
maximum charging voltage of 14.8 V.
! Only charge the battery using the jump-
starting connection point.
The jump-starting connection point is in the
engine compartment.
Read the battery charger's operating
instructions before charging the battery.
X Open the hood (Y page 496).
X Connect the battery charger to the positive
terminal and ground point in the same
order as when connecting the donor
battery in the jump-starting procedure
(Y page 516). Battery
515
Roadside Assistance Z
Page 522 of 572
X
Switch on the hazard warning lamps
(Y page 113).
X Turn the SmartKey to position 0 in the
ignition lock and remove the SmartKey
from the ignition lock.
X When leaving the vehicle, take the
SmartKey or
the KEYLESS-GO key with you.
When towing your vehicle with the rear axle
raised, it is important that you observe the
safety instructions ( Y page 518).Towing a vehicle with both axles on
the ground
G
WARNING
The power assistance for the steering and the
brake force booster do not work when the
engine is not running. You will then need
much more effort to brake and steer the
vehicle. Adapt your style of driving
accordingly.
The automatic transmission automatically
shifts to
position P when you open the driver's
or front-passenger door or when you remove
the SmartKey from the ignition lock.
In order to ensure that the automatic
transmission stays in position N when towing
the vehicle, you must observe the following
points:
X Switch on the hazard warning lamps
(Y page 113).
i In order to signal a change of direction
when towing the vehicle with the hazard
warning lamps switched on, use the
combination switch as usual. In this case,
only the turn signals for the desired
direction flash. When the combination
switch is reset, the hazard warning lamps
start flashing again.
X Make sure that the vehicle is stationary and
the SmartKey in the ignition lock is in
position 0.
X Turn the SmartKey to position 2 in the
ignition lock. On vehicles with KEYLESS-GO, use the
SmartKey
instead
of the Start/Stop button
(Y page 135).
X Depress and hold the brake pedal.
X Shift the automatic transmission to
position N.
X Release the brake pedal.
X Release the electric parking brake.
X Leave the SmartKey in position 2 in the
ignition lock.
It is important that you observe the safety
instructions when towing away your vehicle
(Y page 518). Transporting the vehicle
! Only lash
the vehicle down by the wheels
or wheel rims, not by parts of the vehicle
such as axle or steering components.
Otherwise, the vehicle could be damaged.
The towing eye can be used to pull the vehicle
onto a trailer or transporter for transporting
purposes.
X Turn the SmartKey to position 2 in the
ignition lock.
X Shift the automatic transmission to
position N.
As soon as the vehicle is loaded:
X Prevent the vehicle from rolling away by
applying the electric parking brake.
X Shift the automatic transmission to
position P.
X Turn the SmartKey to position 0 in the
ignition lock and remove it.
X Secure the vehicle. Tow-starting (emergency starting)
! Vehicles with an automatic transmission
must not be tow-started. You could
otherwise damage the automatic
transmission. 520
Towing and tow-starting
Roadside Assistance
Page 533 of 572
Some tire pressure tables show only the rim
diameters instead of the full tire size, e.g.
R18. The rim diameter is part of the tire size
and can be found on the tire sidewall
(Y page 541).
If the tire pressures have been set to the
lower values for lighter loads and/or lower
road speeds, the pressures should be reset
to the higher values:
R
if you want to drive with an increased load
and/or
R if you want to drive at higher road speeds.
i The tire pressures for increased loads
and/or higher road speeds, shown in the
tire pressure table, may have a negative
effect on driving comfort.
If the tire pressure is not set correctly, this
can lead
to an excessive build up of heat and
a sudden loss of pressure.
For more information, contact a qualified
specialist workshop. Important notes on tire pressure
G
WARNING
If the tire pressure drops repeatedly, the
wheel, valve or tire may be damaged. Tire
pressure that is too low may result in a tire
blow-out. There is a risk of an accident.
R Check the tire for foreign objects.
R Check whether
the wheel is losing air or the
valve is leaking.
If you are unable to rectify the damage,
contact a qualified specialist workshop. G
WARNING
If you fit unsuitable accessories onto tire
valves, the
tire valves may be overloaded and
malfunction, which can cause tire pressure
loss. Due to their design, retrofitted tire
pressure monitors keep the tire valve open.
This can also result in tire pressure loss. There
is a risk of an accident. Only screw the standard valve cap or other
valve caps approved by Mercedes-Benz for
your vehicle onto the tire valve.
Use a suitable pressure gauge to check the
tire pressure. The outer appearance of a tire
does not
permit any reliable conclusion about
the tire pressure. On vehicles equipped with
the electronic tire pressure monitoring
system, the tire pressure can be checked
using the on-board computer.
The tire temperature and pressure increase
when the vehicle is in motion. This is
dependent on the driving speed and the load.
Therefore, you should only correct tire
pressures when the tires are cold.
The tires are cold:
R if the vehicle has been parked without
direct sunlight on the tires for at least three
hours and
R if the vehicle has not been driven further
than 1 mile (1.6 km)
The tire temperature changes depending on
the outside temperature, the vehicle speed
and the tire load. If the tire temperature
changes by 18 ‡ (10 †), the tire pressure
changes by approximately 10 kPa (0.1 bar/
1.5 psi). Take this into account when
checking the pressure of warm tires. Only
correct the tire pressure if it is too low for the
current operating conditions. If you check the
tire pressure when the tires are warm, the
resulting value will be higher than if the tires
were cold. This is normal. Do not reduce the
tire pressure to the value specified for cold
tires. The tire pressure would otherwise be
too low.
Observe the recommended tire pressures for
cold tires:
R on the Tire and Loading Information placard
on the B-pillar on the driver's side
R in the tire pressure table on the inside of
the fuel filler flap Tire pressure
531
Wheels and tires Z