2013 MERCEDES-BENZ B-CLASS SPORTS oil level
[x] Cancel search: oil levelPage 12 of 336
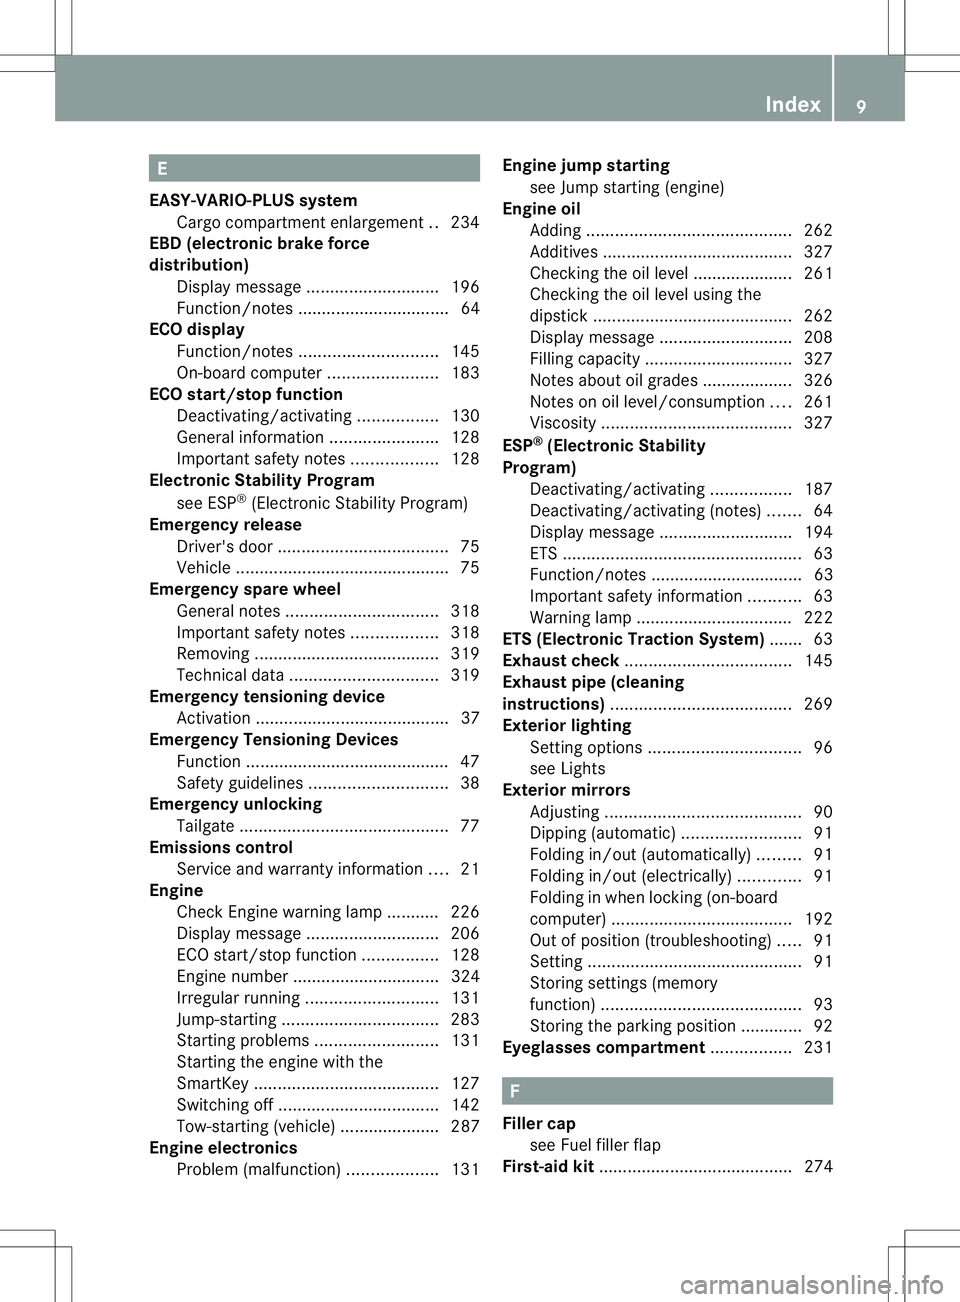
E
EASY-VARIO-PLUS system Cargo compartment enlargement ..234
EBD (electronic brake force
distribution)
Display message ............................ 196
Function/notes ................................ 64
ECO display
Function/notes ............................. 145
On-board computer .......................183
ECO start/stop function
Deactivating/activating .................130
General information .......................128
Important safety notes ..................128
Electronic Stability Program
see ESP ®
(Electroni cStability Program)
Emergenc yrelease
Driver's door .................................... 75
Vehicle ............................................. 75
Emergency spare wheel
General notes ................................ 318
Important safety notes ..................318
Removing ....................................... 319
Technical data ............................... 319
Emergency tensioning device
Activation ......................................... 37
Emergency Tensioning Devices
Function .......................................... .47
Safety guidelines. ............................ 38
Emergency unlocking
Tailgate ............................................ 77
Emissions control
Service and warranty information ....21
Engine
Check Engine warning lamp ........... 226
Display message ............................ 206
ECO start/stop function ................128
Engine number ............................... 324
Irregularr unning............................ 131
Jump-starting ................................. 283
Starting problems ..........................131
Starting the engine with the
SmartKey ....................................... 127
Switching off .................................. 142
Tow-starting (vehicle) ..................... 287
Engine electronics
Problem (malfunction) ...................131Engine jump starting
see Jump starting (engine)
Engine oil
Adding ........................................... 262
Additives ........................................ 327
Checking the oil level ..................... 261
Checking the oil level using the
dipstick .......................................... 262
Display message ............................ 208
Filling capacity ............................... 327
Notes about oil grades ................... 326
Notes on oil level/consumption ....261
Viscosity ........................................ 327
ESP ®
(Electronic Stability
Program) Deactivating/activating .................187
Deactivating/activating (notes) .......64
Display message ............................ 194
ETS .................................................. 63
Function/notes ................................ 63
Important safety information ...........63
Warning lamp ................................. 222
ETS (Electronic Traction System) ....... 63
Exhaus tcheck ................................... 145
Exhaus tpipe (cleaning
instructions) ...................................... 269
Exterior lighting Setting options ................................ 96
see Lights
Exterior mirrors
Adjusting ......................................... 90
Dipping (automatic) .........................91
Folding in/out( automatically).........91
Folding in/out( electrically).............91
Folding in whenl ocking (on-board
computer) ...................................... 192
Out of position (troubleshooting) .....91
Setting ............................................. 91
Storing settings (memory
function) .......................................... 93
Storing the parking position ............. 92
Eyeglasses compartment .................231 F
Fille rcap
see Fuel filler flap
First-aid kit ......................................... 274 Index
9
Page 131 of 336
i
If the transmission oil temperature is
below Ò4‡( Ò20 †) , you can only shift from
position Pwhen the engine is running.
X Depress the brake pedal and keep it
depressed.
X Shif tthe transmission to position Dor R.
X Release the brake pedal.
X Carefully depress the accelerator pedal.
The electric parking brake (Y page 142) is
automatically released.
The red !indicator lamp in the
instrumentc luster goes out.
i The vehicle locks centrally once you have
pulled away. The locking knobs in the doors
drop down.
You can open the doors fro mthe inside at
any time.
You can also deactivate the automatic
locking feature (Y page 191).
i Upshifts take place at higher engine
speeds after a cold start. This helps the
catalytic converter to reach its operating
temperature more quickly.
Hill starta ssist G
WARNING
After a short time, hill start assist will no
longer brake your vehicle and it could roll
away. There is a risk of an accident and injury.
Therefore, quickly move your foot from the
brake pedal to the accelerator pedal. Never
leave the vehicle when it is held by hill start
assist.
Hill start assist helps you when pulling away
forwards or in reverse on an uphill gradient.
It holds the vehicle for a short time after you
have removed your foot from the brake pedal.
This gives you enough time to move your foot
from the brake pedal to the accelerator pedal
and to depress it before the vehicle begins to
roll. X
Take your foot off the brake pedal.
The vehicle is then held for about a second.
X Pull away.
Hill start assist will not function if:
R you are pulling away on a level road or on
a downhill gradient.
R the transmission is in position N.
R the electric parking brake is applied.
R ESP ®
is malfunctioning. ECO start/stop function
Important safety notes G
WARNING
If the engine is switched off automatically and
you exit the vehicle, the engine is restarted
automatically. The vehicle may begin moving.
There is a risk of accident and injury.
If you wish to exit the vehicle, always turn off
the ignition and secure the vehicle against
rolling away.
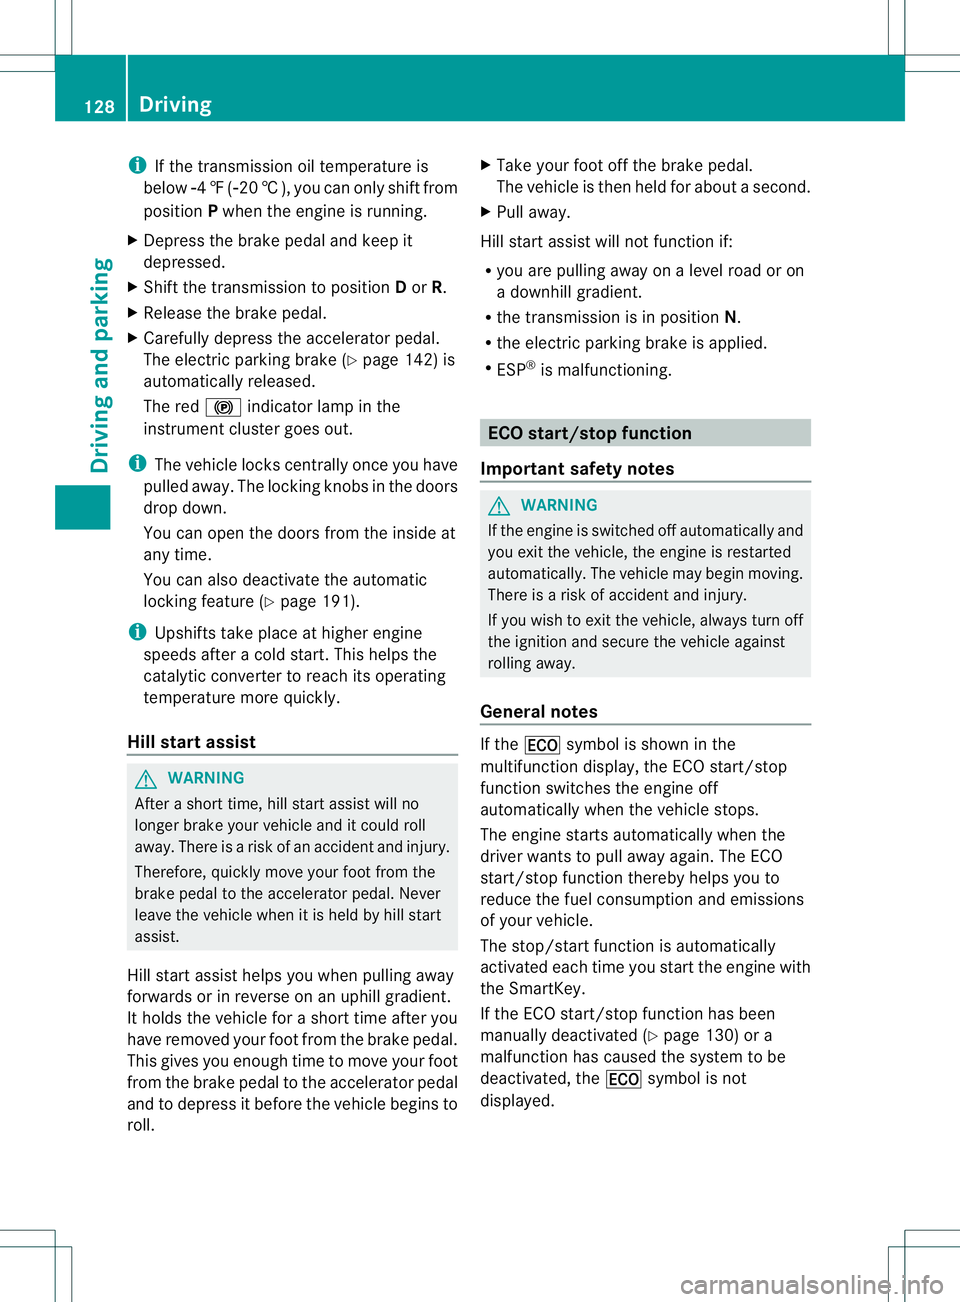
General notes If the
¤ symbol is shown in the
multifunction display, the ECO start/stop
function switches the engine off
automatically when the vehicle stops.
The engine starts automatically when the
driver wants to pull away again. The ECO
start/stop function thereby helps you to
reduce the fuel consumption and emissions
of your vehicle.
The stop/start function is automatically
activated each time you start the engine with
the SmartKey.
If the ECO start/stop function has been
manually deactivated (Y page 130) or a
malfunction has caused the system to be
deactivated, the ¤symbol is not
displayed. 128
DrivingDriving and parking
Page 211 of 336
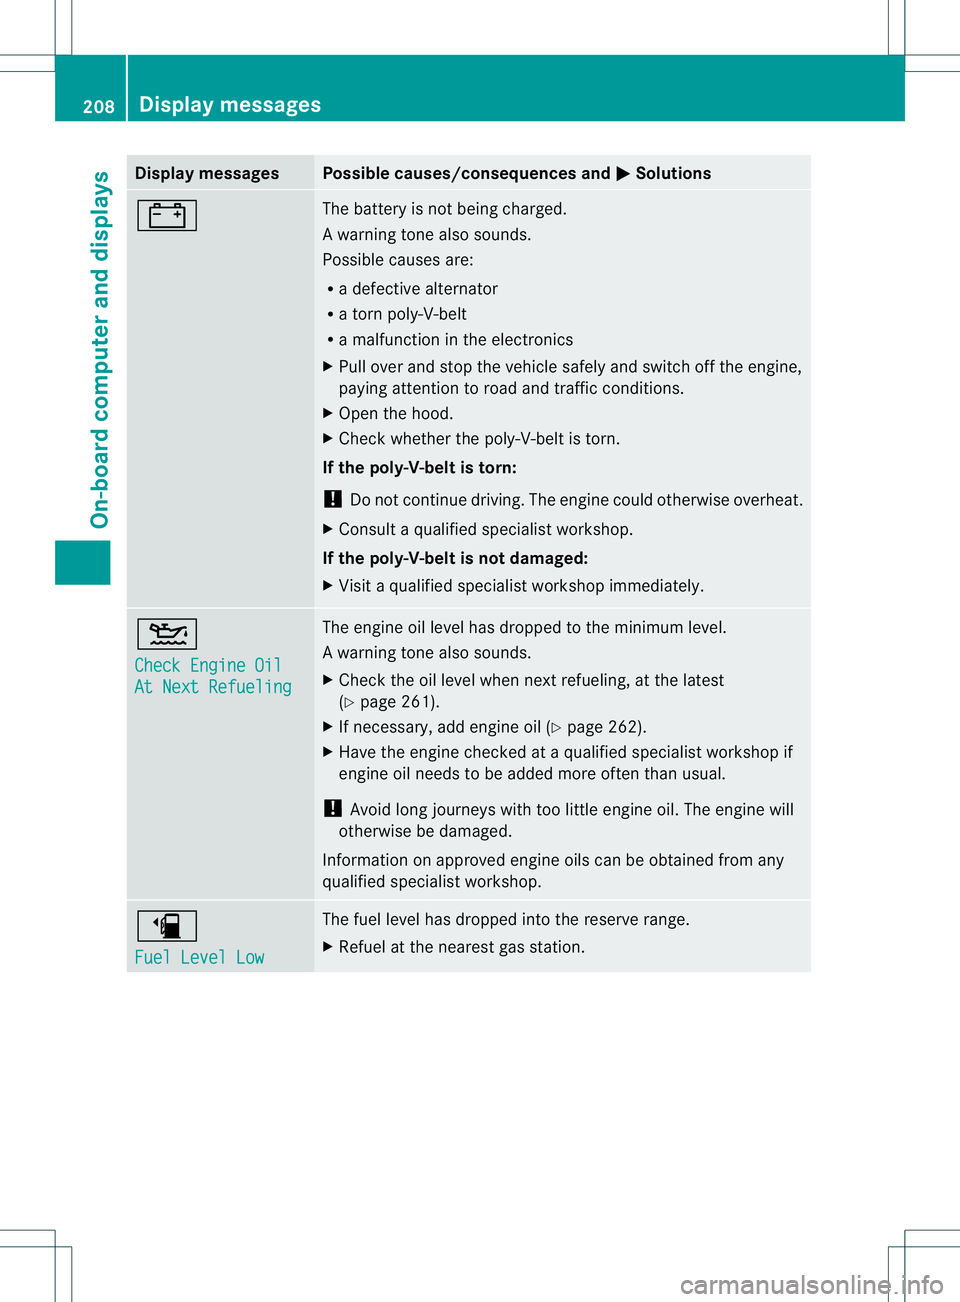
Display messages Possible causes/consequences and
M Solutions
# The battery is no
tbeing charged.
Aw arning tone also sounds.
Possible causes are:
R a defective alternator
R a torn poly-V-belt
R a malfunction in the electronics
X Pull ove rand stop the vehicle safely and switch off the engine,
paying attention to road and traffic conditions.
X Ope nthe hood.
X Check whether the poly-V-belt is torn.
If the poly-V-belt is torn:
! Do not continue driving. The engine could otherwise overheat.
X Consult a qualified specialist workshop.
If the poly-V-belt is not damaged:
X Visit a qualified specialist workshop immediately. 4
Check Engine Oil
At Next Refueling The engine oil level has dropped to the minimum level.
Aw
arning tone also sounds.
X Chec kthe oil level when next refueling, at the latest
(Y page 261).
X If necessary, add engine oil (Y page 262).
X Have the engine checked at a qualified specialist workshop if
engine oil needs to be added more often than usual.
! Avoid long journeys with too little engine oil. The engine will
otherwise be damaged.
Information on approved engine oils can be obtained from any
qualified specialist workshop. æ
Fuel Level Low The fuel level has dropped into the reserve range.
X
Refuel at the nearest gas station. 208
Display messagesOn-board computer and displays
Page 255 of 336
example, guided to the nearest Mercedes-
Benz Service center or a recovery vehicle is
called.
If vehicle data needs to be transferred during
an MB Info call or a Roadside Assistance call,
this is initiated by the Customer Assistance
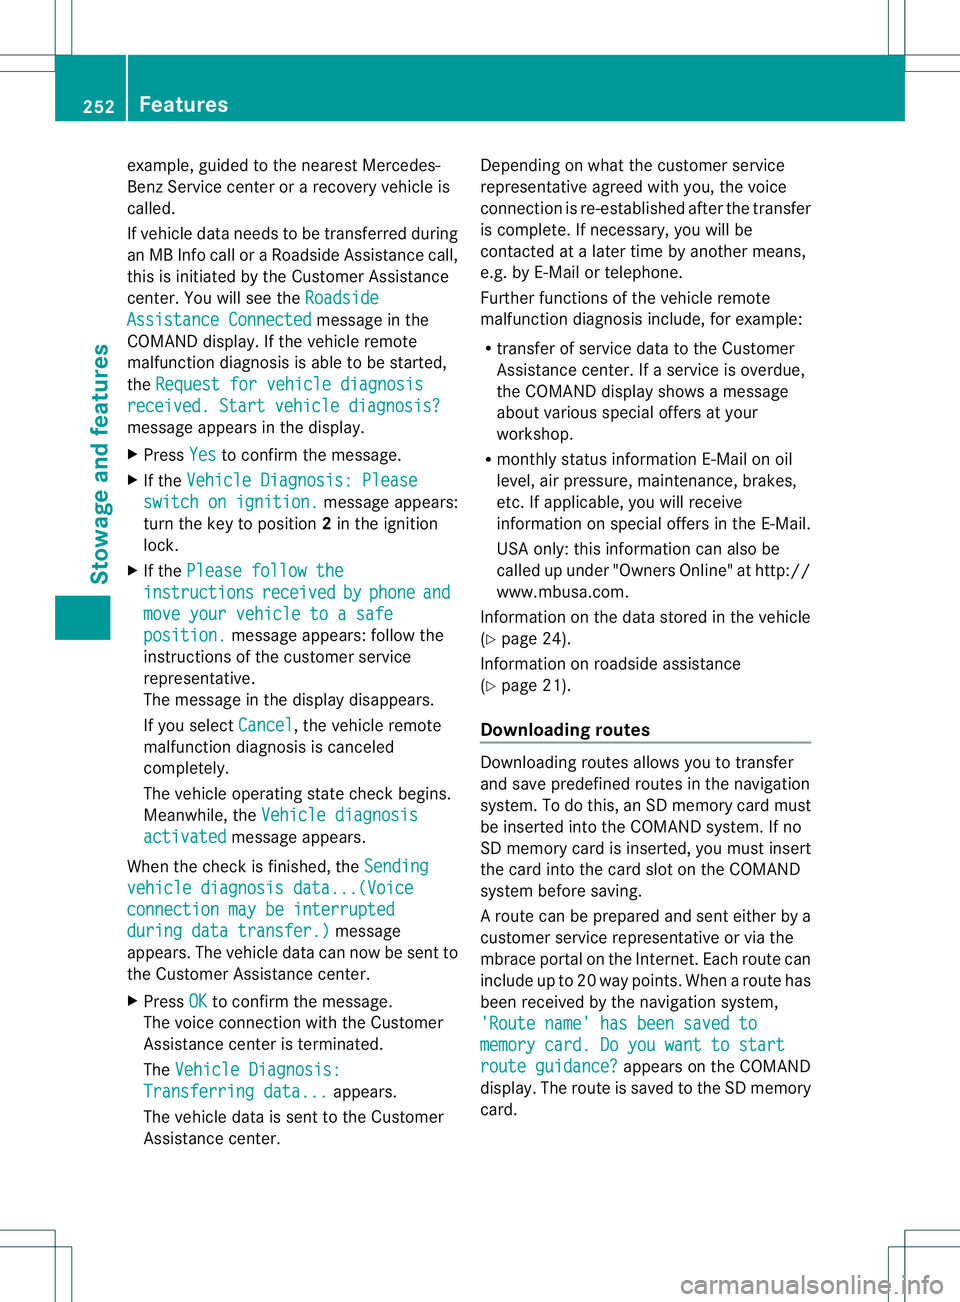
center. You will see the
RoadsideAssistance Connected message in the
COMAND display. If the vehicle remote
malfunction diagnosis is able to be started,
the Request for vehicle diagnosis received. Start vehicle diagnosis?
message appears in the display.
X
Press Yes to confirm the message.
X If the Vehicle Diagnosis: Please switch on ignition. message appears:
turn the key to position 2in the ignition
lock.
X If the Please follow the instructions received by phone and
move your vehicle to a safe
position. message appears: follow the
instructions of the customer service
representative.
The message in the display disappears.
If you select Cancel , the vehicle remote
malfunction diagnosis is canceled
completely.
The vehicle operating state chec kbegins.
Meanwhile, the Vehicle diagnosis activated message appears.
When the chec kis finished, the Sending vehicle diagnosis data...(Voice
connection may be interrupted
during data transfer.) message
appears. The vehicle data can now be sent to
the Customer Assistance center.
X Press OK to confirm the message.
The voice connection with the Customer
Assistance center is terminated.
The Vehicle Diagnosis: Transferring data... appears.
The vehicle data is sent to the Customer
Assistance center. Depending on what the customer service
representative agreed with you, the voice
connection is re-established after the transfer
is complete. If necessary, you will be
contacted at a later time by another means,
e.g. by E-Mail or telephone.
Further functions of the vehicle remote
malfunction diagnosis include, for example:
R
transfer of service data to the Customer
Assistance center. If aservice is overdue,
the COMAND display shows a message
about various special offers at your
workshop.
R monthly status information E-Mail on oil
level, air pressure, maintenance, brakes,
etc.Ifa pplicable, you will receive
information on special offers in the E-Mail.
USA only: this information can also be
called up under "Owners Online" at http://
www.mbusa.com.
Information on the data stored in the vehicle
(Y page 24).
Information on roadside assistance
(Y page 21).
Downloading routes Downloading routes allows you to transfer
and save predefined routes in the navigation
system. To do this, an SD memory card must
be inserted into the COMAND system. If no
SD memory card is inserted, you must insert
the card into the card slot on the COMAND
system before saving.
Ar
oute can be prepared and sent either by a
customer service representative or via the
mbrace portal on the Internet. Each route can
include up to 20 way points. When a route has
been received by the navigation system,
'Route name' has been saved to memory card. Do you want to start
route guidance? appears on the COMAND
display .The route is saved to the SD memory
card. 252
FeaturesStowage and features
Page 264 of 336
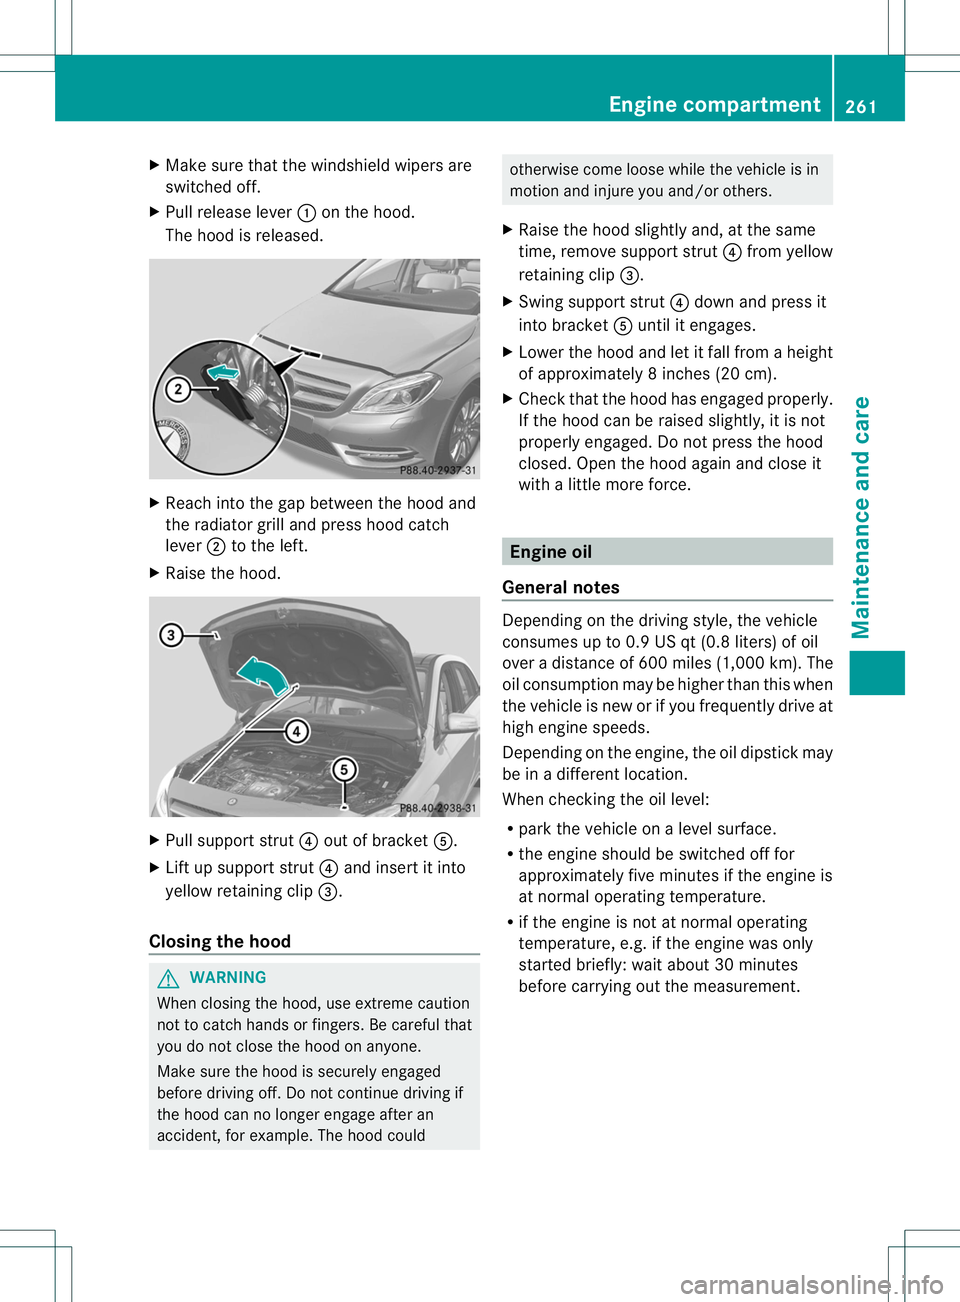
X
Make sure that the windshield wipers are
switched off.
X Pull release lever :on the hood.
The hood is released. X
Reach into the gap between the hood and
the radiator grill and press hood catch
lever ;to the left.
X Raise the hood. X
Pull support strut ?out of bracket A.
X Lift up support strut ?and insert it into
yellow retaining clip =.
Closing the hood G
WARNING
When closing the hood, use extreme caution
not to catch hands or fingers. Be careful that
you do not close the hood on anyone.
Make sure the hood is securely engaged
before driving off. Do not continue driving if
the hood can no longer engage after an
accident, for example. The hood could otherwise come loose while the vehicle is in
motion and injure you and/or others.
X Raise the hood slightly and, at the same
time, remove support strut ?from yellow
retaining clip =.
X Swing support strut ?down and press it
into bracket Auntil it engages.
X Lower the hood and let it fall from a height
of approximately 8inche s(20 cm).
X Check that the hood has engaged properly.
If the hood can be raised slightly, it is not
properly engaged. Do not press the hood
closed. Open the hood again and close it
with a little more force. Engine oil
General notes Depending on the driving style, the vehicle
consumes up to 0.9 US qt (0.8 liters) of oil
over
adistanc eof600 miles (1,000 km). The
oil consumption may be higher than this when
the vehicle is new or if you frequently drive at
high engine speeds.
Depending on the engine, the oil dipstic kmay
be in a different location.
When checking the oil level:
R park the vehicle on a level surface.
R the engine should be switched off for
approximately five minutes if the engine is
at normal operating temperature.
R if the engine is not at normal operating
temperature, e.g.ift he engine was only
started briefly: wait about 30 minutes
before carrying out the measurement. Engine compartment
261Maintenance and care Z
Page 265 of 336
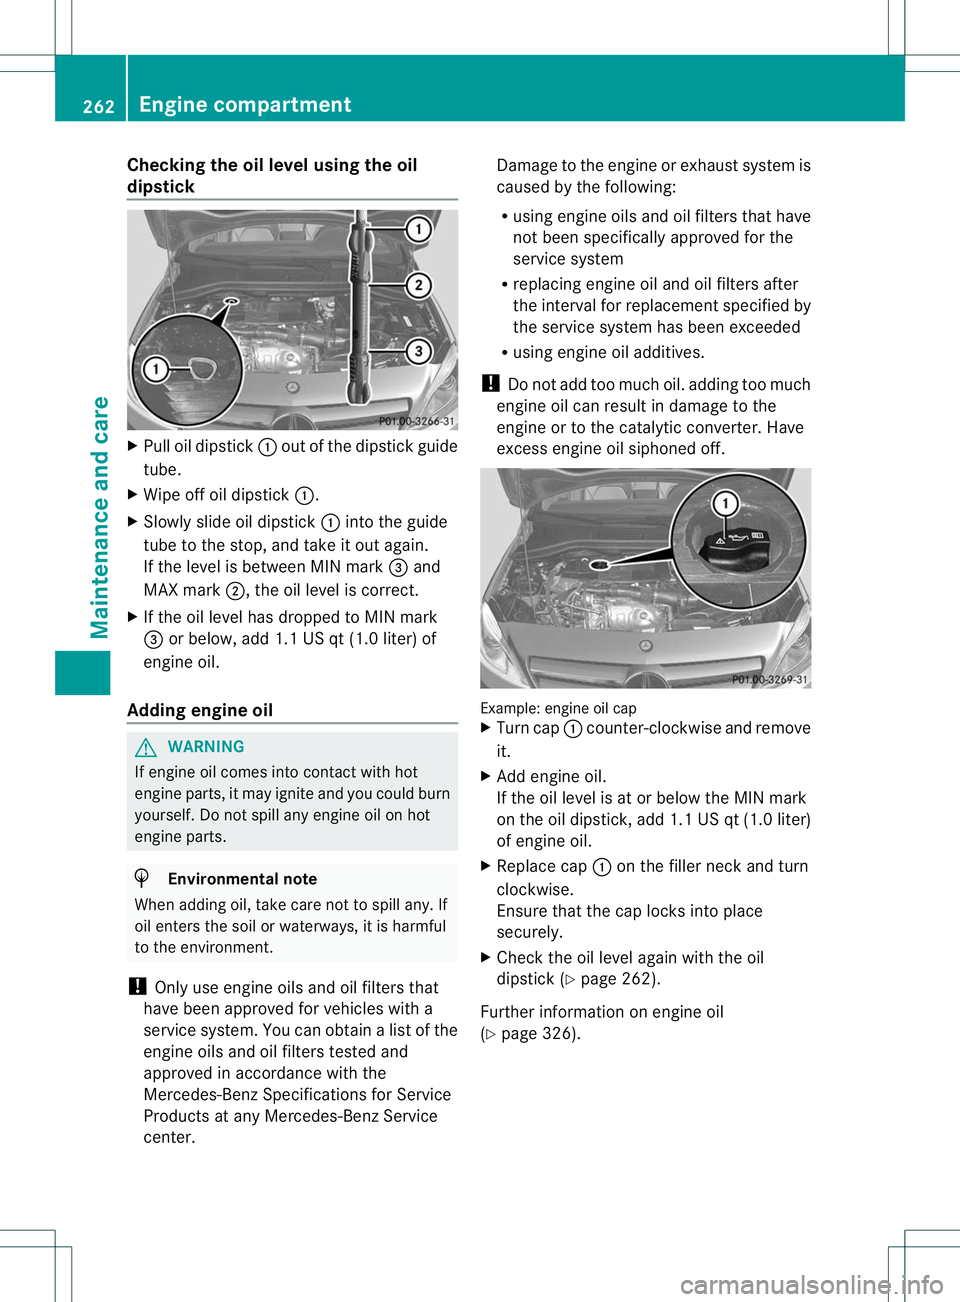
Checking the oil level using the oil
dipstick
X
Pull oil dipstick :out of the dipstick guide
tube.
X Wipe off oil dipstick :.
X Slowly slide oil dipstick :into the guide
tube to the stop, and take it out again.
If the level is between MIN mark =and
MAX mark ;, the oil level is correct.
X If the oil level has dropped to MIN mark
= or below, add 1.1 US qt (1.0 liter) of
engine oil.
Adding engine oil G
WARNING
If engine oil comes into contact with hot
engine parts, it may ignite and you could burn
yourself. Do no tspill any engine oil on hot
engine parts. H
Environmental note
When adding oil, take care not to spill any. If
oil enters the soil or waterways, it is harmful
to the environment.
! Only use engine oils and oil filters that
have been approved for vehicles with a
service system. You can obtain a list of the
engine oils and oil filters tested and
approved in accordance with the
Mercedes-Benz Specifications for Service
Products at any Mercedes-Benz Service
center. Damage to the engine or exhaust system is
caused by the following:
R
using engine oils and oil filters that have
not been specifically approved for the
service system
R replacing engine oil and oil filters after
the interval for replacements pecified by
the service system has been exceeded
R using engine oil additives.
! Do not add too much oil. adding too much
engine oil can result in damage to the
engine or to the catalytic converter. Have
excess engine oil siphoned off. Example: engine oil cap
X
Turn cap :counter-clockwise and remove
it.
X Add engine oil.
If the oil level is at or below the MIN mark
on the oil dipstick, add 1.1 US qt (1.0 liter)
of engine oil.
X Replace cap :on the filler neck and turn
clockwise.
Ensure that the cap locks into place
securely.
X Check the oil level againw ith the oil
dipstick (Y page 262).
Further information on engine oil
(Y page 326). 262
Engine compartmentMaintenance and care
Page 267 of 336
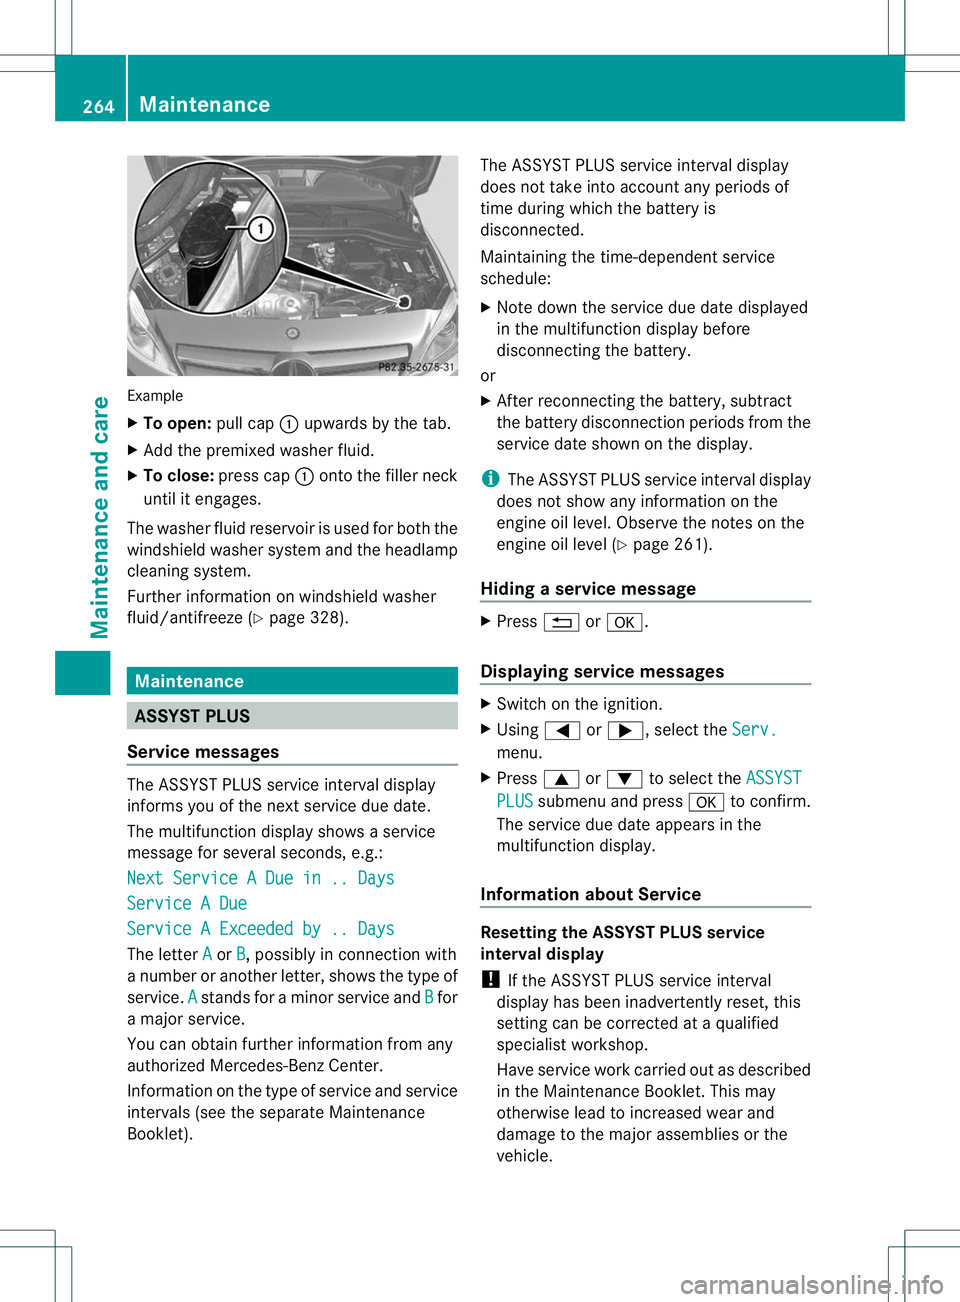
Example
X
To open: pull cap:upwards by the tab.
X Add the premixed washe rfluid.
X To close: press cap :onto the filler neck
until it engages.
The washer fluid reservoir is used for both the
windshield washer system and the headlamp
cleaning system.
Further information on windshield washer
fluid/antifreeze (Y page 328).Maintenance
ASSYST PLUS
Service messages The ASSYST PLUS service interval display
informs you of the nexts
ervice due date.
The multifunction display shows a service
message for several seconds, e.g.:
Next Service A Due in .. Days Service A Due
Service A Exceeded by .. Days
The letter
A or
B , possibly in connection with
a number or another letter, shows the type of
service. A stands for a minor service and
B for
a major service.
You can obtain further information from any
authorized Mercedes-Benz Center.
Information on the type of service and service
intervals (see the separate Maintenance
Booklet). The ASSYST PLUS service interval display
does not take into accoun
tany periods of
time during which the battery is
disconnected.
Maintaining the time-dependent service
schedule:
X Note down the service due date displayed
in the multifunctio ndisplay before
disconnecting the battery.
or
X After reconnecting the battery, subtract
the battery disconnection periods fro mthe
service date shown on the display.
i The ASSYST PLUS service interval display
does not show any information on the
engine oil level. Observe the notes on the
engine oil level (Y page 261).
Hiding aservice message X
Press %ora.
Displaying service messages X
Switch on the ignition.
X Using =or;, selec tthe Serv. menu.
X Press 9or: to select the ASSYST PLUS submenu and press
ato confirm.
The service due date appears in the
multifunction display.
Information about Service Resetting the ASSYST PLUS service
interval display
!
If the ASSYST PLUS service interval
display has been inadvertently reset, this
setting can be corrected at a qualified
specialist workshop.
Have service work carried out as described
in the Maintenance Booklet. This may
otherwise lead to increased wear and
damage to the major assemblies or the
vehicle. 264
MaintenanceMaintenance and care
Page 315 of 336
Changing
awheel Flat tire
You can find information on whatt o do in the
event of a flat tire in the "Flat tire" section
(Y page 275). You will also find information
on driving with MOExtended tires in the event
of a flat tire.
Vehicle with emergency spare wheel: in
the event of a flat tire, the emergency spare
wheel is mounted as described under
"Mounting a wheel" ( Ypage 312). Interchanging the wheels
G
WARNING
Interchanging the front and rear wheels may
severely impair the driving characteristics if
the wheels or tires have different dimensions.
The wheel brakes or suspension components
may also be damaged. There is a risk of
accident.
Rotate front and rear wheels only if the wheels
and tires are of the same dimensions.
Always pay attention to the instructions and
safety notes when changing a wheel
(Y page 312).
The wear patterns on the front and rear tires
differ, depending on the operating conditions.
Rotate the wheels before a clear wear pattern
has formed on the tires. Front tires typically
wear more on the shoulders and the rear tires
in the center.
If your vehicle's tire configuration allows, you
can rotate the wheels according to the
intervals in the tire manufacturer's warranty
book in your vehicle documents. If no
warranty book is available, the tires should be
interchanged every 3,000 to 6,000 miles
(5,000 to 10,000 km), or earlier if tire wear
requires. Do not change the direction of
wheel rotation.
Clean the contact surfaces of the wheel and
the brake disc thoroughly every time a wheel
is interchanged. Check the tire pressure and, if necessary, restart the tire pressure loss
warning system. Direction of rotation
Tires with a specified direction of rotation
have additional benefits, e.g. if there is a risk
of hydroplaning. You will only gain these
benefits if the correct direction of rotation is
maintained.
An arrow on the sidewall of the tire indicates
its correct direction of rotation. Storing wheels
Store wheels that are not being used in a cool,
dry and preferably dark place. Protec tthe
tires from oil, grease, gasoline and diesel. Cleaning the wheels
G
WARNING
The water jet from a circular jet nozzle (dirt
blasters) can cause invisible exterior damage
to the tires or chassis components.
Components damaged in this way may fail
unexpectedly. There is a risk of an accident.
Do not use power washers with circular jet
nozzles to clean the vehicle. Have damaged
tires or chassis components replaced
immediately. Mounting
awheel
Preparing the vehicle X
Park the vehicle on firm, non-slippery and
level ground.
X Apply the electric parking brake manually
(Y page 142).
X Bring the front wheels into the straight-
ahead position.
X Move the DIRECT SELECT levert o position
P. 312
Changing
awheelWheels and tires