2013 MERCEDES-BENZ B-CLASS SPORTS reset
[x] Cancel search: resetPage 89 of 336
!
To avoid damage to the seats and the seat
heating, observe the following information:
R keep liquids from spilling on the seats. If
liquid is spilled on the seats, dry them as
soon as possible.
R if the seat covers are damp or wet, do not
switch on the seat heating. The seat
heating should also not be used to dry
the seats.
R clean the seat covers as recommended;
see the "Interior care" section.
R do not transport heavy loads on the
seats. Do not place sharp objects on the
seat cushions, e.g. knives, nails or tools.
The seats should only be occupied by
passengers, if possible.
R when the seat heating is in operation, do
not cover the seats with insulating
materials, e.g. blankets, coats, bags,
seat covers, child seats or booster seats.
! Make sure that there are no objects in the
footwell or behind the seats when resetting
the seats. There is a risk that the seats
and/or the objects could be damaged.
i The head restraints in the front and rear
seats can be removed.
For more information, contact a qualified
specialist workshop.
i Further related subjects:
R cargo compartment enlargement
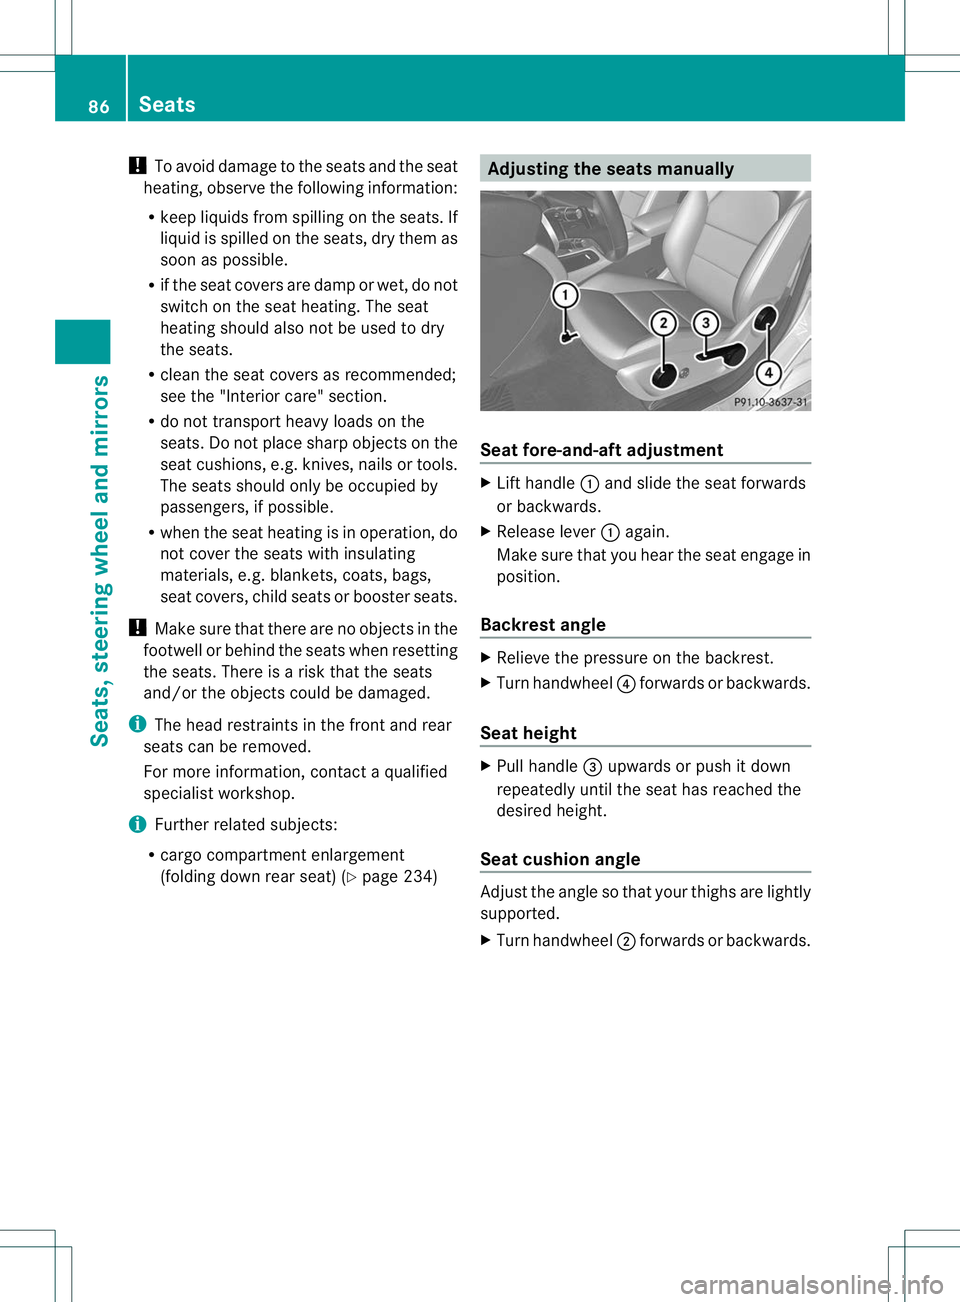
(folding down rear seat) (Y page 234) Adjusting the seats manually
Seat fore-and-aft adjustment
X
Lift handle :and slide the seat forwards
or backwards.
X Release lever :again.
Make sure that you hear the seat engage in
position.
Backrest angle X
Relieve the pressure on the backrest.
X Turn handwheel ?forwards or backwards.
Seat height X
Pull handle =upwards or push it down
repeatedly until the seat has reached the
desired height.
Seat cushion angle Adjust the angle so that your thighs are lightly
supported.
X
Turn handwheel ;forwards or backwards. 86
SeatsSeats, steering wheel and mirrors
Page 94 of 336
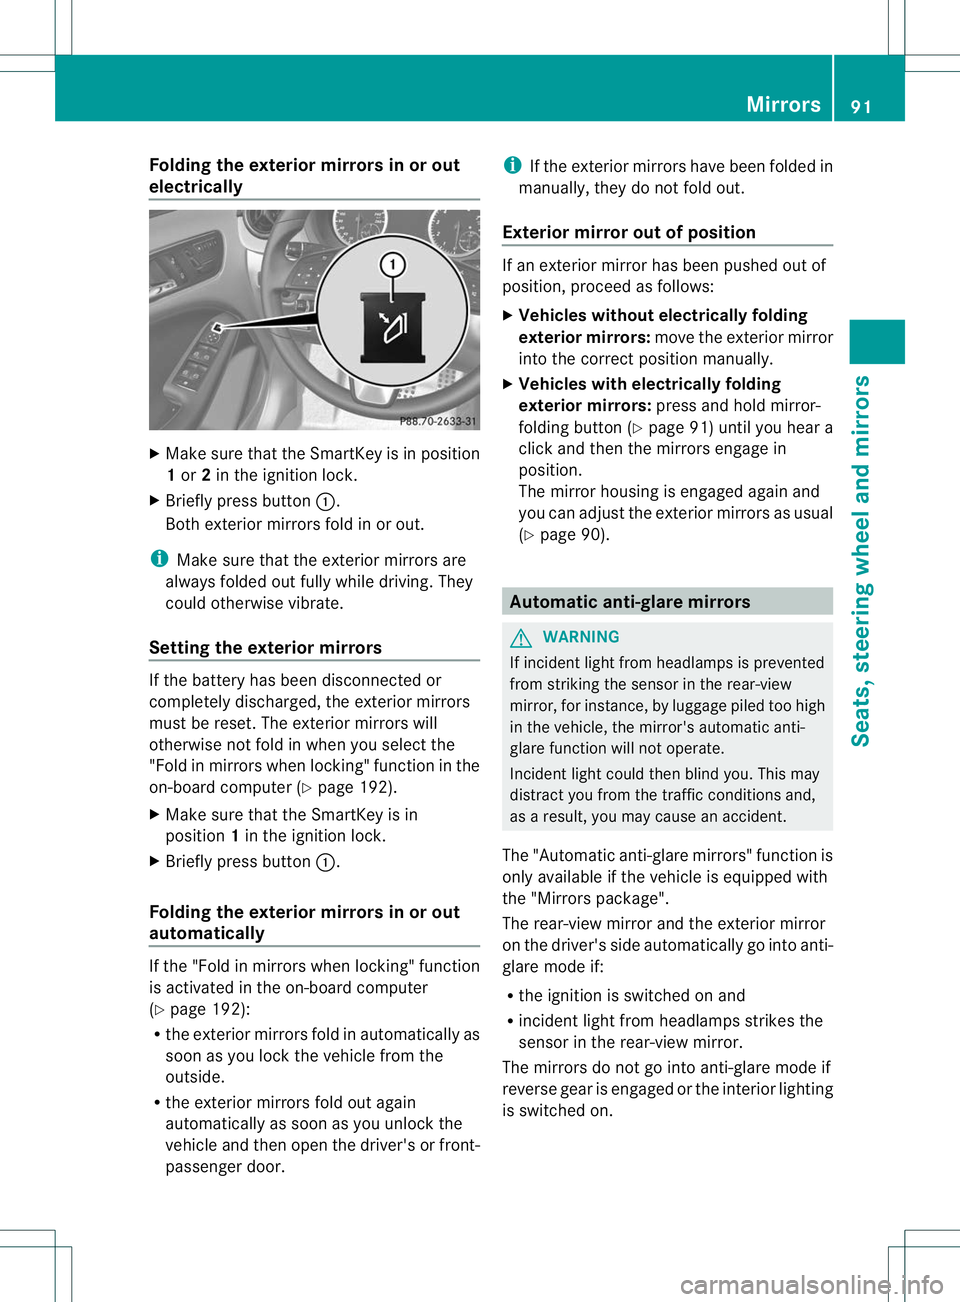
Folding the exterior mirrors in or out
electrically
X
Make sure that the SmartKey is in position
1or 2in the ignition lock.
X Briefly press button :.
Both exterior mirrors fold in or out.
i Make sure that the exterior mirrors are
always folded out fully while driving .They
could otherwise vibrate.
Setting the exterior mirrors If the battery has been disconnected or
completely discharged, the exterior mirrors
must be reset. The exterior mirrors will
otherwise not fold in when you select the
"Fold in mirrors when locking" function in the
on-board computer (Y
page 192).
X Make sure that the SmartKey is in
position 1in the ignition lock.
X Briefly press button :.
Folding the exterior mirrors in or out
automatically If the "Fold in mirrors when locking" function
is activated in the on-board computer
(Y
page 192):
R the exterior mirrors fold in automatically as
soon as you lock the vehicle from the
outside.
R the exterior mirrors fold out again
automatically as soon as you unlock the
vehicle and then open the driver's or front-
passenger door. i
If the exterior mirrors have been folded in
manually, they do not fold out.
Exterior mirror out of position If an exterior mirror has been pushed out of
position, proceed as follows:
X
Vehicles without electrically folding
exterior mirrors: move the exterior mirror
into the correct position manually.
X Vehicles with electrically folding
exterior mirrors: press and hold mirror-
folding button (Y page 91) until you hear a
click and then the mirrors engage in
position.
The mirror housing is engaged again and
you can adjust the exterior mirrors as usual
(Y page 90). Automatic anti-glare mirrors
G
WARNING
If incident light from headlamps is prevented
from striking the sensor in the rear-view
mirror, for instance, by luggage piled too high
in the vehicle, the mirror's automatic anti-
glare function will not operate.
Incident light could then blind you. This may
distract you from the traffic conditions and,
as a result, you may cause an accident.
The "Automatic anti-glare mirrors" function is
only available if the vehicle is equipped with
the "Mirrors package".
The rear-view mirror and the exterior mirror
on the driver's side automatically go into anti-
glare mode if:
R the ignition is switched on and
R incident light from headlamps strikes the
sensor in the rear-view mirror.
The mirrors do not go into anti-glare mode if
reverse gear is engaged or the interior lighting
is switched on. Mirrors
91Seats, steering wheel and mirrors Z
Page 95 of 336
Parking position for the exterior
mirror on the front-passenger side
General notes The "Parking position of the exterior mirror on
the front-passenger side" function is only
available if the vehicle is equipped with the
"Mirrors package".
Setting and storing the parking position
Using reverse gear
You can position the front-passenger side
exterior mirror in such a way that you can see
the rear wheel on that side as soon as you
engage reverse gear. You can store this
position.
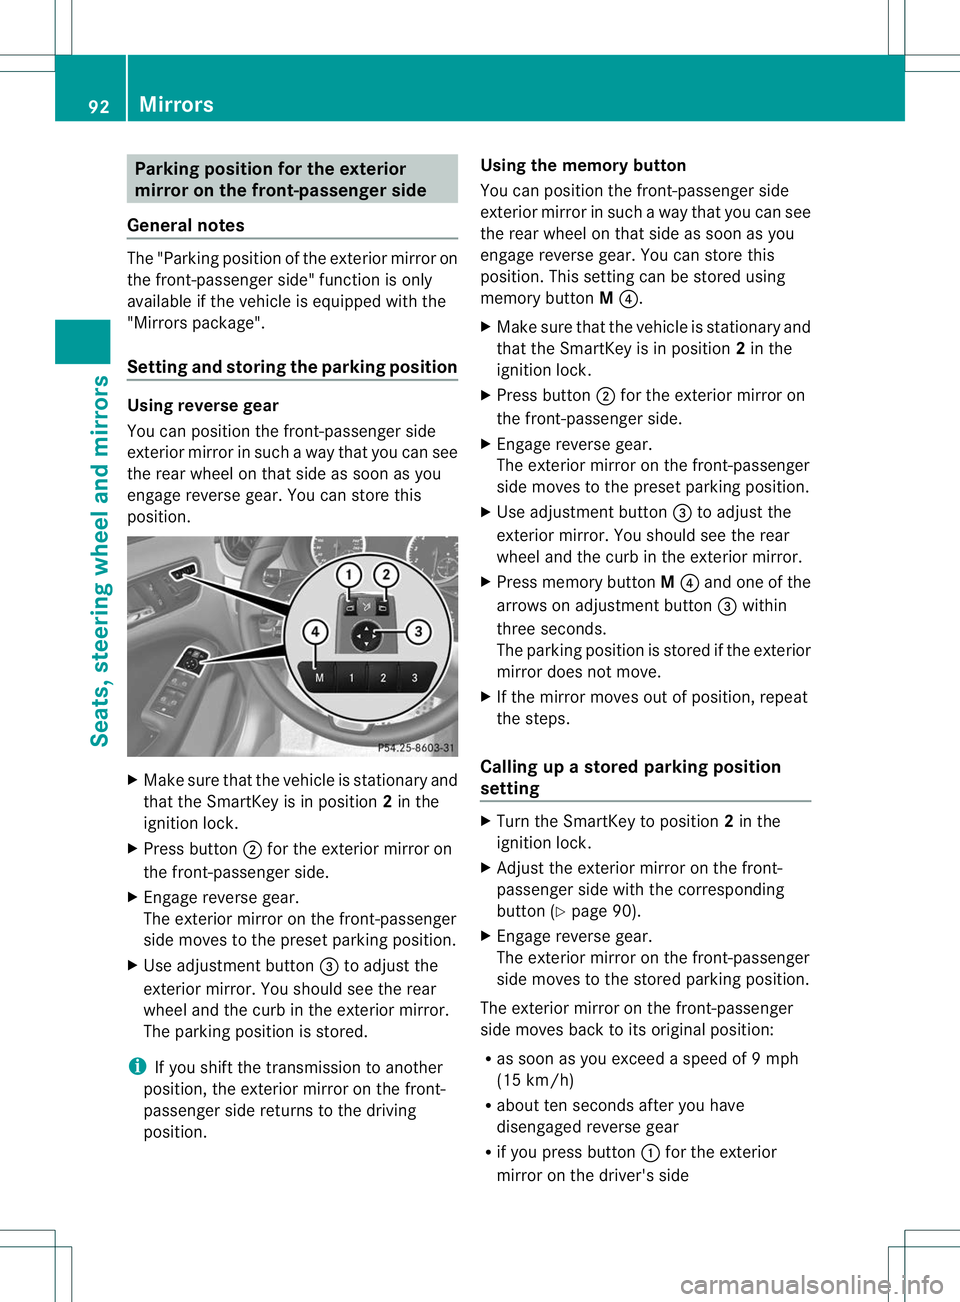
X
Make sure that the vehicle is stationary and
that the SmartKey is in position 2in the
ignition lock.
X Press button ;for the exterior mirror on
the front-passenger side.
X Engage reverse gear.
The exterior mirror on the front-passenger
side moves to the preset parking position.
X Use adjustment button =to adjust the
exterior mirror. You should see the rear
wheel and the curb in the exterior mirror.
The parking position is stored.
i If you shift the transmission to another
position, the exterior mirror on the front-
passenger side returns to the driving
position. Using the memory button
You can position the front-passenger side
exterior mirror in such a way that you can see
the rear wheel on that side as soon as you
engage reverse gear. You can store this
position. This setting can be stored using
memory button
M?.
X Make sure that the vehicle is stationary and
that the SmartKey is in position 2in the
ignition lock.
X Press button ;for the exterior mirror on
the front-passenger side.
X Engage reverse gear.
The exterior mirror on the front-passenger
side moves to the preset parking position.
X Use adjustment button =to adjust the
exterior mirror. You should see the rear
wheel and the curb in the exterior mirror.
X Press memory button M? and one of the
arrows on adjustment button =within
three seconds.
The parking position is stored if the exterior
mirror does not move.
X If the mirror moves out of position, repeat
the steps.
Calling up a stored parking position
setting X
Turn the SmartKey to position 2in the
ignition lock.
X Adjust the exterior mirror on the front-
passenger side with the corresponding
button (Y page 90).
X Engage reverse gear.
The exterior mirror on the front-passenger
side moves to the stored parking position.
The exterior mirror on the front-passenger
side moves back to its original position:
R as soon as you exceed a speed of 9mph
(15 km/h)
R about ten seconds after you have
disengaged reverse gear
R if you press button :for the exterior
mirror on the driver's side 92
MirrorsSeats, steering wheel and mirrors
Page 96 of 336
Memory functions
Storing settings
G
WARNING
Only use the memory function on the driver's
side when the vehicle is stationary. You could
otherwise be distracted from the traffic
conditions by the seat moving of its own
accord, and as a result cause an accident.
With the memory function, you can store up
to three different settings, e.g. for three
different people.
The following settings are stored as a single
memory preset:
R position of the seat, backrest and head
restraint
R driver's side :position of the exterior
mirrors on the driver's and front-passenger
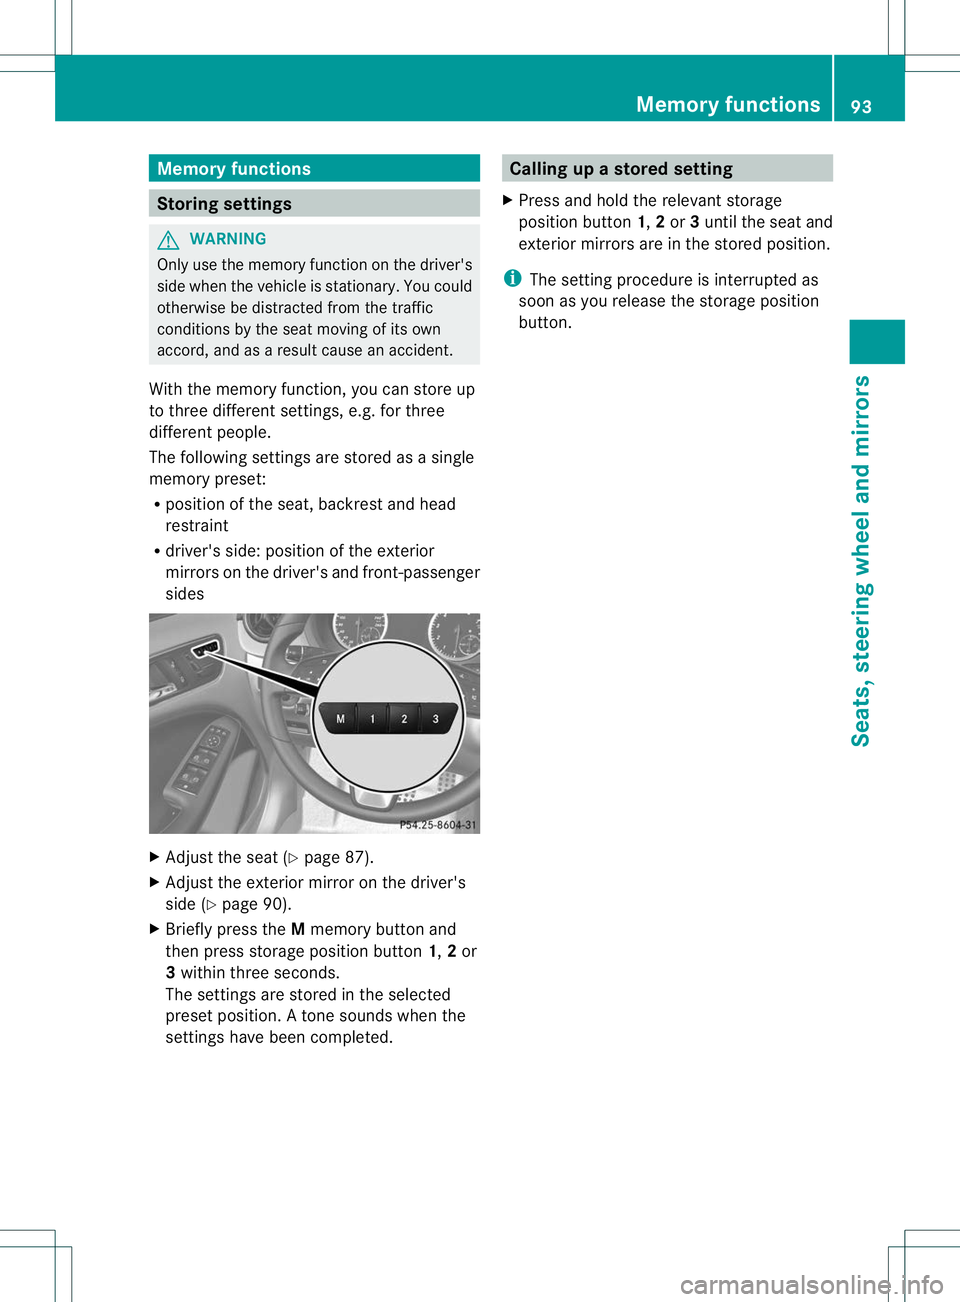
sides X
Adjust the seat (Y page 87).
X Adjust the exterior mirror on the driver's
side (Y page 90).
X Briefly press the Mmemory button and
then press storage position button 1,2or
3 within three seconds.
The settings are stored in the selected
preset position. Atone sounds when the
settings have been completed. Calling up
astore dsetting
X Press and hold the relevant storage
position button 1,2or 3until the seat and
exterio rmirrors are in the stored position.
i The setting procedure is interrupted as
soon as you release the storage position
button. Memory functions
93Seats, steering wheel and mirrors Z
Page 102 of 336
X
Press the combination switch beyond the
pressure point in the direction of
arrow :.
In the Ãposition, the high-beam
headlamps are only switched on when it is
dark and the engine is running.
The blue Kindicator lamp in the
instrument cluster lights up when the high-
beam headlamps are switched on.
X To switch off the high-beam
headlamps: move the combination switch
back to its normal position.
The blue Kindicator lamp in the
instrument cluster goes out.
i Vehicles with Adaptive Highbeam Assist:
when Adaptive Highbeam Assist is active,
it controls activation of the high-beam
headlamps (Y page 100).
High-beam flasher X
To switch on: turn the SmartKey in the
ignition lock to position 1or 2or start the
engine.
X Pull the combination switch in the direction
of arrow =. Hazard warning lamps
The hazard warning lamps automatically
switch on if:
R
an air bag is deployed.
R the vehicle is slowed down rapidly from a
speed of over 45 mph (70 km/h) and
comes to a halt. X
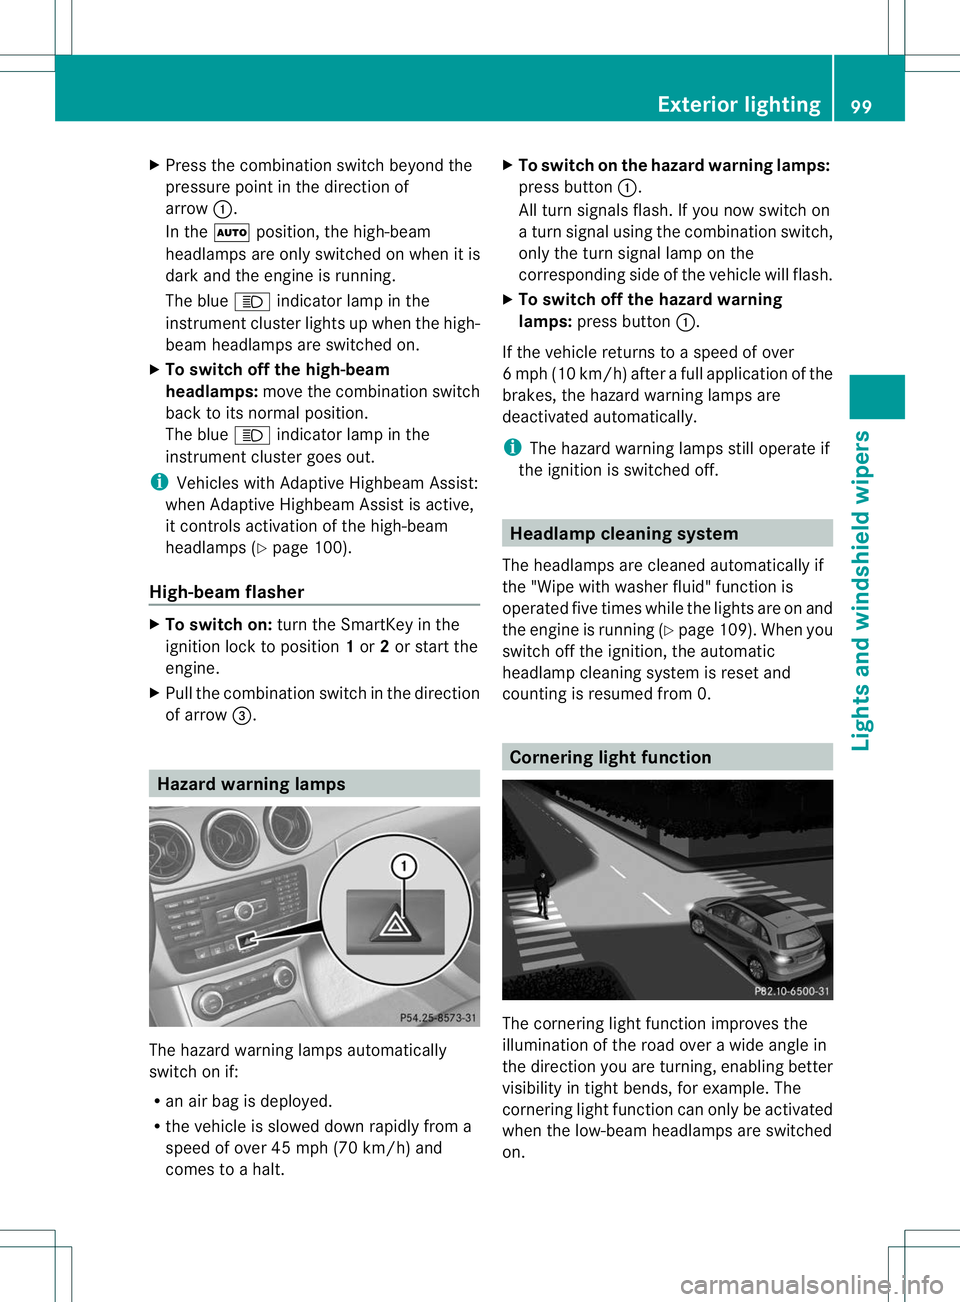
To switch on the hazard warning lamps:
press button :.
All turn signals flash. If you now switch on
a turn signal using the combination switch,
only the turn signal lamp on the
corresponding side of the vehicle will flash.
X To switch off the hazard warning
lamps: press button :.
If the vehicle returns to a speed of over
6m ph (10 km/h) after a full application of the
brakes, the hazard warning lamps are
deactivated automatically.
i The hazard warning lamps still operate if
the ignition is switched off. Headlamp cleaning system
The headlamps are cleaned automatically if
the "Wipe with washer fluid" function is
operated five times while the lights are on and
the engine is running (Y page 109). When you
switch off the ignition, the automatic
headlamp cleaning system is reset and
counting is resumed from 0. Cornering light function
The cornering light function improves the
illumination of the road over a wide angle in
the direction you are turning, enabling better
visibility in tight bends, for example. The
cornering light function can only be activated
when the low-beam headlamps are switched
on. Exterior lighting
99Lights and windshield wipers Z
Page 149 of 336
Smooth driving (assessment of driving
behavior at all times)
The bar fills up: The bar empties:
Constant speed and
avoidance of
unnecessary
acceleration and
deceleration Fluctuations in
speed
Coasting (assessment of all deceleration
processes)
The bar fills up: The bar empties:
Anticipatory driving,
keeping your
distance and early
release of the
accelerator: the
vehicle can coast
without use of the
brakes Frequent braking
i
An economical driving style involves
driving with a moderate engine speed.
To achieve a higher value in the categories
"acceleration" and "smooth driving":
R observe the gearshift recommendation.
R drive in drive program E.
i On long journeys at a constant speed, e.g.
on the freeway, only the bar for "smooth
driving" will change.
i The ECO display summaries the driving
characteristics from the start of the journey
to its completion. Therefore, there are
dynamic changes in the bars at the start of
a journey. During a prolonged driving time,
these changes are smaller. For dynamic
changes, perform a manual reset.
Further information on the ECO display
(Y page 183). Braking
Important safety notes G
WARNING
If you shift down on a slippery road surface in
an attempt to increase the engine's braking
effect, the drive wheels could lose their grip.
There is an increased danger of skidding and
accidents.
Do not shift down for additional engine
braking on a slippery road surface.
Downhill gradients !
On long and steep gradients, you must
reduce the load on the brakes by shifting to
a lower gear in good time. This allows you
to take advantage of the engine's braking
effect.F or this, you need to have selected
manual drive program M.This helps you to
avoid overheating the brakes and wearing
them out excessively.
When you take advantage of the engine's
braking effect, a drive wheel may not turn
for some time, e.g. on a slippery road
surface. This could cause damage to the
drive train. This type of damage is not
covered by the Mercedes-Ben zwarranty.
i Briefly depressing the accelerato rpedal
on downhill gradients while the manual
drive program Mis temporarily activated:
the automatic transmission may switch to
the last active automatic drive program E
or S.T he automatic transmission may shift
to a higher gear. This can reduce the
engine's braking effect.
Heavy and light loads G
WARNING
If you rest your foot on the brake pedal while
driving, the braking system can overheat. This
increases the stopping distance and can even
cause the braking system to fail. There is a
risk of an accident. 146
Driving tipsDriving and parking
Page 156 of 336
unexpectedly accelerate the vehicle to the
stored speed.
This speed may:
R
be too high if you are driving in a filter lane
or an exit lane
R be so high when driving in the right-hand
lane that you overtake vehicles in the left-
hand lane
R be so high when driving in the left-hand lane
that you overtake vehicles in the right-hand
lane
If there is a change of drivers, advise the new
driver of the speed stored.
General notes DISTRONIC PLU
Sregulates the speed and
automatically helps you maintain the
distance to the vehicle detected in front.
DISTRONIC PLUS brakes automatically so
that the set speed is not exceeded.
On long and steep downhill gradients,
especially if the vehicle is laden, you must
select a low gear in good time. For this, you
will need to have selected manual drive
program M(Ypage 146). By doing so, you will
make use of the brakin geffect of the engine,
which relieves the load on the brake system
and prevents the brakes from overheating
and wearing too quickly.
If DISTRONIC PLUS detects a slower-moving
vehicle in front, yourv ehicle is braked in order
to maintain the preset distance to the vehicle
in front.
If DISTRONIC PLUS detects that there is a risk
of a collision, you will be warned visually and
acoustically. DISTRONIC PLUS cannot
preven tacollision withouty our intervention.
An intermittent warning tone will then sound
and the distance warning lamp will light up in
the instrument cluster. Brake immediately in
order to increase the distance to the vehicle
in front or take evasive action provided it is
safe to do so.
DISTRONIC PLUS is automatically
deactivated if: R
you are driving slower than 15 mph
(25 km/h) and there is no vehicle in front
or
R the vehicle in front is no longer detected
If there is no vehicle driving in front of you,
DISTRONIC PLUS functions like cruise
control at a speed range between 20 mph
(30 km/h) and 120 mph (200 km/h). If a
vehicle is driving in front of you, it operates in
the speed range between 0mph (0 km/h) and
120 mph (200 km/h).
Do not use DISTRONIC PLUS while driving on
roads with steep gradients.
As DISTRONIC PLUS transmits radar waves,
it can resemble the radar detectors of the
responsible authorities. You can refer to the
relevant chapter in the Operator's Manual if
questions are asked about this.
i This device complies with the RSS-210
Rules of Industry Canada. Operation is
subjec tto the following two conditions:
1. This device may not cause interference,
and
2. this device must accept any interference
received, including interference that may
cause undesired operation of the device.
Removal, tampering, or altering of the
device will void any warranties, and is not
permitted. Do not tamper with, alter, or use
the device in any non-approved way.
Any unauthorized modification to this
device could void the user's authority to
operate the equipment. Driving systems
153Driving and parking Z
Page 175 of 336
range between 50 mph (80 km/h) and
112 mph (180 km/h).
If ATTENTION ASSIST detects typical
indicators of fatigue or increasing lapses in
concentration on the part of the driver, it
suggests you take a break.
Important safety notes
ATTENTION ASSIST is only an aid to the
driver. It might not always recognize fatigue
or increasing inattentiveness in time or fail to
recognize them at all.T
he system is not a
substitute for a well-rested and attentive
driver.
ATTENTION ASSIST assesses your level of
fatigue or lapses in concentration by taking
the following criteria into account:
R your personal driving style, e.g. steering
characteristics
R driving conditions, e.g. time, driving time
The functionality of ATTENTION ASSIST is
restricted and warnings may be delayed or
not occur at all:
R if the road condition is poor, e.g. if the
surface is uneven or if there are potholes
R if there is a strong side wind
R if you have adopted a sporty driving style
with high cornering speeds or high rates of
acceleration
R if you are predominantly driving slower
than 50 mph (80 km/h) or faster than
112 mph (180 km/h)
R if you are currently using COMAND or
making a telephone call with it
R if the time has been set incorrectly
R in active driving situations, such as when
you change lanes or change your speed Warning and display messages in the
multifunction display X
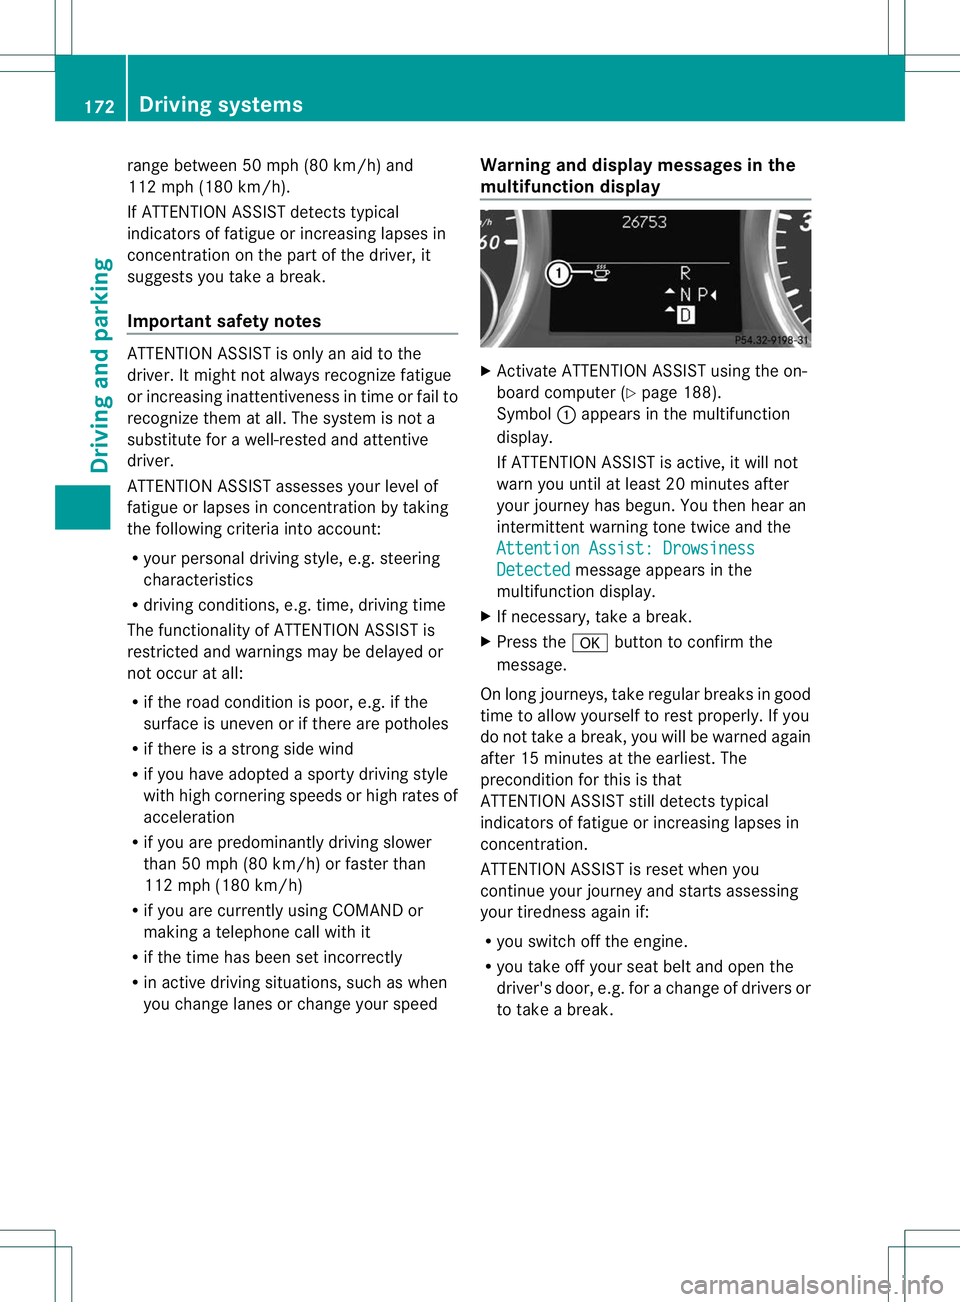
Activate ATTENTION ASSIST using the on-
board computer (Y page 188).
Symbol :appears in the multifunction
display.
If ATTENTION ASSIST is active, it will not
warn you until at least 20 minutes after
your journey has begun. You then hear an
intermittent warning tone twice and the
Attention Assist: Drowsiness Detected message appears in the
multifunction display.
X If necessary, take a break.
X Press the abutton to confirm the
message.
On long journeys, take regular breaks in good
time to allow yourself to rest properly. If you
do not take a break, you will be warned again
after 15 minutes at the earliest. The
precondition for this is that
ATTENTION ASSIST still detects typical
indicators of fatigue or increasing lapses in
concentration.
ATTENTION ASSIST is reset when you
continue your journey and starts assessing
your tiredness again if:
R you switch off the engine.
R you take off your seat belt and open the
driver's door, e.g. for a change of drivers or
to take a break. 172
Driving systemsDriving and parking