Page 65 of 256

65
2. SETUP
GS450h_300h_350_250_NAVI_OM30D64E_(EE)
13.10.23 11:07
2
BASIC FUNCTION
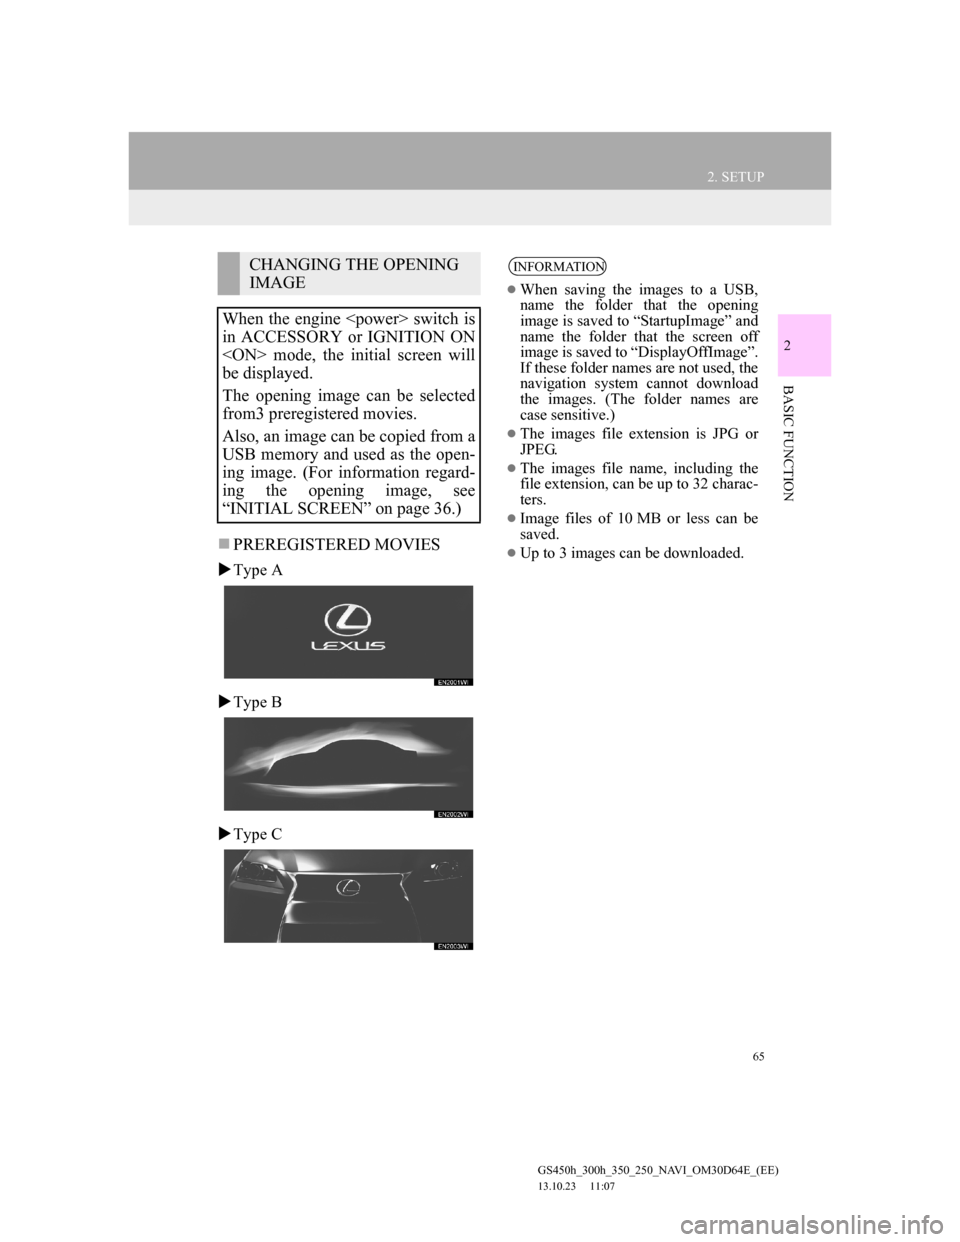
PREREGISTERED MOVIES
Type A
Type B
Type C
CHANGING THE OPENING
IMAGE
When the engine switch is
in ACCESSORY or IGNITION ON
mode, the initial screen will
be displayed.
The opening image can be selected
from3 preregistered movies.
Also, an image can be copied from a
USB memory and used as the open-
ing image. (For information regard-
ing the opening image, see
“INITIAL SCREEN” on page 36.)INFORMATION
When saving the images to a USB,
name the folder that the opening
image is saved to “StartupImage” and
name the folder that the screen off
image is saved to “DisplayOffImage”.
If these folder names are not used, the
navigation system cannot download
the images. (The folder names are
case sensitive.)
The images file extension is JPG or
JPEG.
The images file name, including the
file extension, can be up to 32 charac-
ters.
Image files of 10 MB or less can be
saved.
Up to 3 images can be downloaded.
Page 66 of 256
66
2. SETUP
GS450h_300h_350_250_NAVI_OM30D64E_(EE)
13.10.23 11:07
TRANSFERRING DATA
1Open the console box.
2Open the cover and connect a USB
memory.
Turn on the power of the USB memory
if it is not turned on.
3Close the console box.
4Press the “MENU” button on the
Remote Touch, then select “Setup”.
5Select “General” on the “Setup”
screen.
6Select “Change opening image”.
7Select “Transfer”.
8Select “Yes”.
Page 67 of 256
67
2. SETUP
GS450h_300h_350_250_NAVI_OM30D64E_(EE)
13.10.23 11:07
2
BASIC FUNCTION
SETTING THE OPENING IM-
AGE
1Press the “MENU” button on the
Remote Touch, then select “Setup”.
2Select “General” on the “Setup”
screen.
3Select “Change opening image” on
the “General settings” screen.
4Select the desired image.
5Select “OK”.
DELETING TRANSFERRED IM-
AGES
1Press the “MENU” button on the
Remote Touch, then select “Setup”.
2Select “General” on the “Setup”
screen.
3Select “Change opening image” on
the “General settings” screen.
4Select “Delete all”.
5Select “Yes”.
TRANSFERRING DATA
1Open the console box.
CHANGING THE SCREEN
OFF IMAGE
Select “Screen off” to turn off the
screen. An image can be copied from
a USB memory and can be set to dis-
play when “Screen off” is selected.
(For more information on “Screen
off”, see “SCREEN ADJUST-
MENT” on page 45.)
Page 68 of 256
68
2. SETUP
GS450h_300h_350_250_NAVI_OM30D64E_(EE)
13.10.23 11:07
2Open the cover and connect a USB
memory.
Turn on the power of the USB memory
if it is not turned on.
3Close the console box.
4Press the “MENU” button on the
Remote Touch, then select “Setup”.
5Select “General” on the “Setup”
screen.
6Select “Change screen off image”.
7Select “Transfer”.
8Select “Yes”.
SETTING THE SCREEN OFF IM-
AGE
1Press the “MENU” button on the
Remote Touch, then select “Setup”.
2Select “General” on the “Setup”
screen.
3Select “Change screen off image” on
the “General settings” screen.
4Select the desired image.
5Select “OK”.
Page 77 of 256

3
77
1
2
3
4
5
6
7
GS450h_300h_350_250_NAVI_OM30D64E_(EE)
13.10.23 11:07
1. ROUTE GUIDANCE SCREEN ...... 106
2. TYPICAL VOICE GUIDANCE
PROMPTS ..................................... 110
3. DISTANCE AND TIME TO
DESTINATION............................. 113
4. SUSPENDING AND RESUMING
GUIDANCE .................................. 114
SUSPENDING GUIDANCE ................. 114
RESUMING GUIDANCE ..................... 114
5. SETTING ROUTE........................... 115
ADDING DESTINATIONS .................. 116
REORDERING DESTINATIONS ........ 116
DELETING DESTINATIONS .............. 117
SEARCH CONDITION ......................... 117
DETOUR SETTING .............................. 118
ROAD PREFERENCE .......................... 119
ROUTE OVERVIEW ............................ 120
ROUTE TRACE .................................... 121
6. DISPLAY POI* ICONS .................. 122
SELECTING POI* ICONS TO BE
DISPLAYED ....................................... 122
1. MEMORY POINT SETTINGS ...... 125
SETTING UP THE “Home”................... 126
SETTING UP THE “Quick access” ....... 128
SETTING UP THE “Memory points” .... 131
SETTING UP THE “Area to avoid”....... 138
DELETING PREVIOUS
DESTINATIONS ................................. 142
BACKUP TO A USB MEMORY .......... 143
COPYING FROM A USB MEMORY... 146
1. NAVIGATION SETTINGS ............ 148
SCREENS FOR NAVIGATION
SETTINGS ........................................... 148
2. VEHICLE SETTINGS .................... 154
MAINTENANCE ................................... 154
VEHICLE CUSTOMIZATION ............. 159
1. LIMITATIONS OF THE
NAVIGATION SYSTEM............. 160
2. MAP DATABASE VERSION AND
COVERED AREA ........................ 163
MAP INFORMATION ........................... 163
2ROUTE GUIDANCE3MEMORY POINTS
4SETUP
5GPS (GLOBAL POSITIONING
SYSTEM)
NAVIGATION SYSTEM
For vehicles sold outside Europe, some of the functions cannot be operated while
driving.
Page 125 of 256
125
GS450h_300h_350_250_NAVI_OM30D64E_(EE)
13.10.23 11:07
3
NAVIGATION SYSTEM
3. MEMORY POINTS
1. MEMORY POINT SETTINGS
1 Select “Menu”.
2Select “Memory point”.
3Select the desired items to be set.
On this screen, the following operations
can be performed:
Points or areas on the map can be
registered.
The registered points can be used on
the “Destination” screen. (See
“DESTINATION SEARCH BY
HOME” on page 83, “DESTINA-
TION SEARCH BY QUICK AC-
CESS” on page 84 and
“DESTINATION SEARCH BY
“Memory”” on page 93.)
Registered areas to avoid, will be
avoided when the system searches
for a route.
No.FunctionPage
Select to set home.126
Select to set the memory
points.131
Select to set quick ac-
cess.128
Select to set areas to
avoid.138
Select to delete previous
destinations.142
Select to copy from a
USB memory.146
Select to backup to a
USB memory.143
Page 132 of 256

132
3. MEMORY POINTS
GS450h_300h_350_250_NAVI_OM30D64E_(EE)
13.10.23 11:07
1Select “Menu”.
2Select “Memory point” on the navi-
gation menu screen.
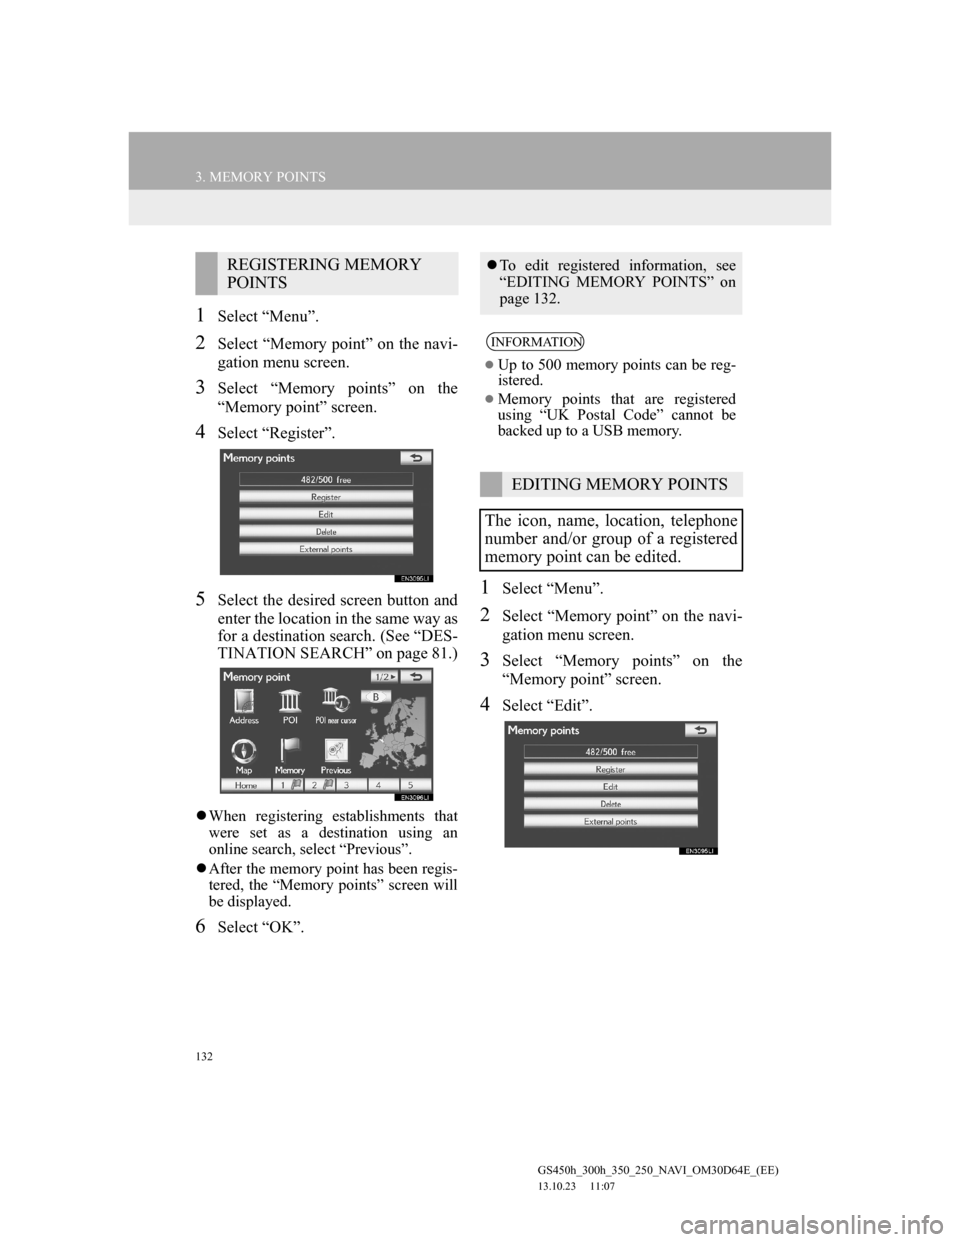
3Select “Memory points” on the
“Memory point” screen.
4Select “Register”.
5Select the desired screen button and
enter the location in the same way as
for a destination search. (See “DES-
TINATION SEARCH” on page 81.)
When registering establishments that
were set as a destination using an
online search, select “Previous”.
After the memory point has been regis-
tered, the “Memory points” screen will
be displayed.
6Select “OK”.
1Select “Menu”.
2Select “Memory point” on the navi-
gation menu screen.
3Select “Memory points” on the
“Memory point” screen.
4Select “Edit”.
REGISTERING MEMORY
POINTSTo edit registered information, see
“EDITING MEMORY POINTS” on
page 132.
INFORMATION
Up to 500 memory points can be reg-
istered.
Memory points that are registered
using “UK Postal Code” cannot be
backed up to a USB memory.
EDITING MEMORY POINTS
The icon, name, location, telephone
number and/or group of a registered
memory point can be edited.
Page 143 of 256
143
3. MEMORY POINTS
GS450h_300h_350_250_NAVI_OM30D64E_(EE)
13.10.23 11:07
3
NAVIGATION SYSTEM
5Select “Delete”.
6Select “Yes” to delete the destina-
tion(s) and select “No” to cancel the
deletion.
1Open the console box.
2Open the cover and connect a USB
memory.
Screen but-
tonFunction
“Select all”Select all previous desti-
nations.
“Unselect
all”Select to cancel the “Se-
lect all” function.
BACKUP TO A USB
MEMORY
Memory points registered in the nav-
igation system can be copied to a
USB memory.
A password must first be set in order
to back up data. (For instructions on
setting a password, see page 145.)
Exporting memory point data is for
your back-up use only and distribu-
tion or usage in other system is
strictly prohibited.