Page 409 of 573
408
uuCompass*uCompass Zone Selection
Features
Compass Zone Selection
1.Turn the ignition switch to ON
(w *1
.
2. On the top screen of any audio source,
press and hold for 5 seconds.
uThe display switches to the Compass
Settings screen.
3. Rotate to select Zone Adjust, then
press .
uThe display shows the current zone
number.
4. Rotate to select the zone number of
your area (See Zone Map), then press .
*1: Models with the smart entry system have an ENGINE START/STOP button instead of an
ignition switch.
1
23
4
5 6
78910 11121314
15
Zone Map
Guam Island: Zone 8
Puerto Rico: Zone 11
1Compass Zone Selection
The zone selection is done to compensate the
variation between magnetic north and true north.
If the calibration starts while the audio system is in
use, the display returns to normal after the calibration is completed.
Main MenuTable of contents
Page 410 of 573

409
Driving
This chapter discusses driving, refueling, and information on items such as accessories.
Before Driving Driving Preparation .......................... 410
Maximum Load Limit........................ 413
Towing a Trailer
Towing Preparation .......................... 415
Driving Safely with a Trailer .............. 418
Towing Your Vehicle ........................ 419
When Driving Starting the Engine .......................... 420
Precautions While Driving................. 424
Automatic Transmission ................... 425
Shifting ............................................ 426 Cruise Control ................................. 432
Forward Collision Warning (FCW)
*
.. 435
Lane Departure Warning (LDW) *
..... 439
VSA ® (Vehicle Stability Assist), aka ESC
(Electronic Stability Control), System .. 442
LaneWatch TM
*
.................................. 444
TPMS (Tire Pressure Monitoring System) .. 446Tire Pressure Monitoring System (TPMS) -
Required Federal Explanation ......... 447
Braking
Brake System ................................... 449
ABS (Anti-lock Brake System) ........... 451 Brake Assist System ......................... 452
Parking Your Vehicle
When Stopped ................................ 453
Rearview Camera ............................. 454
Multi-View Rear Camera .................. 455
Refueling Fuel Information .............................. 456
How to Refuel ................................. 457
Fuel Economy .................................... 459
Improving Fuel Economy .................. 459
Accessories and Modifications ........ 460
* Not available on all models
Main Menu
Page 411 of 573

410
Driving
Before Driving
Driving Preparation
Check the following items before you start driving. •Make sure there are no obstructions on the windows, door mirrors, exterior
lights, or other parts of the vehicle.
uRemove any frost, snow, or ice.uRemove any snow on the roof, as this can slip down and obstruct your field of
vision while driving. If frozen solid, remove ice once it has softened.
uWhen removing ice from around the wheels, be sure not to damage the wheel
or wheel components.
• Make sure the hood is securely closed.
uIf the hood opens while driving, your front view will be blocked.
• Make sure the tires are in good condition.
uCheck air pressure, and check for damage and excessive wear.
2 Checking and Maintaining Tires P. 497
• Make sure there are no people or objects behind or around the vehicle.
uThere are blind spots from the inside.
■Exterior Checks1Exterior Checks
NOTICEWhen doors are frozen shut, use warm water around
the door edges to melt any ice. Do not try to force
them open, as this can damage the rubber trim
around the doors. When done, wipe dry to avoid further freezing.
Do not pour warm water into the key cylinder.
You will be unable to insert key if the water freezes in
the hole.
Heat from the engine and exhaust can ignite
flammable materials left under the hood, causing a
fire. If you’ve parked your vehicle for an extended
period, inspect and remove any debris that may have
collected, such as dried grass and leaves that have
fallen or have been carried in for use as a nest by a
small animal. Also check under the hood for leftover
flammable materials after you or someone else has
performed maintenance on your vehicle.
Main MenuTable of contents
Page 416 of 573

415
Continued
Driving
Towing a Trailer
Towing Preparation
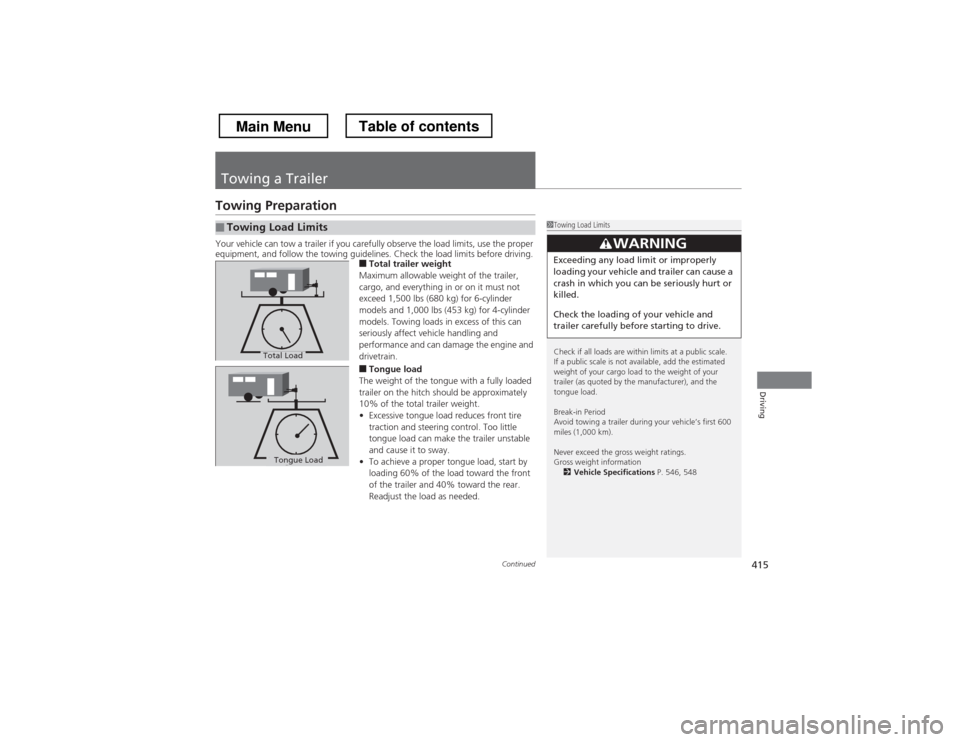
Your vehicle can tow a trailer if you carefully observe the load limits, use the proper
equipment, and follow the towing guidelines. Check the load limits before driving.
■Total trailer weight
Maximum allowable weight of the trailer,
cargo, and everything in or on it must not
exceed 1,500 lbs (680 kg) for 6-cylinder
models and 1,000 lbs (453 kg) for 4-cylinder
models. Towing loads in excess of this can
seriously affect vehicle handling and
performance and can da mage the engine and
drivetrain.
■ Tongue load
The weight of the tongue with a fully loaded
trailer on the hitch should be approximately
10% of the total trailer weight. • Excessive tongue load reduces front tire
traction and steering control. Too little
tongue load can make the trailer unstable
and cause it to sway.
• To achieve a proper tongue load, start by
loading 60% of the load toward the front
of the trailer and 40% toward the rear.
Readjust the load as needed.
■Towing Load Limits1Towing Load Limits
Check if all loads are within limits at a public scale.
If a public scale is not available, add the estimated
weight of your cargo load to the weight of your
trailer (as quoted by the manufacturer), and the
tongue load.
Break-in Period
Avoid towing a trailer during your vehicle’s first 600
miles (1,000 km).
Never exceed the gross weight ratings.
Gross weight information
2 Vehicle Specifications P. 546, 548
3WARNING
Exceeding any load limit or improperly
loading your vehicle and trailer can cause a
crash in which you can be seriously hurt or
killed.
Check the loading of your vehicle and
trailer carefully before starting to drive.
Total Load
Tongue LoadTongue Load
Main MenuTable of contents
Page 420 of 573
419
uuTowing a TraileruTowing Your Vehicle
Driving
•Monitor your temperature gauge. If it nears the red (Hot) mark, turn off the
heating and cooling system *
/climate control system *
and reduce speed. Pull to the
side of the road safely to cool down the engine if necessary.
• Shift to the
(S or (d position if the transmission shifts frequently.
Towing Your Vehicle
Your vehicle is not designed to be towed behind a motor home. If your vehicle needs
to be towed in an emergency, refer to the emergency towing information.
2 Emergency Towing P. 542
■Driving in Hilly Terrain
* Not available on all models
Main MenuTable of contents
Page 421 of 573

420
Driving
When Driving
Starting the Engine1.Make sure the parking brake is applied.
2. Check that the shift lever is in
(P , then
depress the brake pedal.
uAlthough it is possible to start the vehicle
in (N , it is safer to start it in (P.
Models without smart entry system
1Starting the Engine
Keep your foot firmly on the brake pedal when
starting the engine.
The engine is harder to start in cold weather and in
thinner air found at altitudes above 8,000 feet (2,400 meters).
When starting the engine in cold weather, turn off all
electrical accessories such as the lights, heating and
cooling system *
/climate control system *
, and rear
defogger in order to reduce battery drain.
If you live in a region where winter is extremely cold,
an engine block heater will improve starting and
warming of the engine. If temperatures consistently
below -22°F (-30°C) are expected, the coolant
mixture should be charged to a higher concentration
to prevent freezing. Consult a dealer for details.
If the exhaust system sounds abnormal or you can
smell exhaust gas inside the vehicle, have your vehicle
checked by a dealer. There may be a problem with
the engine or exhaust system.
Brake Pedal
* Not available on all models
Main MenuTable of contents
Page 422 of 573

421
uuWhen DrivinguStarting the Engine
Driving
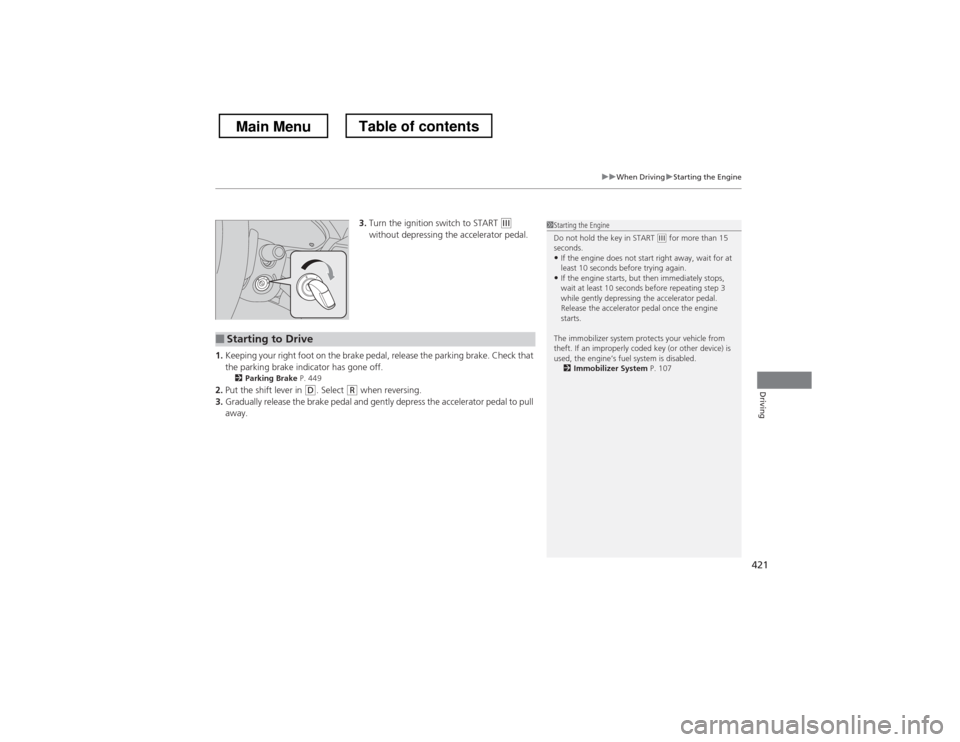
3.Turn the ignition switch to START (e
without depressing the accelerator pedal.
1. Keeping your right foot on the brake pedal, release the parking brake. Check that
the parking brake indicator has gone off.
2 Parking Brake P. 449
2. Put the shift lever in
(D . Select (R when reversing.
3. Gradually release the brake pedal and gently depress the accelerator pedal to pull away.
■Starting to Drive
1Starting the Engine
Do not hold the key in START
(e for more than 15
seconds.
• If the engine does not start right away, wait for at
least 10 seconds before trying again.
• If the engine starts, but then immediately stops,
wait at least 10 seconds before repeating step 3
while gently depressing the accelerator pedal.
Release the accelerator pedal once the engine starts.
The immobilizer system protects your vehicle from
theft. If an improperly coded key (or other device) is
used, the engine’s fuel system is disabled. 2 Immobilizer System P. 107
Main MenuTable of contents
Page 423 of 573

422
uuWhen DrivinguStarting the Engine
Driving
Starting the Engine1.Make sure the parking brake is applied.
2. Check that the shift lever is in
(P , then
depress the brake pedal.
uAlthough it is possible to start the vehicle
in (N , it is safer to start it in (P.
Models with smart entry system
1Starting the Engine
Keep your foot firmly on the brake pedal when
starting the engine.
The engine is harder to start in cold weather and in
thinner air found at altitudes above 8,000 feet (2,400 meters).
When starting the engine in cold weather, turn off all
electrical accessories such as the lights, climate
control system, and rear defogger in order to reduce battery drain.
If you live in a region where winter is extremely cold,
an engine block heater will improve starting and
warming of the engine. If temperatures consistently
below -22°F (-30°C) are expected, the coolant
mixture should be changed to a higher concentration
to prevent freezing. Consult a dealer for details.
If the exhaust system sounds abnormal or you can
smell exhaust gas inside the vehicle, have your vehicle
checked by a dealer. There may be a problem with
the engine or exhaust system.
The immobilizer system protects your vehicle from theft.
If an improperly coded device is used, the engine’s
fuel system is disabled.
2 Immobilizer System P. 107
Brake Pedal
Main MenuTable of contents