Page 480 of 573
479
uuMaintenance Under the HooduEngine Coolant
Maintenance
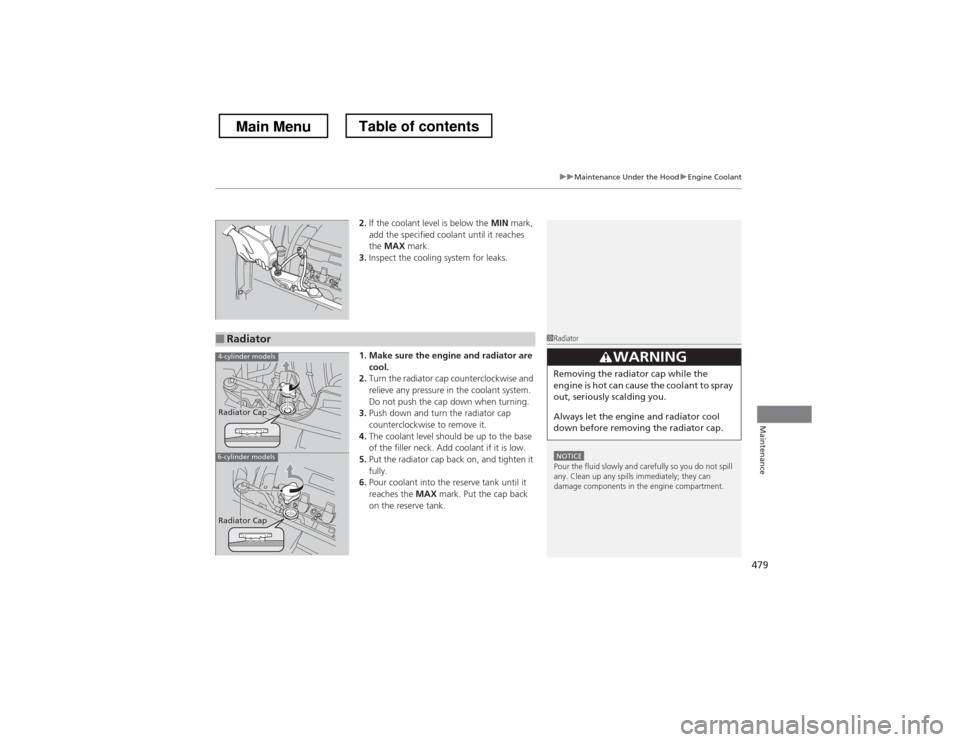
2.If the coolant level is below the MIN mark,
add the specified coolant until it reaches the MAX mark.
3. Inspect the cooling system for leaks.
1. Make sure the engine and radiator are cool.
2. Turn the radiator cap counterclockwise and
relieve any pressure in the coolant system.
Do not push the cap down when turning.
3. Push down and turn the radiator cap
counterclockwise to remove it.
4. The coolant level should be up to the base
of the filler neck. Add coolant if it is low.
5. Put the radiator cap back on, and tighten it fully.
6. Pour coolant into the reserve tank until it reaches the MAX mark. Put the cap back
on the reserve tank.
■Radiator1Radiator
NOTICEPour the fluid slowly and carefully so you do not spill
any. Clean up any spills immediately; they can
damage components in the engine compartment.
33WARNING
Removing the radiator cap while the
engine is hot can cause the coolant to spray
out, seriously scalding you.
Always let the engine and radiator cool
down before removing the radiator cap.
4-cylinder models
6-cylinder models
Radiator Cap
Radiator Cap
Main MenuTable of contents
Page 483 of 573
482
uuMaintenance Under the HooduPower Steering Fluid Check*
Maintenance
Power Steering Fluid Check *
We recommend that you check the power steering fluid level every time you refuel.
Check when the engine is not running. 1.Look at the side of the reservoir. The fluid
should be between the UPPER LEVEL and
LOWER LEVEL .
2. Add power steering fluid if necessary to the
UPPER LEVEL mark.
uInspect the system for a leak. If the fluid
level goes below the LOWER LEVEL
frequently, have the system inspected as
soon as possible.
Specified flui d: Honda Power Steering Fluid
1Power Steering Fluid Check *
NOTICETurning the steering wheel to full left or right lock
and holding it there can damage the power steering
pump.
NOTICEPour the fluid slowly and carefully so you do not spill
any. Clean up any spills immediately; it could damage
components in the engine compartment.
4-cylinder models
LOWER
LEVEL
UPPER LEVEL
* Not available on all models
Main MenuTable of contents
Page 484 of 573
483
uuMaintenance Under the HooduRefilling Window Washer Fluid
Maintenance
Refilling Window Washer Fluid
Check the amount of window washer fluid using the washer fluid level gauge on the cap.If the level is low, fill the washer reservoir.
If the washer fluid is low, the washer level
indicator comes on.
Pour the washer fluid carefully. Do not overflow the reservoir.
1Refilling Window Washer Fluid
NOTICEDo not use engine antifreeze or a vinegar/water
solution in the windshield washer reservoir.
Antifreeze can damage your vehicle’s paint. A
vinegar/water solution can damage the windshield washer pump.
Level Gauge
Canadian models
Main MenuTable of contents
Page 485 of 573
484
Maintenance
Replacing Light Bulbs
Headlight Bulbs
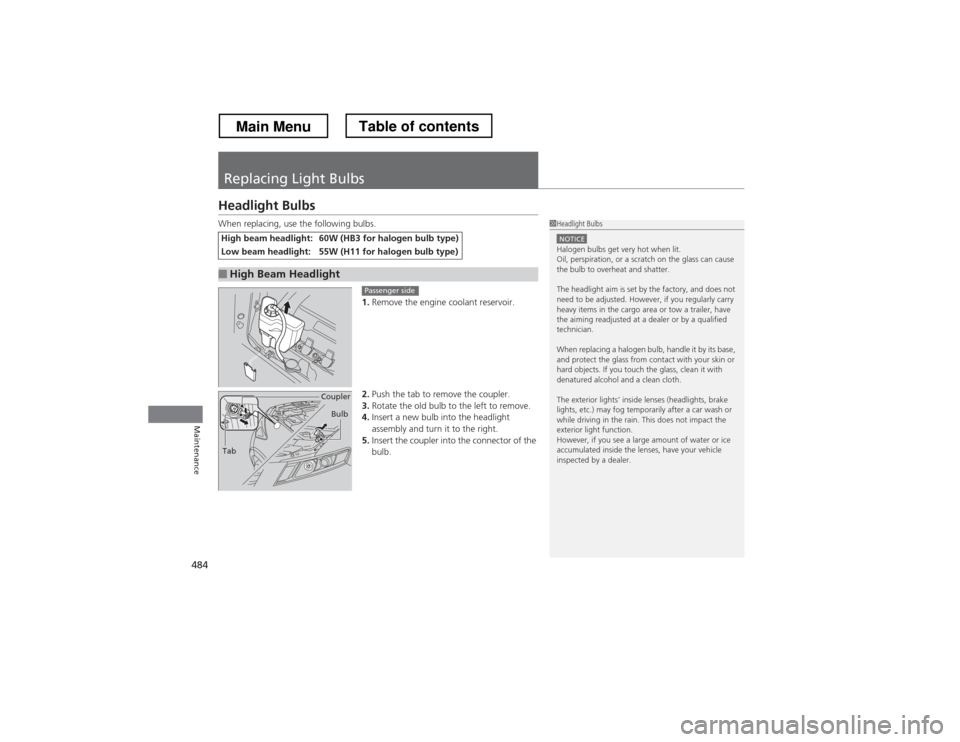
When replacing, use the following bulbs.1.Remove the engine coolant reservoir.
2. Push the tab to remove the coupler.
3. Rotate the old bulb to the left to remove.
4. Insert a new bulb into the headlight
assembly and turn it to the right.
5. Insert the coupler into the connector of the
bulb.
High beam headlight:60W (HB3 for halogen bulb type)
Low beam headlight:55W (H11 for halogen bulb type)
■High Beam Headlight
1Headlight Bulbs
NOTICEHalogen bulbs get very hot when lit.
Oil, perspiration, or a scratch on the glass can cause
the bulb to overheat and shatter.
The headlight aim is set by the factory, and does not
need to be adjusted. However, if you regularly carry
heavy items in the cargo area or tow a trailer, have
the aiming readjusted at a dealer or by a qualified
technician.
When replacing a halogen bulb, handle it by its base,
and protect the glass from contact with your skin or
hard objects. If you touch the glass, clean it with
denatured alcohol and a clean cloth.
The exterior lights’ inside lenses (headlights, brake
lights, etc.) may fog temporarily after a car wash or
while driving in the rain. This does not impact the
exterior light function.
However, if you see a large amount of water or ice
accumulated inside the lenses, have your vehicle
inspected by a dealer.
Passenger side
Tab Coupler
Bulb
Main MenuTable of contents
Page 490 of 573
489
uuReplacing Light BulbsuFront Turn Signal/Parking Light Bulbs
Continued
Maintenance
Front Turn Signal/Parking Light Bulbs
When replacing, use the following bulbs.1.Unlock the holding clips, then remove the
upper part of the air intake duct and the air intake tube.
1. Remove the engine coolant reservoir.
Front Turn Signal/Parking: 24/2.2CP
Tube
Holding Clip
Holding Clip
Driver side6-cylinder models
Passenger sideAll models
Main MenuTable of contents
Page 513 of 573
512
uuCleaninguExterior Care
Maintenance
Exterior Care
Dust off the vehicle body after you drive.
Regularly inspect your vehicle for scratches on painted surfaces. A scratch on a
painted surface can result in body rust. If you find a scratch, promptly repair it.
Wash the vehicle regularly. Wash more frequently when driving in the following
conditions: •If driving on roads with road salt.
• If driving in coastal areas.
• If tar, soot, bird droppings, insects, or tree sap are stuck to painted surfaces.
Fold in the door mirrors. Make sure to follow the instructions indicated on the
automated car wash. • Keep sufficient distance between the cleaning nozzle and the vehicle body.
• Take particular care around the windows. Standing too close may cause water to
enter the vehicle interior. Do not spray water into the engine compartment.
■Washing the Vehicle
■Using an Automated Car Wash
■Using High Pressure Cleaners
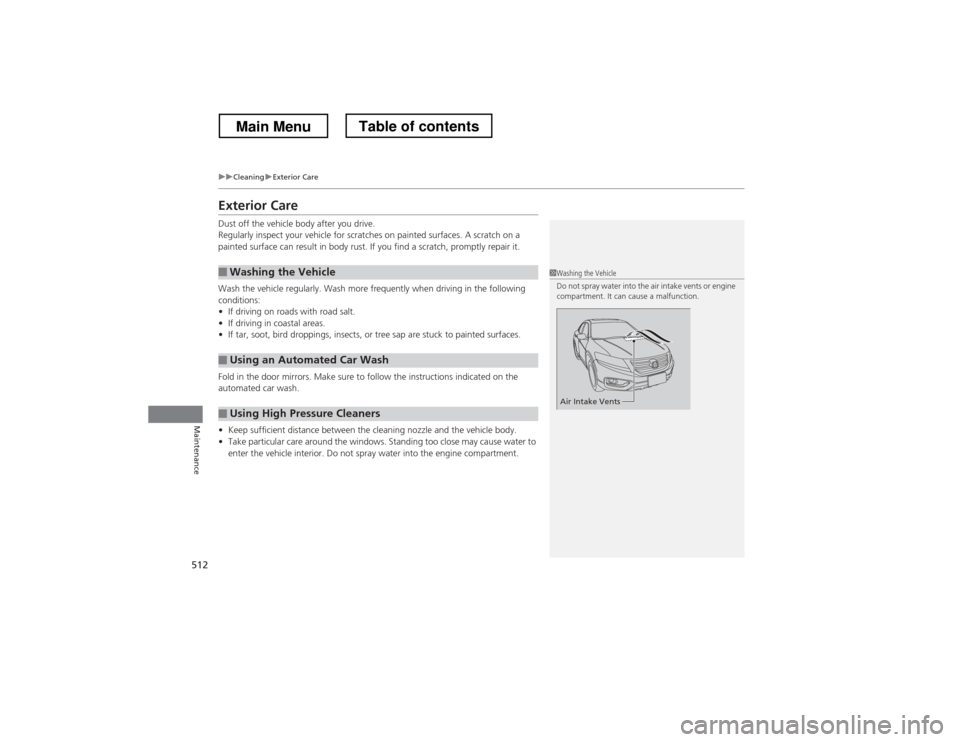
1Washing the Vehicle
Do not spray water into the air intake vents or engine
compartment. It can cause a malfunction.
Air Intake Vents
Main MenuTable of contents
Page 514 of 573
513
uuCleaninguExterior Care
Maintenance
A good coat of automotive body wax helps protect your vehicle’s paint from the
elements. Wax will wear off over time and expose your vehicle’s paint to the
elements, so reapply as necessary.
If you get gasoline, oil, engine coolant, or battery fluid on resin coated parts, they
may be stained or the coating may peel. Promptly wipe it away using a soft cloth and
clean water.
Wipe using a glass cleaner.
Aluminum is susceptible to deterioration caused by salt and other road
contaminants. Use a sponge and mild detergent to wipe away promptly.
Be careful not to use harsh chemicals (including some commercial wheel cleaners) or
a stiff brush. They can damage the clear coat of the aluminum alloy wheels that
helps keep the aluminum from corroding and tarnishing.
■Applying Wax
■Maintaining the Bumpe rs and Other Resin Coated Parts
■Cleaning the Window
■Maintaining Aluminum Wheels
1Applying Wax
NOTICEChemical solvents and strong cleaners can damage
the paint, metal, and plastic on your vehicle. Wipe up
spills immediately.
1Maintaining the Bumpers and Other Resin Coated Parts
Ask a dealer about the correct coating material when
you want to repair the painted surface of the parts
made of resin.
1Cleaning the Window
Wires are mounted to the inside of the rear window.
Wipe along the same direction as the wires with a
soft cloth so as not to damage them.
Main MenuTable of contents
Page 516 of 573
515
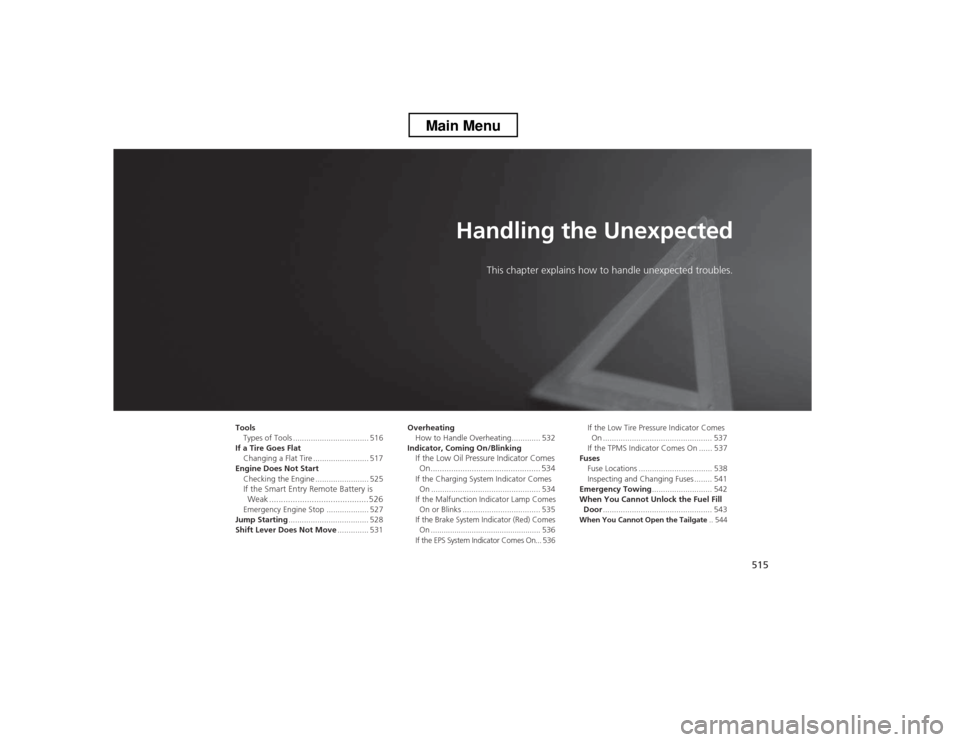
Handling the UnexpectedThis chapter explains how to h andle unexpected troubles.
Tools
Types of Tools .................................. 516
If a Tire Goes Flat Changing a Flat Tire ......................... 517
Engine Does Not Start Checking the Engine ........................ 525
If the Smart Entry Remote Battery is
Weak ..........................................526
Emergency Engine Stop ................... 527
Jump Starting .................................... 528
Shift Lever Does Not Move .............. 531Overheating
How to Handle Overheating............. 532
Indicator, Coming On/Blinking If the Low Oil Pressure Indicator Comes
On................................................ 534
If the Charging System Indicator Comes On ................................................. 534
If the Malfunction Indicator Lamp Comes On or Blinks ................................... 535
If the Brake System Indicator (Red) Comes
On ................................................... 536
If the EPS System Indicator Comes On... 536 If the Low Tire Pressure Indicator Comes
On ................................................. 537
If the TPMS Indicator Comes On ...... 537
Fuses
Fuse Locations ................................. 538
Inspecting and Changing Fuses ........ 541
Emergency Towing ........................... 542
When You Cannot Unlock the Fuel Fill Door ................................................. 543
When You Cannot Open the Tailgate .. 544
Main Menu