Page 2 of 157
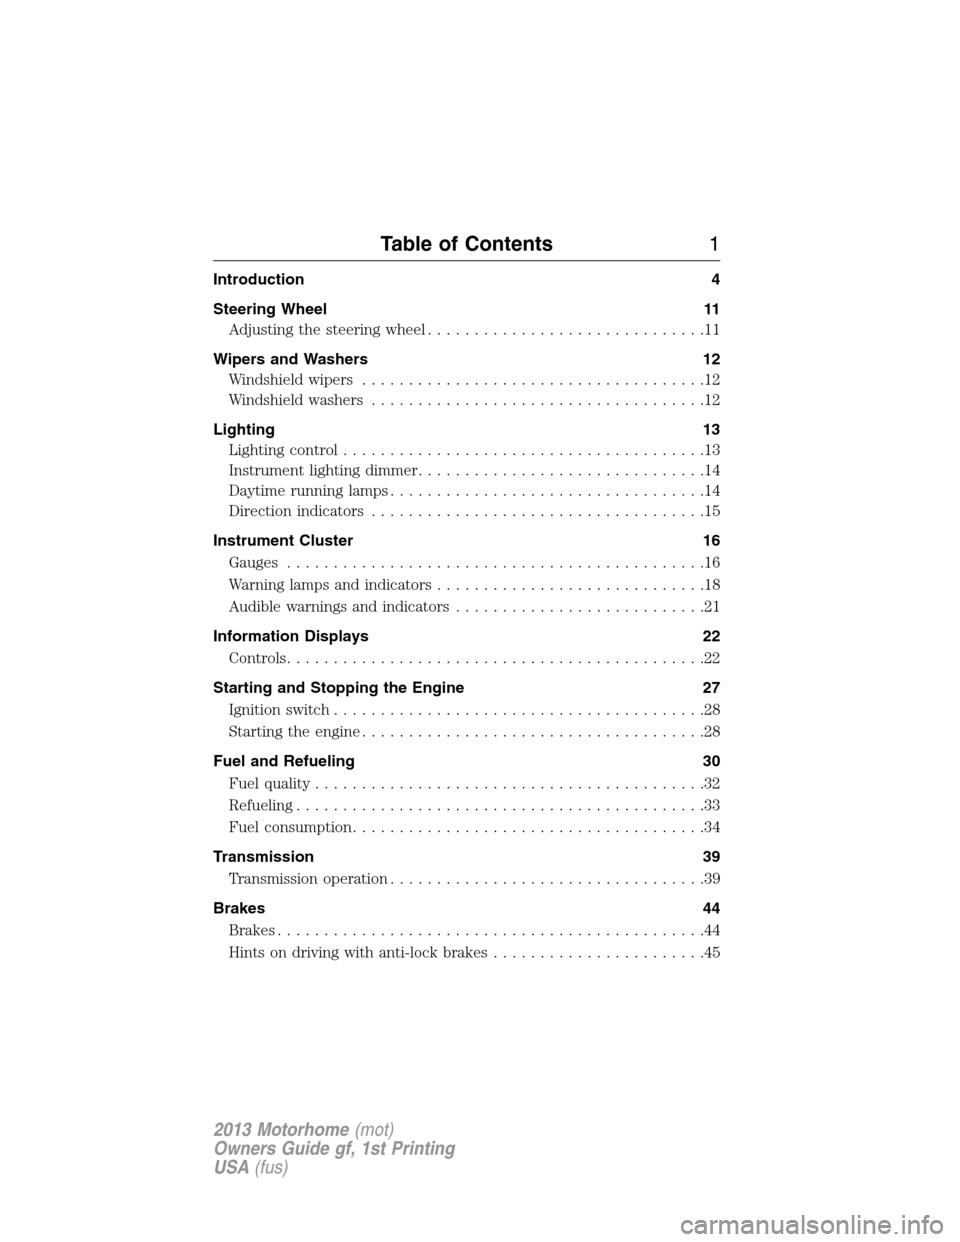
Introduction 4
Steering Wheel 11
Adjusting the steering wheel..............................11
Wipers and Washers 12
Windshield wipers.....................................12
Windshield washers....................................12
Lighting 13
Lighting control.......................................13
Instrument lighting dimmer...............................14
Daytime running lamps..................................14
Directionindicators ....................................15
Instrument Cluster 16
Gauges.............................................16
Warning lamps and indicators.............................18
Audible warnings and indicators...........................21
Information Displays 22
Controls.............................................22
Starting and Stopping the Engine 27
Ignition switch........................................28
Starting the engine.....................................28
Fuel and Refueling 30
Fuel quality..........................................32
Refueling............................................33
Fuel consumption......................................34
Transmission 39
Transmission operation..................................39
Brakes 44
Brakes..............................................44
Hints on driving with anti-lock brakes.......................45
Table of Contents1
2013 Motorhome(mot)
Owners Guide gf, 1st Printing
USA(fus)
Page 5 of 157
ABOUT THIS MANUAL
Thank you for choosing Ford. We recommend that you take some time to
get to know your vehicle by reading this manual. The more that you
know about it, the greater the safety and pleasure you will get from
driving it.
WARNING:Always drive with due care and attention when
using and operating the controls and features on your vehicle.
Note:This manual describes a range of product features and options,
sometimes before they are generally available. Therefore, you may find
options in this manual that are not found on your vehicle.
Note:Some of the illustrations in this manual may be used for different
models, so they may appear different than your vehicle.. However, the
essential information in the illustrations is always correct.
Note:Always use and operate your vehicle in line with all applicable
laws and regulations.
Note:Pass on this manual when selling your vehicle. It is an integral
part of the vehicle.
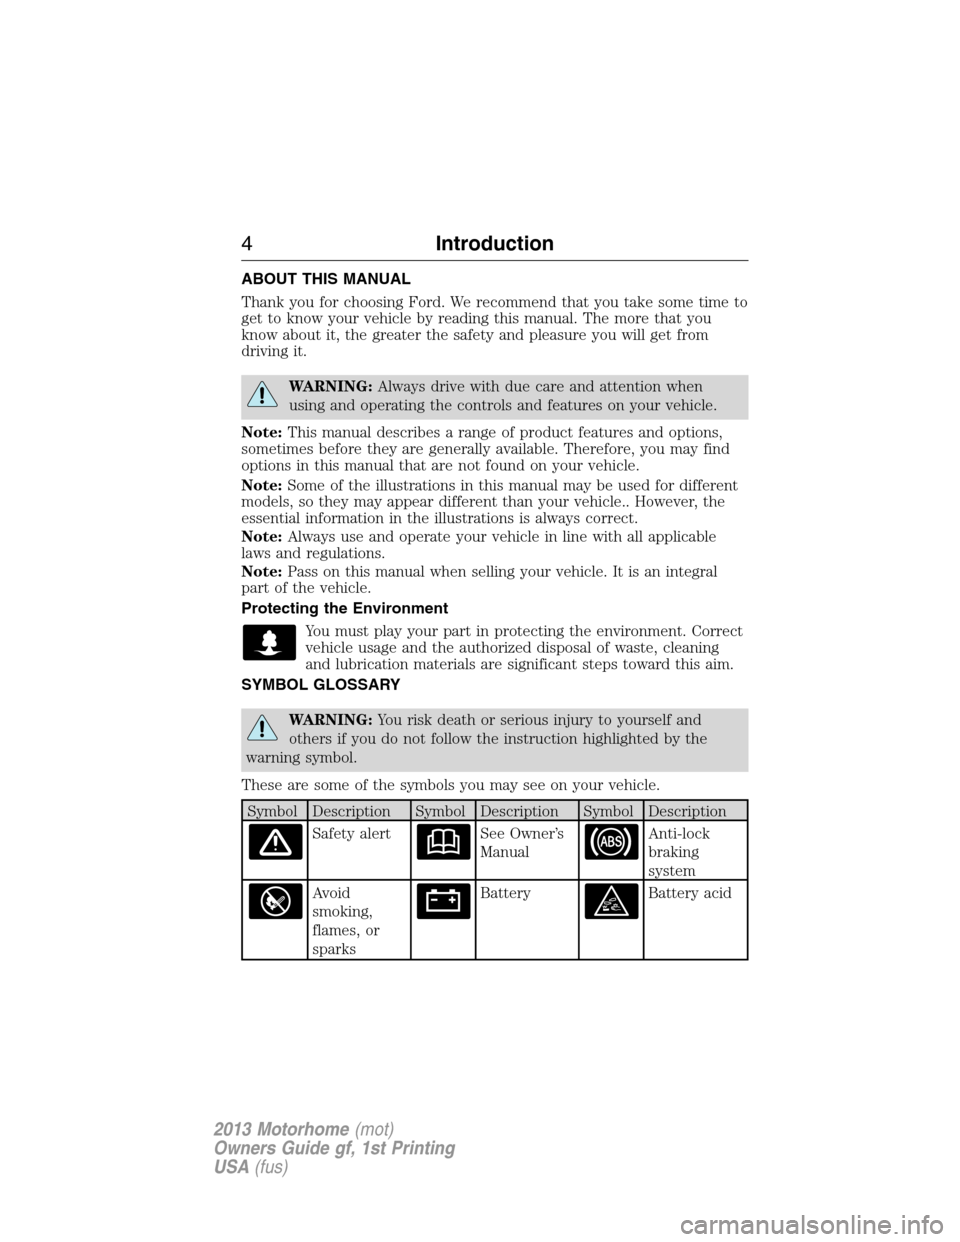
Protecting the Environment
You must play your part in protecting the environment. Correct
vehicle usage and the authorized disposal of waste, cleaning
and lubrication materials are significant steps toward this aim.
SYMBOL GLOSSARY
WARNING:You risk death or serious injury to yourself and
others if you do not follow the instruction highlighted by the
warning symbol.
These are some of the symbols you may see on your vehicle.
Symbol Description Symbol Description Symbol Description
Safety alertSee Owner’s
ManualAnti-lock
braking
system
Avoid
smoking,
flames, or
sparksBatteryBattery acid
4Introduction
2013 Motorhome(mot)
Owners Guide gf, 1st Printing
USA(fus)
Page 6 of 157
Symbol Description Symbol Description Symbol Description
Brake fluid –
non
petroleum
baseBrake systemCabin air
filter
Check fuel
capChild Safety
Door Lock
and UnlockChild seat
lower anchor
Child seat
tether anchorCruise
controlDo not open
when hot
Engine air
filterEngine
coolantEngine
coolant
temperature
Engine oilExplosive gasFan warning
Fasten safety
beltFront airbagFront fog
lamps
Fuel pump
resetFuse
compartmentHazard
warning
flasher
Heated rear
windowInterior
luggage
compartment
releaseJack
Lighting
controlLow tire
pressure
warningMaintain
correct fluid
level
Panic alarmParking aid
systemParking
brake system
Introduction5
2013 Motorhome(mot)
Owners Guide gf, 1st Printing
USA(fus)
Page 14 of 157
LIGHTING CONTROL
A. Off
B. Parking lamps, instrument panel
lamps, license plate lamps and tail
lamps
C. Headlamps
High Beams
Push the lever forward to switch
the high beams on.
Push the lever forward again or pull
the lever toward you to switch the
high beams off.
Headlamp Flasher
Pull the lever toward you slightly
and release it to flash the
headlamps.
P
Lighting13
2013 Motorhome(mot)
Owners Guide gf, 1st Printing
USA(fus)
Page 15 of 157
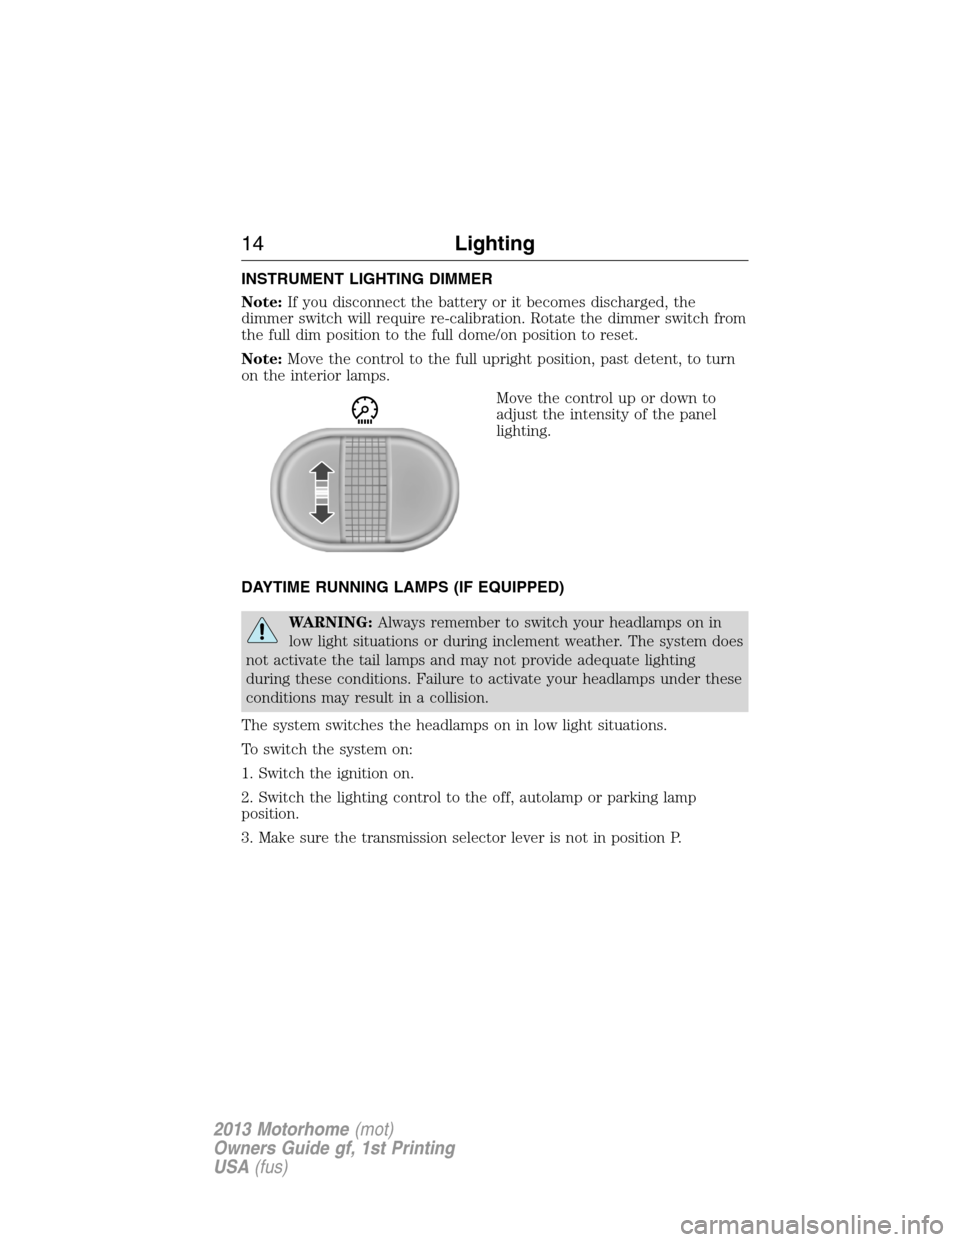
INSTRUMENT LIGHTING DIMMER
Note:If you disconnect the battery or it becomes discharged, the
dimmer switch will require re-calibration. Rotate the dimmer switch from
the full dim position to the full dome/on position to reset.
Note:Move the control to the full upright position, past detent, to turn
on the interior lamps.
Move the control up or down to
adjust the intensity of the panel
lighting.
DAYTIME RUNNING LAMPS (IF EQUIPPED)
WARNING:Always remember to switch your headlamps on in
low light situations or during inclement weather. The system does
not activate the tail lamps and may not provide adequate lighting
during these conditions. Failure to activate your headlamps under these
conditions may result in a collision.
The system switches the headlamps on in low light situations.
To switch the system on:
1. Switch the ignition on.
2. Switch the lighting control to the off, autolamp or parking lamp
position.
3. Make sure the transmission selector lever is not in position P.
14Lighting
2013 Motorhome(mot)
Owners Guide gf, 1st Printing
USA(fus)
Page 16 of 157
DIRECTION INDICATORS
Push the lever up or down to use
the direction indicators.
Lighting15
2013 Motorhome(mot)
Owners Guide gf, 1st Printing
USA(fus)
Page 18 of 157
Transmission Fluid Temperature Gauge
Normal area:The transmission fluid is within the normal operating
temperature (between H and C).
Yellow area:The transmission fluid is higher than normal operating
temperature. This can be caused by special operation conditions (i.e.
snowplowing, towing or off-road use). Operating the transmission for
extended periods of time with the gauge in the yellow area may cause
internal transmission damage. Altering the severity of the driving
conditions is recommended to lower the transmission temperature into
the normal range.
Red area:The transmission fluid is overheating. Stop the vehicle to
allow the temperature to return to normal range.
If the gauge is operating in the yellow or red area, stop the vehicle and
verify the airflow is not restricted such as snow or debris blocking airflow
through the grill. If the gauge continues to show high temperatures, see
your authorized dealer.
Engine Coolant Temperature Gauge
At normal operating temperature, the needle will remain in the center
section. If the needle enters the red section, the engine is overheating.
Stop the engine, switch the ignition off and determine the cause once
the engine has cooled down. SeeEngine Coolant Check.
Note:Do not restart the engine until the cause of overheating has been
resolved.
WARNING:Never remove the coolant reservoir cap while the
engine is running or hot.
Fuel Gauge
Switch the ignition on. The fuel gauge will indicate approximately how
much fuel is left in the fuel tank. The fuel gauge may vary slightly when
the vehicle is moving or on a gradient. The arrow adjacent to the fuel
pump symbol indicates on which side of your vehicle the fuel filler door
is located.
Instrument Cluster17
2013 Motorhome(mot)
Owners Guide gf, 1st Printing
USA(fus)
Page 19 of 157
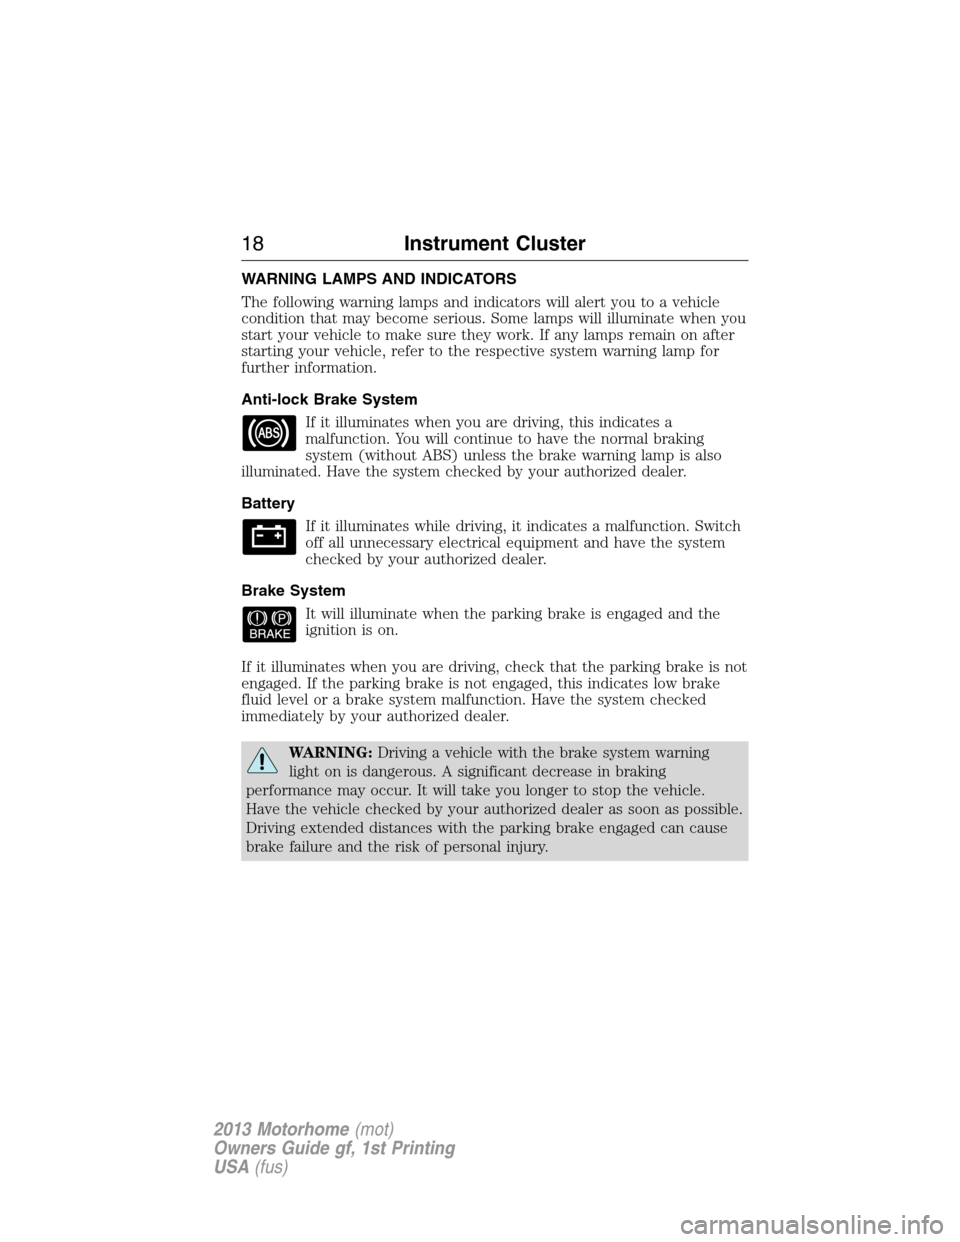
WARNING LAMPS AND INDICATORS
The following warning lamps and indicators will alert you to a vehicle
condition that may become serious. Some lamps will illuminate when you
start your vehicle to make sure they work. If any lamps remain on after
starting your vehicle, refer to the respective system warning lamp for
further information.
Anti-lock Brake System
If it illuminates when you are driving, this indicates a
malfunction. You will continue to have the normal braking
system (without ABS) unless the brake warning lamp is also
illuminated. Have the system checked by your authorized dealer.
Battery
If it illuminates while driving, it indicates a malfunction. Switch
off all unnecessary electrical equipment and have the system
checked by your authorized dealer.
Brake System
It will illuminate when the parking brake is engaged and the
ignition is on.
If it illuminates when you are driving, check that the parking brake is not
engaged. If the parking brake is not engaged, this indicates low brake
fluid level or a brake system malfunction. Have the system checked
immediately by your authorized dealer.
WARNING:Driving a vehicle with the brake system warning
light on is dangerous. A significant decrease in braking
performance may occur. It will take you longer to stop the vehicle.
Have the vehicle checked by your authorized dealer as soon as possible.
Driving extended distances with the parking brake engaged can cause
brake failure and the risk of personal injury.
18Instrument Cluster
2013 Motorhome(mot)
Owners Guide gf, 1st Printing
USA(fus)