2013 FIAT 500E reset
[x] Cancel search: resetPage 43 of 84

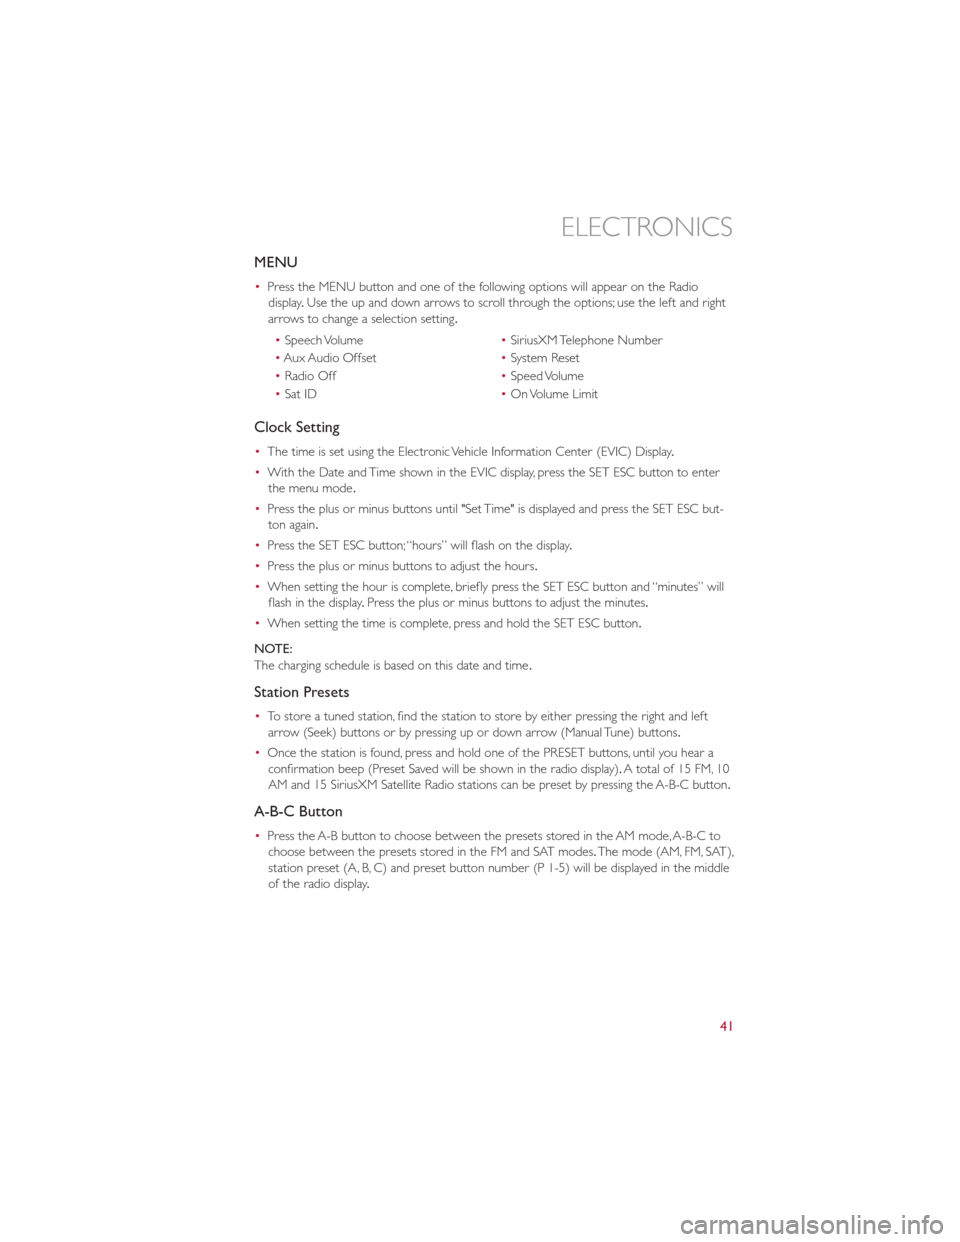
MENU
•Press the MENU button and one of the following options will appear on the Radio
display .Use the up and down arrows to scroll through the options; use the left and right
arrows to change a selection setting.
• Speech Volume •SiriusXM Telephone Number
• Aux Audio Offset •System Reset
• Radio Off •Speed Volume
• Sat ID •On Volume Limit
Clock Setting
• The time is set using the Electronic Vehicle Information Center (EVIC) Display .
• With the Date and Time shown in the EVIC display, press the SET ESC button to enter
the menu mode .
• Press the plus or minus buttons until "Set Time" is displayed and press the SET ESC but-
ton again.
• Press the SET ESC button; “hours” will flash on the display .
• Press the plus or minus buttons to adjust the hours.
• When setting the hour is complete, briefly press the SET ESC button and “minutes” will
flash in the display .Press the plus or minus buttons to adjust the minutes.
• When setting the time is complete, press and hold the SET ESC button.
NOTE:
The charging schedule is based on this date and time .
Station Presets
•To store a tuned station, find the station to store by either pressing the right and left
arrow (Seek) buttons or by pressing up or down arrow (Manual Tune) buttons.
• Once the station is found, press and hold one of the PRESET buttons, until you hear a
confirmation beep (Preset Saved will be shown in the radio display). A total of 15 FM, 10
AM and 15 SiriusXM Satellite Radio stations can be preset by pressing the A-B-C button.
A-B-C Button
• Press the A-B button to choose between the presets stored in the AM mode, A-B-C to
choose between the presets stored in the FM and SAT modes. The mode (AM, FM, SAT),
station preset (A, B, C) and preset button number (P 1-5) will be displayed in the middle
of the radio display .
ELECTRONICS
41
Page 45 of 84

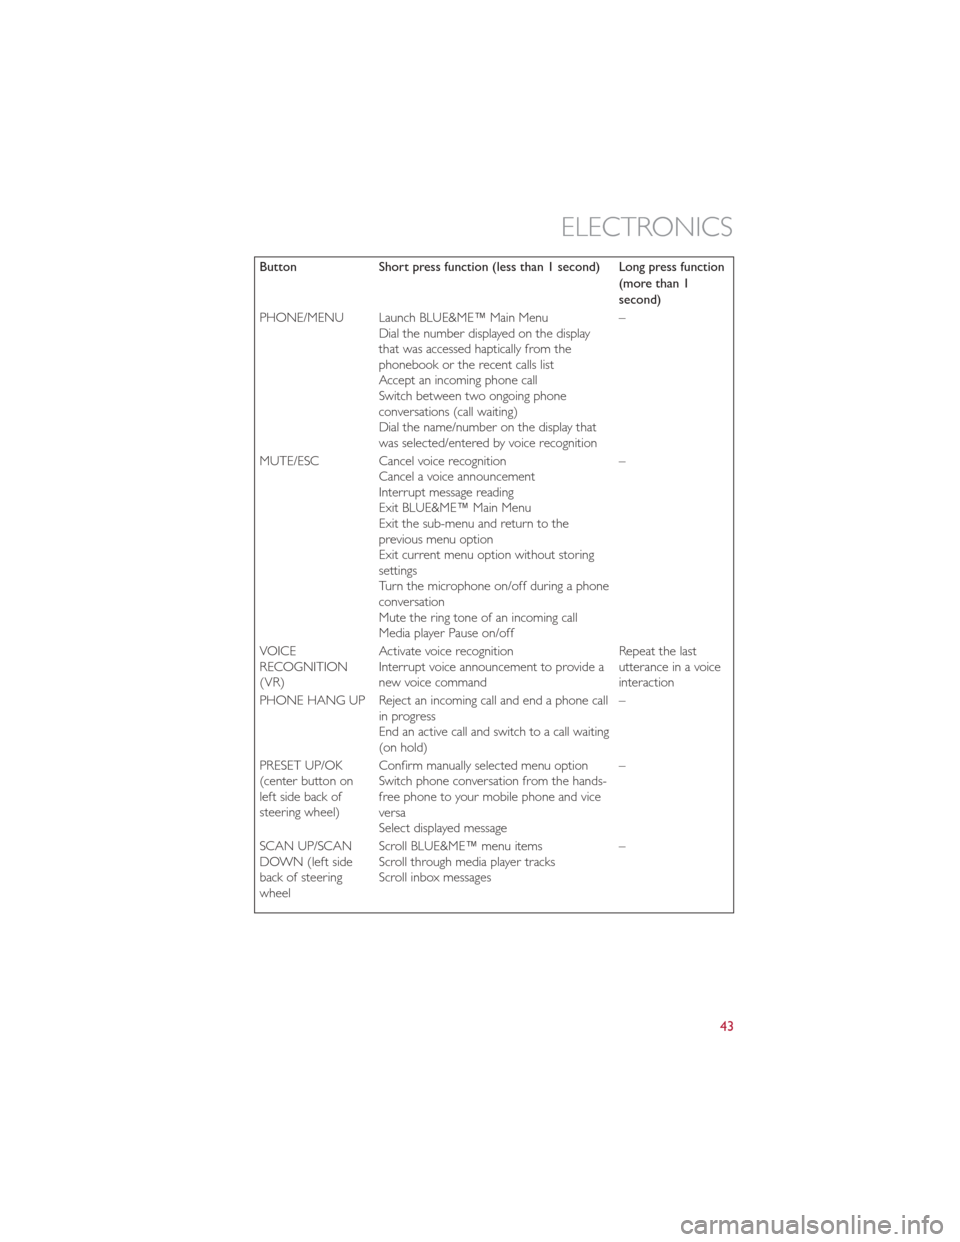
ButtonShort press function (less than 1 second) Long press function
(more than 1
second)
PHONE/MENU Launch BLUE&ME™ Main Menu Dial the number displayed on the display
that was accessed haptically from the
phonebook or the recent calls list
Accept an incoming phone call
Switch between two ongoing phone
conversations (call waiting)
Dial the name/number on the display that
was selected/entered by voice recognition –
MUTE/ESC Cancel voice recognition Cancel a voice announcement
Interrupt message reading
Exit BLUE&ME™ Main Menu
Exit the sub-menu and return to the
previous menu option
Exit current menu option without storing
settings
Turn the microphone on/off during a phone
conversation
Mute the ring tone of an incoming call
Media player Pause on/off –
VOICE
RECOGNITION
(VR) Activate voice recognition
Interrupt voice announcement to provide a
new voice command Repeat the last
utterance in a voice
interaction
PHONE HANG UP Reject an incoming call and end a phone call in progress
End an active call and switch to a call waiting
(on hold) –
PRESET UP/OK
(center button on
left side back of
steering wheel) Confirm manually selected menu option
Switch phone conversation from the hands-
free phone to your mobile phone and vice
versa
Select displayed message –
SCAN UP/SCAN
DOWN (left side
back of steering
wheel Scroll BLUE&ME™ menu items
Scroll through media player tracks
Scroll inbox messages
–
ELECTRONICS
43
Page 46 of 84

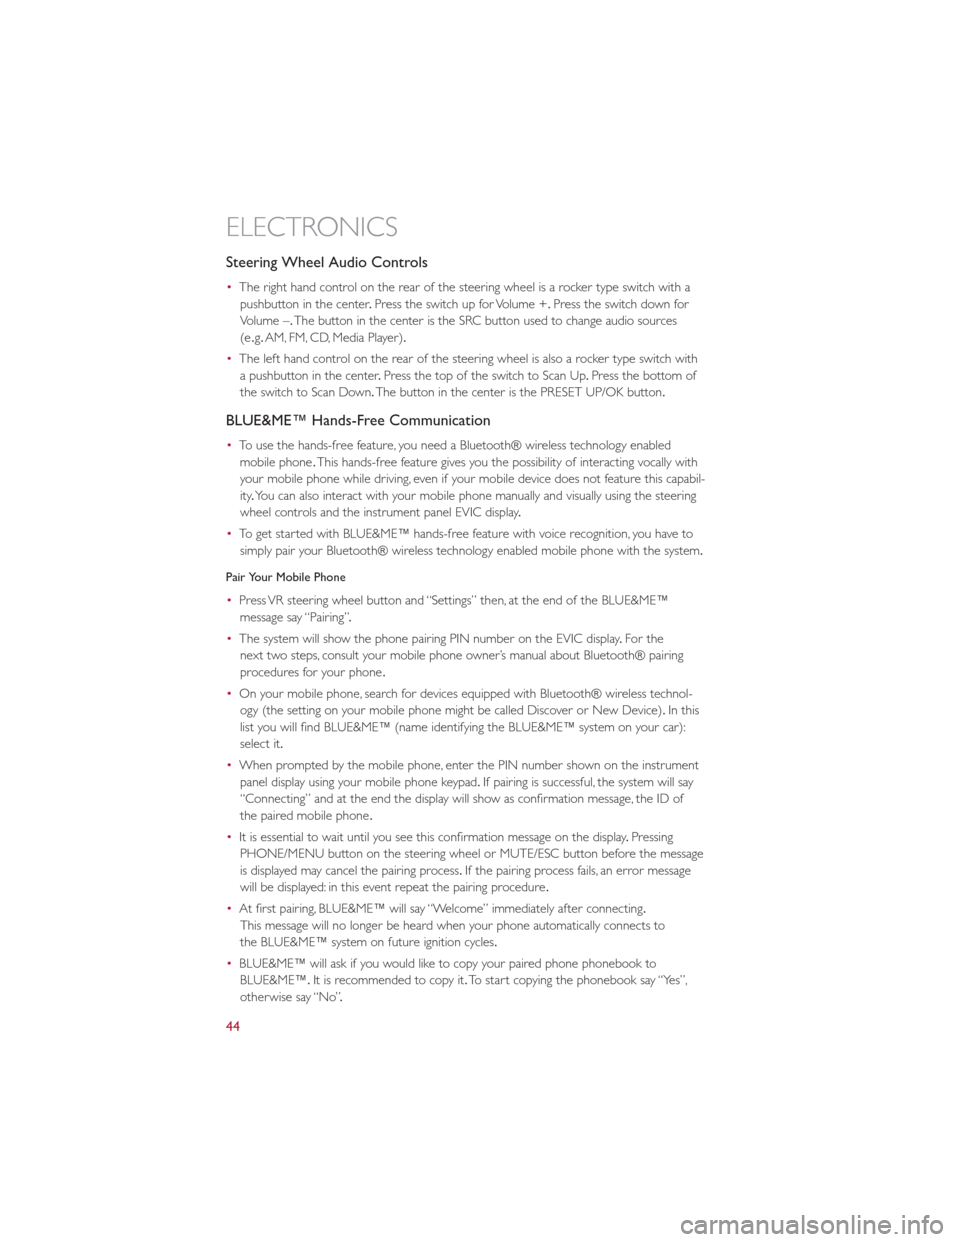
Steering Wheel Audio Controls
•The right hand control on the rear of the steering wheel is a rocker type switch with a
pushbutton in the center .Press the switch up for Volume +. Press the switch down for
Volume –. The button in the center is the SRC button used to change audio sources
(e .g. AM, FM, CD, Media Player).
• The left hand control on the rear of the steering wheel is also a rocker type switch with
a pushbutton in the center .Press the top of the switch to Scan Up .Press the bottom of
the switch to Scan Down. The button in the center is the PRESET UP/OK button.
BLUE&ME™ Hands-Free Communication
•To use the hands-free feature, you need a Bluetooth® wireless technology enabled
mobile phone .This hands-free feature gives you the possibility of interacting vocally with
your mobile phone while driving, even if your mobile device does not feature this capabil-
ity .You can also interact with your mobile phone manually and visually using the steering
wheel controls and the instrument panel EVIC display .
• To get started with BLUE&ME™ hands-free feature with voice recognition, you have to
simply pair your Bluetooth® wireless technology enabled mobile phone with the system.
Pair Your Mobile Phone
• Press VR steering wheel button and “Settings” then, at the end of the BLUE&ME™
message say “Pairing” .
• The system will show the phone pairing PIN number on the EVIC display .For the
next two steps, consult your mobile phone owner’s manual about Bluetooth® pairing
procedures for your phone .
• On your mobile phone, search for devices equipped with Bluetooth® wireless technol-
ogy (the setting on your mobile phone might be called Discover or New Device). In this
list you will find BLUE&ME™ (name identifying the BLUE&ME™ system on your car):
select it.
• When prompted by the mobile phone, enter the PIN number shown on the instrument
panel display using your mobile phone keypad. If pairing is successful, the system will say
“Connecting” and at the end the display will show as confirmation message, the ID of
the paired mobile phone .
• It is essential to wait until you see this confirmation message on the display .Pressing
PHONE/MENU button on the steering wheel or MUTE/ESC button before the message
is displayed may cancel the pairing process. If the pairing process fails, an error message
will be displayed: in this event repeat the pairing procedure .
• At first pairing, BLUE&ME™ will say “Welcome” immediately after connecting.
This message will no longer be heard when your phone automatically connects to
the BLUE&ME™ system on future ignition cycles.
• BLUE&ME™ will ask if you would like to copy your paired phone phonebook to
BLUE&ME™. It is recommended to copy it. To start copying the phonebook say “Yes”,
otherwise say “No” .
ELECTRONICS
44
Page 47 of 84

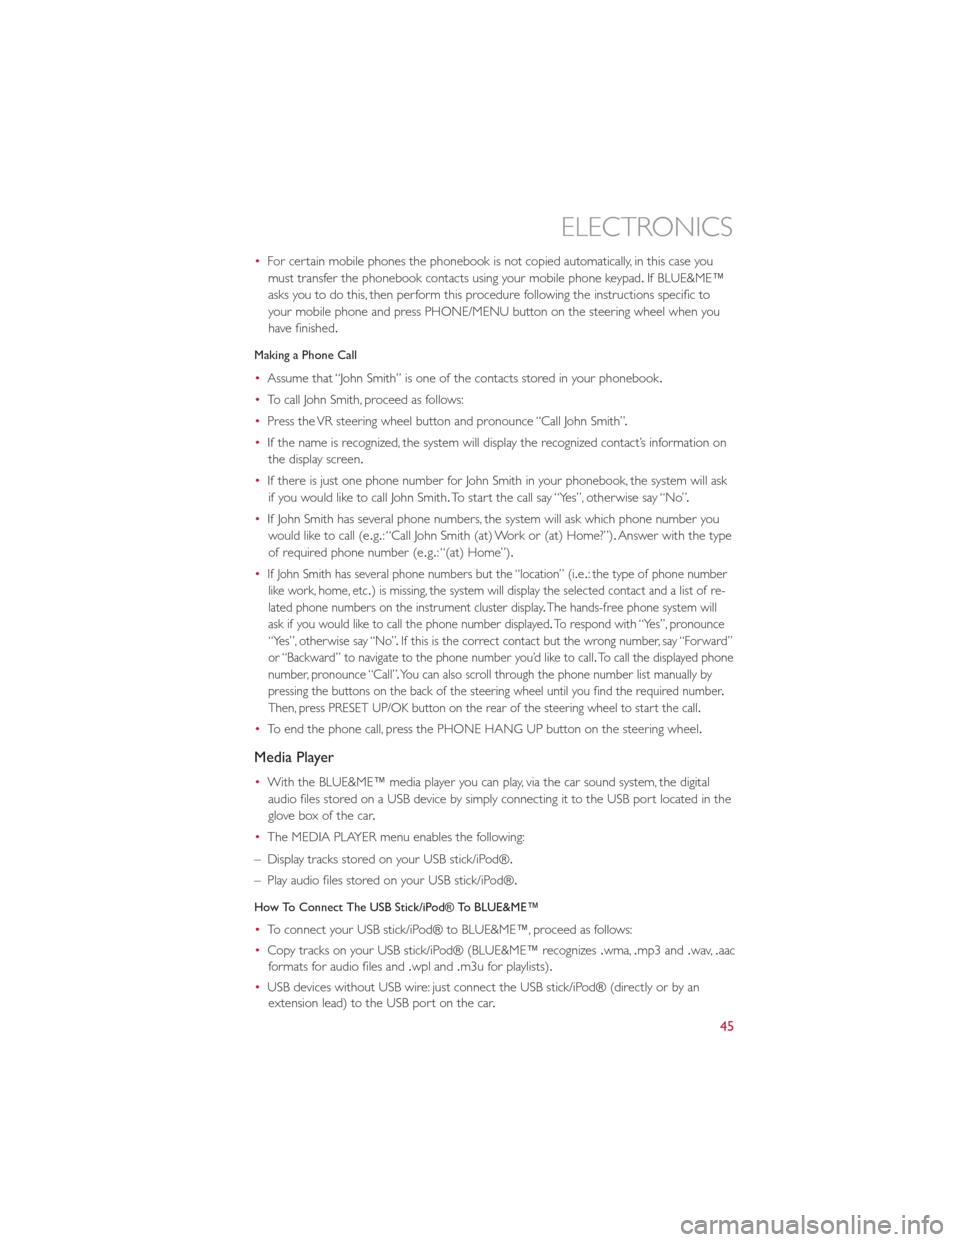
•For certain mobile phones the phonebook is not copied automatically, in this case you
must transfer the phonebook contacts using your mobile phone keypad .If BLUE&ME™
asks you to do this, then perform this procedure following the instructions specific to
your mobile phone and press PHONE/MENU button on the steering wheel when you
have finished.
Making a Phone Call
• Assume that “John Smith” is one of the contacts stored in your phonebook .
• To call John Smith, proceed as follows:
• Press the VR steering wheel button and pronounce “Call John Smith” .
• If the name is recognized, the system will display the recognized contact’s information on
the display screen.
• If there is just one phone number for John Smith in your phonebook, the system will ask
if you would like to call John Smith. To start the call say “Yes”, otherwise say “No” .
• If John Smith has several phone numbers, the system will ask which phone number you
would like to call (e .g.: “Call John Smith (at) Work or (at) Home?”). Answer with the type
of required phone number (e .g.: “(at) Home”).
•
If John Smith has several phone numbers but the “location” (i .e.: the type of phone number
like work, home, etc .) is missing, the system will display the selected contact and a list of re-
lated phone numbers on the instrument cluster display .The hands-free phone system will
ask if you would like to call the phone number displayed .To respond with “Yes”, pronounce
“Yes”, otherwise say “No” .If this is the correct contact but the wrong number, say “Forward”
or “Backward” to navigate to the phone number you’d like to call .To call the displayed phone
number, pronounce “Call” .You can also scroll through the phone number list manually by
pressing the buttons on the back of the steering wheel until you find the required number .
Then, press PRESET UP/OK button on the rear of the steering wheel to start the call .
•To end the phone call, press the PHONE HANG UP button on the steering wheel.
Media Player
•With the BLUE&ME™ media player you can play, via the car sound system, the digital
audio files stored on a USB device by simply connecting it to the USB port located in the
glove box of the car .
• The MEDIA PLAYER menu enables the following:
– Display tracks stored on your USB stick/iPod®.
– Play audio files stored on your USB stick/iPod®.
How To Connect The USB Stick/iPod® To BLUE&ME™
• To connect your USB stick/iPod® to BLUE&ME™, proceed as follows:
• Copy tracks on your USB stick/iPod® (BLUE&ME™ recognizes .wma,.mp3 and .wav,.aac
formats for audio files and .wpl and.m3u for playlists) .
• USB devices without USB wire: just connect the USB stick/iPod® (directly or by an
extension lead) to the USB port on the car .
ELECTRONICS
45
Page 50 of 84

Selecting An Option Of The Main Menu With Submenu:
•Briefly press the MENU ESC button to display the first submenu option.
• Press the + or – button (by single presses) to scroll through all the submenu options.
• Briefly press the MENU ESC button to select the displayed submenu option and to open
the relevant setup menu.
• Press the + or – button (by single presses) to select the new setting for this submenu
option.
• Briefly press the MENU ESC button to store the new setting and go back to the
previously selected submenu option.
• Press and hold the MENU ESC button to return to the main menu (short hold) or the
main screen (longer hold).
TRIP BUTTON
•The Trip button is located on the end of the wiper lever to the right of the steering
column. The trip button can be used to
display and reset the following functions:
• Instant Consumption (Kilowatts)
• Trip A
• Trip B
• Tire Pressure
• Short press (less than 1 second) to display
different functions.
• Long press (more than 1 second) to reset
and start a new trip .
New Trip
•A new trip can be reset or restarted by:
• “Manual” resetting by the user, by
pressing the Trip button;
•
“Automatically” resetting, when the “Trip
distance” reaches 999 .9 miles or when the
“Travel time” reaches 99 .59 (99 hours and
59 minutes);
Start Of Trip Procedure
• With the ignition key on, press and hold the TRIP button for over one second to reset
Trip A or Trip B.
Exit Trip
• The Trip function is over when all the values have been displayed or holding the MENU
ESC button for longer than one second.
•
Briefly press the MENU ESC button to go back to the menu screen or press and hold the MENU ESC (approximately one second) to go back to the main screen without storing
settings.
ELECTRONICS
48
Page 64 of 84

MANUAL PARK RELEASE
WARNING!
Always secure your vehicle by fully applying the parking brake, before activating the
Manual Park Release.Activating the Manual Park Release will allow your vehicle to roll
away if it is not secured by the parking brake or other means. Activating the Manual Park
Release on an unsecured vehicle could lead to serious injury or death for those in or
around the vehicle .
• In order to move the vehicle in cases where the transmission will not shift out of PARK
(such as a dead battery), a Manual Park Release is available .Ifadead12voltbatteryis
the cause of the condition refer to “Jump Start Procedure — 12 Volt Battery” before
performing the Manual Park Release .
• To perform the Manual Park Release follow these steps:
1. To prevent the vehicle from rolling unintentionally, firmly apply the parking brake .
2.
If possible, raise the front driver's side of the vehicle to provide access to the transmission .
3.Working from underneath the vehicle, remove the black rubber plug from the front of
the Park module (a black canister mounted on the front of the transmission).
4. Using a T25 driver bit, rotate the Manual Park Release shaft (located just behind the
rubber plug) clockwise, at least 20 turns, to release the Park mechanism. The vehicle is
now out of PARK and can be moved.
5. Reinstall the rubber plug.
6. Release the parking brake only when a
driver is in the vehicle, or the vehicle is
secured by other means. The Manual Park
Release will be reset automatically once
the vehicle is restarted.
WHAT TO DO IN EMERGENCIES
62
Page 66 of 84

ENHANCED ACCIDENT RESPONSE SYSTEM
•In the event of an impact causing air bag deployment, if the communication network andpower remains intact, depending on the nature of the event, the ORC will determine
whether to have the Enhanced Accident Response System perform the following functions:
• Disable the high voltage battery .
• Place the transmission into PARK.
• Flash hazard lights as long as the 12 Volt battery has power or until the ignition key is
turned off.
• Turn on the interior lights, which remain on as long as the 12 Volt battery has power or
until the ignition key is removed.
• Unlock the doors automatically .
•
In order to move your vehicle to the side of the road the transmission must be in NEUTRAL and the 12 Volt system must be functional .To place the transmission into NEUTRAL you must
turn the ignition OFF and then back to the RUN position (cycle the ignition) then press the
NEUTRAL button .
NOTE:
The high voltage battery will remain disabled after an Enhanced Accident Response Event
and must be reset by your authorized studio .
FREEING A STUCK VEHICLE
•If your vehicle becomes stuck in mud, sand or snow, it can often be moved using a
rocking motion. Turn the steering wheel right and left to clear the area around the front
wheels. Then shift back and forth between DRIVE and REVERSE while gently pressing
the accelerator .Use the least amount of accelerator pedal pressure that will maintain the
rocking motion, without spinning the wheels.
NOTE:
Press the “ESC Off ” switch, to place the Electronic Stability Control (ESC) system in “Partial
Off ” mode, before rocking the vehicle .Refer to “Electronic Brake Control” in “Starting And
Operating” for further information. Once the vehicle has been freed, press the “ESC Off ”
switch again to restore “ESC On” mode .
CAUTION!
•When “rocking” a stuck vehicle by shifting between DRIVE and REVERSE, do not
spin the wheels faster than 15 mph (24 km/h), or drivetrain damage may result.
• Spinning the wheels too fast may lead to transmission overheating and failure .It can
also damage the tires. Do not spin the wheels above 30 mph (48 km/h) while in gear .
WHAT TO DO IN EMERGENCIES
64
Page 81 of 84

Arming Theft System (Security Alarm)...19
Automatic Temperature Control (ATC) ...35
Belts, Seat .................. 20
Bulb Replacement .............. 75
Charging ................... 16
Child Restraint ................ 22
Clock Setting ................ 41
Cruise Control (Speed Control) ......33
Customer Assistance ............76
Defects, Reporting .............. 77
Disarming, Theft System ...........19
Driver Cockpit ................ 6
Electronic Speed Control (Cruise Control)..33
Electronic Vehicle Information Center (EVIC) .............. 47
Emergency, In Case of Brake Warning Light ..........53
Towing ................. 63
Enhanced Accident Response Feature ....64
Event Data Recorder ............65
Extending Driving Range ..........28
Exterior Lights ................ 75
Flash-To-Pass ................. 31
Freeing A Stuck Vehicle ...........64
Front Heated Seats ............. 27
Fuse ..................... 71
Fuses ..................... 71
Heated Mirrors ............... 35
Heated Seats ................ 27
Hood Release ................ 66
Instrument Cluster Warning Lights .....51
Lane Change Assist ............. 30
LATCH (Lower Anchors and Tether for CHildren) ................. 22
Level 1 Charging ............... 13
Level 2 Charging ............... 13
Lights Turn Signal ............... 30Maintenance Schedule
............69
Mirrors Heated ................. 35
MOPAR® Accessories ............78
Placard, Tire and Loading Information ....73
Programmable Electronic Features .....47
Reclining Front Seats ............24
Recreational Towing ............. 50
Replacement Bulbs ............. 75
Reporting Safety Defects ..........77
Rotation, Tires ................ 74
Schedule, Maintenance ............69
Sea
t Belts .................. 20
Seats Adjustment ............... 24
Heated ................. 27
Setting the Clock .............. 41
Signals, Turn ................. 30
Speed Control Cancel .................. 34
Speed Control (Cruise Control) ......33
Store Radio Presets ............. 41
Stuck, Freeing ................ 64
Theft System Arming ............19
Theft System Disarming ...........19
TIREFIT ................... 54
Tires Air Pressure ............... 73
Pressure Warning Light .........52
Rotation ................. 74
Towing Disabled Vehicle ............. 63
Recreational ............... 50
Towing Vehicle Behind a Motorhome ....50
Turn Signals ................. 30
Washer Rear ................... 32
Wheel and Wheel Trim Care ........75
Wind Buffeting ............... 37
Wiper, Rear ................. 32
INDEX
79