2013 DODGE VIPER lock
[x] Cancel search: lockPage 7 of 100

A. Turn Signal/Wiper/Washer/High BeamsLever (behind steering wheel) pg. 19
B. Tachometer
C. Ignition Start/Stop Button (behind steering wheel) pg. 9
D. Uconnect™ 8.4AN pg. 43
E. Emergency Brake F. Hazard Button
G. Power Outlets pg. 63
H. Automatic Climate Control
• Automatic Climate Controls pg. 22
• Air Conditioning (A/C) pg. 22
• Recirculation pg. 22
• Heated Mirrors pg. 22 I. Electronic Speed Control pg. 20
J. Adjustable Pedals pg. 16
K. Electronic Vehicle Information Center
(EVIC) Messages pg. 58
L. Headlight Switch pg. 20
M. Power Mirrors
N. Power Door Locks
CONTROLS AT A GLANCE
5
Page 8 of 100

INSTRUMENT CLUSTER
Warning Lights
- Low Fuel Warning Light
- Battery Charge Light**
- Oil Pressure Warning Light
- Anti-Lock Brake (ABS) Light**
- Air Bag Warning Light**
- Electronic Throttle Control (ETC) Light
- Tire Pressure Monitoring System (TPMS) Light
- Engine Temperature Warning Light
- Seat Belt Reminder Light
BRAKE- Brake Warning Light**
- Malfunction Indicator Light (MIL)**
- Electronic Stability Control (ESC) Activation/Malfunction Indicator Light*
(See page 68 for more information.)
CONTROLS AT A GLANCE
6
Page 10 of 100

KEY FOB
Locking And Unlocking The Doors
• Press the LOCK button once to lock allthe doors. Press the UNLOCK button
once to unlock the driver’s door only and
twice within five seconds to unlock all
the doors.
• All doors can be programmed to unlock on the first press of the UNLOCK button.
Refer to Programmable Features in this
guide.
Opening The Trunk
• Press the TRUNK button two timeswithin five seconds to open the trunk.
Panic Alarm
• Press the PANIC button once to turn the panic alarm on.
• Wait approximately three seconds and press the button a second time to turn the panicalarm off.
Emergency Key
• Should the battery in the vehicle or the Key Fob transmitter go dead, there is anemergency key located in the Key Fob. To remove the emergency key, slide the button
at the back of the Key Fob sideways with your thumb and then pull the key out with your
other hand.
• The emergency key is also for locking the glove compartment.
WARNING!
• Always apply the parking brake fully when parked to guard against vehicle move- ment and possible injury or damage.
• When leaving the vehicle, always remove the key fob from the ignition and lock your
vehicle.
• Never leave children alone in a vehicle, or with access to an unlocked vehicle.
Allowing children to be in a vehicle unattended is dangerous for a number of
reasons. A child or others could be seriously or fatally injured. Children should be
warned not to touch the parking brake, brake pedal or the shift lever.
•
Do not leave the key fob in or near the vehicle, or in a location accessible to children,
and do not leave a vehicle equipped with Keyless Enter-N-Go™ in the ACC or ON/RUN
mode. A child could operate power windows, other controls, or move the vehicle
GETTING STARTED
8
Page 11 of 100

ENGINE STARTING/STOPPING
Starting
1. Fully apply the parking brake.
2. Press the clutch pedal to the floor.
3. Place the shift lever in NEUTRAL.
4. Press the red ENGINE START/STOPbutton located on the instrument panel.
Release the button when the engine
starts.
NOTE:
The engine will not start unless the clutch pedal is pressed to the floor.
Stopping
1. Bring the vehicle to a complete stop.
2. Fully apply the parking brake.
3. Press the clutch pedal to the floor.
4. Place the shift lever in NEUTRAL/1st Gear.
5. Press the ENGINE START/STOP button once. The ignition switch will return to the OFF position.
THEFT ALARM
To Arm:
Follow these steps to arm the Vehicle Security Alarm:
• Press LOCK on the interior power door lock switch with the driver and/or passenger dooropen.
• Press the LOCK button on the Remote Keyless Entry (RKE) transmitter.
NOTE:
Using the key to open the liftgate while the Vehicle Security Alarm is armed will not trigger
the theft alarm.
To Disarm:
The Vehicle Security Alarm can be disarmed using any of the following methods:
• Press the UNLOCK button on the Remote Keyless Entry (RKE) transmitter.
• Cycle the vehicle ignition system out of the OFF position.
GETTING STARTED
9
Page 19 of 100

TILT / TELESCOPING STEERING COLUMN
• The tilt release lever is located below themultifunction lever on the left side of the
steering column.
• To tilt the column, simply pull the re- lease lever rearward toward you and then
move the steering wheel upward or down-
ward as desired.
• Push the release lever forward to lock the column firmly in place.
WARNING!
Do not adjust the steering wheel while driving. The tilt adjustment must be locked
while driving. Adjusting the steering wheel while driving or driving without the tilt
adjustment locked could cause the driver to lose control of the vehicle. Failure to follow
this warning may result in you and others being severely injured or killed.
GETTING STARTED
17
Page 29 of 100

Uconnect™ Access (Available on Uconnect™ 8.4A and
Uconnect™ 8.4AN)
• With Uconnect™ Access, owners now have emergency and remote vehicle featuresand apps. In-vehicle features include 9-1-1 Call, and Roadside Assistance Call. Your
vehicle is also capable of remote vehicle features such as Remote Start, Remote Door
Lock/Unlock, and Remote Horn and Lights , once you are registered and have
downloaded the Uconnect™ Access Mobile App on a compatible smartphone.
• Your vehicle comes with an included trial period for use of the Uconnect™ Access features. To activate the trial, you must first register with Uconnect™. See the simple
registration steps below. Once registered, Uconnect™ Access customers can purchase
additional features and Apps as they become available. After the trial period, you
can subscribe for continued service . For Uconnect™ customer support, visit
www.Uconnect-Phone.com or call 1–877–855–8400. (U.S. Residents). Canadian
Residents call, 1-800-465–2001 (English) or 1-800-387-9983 (French).
Uconnect™ Access In-Vehicle Features
Uconnect™ Access in-vehicle features do not require that you have a compatible smart-
phone. Instead, they work by using the built-in 3G Cellular Connection. For additional
information, contact Uconnect™ Customer Care at 855-792-4241, or visit Owner Connect
at driveSRT.com/MoparOwnerConnect.
Assist Call
•
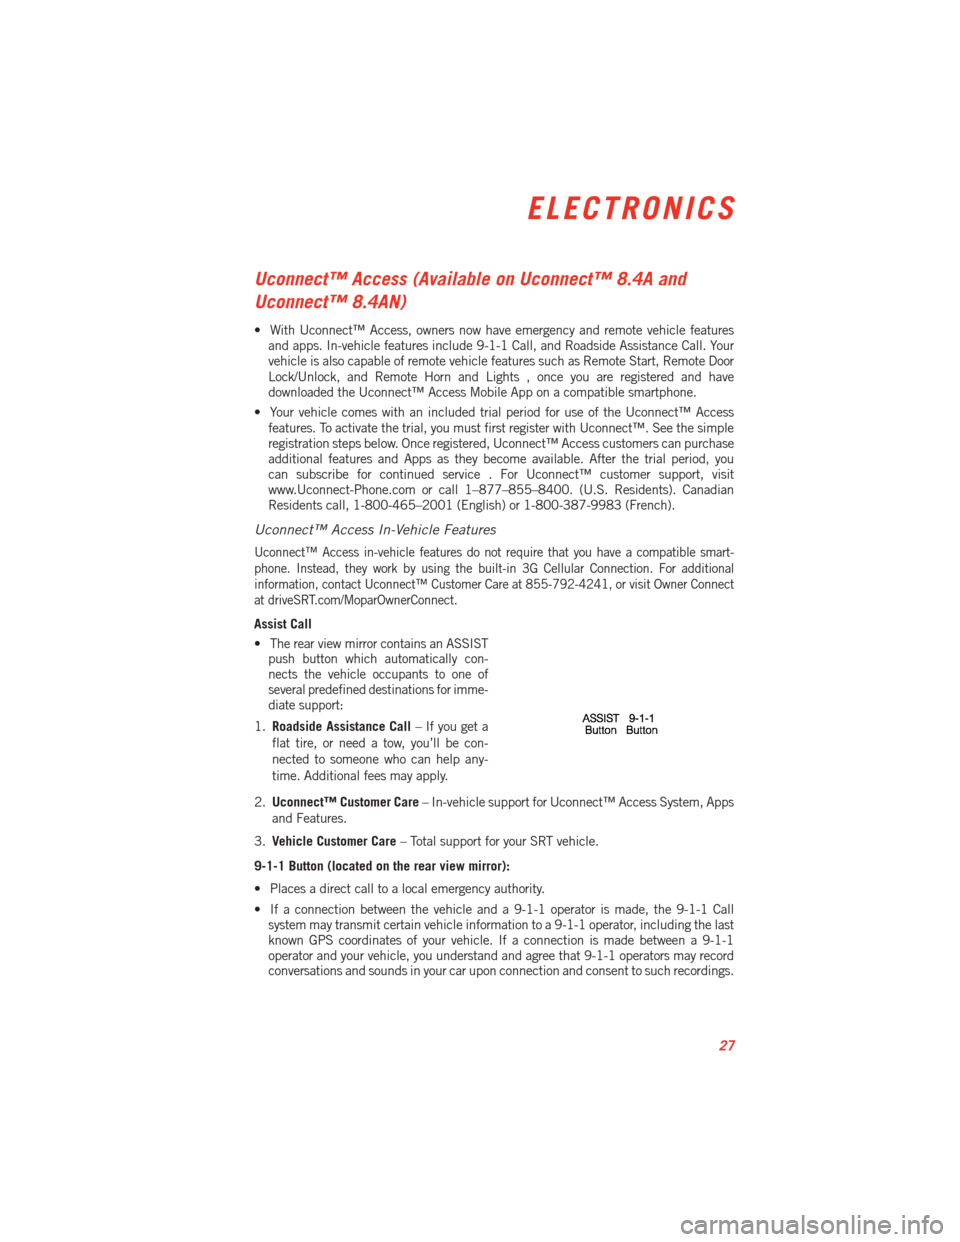
The rear view mirror contains an ASSIST
push button which automatically con-
nects the vehicle occupants to one of
several predefined destinations for imme-
diate support:
1. Roadside Assistance Call – If you get a
flat tire, or need a tow, you’ll be con-
nected to someone who can help any-
time. Additional fees may apply.
2. Uconnect™ Customer Care – In-vehicle support for Uconnect™ Access System, Apps
and Features.
3. Vehicle Customer Care – Total support for your SRT vehicle.
9-1-1 Button (located on the rear view mirror):
• Places a direct call to a local emergency authority.
• If a connection between the vehicle and a 9-1-1 operator is made, the 9-1-1 Call system may transmit certain vehicle information to a 9-1-1 operator, including the last
known GPS coordinates of your vehicle. If a connection is made between a 9-1-1
operator and your vehicle, you understand and agree that 9-1-1 operators may record
conversations and sounds in your car upon connection and consent to such recordings.
ELECTRONICS
27
Page 32 of 100

Uconnect™ 8.4A
Uconnect™ 8.4A AT A GLANCE
Displaying the Time
• If the time is not currently displayed on the radio or player main page, touch theSettings soft-key or the Apps soft-key and then the Settings soft-key. In the Settings list,
touch the Clock soft-key then touch the check box next to Show Time in Status Bar.
Setting the Time
• For Model 8.4A, turn the unit on, then touch the time display at the top of the screen. Touch Yes.
• If the time is not displayed at the top of the screen, touch the Settings soft-key or the Apps soft-key and then the Settings soft-key. In the Settings screen, touch the Clock
soft-key, then check or uncheck this option.
• Touch + or – next to Set Time Hours and Set Time Minutes to adjust the time.
• If these features are not available, uncheck the Sync with GPS box.
• Touch X to save your settings and exit out of the Clock Setting screen.
Audio Settings
• Touch of the Audio soft-key to activate the Audio settings screen to adjust Balance\Fade, Equalizer, and Speed Adjusted Volume.
• You can return to the Radio screen by touching the X located at the top right.
ELECTRONICS
30
Page 35 of 100

Fav
• Activates the favorites menu. You can add up to 50 favorite artists or songs. Just touchAdd Fav Artist or Add Fav Song while the song is playing. You will then be alerted any
time one of these songs, or works by these artists, is playing on other SiriusXM™
channels.
SiriusXM™ Parental Controls
• You can skip or hide certain channels from view if you do not want access to them. Touch the More soft-key, then the Settings soft-key, next touch the Sirius Setup
soft-key, then select Channel Skip. Touch the box, check-mark, next to the channel you
want skipped. They will not show up in normal usage.
• SiriusXM™ also offers the option to permanently block selected channels. Call (1-888-601-6297 for U.S. customers, 1-888-539-7474 for Canadian customers) and
request the Family Package.
Browse
• Lets you browse the SiriusXM™ channel listing or Genre listing. Favorites, Game Zone, Weather and Jump settings also provide a way to browse the SiriusXM™ channel list.
Browse
Sub-Menu Sub-Menu Description
All Shows the channel listing.
Genre Provides a list of all genres, and lets you jump to a channel within the selected genre.
Presets Lets you scroll the list of Preset satellite channels. Touch the channel, or press Enter on the Tune knob, to go to that channel. Touch the trash can icon to
delete a preset. Your presets are also shown at the top of the main Satellite
Radio screen.
Favorites Lets you manage artists and songs in the Favorites list and configure Alert Settings to let you know when favorite songs or artists are playing on other
channels. Also, view a list of channels airing any of your Favorites.
Game Zone Provides alerts when your favorite sports teams are starting a game which is being aired on other SiriusXM™ channels, or when their game score is
announced. You can select and manage your Teams list here, and configure
alerts.
Jump Lets you select your favorite cities for Traffic & Weather information, which is used by the Jump feature on the main satellite radio screen.
ELECTRONICS
33