2013 CHEVROLET CAPTIVA SPORT manual radio set
[x] Cancel search: manual radio setPage 20 of 374

Black plate (16,1)Chevrolet Captiva Sport Owner Manual - 2013 - crc - 11/12/12
1-16 In Brief
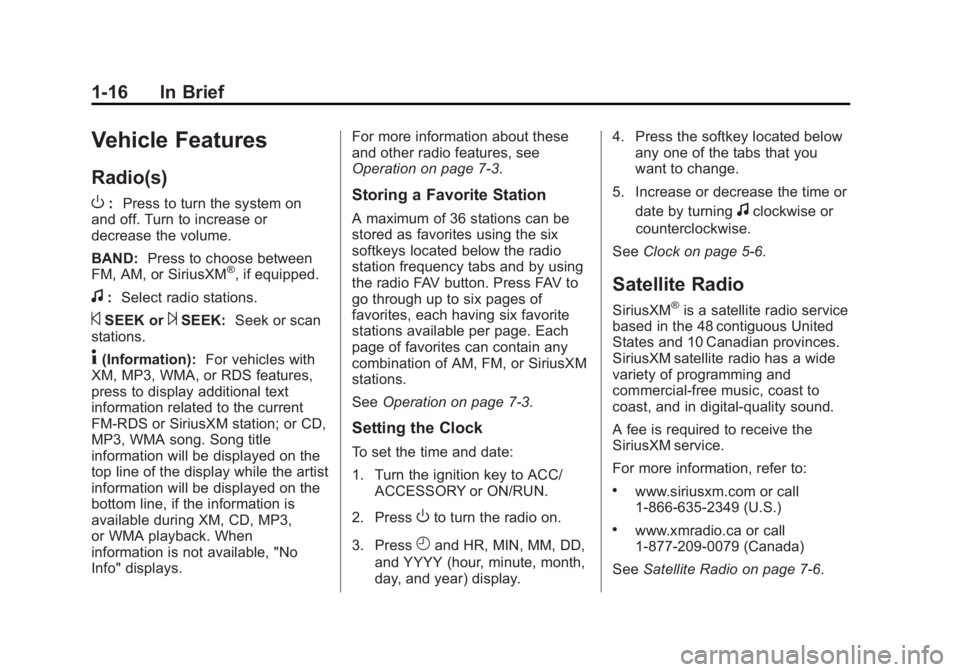
Vehicle Features Radio(s)
O : Press to turn the system on
and off. Turn to increase or
decrease the volume.
BAND: Press to choose between
FM, AM, or SiriusXM ®
, if equipped.
f : Select radio stations.
© SEEK or
¨ SEEK: Seek or scan
stations.
4 (Information): For vehicles with
XM, MP3, WMA, or RDS features,
press to display additional text
information related to the current
FM-RDS or SiriusXM station; or CD,
MP3, WMA song. Song title
information will be displayed on the
top line of the display while the artist
information will be displayed on the
bottom line, if the information is
available during XM, CD, MP3,
or WMA playback. When
information is not available, "No
Info" displays. For more information about these
and other radio features, see
Operation on page 7 ‑ 3 .
Storing a Favorite Station A maximum of 36 stations can be
stored as favorites using the six
softkeys located below the radio
station frequency tabs and by using
the radio FAV button. Press FAV to
go through up to six pages of
favorites, each having six favorite
stations available per page. Each
page of favorites can contain any
combination of AM, FM, or SiriusXM
stations.
See Operation on page 7 ‑ 3 .
Setting the Clock To set the time and date:
1. Turn the ignition key to ACC/
ACCESSORY or ON/RUN.
2. Press
O to turn the radio on.
3. Press
H and HR, MIN, MM, DD,
and YYYY (hour, minute, month,
day, and year) display. 4. Press the softkey located below
any one of the tabs that you
want to change.
5. Increase or decrease the time or
date by turning
f clockwise or
counterclockwise.
See Clock on page 5 ‑ 6 .
Satellite Radio SiriusXM ®
is a satellite radio service
based in the 48 contiguous United
States and 10 Canadian provinces.
SiriusXM satellite radio has a wide
variety of programming and
commercial-free music, coast to
coast, and in digital-quality sound.
A fee is required to receive the
SiriusXM service.
For more information, refer to: .
www.siriusxm.com or call
1-866-635-2349 (U.S.) .
www.xmradio.ca or call
1-877-209-0079 (Canada)
See Satellite Radio on page 7 ‑ 6 .
Page 21 of 374

Black plate (17,1)Chevrolet Captiva Sport Owner Manual - 2013 - crc - 11/12/12
In Brief 1-17
Portable Audio Devices The vehicle may have a 3.5 mm
(1/8 in) auxiliary input jack on the
audio faceplate and a USB port in
the center console. Some portable
audio devices such as iPods ®
, MP3
players, and USB storage devices
can be connected to the vehicle
using a 3.5 mm (1/8 in) cable or a
USB cable.
See Auxiliary Devices on page 7 ‑ 19 .
Bluetooth ®
For vehicles with a Bluetooth
system, it allows users with a
Bluetooth-enabled cell phone to
make and receive hands-free calls
using the vehicle ’ s audio system
and controls.
The Bluetooth-enabled cell phone
must be paired with the Bluetooth
system before it can be used in the
vehicle. Not all phones will support
all functions. For more information,
see www.gm.com/bluetooth and
Bluetooth on page 7 ‑ 23 . Steering Wheel Controls
For vehicles with audio steering
wheel controls, some audio controls
can be adjusted at the steering
wheel.
+ / − : Press and release to go to
the next or the previous preset radio
station or CD track.
J /
0 : For vehicles with Bluetooth ®
and OnStar ®
, press to interact with
those systems. Press and release to
mute the system. Press it again to
turn the sound back on. K : Press to reject an incoming
call, or end a current call. Press to
silence the vehicle speakers while
using the infotainment system.
Press again to turn the sound on.
v + or
v − : Move the thumbwheel
up or down to increase or to
decrease the volume.
Cruise Control
E : Press to turn the cruise control
system on and off. An indicator light
comes on.
Page 36 of 374

Black plate (10,1)Chevrolet Captiva Sport Owner Manual - 2013 - crc - 11/12/12
2-10 Keys, Doors, and Windows To avoid setting off the alarm by
accident, always unlock a door with
the RKE transmitter or a key.
Unlocking a door any other way will
set off the alarm if the system has
been armed.
If you set off the alarm by accident,
turn off the alarm by pressing
Q or
K on the RKE transmitter or by
placing the key in the ignition and
turning it to START.
Testing the Alarm To test the alarm:
1. From inside the vehicle, lower
the driver window and open the
driver door.
2. Get out of the vehicle, close the
door, and activate the system by
locking the doors with the RKE
transmitter.
3. Wait for the security light to flash
slowly. 4. Reach in through the window,
unlock the door with the manual
door lock, and open the door.
This should set off the alarm.
If the alarm does not sound when it
should, but the vehicle's headlamps
flash, check to see if the horn
works. The horn fuse may be blown.
To replace the fuse, see Fuses and
Circuit Breakers on page 10 ‑ 30 .
If the alarm does not sound or the
vehicle's headlamps do not flash,
see your dealer for service.
Immobilizer See Radio Frequency Statement on
page 13 ‑ 20 for information
regarding Part 15 of the Federal
Communications Commission (FCC)
rules and Industry Canada
Standards RSS-GEN/210/220/310. Immobilizer Operation This vehicle has PASS-Key ®
III+
(Personalized Automotive Security
System) theft-deterrent system.
PASS-Key III+ is a passive
theft-deterrent system.
The system is automatically armed
when the key is removed from the
ignition.
You do not have to manually arm or
disarm the system.
The security light comes on if there
is a problem with the theft-deterrent
system operation.
When the PASS-Key III+ system
senses that someone is using the
wrong key, it prevents the vehicle
from starting. Anyone using a
trial-and-error method to start the
vehicle will be discouraged because
of the high number of electrical key
codes.
Page 98 of 374

Black plate (2,1)Chevrolet Captiva Sport Owner Manual - 2013 - crc - 11/12/12
5-2 Instruments and Controls Object Detection System
Messages . . . . . . . . . . . . . . . . . . 5-32
Ride Control System
Messages . . . . . . . . . . . . . . . . . . 5-32
Airbag System Messages . . . . 5-33
Service Vehicle Messages . . . 5-34
Tire Messages . . . . . . . . . . . . . . . 5-34
Transmission Messages . . . . . 5-35
Vehicle Reminder
Messages . . . . . . . . . . . . . . . . . . 5-35
Vehicle Personalization Vehicle Personalization . . . . . . 5-36
Universal Remote System Universal Remote System . . . 5-41
Universal Remote System
Programming . . . . . . . . . . . . . . . 5-41
Universal Remote System
Operation . . . . . . . . . . . . . . . . . . 5-44 Controls Steering Wheel
Adjustment
To adjust the steering wheel:
1. Hold the steering wheel and pull
the lever down.
2. Move the steering wheel up
or down.
3. Pull or push the steering wheel
closer or away from you. 4. Pull the lever up to lock the
steering wheel in place.
Do not adjust the steering wheel
while driving.
Steering Wheel Controls
For vehicles with audio steering
wheel controls, some audio controls
can be adjusted at the steering
wheel.
+ / − (Next/Previous): Press and
release to go to the next or the
previous preset radio station or CD
track.
Page 102 of 374

Black plate (6,1)Chevrolet Captiva Sport Owner Manual - 2013 - crc - 11/12/12
5-6 Instruments and Controls It is suggested to calibrate away
from tall buildings, utility wires,
manhole covers, or other industrial
structures, if possible.
If CAL should ever appear in the
DIC display, the compass should be
calibrated.
If the DIC display does not show a
heading, for example, N for North,
or the heading does not change
after making turns, there may be a
strong magnetic field interfering with
the compass. Such interference
may be caused by a magnetic CB or
cell phone antenna mount, a
magnetic emergency light, magnetic
note pad holder, or any other
magnetic item. Turn off the vehicle,
move the magnetic item, then turn
on the vehicle and calibrate the
compass. To calibrate the compass, use the
following procedure:
Compass Calibration Procedure
1. Before calibrating the compass,
make sure the compass is set to
the variance zone in which the
vehicle is located. See
“ Compass Variance (Zone)
Procedure ” earlier in this
section.
Do not operate any switches
such as window, sunroof,
climate controls, seats, etc.
during the calibration procedure.
2. Press the vehicle information
button until PRESS
V TO
CALIBRATE COMPASS
displays.
3. Press the set/reset button to
start the compass calibration.
4. The DIC will display
CALIBRATING COMPASS:
TURN IN CIRCLES. Drive the
vehicle in tight circles at less
than 8 km/h (5 mph) to complete
the calibration. The DIC will display COMPASS
CALIBRATION COMPLETE for a
few seconds when the
calibration is complete. The DIC
display will then return to the
previous menu.
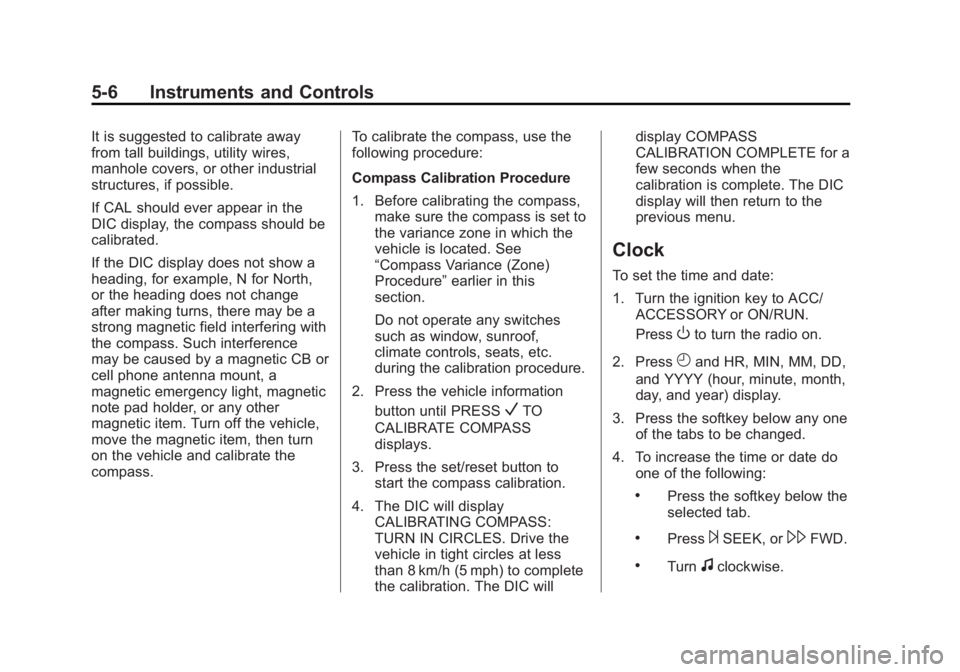
Clock To set the time and date:
1. Turn the ignition key to ACC/
ACCESSORY or ON/RUN.
Press
O to turn the radio on.
2. Press
H and HR, MIN, MM, DD,
and YYYY (hour, minute, month,
day, and year) display.
3. Press the softkey below any one
of the tabs to be changed.
4. To increase the time or date do
one of the following: .
Press the softkey below the
selected tab. .
Press
¨ SEEK, or
\ FWD. .
Turn
f clockwise.
Page 103 of 374

Black plate (7,1)Chevrolet Captiva Sport Owner Manual - 2013 - crc - 11/12/12
Instruments and Controls 5-75. To decrease the time or date do
one of the following: .
Press
© SEEK or
s REV..
Turn
f counterclockwise.
The date does not automatically
display. To see the date press
Hwhile the radio is on. The date with
display times out after a few
seconds and goes back to the
normal radio and time display.
To change the time default setting
from 12 hour to 24 hour or to
change the date default setting from
month/day/year to day/month/year:
1. Press
H and then the softkey
below the forward arrow label to
select the time 12H and 24H,
and the date MM/DD/YYYY
(month, day, and year) and DD/
MM/YYYY (day, month, and
year) display.
2. Press the softkey below the
desired option. 3. Press
H again to apply the
selected default, or let the
screen time out.
Power Outlets The accessory power outlets can be
used to plug in electrical equipment,
such as a cell phone or MP3 player.
The power outlets are inside the
center floor console, on the rear of
the center floor console, and in the
rear cargo compartment.
The power outlet located in the rear
cargo area is powered at all times.
Remove the cover to access and
replace when not in use.
Notice: Leaving electrical
equipment plugged in for an
extended period of time while the
vehicle is off will drain the
battery. Always unplug electrical
equipment when not in use and
do not plug in equipment that
exceeds the maximum 20 ampere
rating. Certain electrical accessories may
not be compatible with the
accessory power outlet and could
overload vehicle or adapter fuses.
If a problem is experienced, see
your dealer.
When adding electrical equipment,
be sure to follow the installation
instructions included with the
equipment. See Add-On Electrical
Equipment on page 9 ‑ 45 .
Notice: Hanging heavy
equipment from the power outlet
can cause damage not covered
by the vehicle warranty. The
power outlets are designed for
accessory power plugs only, such
as cell phone charge cords.
Page 137 of 374

Black plate (41,1)Chevrolet Captiva Sport Owner Manual - 2013 - crc - 11/12/12
Instruments and Controls 5-41Press
U until PRESS
V TO
RESTORE DEFAULTS appears on
the DIC display. Press
V once to
access the settings for this feature.
Then press
U to scroll through the
following settings:
RESTORE (default): The
customization features will be set to
their factory default settings.
NO CHANGE: The customization
features will not be set to their
factory default settings.
To select a setting, press
V while
the desired setting is displayed on
the DIC.
EXIT FEATURE SETTINGS
This feature allows you to exit the
feature settings menu.
Press
U until PRESS
V TO EXIT
FEATURE SETTINGS appears in
the DIC display. Press
V once to
exit the menu. If you do not exit, pressing
U again
will return you to the beginning of
the feature settings menu.
Exiting the Feature
Settings Menu The feature settings menu will be
exited when any of the following
occurs: .
The vehicle is no longer in
ON/RUN. .
The
3 or
T DIC buttons are
pressed. .
The end of the feature settings
menu is reached and exited. .
A 40-second time period has
elapsed with no selection made. Universal Remote
System See Radio Frequency Statement on
page 13 ‑ 20 for information
regarding Part 15 of the Federal
Communications Commission (FCC)
rules and Industry Canada
Standards RSS-GEN/210/220/310.
Universal Remote System
Programming
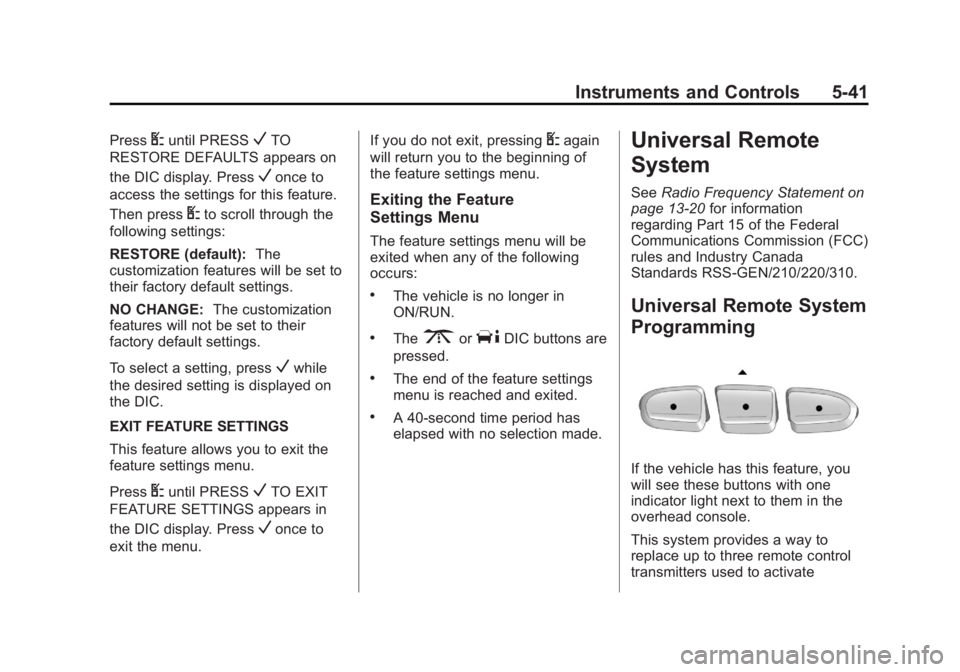
If the vehicle has this feature, you
will see these buttons with one
indicator light next to them in the
overhead console.
This system provides a way to
replace up to three remote control
transmitters used to activate
Page 149 of 374

Black plate (1,1)Chevrolet Captiva Sport Owner Manual - 2013 - crc - 11/12/12
Infotainment System 7-1
Infotainment
System Introduction Infotainment . . . . . . . . . . . . . . . . . . . 7-1
Theft-Deterrent Feature . . . . . . . 7-2
Overview . . . . . . . . . . . . . . . . . . . . . . 7-2
Operation . . . . . . . . . . . . . . . . . . . . . 7-3
Radio AM-FM Radio . . . . . . . . . . . . . . . . . 7-5
Satellite Radio . . . . . . . . . . . . . . . . 7-6
Radio Reception . . . . . . . . . . . . . . 7-9
Fixed Mast Antenna . . . . . . . . . 7-10
Satellite Radio Antenna . . . . . . 7-10
Audio Players CD Player . . . . . . . . . . . . . . . . . . . 7-10
MP3 . . . . . . . . . . . . . . . . . . . . . . . . . 7-15
Auxiliary Devices . . . . . . . . . . . . 7-19
Phone Bluetooth . . . . . . . . . . . . . . . . . . . . 7-23 Introduction Infotainment Read the following pages to
become familiar with the
infotainment system features.
{ WARNINGTaking your eyes off the road for
extended periods could cause a
crash resulting in injury or death
to you or others. Do not give
extended attention to infotainment
tasks while driving.
This system provides access to
many audio and non ‐ audio listings.
To minimize taking your eyes off the
road while driving, do the following
while the vehicle is parked: .
Become familiar with the
operation and controls of the
audio system. .
Set up the tone, speaker
adjustments, and preset radio
stations.
For more information, see Defensive
Driving on page 9 ‑ 3 .
Notice: Contact your dealer
before adding any equipment.
Adding audio or communication
equipment could interfere with
the operation of the engine, radio,
or other systems, and could
damage them. Follow federal
rules covering mobile radio and
telephone equipment.
The vehicle has Retained
Accessory Power (RAP). With RAP,
the infotainment system can play
even after the ignition is turned off.
See Retained Accessory Power
(RAP) on page 9 ‑ 17 for more
information.