2012 VOLKSWAGEN GOLF MK6 display
[x] Cancel search: displayPage 33 of 516
on page 3 and note the introductory information on page 12.
A wide variety of aud
io prog ra m s from various cat
egories (music, news, sports, entertainmen t, etc .)
can be accessed with
radio is subject to fees and requires acti
va tion by providing the device -specific over the phone or via the prior to use .
Displaying the Sirius
Radio mode, p ress the button
Pr ess the
as as the web address or
p h one numbe r needed for activatio n are disp layed
in a pop-up windo w.
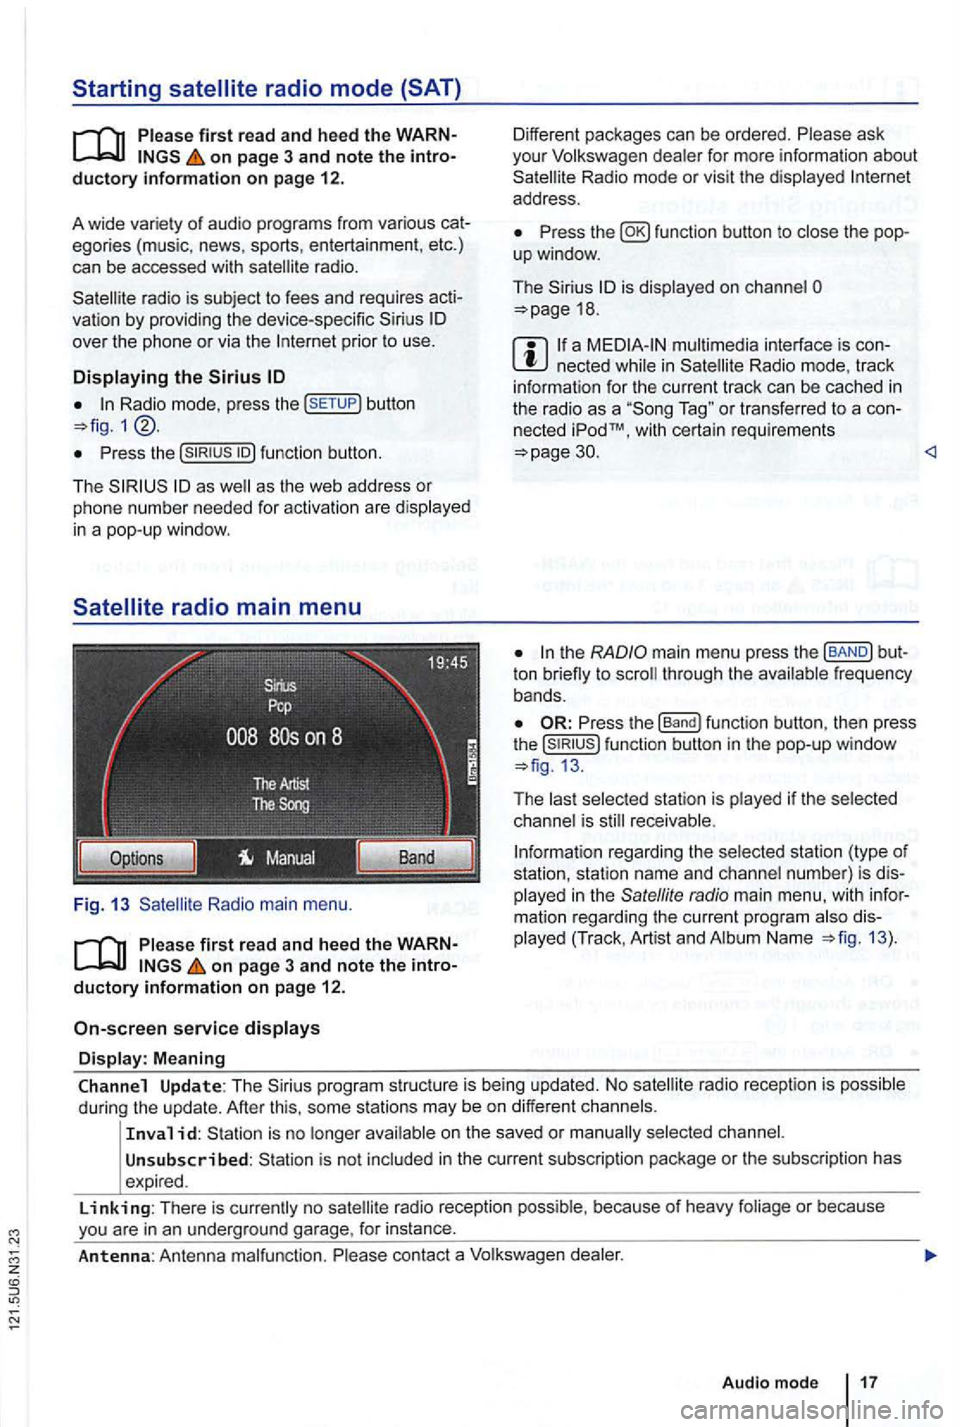
Radio main menu .
on page 3 and note the introductory information on page 12.
service displays
Display: Meaning
Different packages can be ordered. Please ask
you r Volkswagen dealer for more information about Radio mode or vis it the displayed address .
Press fun ction button to
is displayed on cha nnel 18 .
a n ecte d Radio mode, track
i nform ation for the cu rren t track can be cached in the radio as a T ag " or transferred to a con
nected iPodTM, w it h certa in requ irements 30.
ton through the frequency
bands .
Press the function button, then press the function button in the pop-up window
The receivable .
rega rding the selected station (type of
station, station name and channel number) is dis
played in the
radio main menu , with information rega rding the curren t program Name 13).
Channel Update: The program structure is being updated. No
on the saved or
Unsubscribed : is not include d in the current sub scrip tion package or the sub scription has
expired .
Linking: There is no radio reception possib le , because of heavy foliage or because
Page 34 of 516
The method for stor ing and accessing preset stations is the same as in Radi o mode 12.
Changing
on page 3 and note the introductory information on page 12.
Changing stations using the arrow buttons
Press one of the arrow buttons on the device 1 switch to the next station in the se
lected category .
is displayed , only the stations saved on the
station preset buttons are browsed through
16.
Configuring station selection options
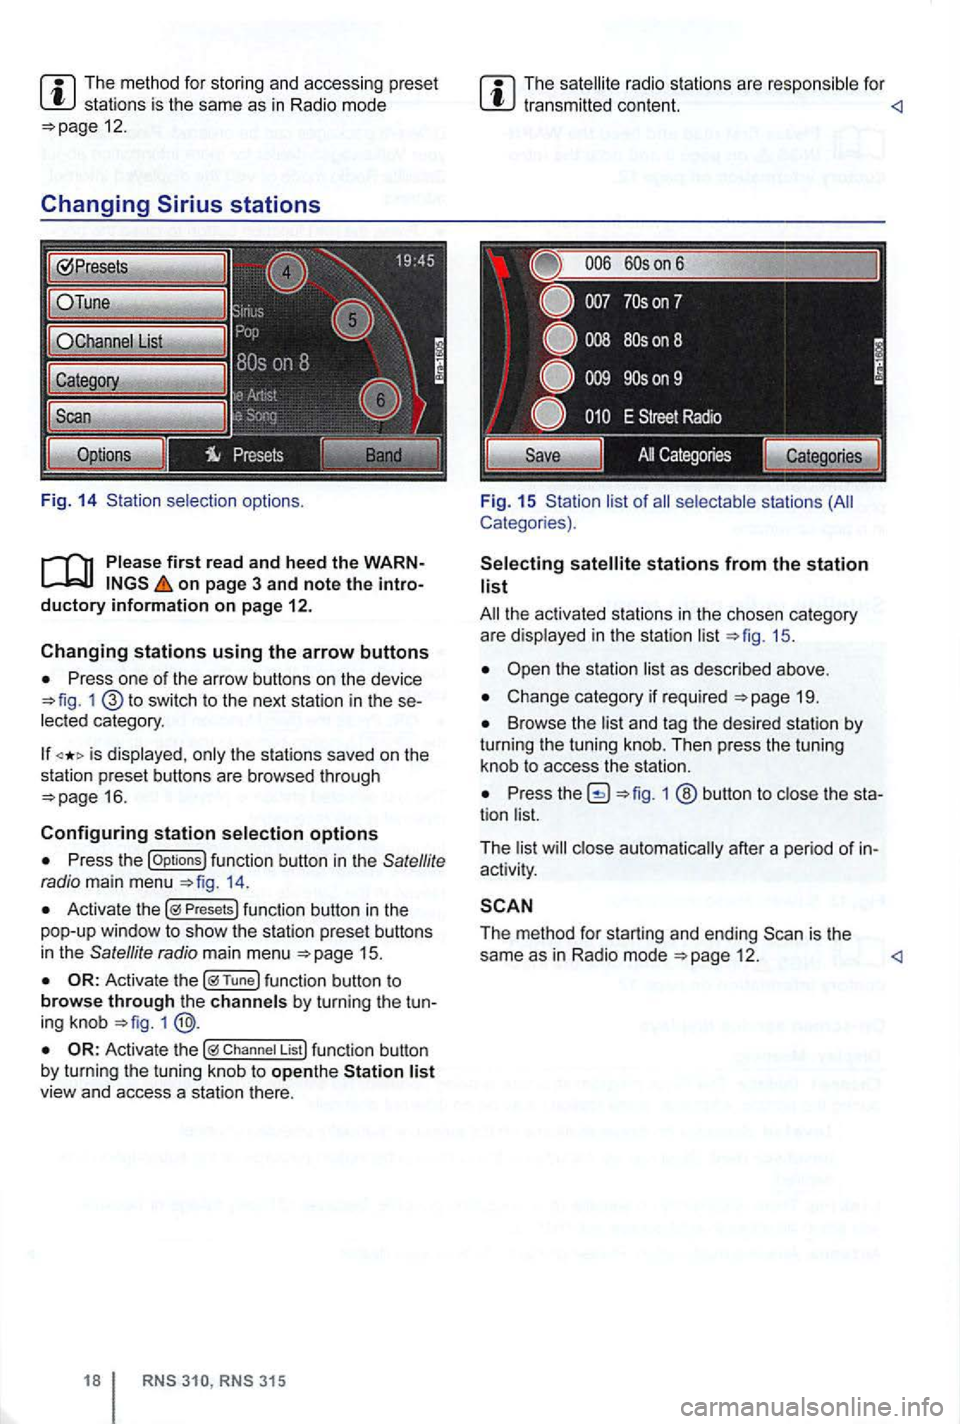
Press the options 14.
Activate the Presets
1
Chan nel List
315
The radio stations are respo nsible for
Fig. 15 Sta tion list of
stations from the station list
19.
Browse the list and tag the desired station by turning the tuning knob. Then press the tuning
knob to access the station.
Press 1 ® button to close the sta
tion list.
T he list
close automat ically after a pe riod of in
activity .
The method for starting and ending 12 .
Page 38 of 516
on page 3 and note the introductory information on page
Different media sources can be selected and
played back in the MEDIA main menu
playable audio sources are d isplayed and
played . files are igno red.
Press the button .
The last med ia source played will resume playing .
The current med ia source is displayed
in center of
the bottom line of the screen 19.
no med ia sou rce is selec table, the MEDIA main
menu cannot be opened.
F
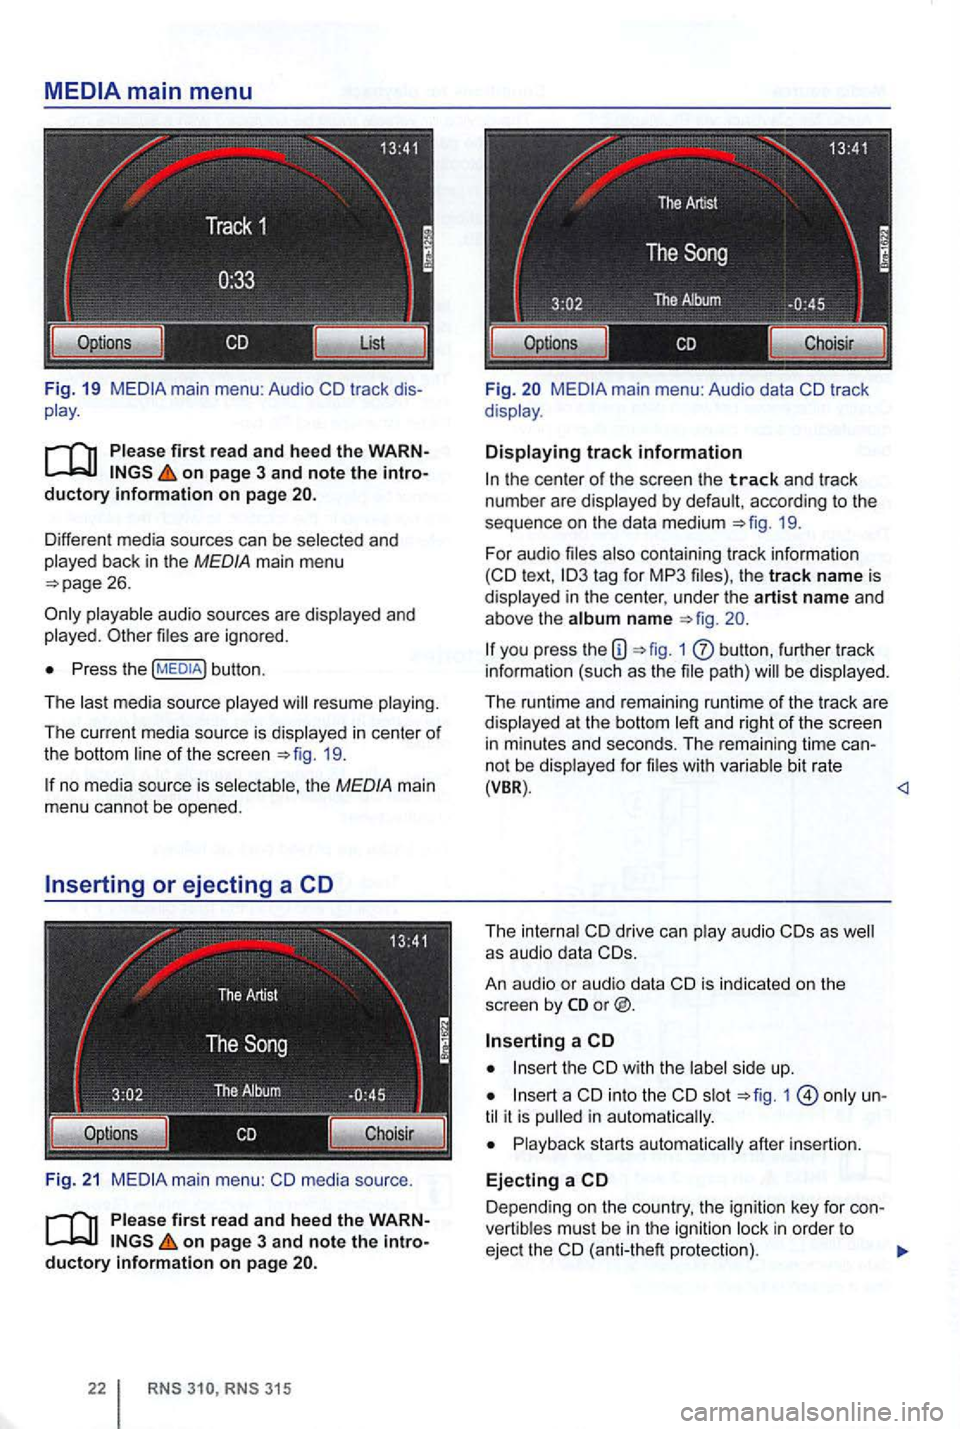
ig. 21 media source .
on page 3 and note the introductory information on page
315
Fi g. main menu: Audio data
the center of the screen the track and trac k
numbe r are d isplayed by defau lt , acc ording to the
sequence on
the da ta medium 19.
For audio files also conta in ing tr ack information text ,
you press the 1 butt on , furth er track
info rma tion (such as the file path) will be dis played .
The runtime and rema ining runtime of the track a
re displayed at t he bottom left and right of the screen in m inutes and seco nds. The rema ining tim e ca nnot be disp layed fo r file s w it h va riabl e bit rate (VBR) .
An au dio
or audio data
the
int o the slot 1 until it is pull ed in a utomatica lly.
Playback starts automatica lly after insertion.
Ejecting a
Depend ing on the country , the ign ition key for con
vert ib les mus t be in the igniti on l ock in order to
ejec t the (anti-the ft protectio n).
Page 48 of 516
Operation via the radio navigation system
External data media con nec ted to the multimedia interface can be ope rated via the radio
navigation system.
D epend i
ng on th e de vic e, it m ay be necessary to launch playback on t he radio na vigat ion
s ys te m afte r co nn ec ting an d swi tch ing the extern al
d a ta medium on.
back from external data media
con trol of th e externa l data media (ac-
cessing tr ack change, track selectio n and playb ack
m odes) takes plac e as described in the corre-
spon ding ch apt ers
and
When and TM is connected , an list view is displayed on the highest
selec tion 35 .
Th e
The music co ntro l of a conn ected
Cause Remedy
Device is not s upp orted. of the external data
medium or communication via
the adap ter cable is not
ble . Check
the adapter cable.
Update software
of the media interfac e via t he Volkswage n er. possible , update th e software of th e
exte rnal data me diu m .
Device no t functional Co mmu nicatio n malfunctio nin g . Ve rify the con nect io n an d fu n ct ion ality of externa l data m ediu m.
D ue to the large num be r of different types
of d ata media and several gene rations,
no gua ran tee can be made that fu nctions described can be executed without errors.
iTunes Tagging
first read and heed th e on page 3 and note the ductory Information on page
Radio mode, track information Tags) for a played track can be tr ansm itted to a
connected
necting to a compu ter.
Requirements
multimedia interface .
Radio mode.
Track and artist are disp layed .
Track in forma tion is available as a Tag .
N ot
for iTunes TM Tagging.
Compatible Tags or
RNS 315
current track information
th e (Options ) function butt on in the
1
is conne cted to the
as a Tag .
When the track informa tion for the current track is
n ot ava ilab le as a
Tag, or th e tr ack has
tion buttoni s inactive.
When no is currently connect ed , up to
Page 49 of 516
sage is shown one time that no
as the number of Tags that can
Tags or if the is Tags). After press ing function butt on , a corresponding message follows.
The next time an
saved
in the naviga-
system . The Song Tags saved on the can be displayed and purchased over the ternet.
Display and
Media mode, press the
the (Song Tags) function button in the Media settings menu.
The saved Tags are displayed in a one
after the other .
the functio n button to delete saved Tags, after further confirmation.
Audio mode
Page 54 of 516
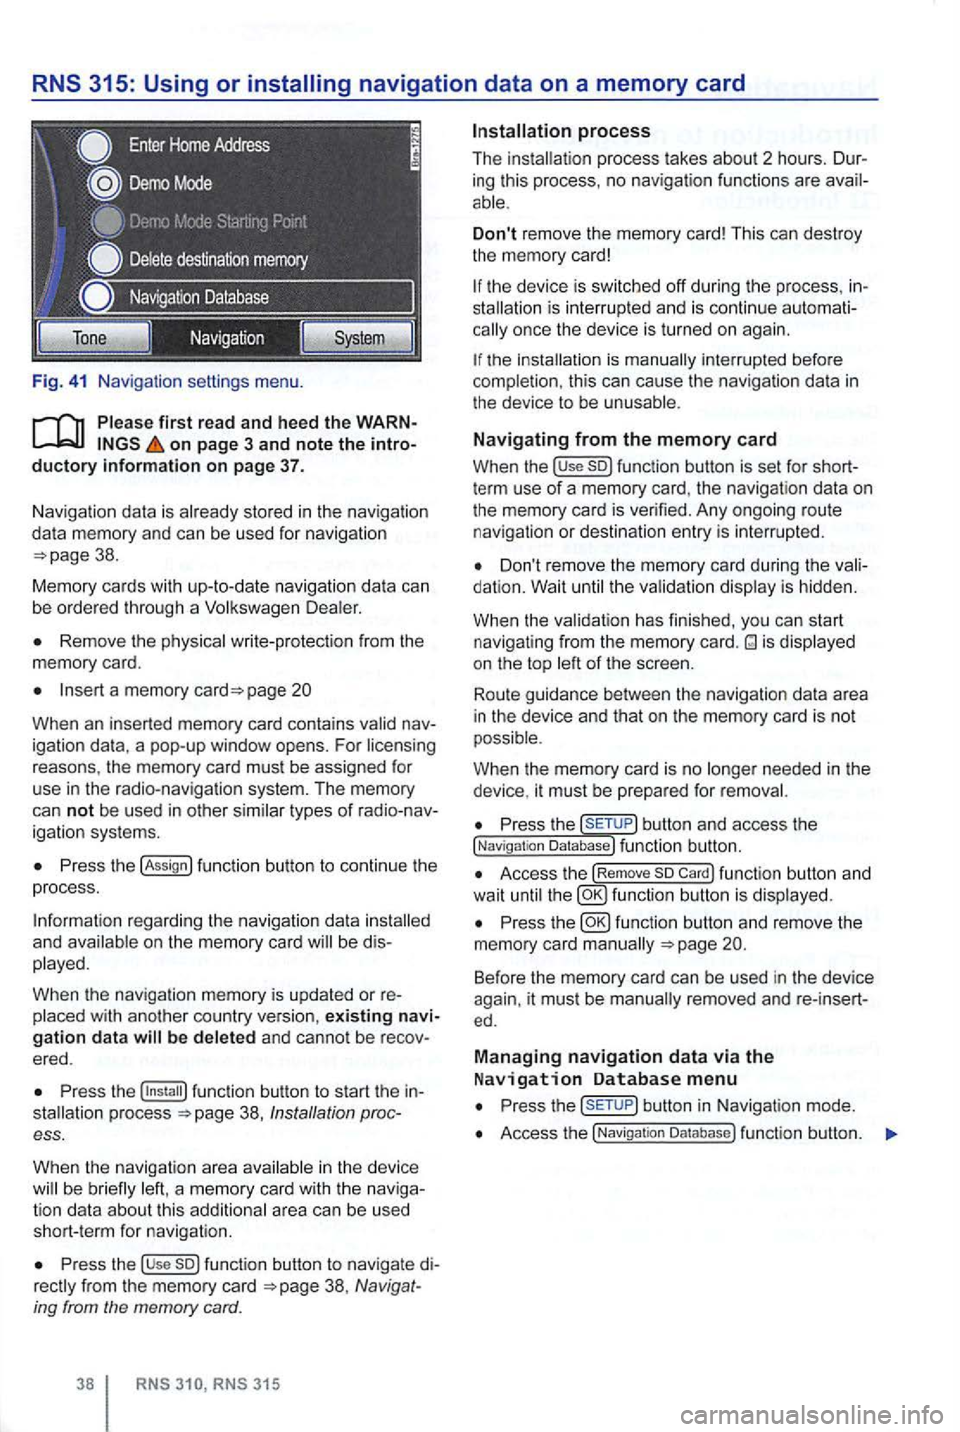
Fig. 41 Na vigatio n setti ngs menu.
on page 3 and note the introductory information on page 37.
Naviga tion data is already stored in the naviga tion
da ta memory and can be used for nav igation
Remove the physica l write-p rotection from the
memory card.
Insert a memory page 20
Whe n an inserted memory card conta ins
P ress the !Assign
a nd b e di s
played.
When
the navigation memory is updated or re
Press the 38, Ins tallation process.
When the navigat ion a
rea in the device be brie fly
Press the use so) func tion button to navigate di38 , Navig at
ing from the memory card.
RNS RNS 315
Don't remove the memory card! This can dest roy
the memory card!
the device is sw itched off during the process , inis inte rrupt ed and is conti nue automationce the device is turned on again.
the is manually interrupted before
completion , this can cau se the naviga tion data in the device to be unusable .
Navigating from the memory card
When the !use so) function button is set for shortterm use of a memory card, the navigat ion data on
the memory card is verified. Any ongoing route navigatio n or destination en try is interrupted .
Don't remove the memory card during the dation. Wait the va lidat ion disp lay is hidden.
When the validat ion has finished , you
can start
navigat ing from the memory card. is displayed
on the top of the screen .
Route guidance
betwee n the navigation data area
i n the device and that on the memory card is not
possible.
W hen
the memory card is no needed in the
device , it must be prepa red for removal.
Press the button and access the !Naviga tion Database) function button.
Access the !Remove so Card) function button and
wait until fu nc tio n butto n is displ ayed.
Press the
Press but ton in Navigat ion mode .
Access the !Navigatio n Da tabase ) function butt on.
Page 61 of 516
Detailed view of a destination
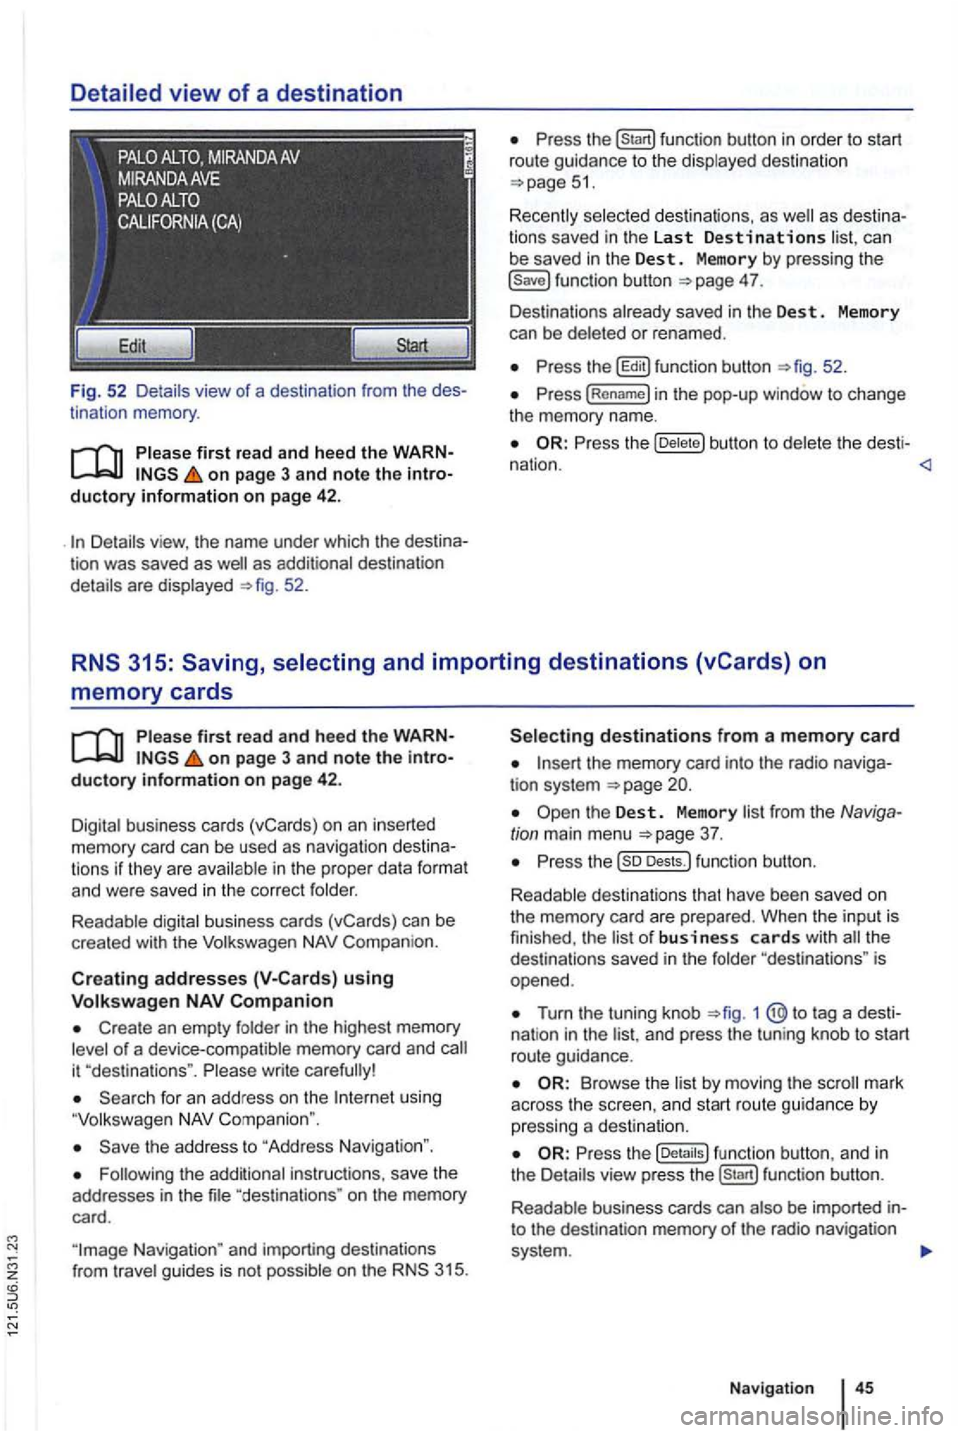
Fig. 52 Detail s view of a destination from the des
tinat ion memory .
first read and heed the WARNon page 3 and note the introductory information on page 42 .
as additional destination
details are displayed 52.
can
be saved in the Dest . Memory by pressing the 4 7.
Des tinations already saved in the Des t. Memory
can be deleted or renamed .
the b utton to del et e t he desti -
nation .
memory cards
on page 3 and note the introductory information on page 42.
Digital business cards (vCards) on an inserted memory card can be used as naviga tion des tin a
t ions if they are avai lable in th e proper data format and were saved in the cor rect folder.
Readable digital business cards (vCards) can be
crea ted with the
Compan ion.
Creat ing addresses using
Create an empty folder in the highest memory of a device-compatible memory card and
using
the address to "Address Navigation ".
"destina tions " on the memory
card.
the memory card into the radio naviga
tion system
Turn the tuning knob 1 @ to tag a dest i
nat ion in the and press the tun ing knob to start
route guidance.
Browse th e list by moving the
the fu nc tion button , a nd in
the Details view pre ss function button.
R eadab le business cards can also
be imported into the destination memory of the radio navigation
system .
Navigation
Page 64 of 516
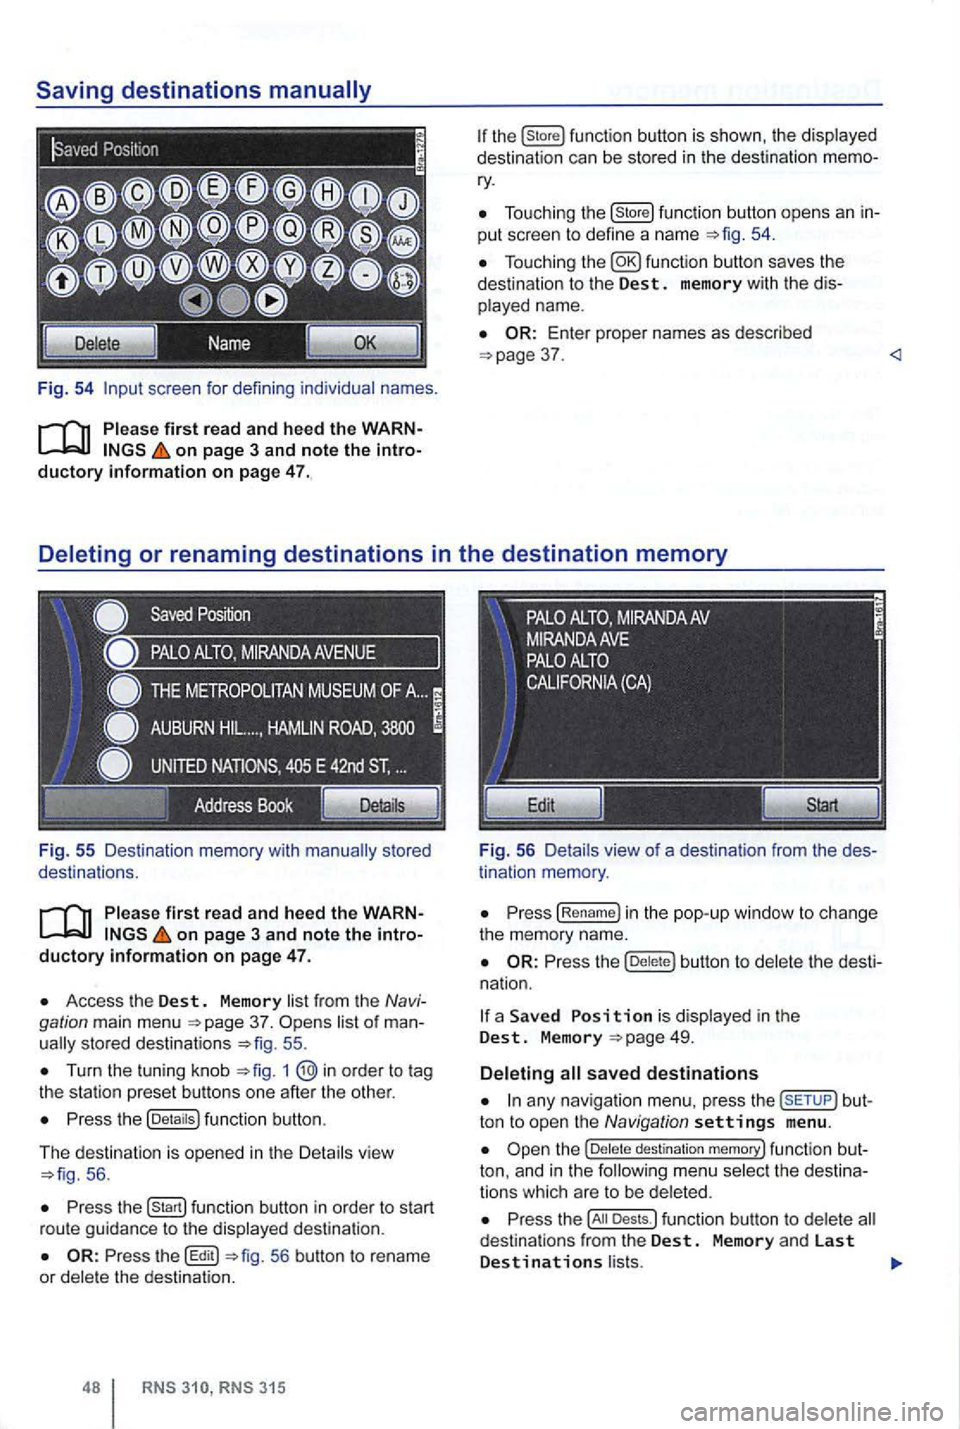
Fig. 54 screen for defini ng individual names.
on page 3 and note the introductory information on page 47.
Fig . 55 Des ti nation memory with
on page 3 and note the introductory informa tion on page 47.
Access the Dest. Memory list fr om the Navi
gation main menu 37. sto red destinat ions 55 .
Turn the tuning kn ob 1
Press the (Detaitsl function button.
The d
estination is opened in the Detail s vie w 56 .
Press function button in order to start
r ou te gu id a nce to the displayed destination .
56 button to rename
or dele te the destinat ion.
315
Tou ch ing the (store! functio n button opens an in
put scree n to define a name
37 .
tin ation memory .
Press (Re name! in the pop -up window to ch ange
the memory name.
Press the butt on to delete the dest i
na tion.
a Save d is display ed in the Dest. M emory
any nav iga tio n menu. press the but
ton to open the Navigation settings menu .
destination memory! func tion but
ton, and in t h e
Press the Dests.l funct ion button to dele te d estina tio n s from the Dest. Memory and las t Destinations l ists.