2012 VOLKSWAGEN GOLF MK6 alarm
[x] Cancel search: alarmPage 144 of 516
N
if a seco nd valid
by press ing a button on the deactivated key.
by pressing a door handle sensor when the de
activated key is outside of the vehicle , but with in
range .
by starting the engine with the starter butto n.
Automatic deactivation of sensors
deactivated .
is activated too often, for instance by a bush or hedge that rubs against the the sensors in the door handle on that side of the vehicle are
switched off for a short time.
T he door handle sensors become active again if
one of the even ts occurs:
A short time has passed.
The rear hatch is opened .
The key .
Anti-theft
tory information and hee d the WARN on page 41.
T he anti-theft alarm system makes it more difficult
for someon e to break into or steal the veh icle .
The anti-theft alarm system is
key i s within range of the vehicle.
T he door may not open if the outside and in side door handles are used at the same time.
the vehicle battery or the battery in the remote control vehicle key is weak or dead , it
might not be possible to unlock and using Keyless Access. The vehicle can locked or unlocked with the key bit
The driver message Key not in ra nge ap pears in the instrument cluster display if there
is no remote control vehicle key inside the vehicle
or if the system does not recognize the
key. The key may not be recognized , for example, if it is
covered by something that interferes with the sig
(such as a briefcase) , or if the remote control
vehicle key battery is weak. Electronic devices
such
as phones can interfere with the sig
Dirt on the door handles that conta ins a of in winter) can affect the way
the door handle sensors work.
with this problem .
Automatic transmissio n vehic les can
Opening a door that has been un
locked and not switching on the igni tion with in
about 15 seconds.
Forcibly opening a door.
Forcibly opening the engine hood.
Forcib ly opening the rea r hat ch.
and closi ng 45
Page 340 of 516
Charging,
on page 238.
Charging the vehicle battery
Vehicle batteries should be charged by an author
ized Volkswagen dealer or an authorized Volkswa
gen
because the factory -installed
battery requires a charger with overload protection
Replacing the vehicle battery
The battery in your vehicle is
batteries meet
ing standards TL 825
electrical system, note the following :
off
Unlock the vehicle before disconnecting the
battery; otherwise the alarm system
Fir st disconnect the negativ e cable(-) and then the positive
Connecting the vehicle battery
Pr ior to reconnecting the battery , switch off electrical sys tems and devices and the ignition .
Connect the posit ive cable(+) first and then the
negative cable (-)
After the battery is connected and the ignition is
sw itched on, different indicator light s may come on. They should go out after you drive a short distance
ice Facility and have the checked.
th e ign ition not start after reconnecting the vehicle battery , lock the vehic le from the outside
and unlock it again. Then try to start the ignition
again.
lhe ignition cannot be switched on, con
tact an authorized Volkswagen dealer, an author
ized Volkswagen
o r another quali
fied workshop for assistance.
Automatic electrical load deactivation
onboard electrical system management auto mati takes steps to help prevent battery drain.
The idle speed is increa sed so that the alterna
t o r provides more power.
Th e power to devices that consume a lot of electricity is cut back or switched off completely.
When the engine is started, the power supply to the 12
Long periods when the engine is not running,
especially when the ignition is on .
Using electr ical sys tems or devices when the
engine is swi tched off. Leaving the
The selecto r lever is left for a long period of time in any position other than P when the ignition
is swi tched off =>page 175.
Failure to use th e proper battery with proper mounting and connection s may cause short circu its, fires, and serious persona l injuries.
Always use only maintenance-free or cy-
cle-free, leak-proof batteries with the sa me
s p ec ifications and dimensions as the original
equipment b attery. Specifications are listed
on the battery housing.
Wh en the vehicle battery is ch arged, it produ-
ces highly explosive hydroge n gas.
th e engine compartment
Page 400 of 516
Emergency closing and opening
Introduction
this sect ion you'll find in forma tion about:
M a
nually u nlock ing and locking t he drive r
do or ...................................
O pen ing the rea r ha tc h from inside the
l uggage compartment . . . . . . . . . . . . . . . . . . . .
Emerge ncy closing of th e powe r sunr oof . . . .
Emergency release for the se lecto r lever . . . .
locke d if necessary , fo r in sta nce beca use the er lock ing syste m or t he r em ote control v e hic le ke y
m alfun ctions .
More information:
Vehicle key set 36
Powe r locki ng and closing system 41
Doo rs
R ea r hatch 49
P owe r sunroo f
Serious injuries can result if the emerge ncy closing and opening procedures are used
carelessly .
Never leave children, disabled persons, or anyone who cannot help themselves in the
vehicle. The doors can be locked with the re-
mote control v eh icle key . This could result in
people being trapped in the vehicle in an
emergency .
A closed ve hicle can become very hot or very cold, depending on the seaso n. Particu-
l arly in the summer, heat build-up in the pas-
senge r and luggage compartment of a parked
vehicle can result in temperatures in the vehi -
c le that are much higher than the outside temperatures. Temp eratures can quickly reach levels that can cause unconsciousness
and death , part icularly to children.
Careless opening and closi ng of doors, the rear hatc h, and the power sunroof is dang er-ous and can cause serious personal injury.
or close doors, the rear hatch , and
th e power sunroof only when no one is in the wa y.
To he
lp prevent vehicle damage , carefully mo ve and properly rein stall parts when per-
forming emergency locking or unlocking .
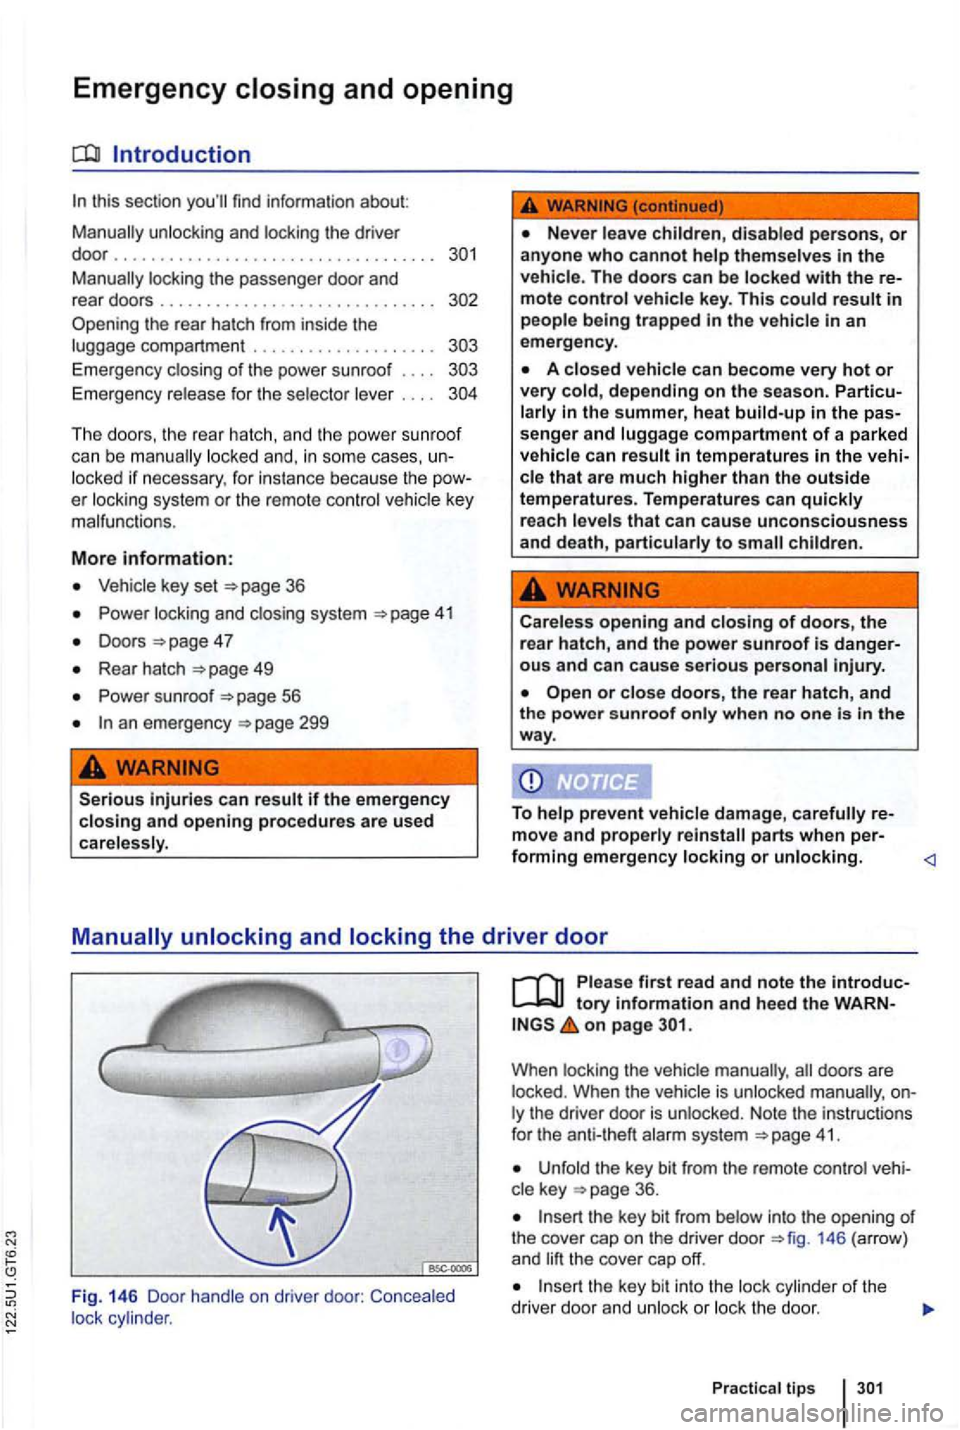
ly the driver doo r is unl ocked . N ote the instru ction s
fo r the an ti-t heft alarm syste m
Unfold the key bit from the r emote contr ol cle key
th e key bit f ro m below into the open in g of th e cover cap on t he drive r doo r 146 (arrow)
a n d l ift the cove r cap off.
Practical tips
Page 401 of 516
Reinsert the cover cap from top to bottom and
press i t
The anti-theft system remains activated
for the unlocked vehicle. But the
the driver door. The
The driver door can be unlocked separately from the inside the the door
handle to open the door
The anti-theft alarm system is not activated when the vehicle is
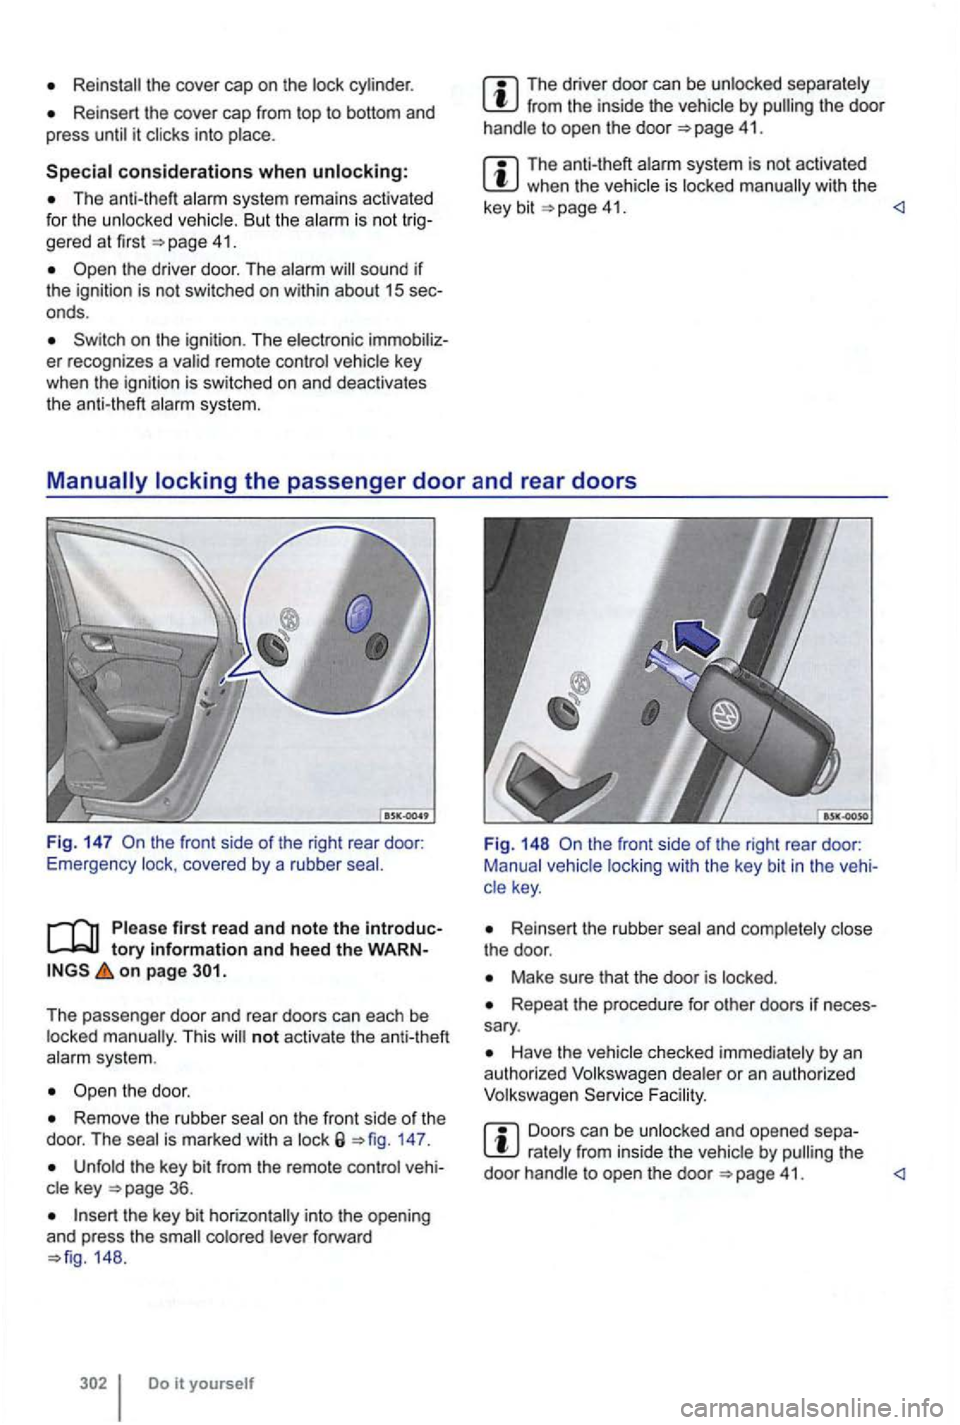
covered by a rubber
Pl ease first read and note the introductory information and heed the on page
This will not activate the anti-theft
the door.
Remove the rubber on the front side of the
door. The 147.
Unfold the key bit from the remote control
forward 148.
the front side of the right rear door:
Manual vehicle locking with the key bit in the
Reinsert the rubber the door .
Make sure that the door is locked .
Repeal the procedure for other doors if sary.
Facility.
Doors can be unlocked and opened the
door
Page 436 of 516
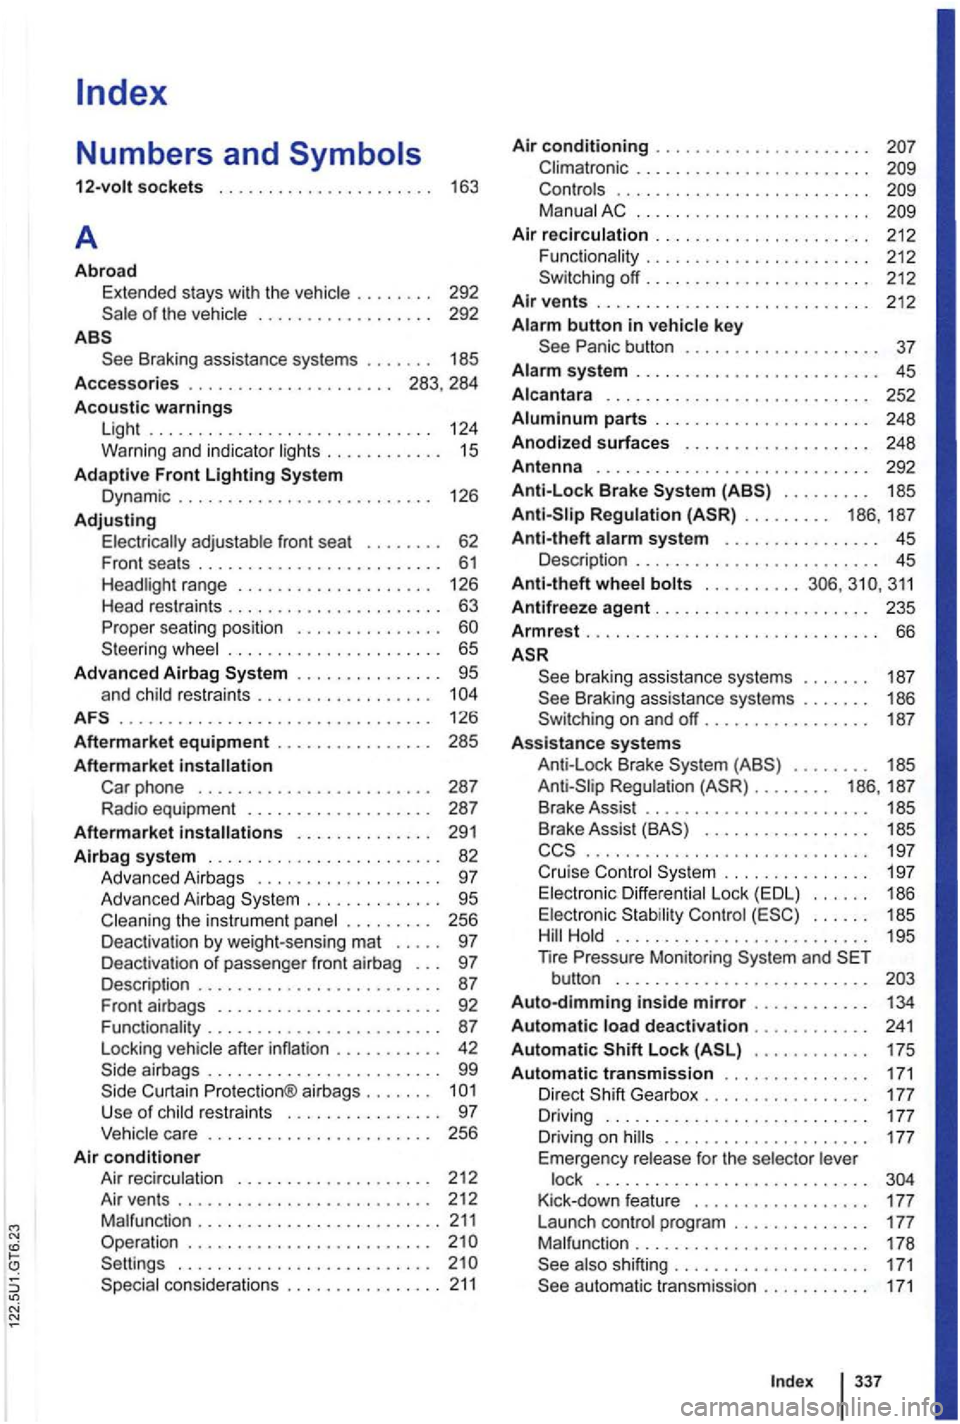
of the vehic le . . . . . . . . . . . . . . . . . . 292
Braking assistan ce sy ste ms . . . . . . . 185
Accessories . . . . . . . . . . . . . . . . . . . . . 283, 284
Acoustic warnings Light . . . . . . . . . . . . . . . . . . . . . . . . . . . . . 124
Warning and indicator lights . . . . . . . . . . . . 15
Adapti ve Front Lighting Dynami c . . . . . . . . . . . . . . . . . . . . . . . . . 126
Adjusting Electr ically ad justable front seat . . . .
. . . 63 sea ting position . . . . . . . . . . . . . . .
. . . . . . . . . . . . . . . 95
a nd child restrain ts . . . . . . . . . . . . . . . . . ........... ..................... 126
Afte rm arket equipment . . . . . . . . . . . . . . . . 285
Aftermar ket installation ph one . . . . . . . . . . . . . . . . . . . . . . . . 287
R adio equipment . . . . . . . . . . . . . . . . . . . 287
Aftermarket installations . . . . . . . . . . . . . . 291
Airbag system . . . . . . . . . . . . . . . . . . . . . . . . 82
Adva nced Airbag s . . . . . . . . . . . . . . . . . . . 97
Advanced Airbag . . . . . . . . . . . . . . 95
C le a ning the instrument panel . . . . . . . . . 256
D ea ctivation by we ight -sensing mat . . . . . 97
Deactivation
of passenger front airbag . . . 97
Descr ipt ion . . . . . . . . . . . . . . . . . . . . . . . . . 87
Front airbags . . . . . . . . . . . . . . . . . . . . . . . 92
Fun ction ality . . . . . . . . . . . . . . . . . . . . . . . . 87
Locking ve h icle afte r inflatio n . . . . . . . . . . . 42
airbags . . . . . . . . . . . . . . . . . . . . . . . . 99 Curt ain airbags . . . . . . .
. . . . . . . . . . . . . . . . . . . . . . . . . . conside rations 211
Air conditioning . . . . . . . . . . . . . . . . . . . . . . Climatron ic . . . . . . . . . . . . . . . . . . . . . . . .
Man ual . . . . . . . . . . . . . . . . . . . . . . . .
Air recirculation . . . . . . . . . . . . . . . . . . 212
Fun ctio nality . . . . . . . . . . . . . . . . . . . . . . . 212
off.. . . . . . . . . . . . . . . . . . . . . . 212
Air vents . . . . . . . . . . . . . . . . . . . . . . . . . . 212 Alarm button in vehicle key
. . . . . . . . . . 248
Anodized surfaces . . . . . . . . . . . . . . . . . . . 248
Antenna . . . . . . . . . . . . . . . . . . . . . . . . . . . . 292
Anti-Lock Brake . . . . . . . . . 185
. . . . . . . . . 186 , 187
Anti-th eft alarm system . . . . . . . . . . . . . . . . 45
Descr iption . . . . . . . . . . . . . . . . . . . . . . . . 45
Anti-th e
ft wheel bolts .....•.... 311
Antifreeze agent . . . . . . . . . . . . . . . . . . . . . . 235
Armrest.................. ...... ...... 66
braking assistan ce syste ms . . . . . . . 187 Braking assistan ce sy ste ms . . . . . . . 186 on and off... . . . . . . . . . . . . . . 187
A ss ista nce
systems Anti -Lock Brake . . . . . . . . 185 Regulation (ASR )........ 186, 187
Br ake Assi st . . . . . . . . . . . . . . . . . . . . . . . 185
Brak e Ass ist
. . . . . . . . . . . . . . . . . 185 ccs . . . . . . . . . . . . . . . . . . . . . . . . . . . . . 197
C ru ise Control . . . . . . . . . . . . . . . 197 Elect ronic Diff eren tial Lock (EDL) . . . . . . 186 Ele ct ronic Stabil it y Cont rol . . . . . . 185 H old . . . . . . . . . . . . . . . . . . . . . . . . . . 195 nre button . . . . . . . . . . . . . . . . . . . . . . . . . .
Auto-dimming inside mirror . . . . . . . . 134 Autom atic load deactivation...... . . . . . 241
Autom atic Lock . . . . . . . . . . . . 175 Automatic transmission . . . . . . . . . . . . . 171
Dir ect . . . . . . 177 Driving . . . . . . . . . . . . . . . . . . . . . . . . . . . 177 Driving on . . . . . . . . . . . . . . . . . . . . . 177 Emergency release for the sele cto r lever
l ock . . . . . . . . . . . . . . . . . . . . . . . . . . . .
Page 443 of 516
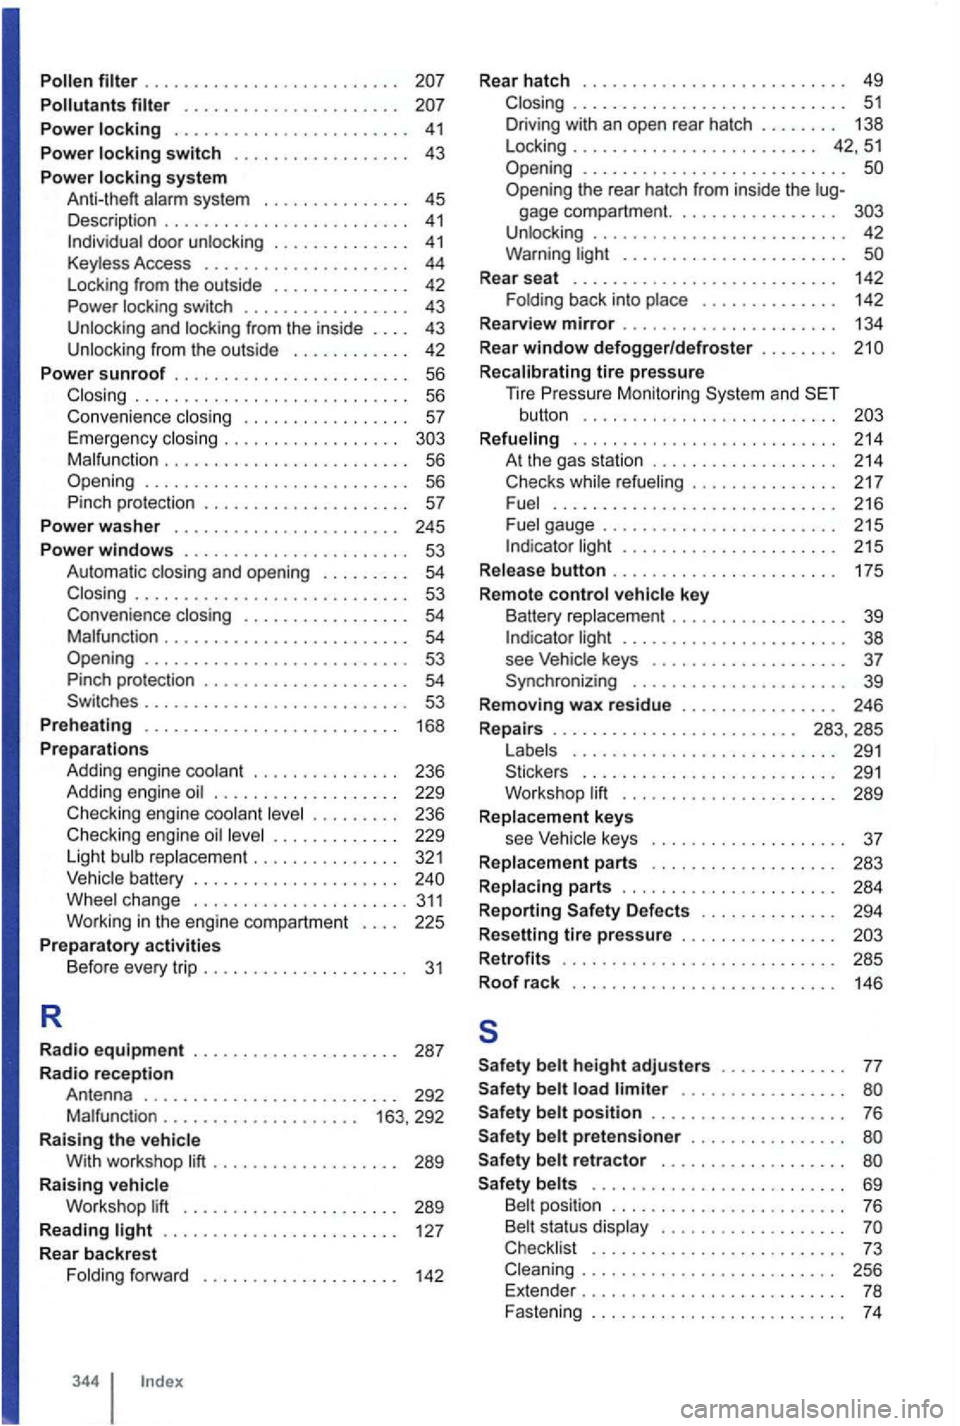
Pollen . . . . . . . . . . . . . . . . . . . . . . . . . .
Pollutants . . . . . . . . . . . . . . . . . . . . . .
Power locking . . . . . . . . . . . . . . . . . . . . . . . . 41
Power locking switch . . . . . . . . . . . . . . . . . . 43
Pow
er locking system A nl i-lheft alarm system . . . . . . . . . . . . . . . 45
Description . . . . . . . . . . . . . . . . . . . . . . . . . 41 doo r unlocking . . . . . . . . . . . . . . 41 Keyless Access . . . . . . . . . . . . . . . . . . . . . 44
L ock ing from the outside . . . . . . . . . . . . . . 42
Power
lock ing switch . . . . . . . . . . . . . . . . . 43
Un locking and locking fr om the inside . . . . 43
Un locking from the outside . . . . . . . . . . . . 42
Power s
unroof . . . . . . . . . . . . . . . . . . . . . . . . 56 ............ ................ 56
Conv enience closing . . . . . . . . . . . . . . . . 57 Emergency closing . . . . . . . . . . . . . . . . . . M alfun ction . . . . . . . . . . . . . . . . . . . . . . . . . 56 Opening ..............•............ 56
Pinch protection . . . . . . . . . . . . . . . . . . . . 57
Pow
er wa sh er . . . . . . . . . . . . . . . . . . . . . . . 245
Power windows . . . . . . . . . . . . . . . . . . . . . . . 53
Automa tic and open ing . . . . . . . . . 54 ............................ 53
Conven ience closing . . . . . . . . . . . . . . . . . 54 Ma lfunction . . . . . . . . . . . . . . . . . . . . . . . . 54 Opening ........................... 53
P inc h protection . . . . . . . . . . . . . . . . . . . . 54 Sw itc hes . . . . . . . . . . . . . . . . . . . . . . . . . . 53
Prehea ting . . . . . . . . . . . . . . . . . . . .
. . . . . 168
Preparations
Addi ng engine coolant . . . . . . . . . . . . . . . 236
Adding engine
. . . . . . . . . . . . . . . . . . . 229
Checki ng engine coolant . . . . . . . . . 236
Checking e ngi ne . . . . . . . . . . . . . 229
Light bulb repla cemen t . . . . . . . . . . . . . . . 321
Vehic le battery . . . . . . . . . . . . . . . . . . . . .
. . . . . . 127
Rear backrest
F oldi ng forward . . . . . . . . . .
. . . . . . . . . 142
344
Rear hatch . . . . . . . . . . . . . . . . . . . . . . . . . . . 49 . . . . . . . . . . . . . . . . . . . . . . . . . . . . 51
D riving with an open rear hatch . . . . . . . . 138
L ock ing . . . . . . . . . . . . . . . . . . . . . . . . . 42, 5 1
Open ing
........................... Opening the rear hatch from inside the gage compartm ent. . . . . . . . . . . . . . . . . U nlock ing . . . . . . . . . . . . . . . . . . . . . . . . . . 42
Warning li ght . . . . . . . . . . . . . . . . . . . . .
Rear seat . . . . . . . . . . . . . . . . . . . 142
F olding back int o place . . . . . . . . . . . . . . 142
Rearv iew
mirror . . . . . . . . . . . . . . . . . . . . . . 134
Rear
window defogger/defroster . . . . . . . .
Recalibrating tire pressure
T ire Mo nito ring System and button . . . . . . . . . . . . . . . . . . . . . . . . . .
Refueling . . . . . . . . . . . . . . . . . . . . . . . . . . . 214 A t the gas station . . . . . . . . . . . . .
light . . . . . . . . . . . . . . . . . . . . . 215
Release
button . . . . . . . . . . . . . . . . . . . . . . . 175
Remote
control vehicle key
Ba ttery replacement . . . . . . . . . . . . . light . . . . . . . . . . . . . . . . . . . . . 38
see Vehicle keys . . . . . . . . . . . . . . . . . . 37
Synchronizing . . . . . . . . . . . . . . . . . . . . . . 39
Remov ing
wax residu e . . . . . . . . . . . . . . . . 246
Repa irs . . . . . . . . . . . . . . . . . . . . . . . . . 283, 285
L abels . . . . . . . . . . . .
. . . . . . . . . . . . . . 291
Sticker s . . . . . . . . . . . . . . . . . . . . . . . 291
Wo rkshop lift . . . . . . . . . . . . . . . . . . . . . 289
Replacement keys
see
keys . . . . . . . . . . . . . . . . 37
Replacement parts . . . . . . . . . . . . . . . . . . . 283
Replacing parts . . . . . . . . . . . . .
. . . . . . . . 284
Reporting Safety Defects . . . . . . . . .
. . . . 294
Resetting
tire pressure . . . . . . . . . . . . . . . .
Retrofit s . . . . . . . . . . . . . . . . . . . . . . . . . . . . 285 Roof rack
146
s
Safety belt height adjusters . . . . . . . . . . . . . 77
Safety belt load limiter . . . . . . . . . . . . . . . . . Safety belt position . . . . . . . . . . . . . . . . . . . . 76
Safety
belt pretensioner . . . . . . . . . . . . . .
S afety belt retractor . . . . . . . . . . . . . . . . . . .
Safety belts . . . . . . . . . . . . . . . . . . . . . . . . . . 69
Belt position . . . . . . . . . . . . . . . . . . . . . . . . 76
Belt status display . . . .
Checklist . . . . . . . . . . . . . . . . . . . . . . . . . . 73 . . . . . . . . . . . . . . . 256
Extender . . . . . . . . . . . . . . . . .