2012 VOLKSWAGEN GOLF MK6 change time
[x] Cancel search: change timePage 14 of 516

Afterword
has always been Volkswagen 's policy to ously improve its products. Volkswagen, therefore,
reserves the right to make changes in design and
specifications , and to make additions or ments to its products without incurring any tion to factured.
Specif ica tions are subject
to change without notice. T
ext a
nd specifications in this manual are based on information and knowledge available at the time of printing.
May not be reproduced or translated in whole or
in part without consent of Volkswagen AG.
Volkswagen Group of America
For the environment
on environmentally friendly paper
Page 24 of 516
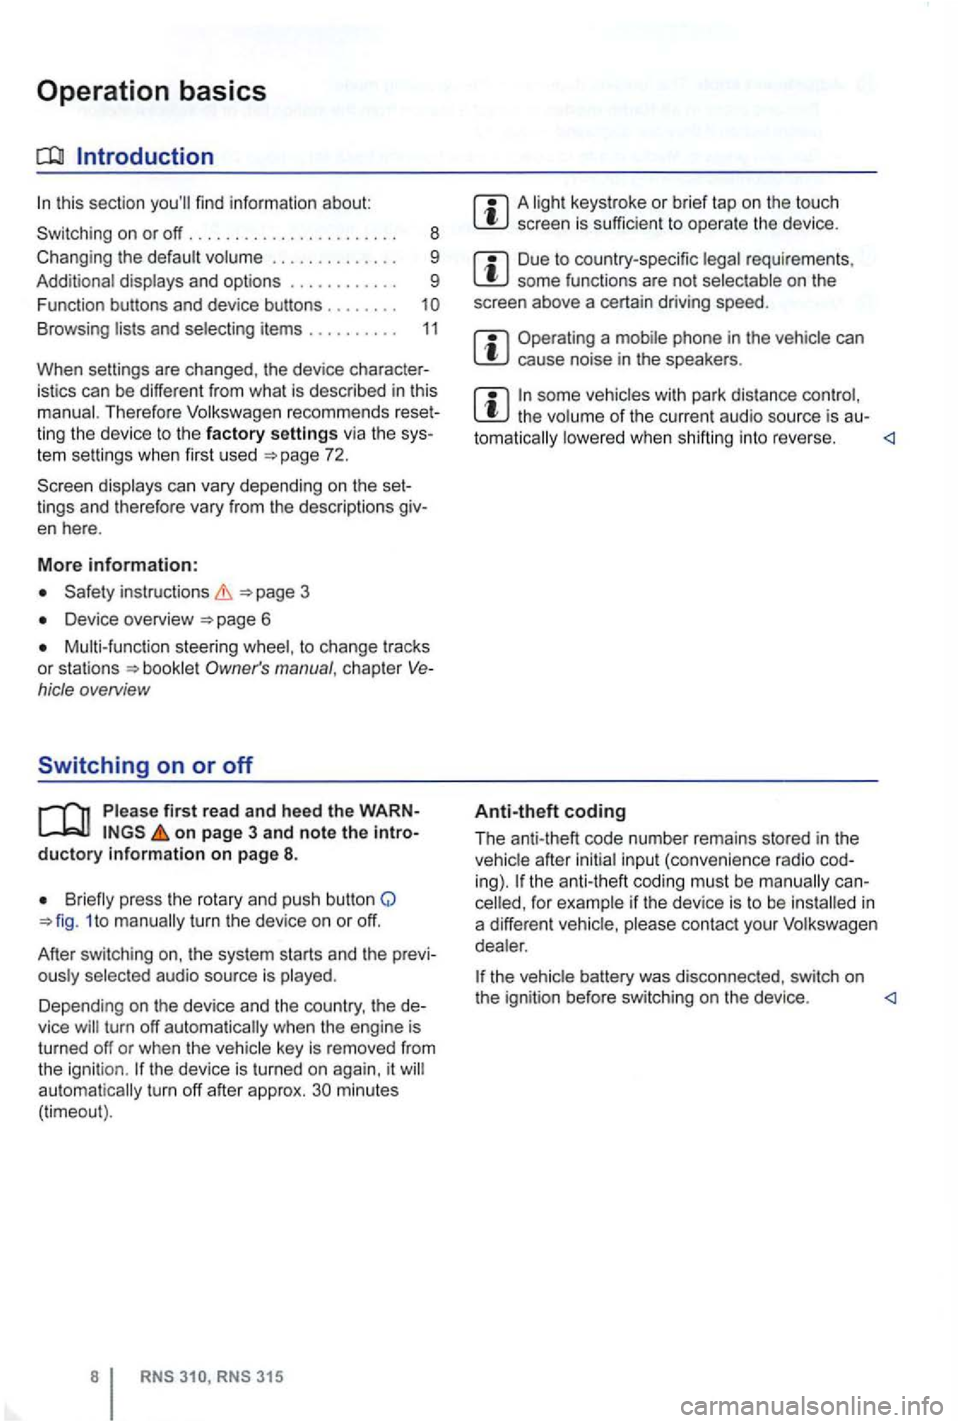
Operation basics
Introduction
. . . . . . . . . . . . 9
Additional displays and options . . . . . . . . . . . . 9
Funct ion buttons and device buttons
........
Therefore Volkswagen recommends reset
ting the device to the factory settings via the sys
tem settings when first used
Device overview
Multi-function steering to change tracks
or stations manual , chapt er Vehicle overvi ew
Switching on or off
page 3 and note the introductory information on page 8.
1 to
minutes (timeout).
3 15
A screen is sufficien t to operate the device .
Due to coun try-sp ecific requirements , some functions are not
Operating a cause noise in the speakers .
some vehicles with park distance control, the lowered when shifting into reverse.
Anti-theft coding
The anti-theft code number remains stored in the
in
a differen t vehicle,
battery was disconnected , switch on
the ignition before switching on the device .
Page 31 of 516
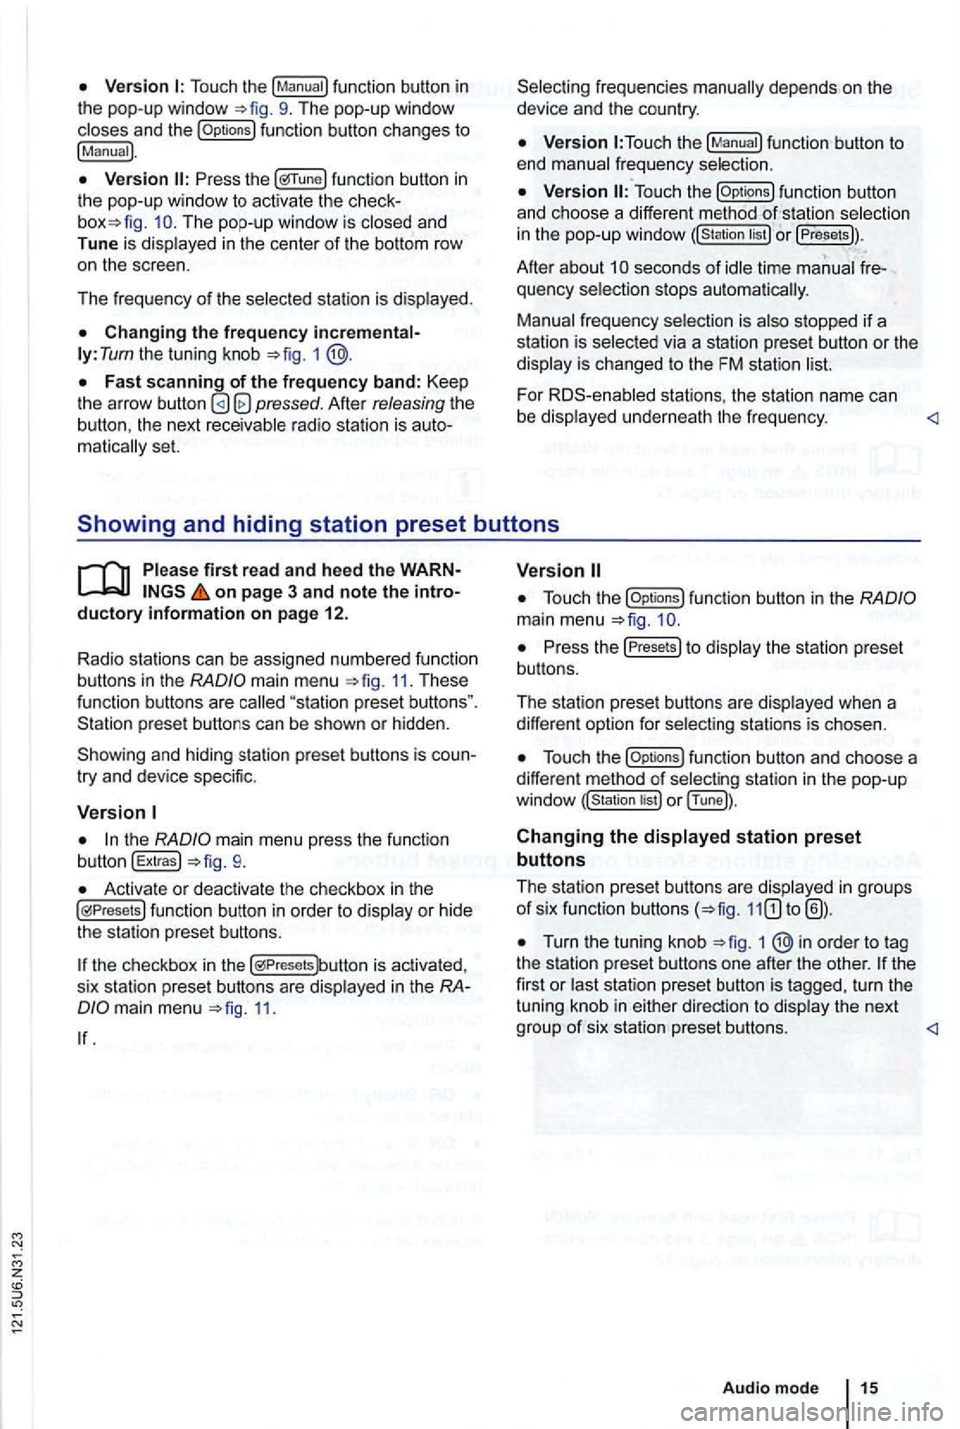
Touch the
function button changes to
!Manual).
func tion button in the pop-up window to activ ate the The pop-up window is closed and
Tune is dis played in the center of the bottom row
o n the scree n.
Th e frequency of th e selected stati
on is displayed.
ly: Tum the tuning knob =>fig. 1
Afte r releasing the the next receivable radio station is matica lly set.
function button to
end manual frequency selection.
function button
and ch oose a differe nt method selectio n
in the pop-up windo w or !Presets)).
Afte r about seconds of idle time manual quency selection stops automa tica lly.
Manual frequency selection is also stopped if a
s tation is selec ted via a station preset button or the
display is changed to the FM station
For stations , the statio n name can
be displaye d un derne ath the fr e qu ency.
main menu 11. These function buttons are
try and device specific.
the mai n menu press the function
button !Extras!
Activate or deactivate the checkbox in th e functio n button in order to display or hid e
the station preset butto ns.
the checkbox in the is activa ted ,
s ix sta tion prese t buttons are disp layed in the
11.
function button in the
Press the Presets to display th e s tation pre se t
bu ttons.
The station preset buttons are disp layed when a
diffe ren t option for select
ing stations is chosen.
funct ion button and choose a
different method of selec ting station in the pop -u p
or !Tune]).
Changing the displayed station preset
buttons
The station pres et button s are disp layed in groups of six function buttons
Turn the tuning knob 1 ®in order to tag
the statio n preset butto ns one afte r the othe r. turn the
tuning knob in either
Page 41 of 516
first read and heed the on page 3 and note the ductory information on page
through an ed via (for a phone)
can be through the speakers. via the radio-navigation system is
audio source must support the
A2DP or AVRCP
in equipped with a factory -installed phone age that supports this function . To
responding owner's Cell
Phone Package.
Pairing and connec ting is done via the radio
audio
the directions in the owner 's
Redu ce
To change to
Bl uetooth function
button 26.
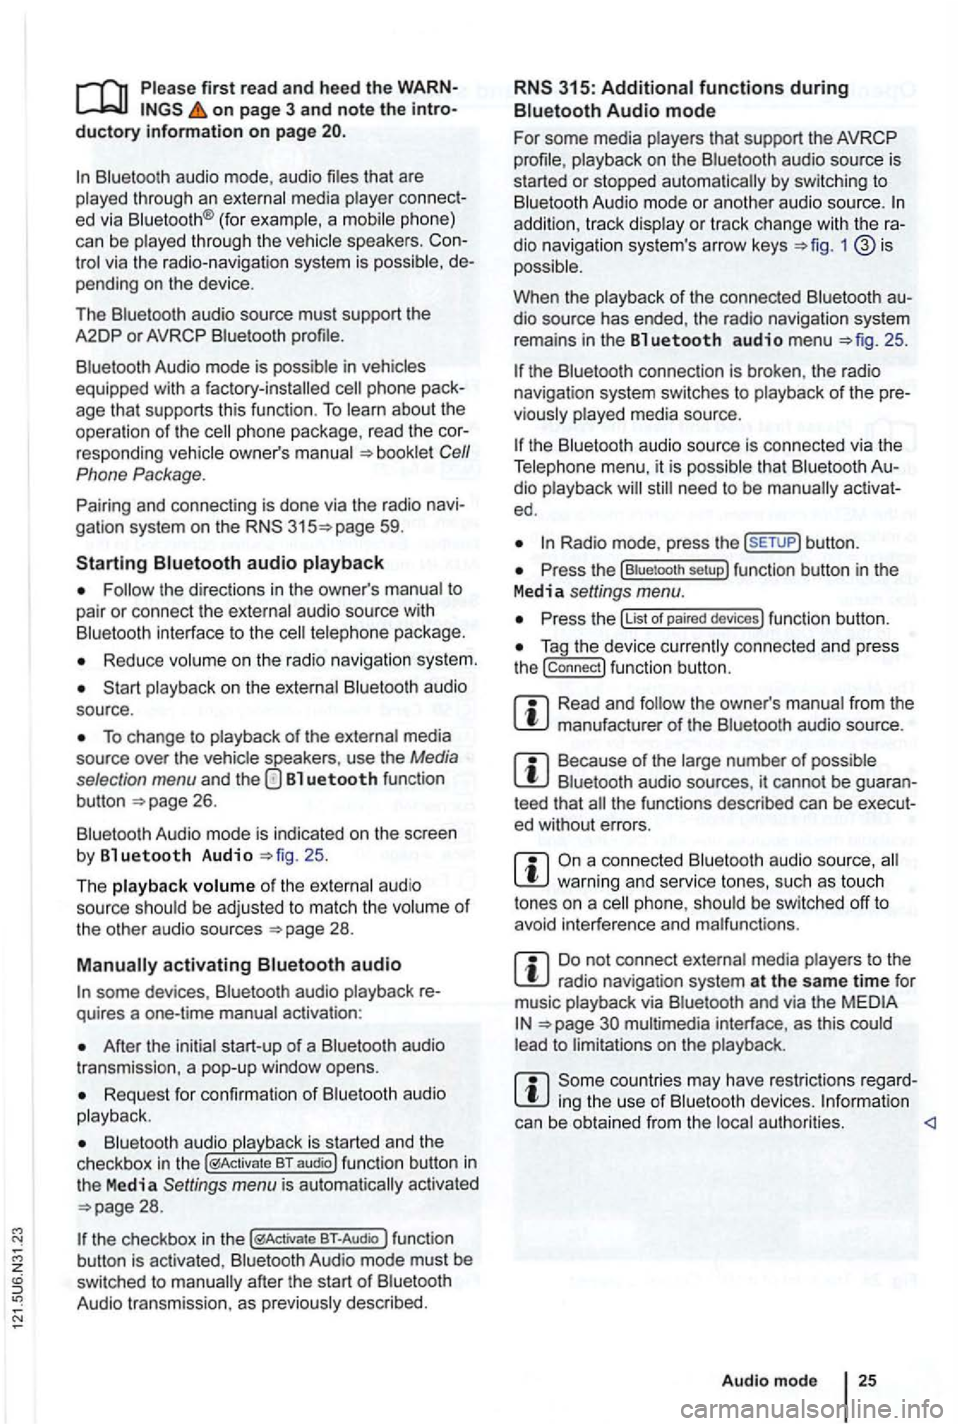
Aud io mode is indicated on the screen
by Bl uetooth Audio 25 .
The
o f t he be adjusted to match the of the other audio sources
activating audio
some devices ,
After the audio
transmission , a pop-up window opens.
Request fo r confir mation of aud io
BT-Audio Audio mode must be
swi tched to
Audio transmission, as
audio source is
started or s topped automatically by switc hing to
addition , track dio navigation system 's arrow keys 1
25.
the connection is broken . the radio
navigation system switches to
media source.
th e that dio ed .
Radio mode, press the sETUP) button .
Press the
Press the
Tag the device connected and press
the connect) funct ion butt on.
Read and manufacturer of the
Because of the number of audio sources , it canno t be teed that
audio source, warning and service tones, suc h as touch
tones on a
Do not connect radio nav igation system at the same time for
music
interface , as this to on the
ing the use of can be obtained from the
Page 42 of 516
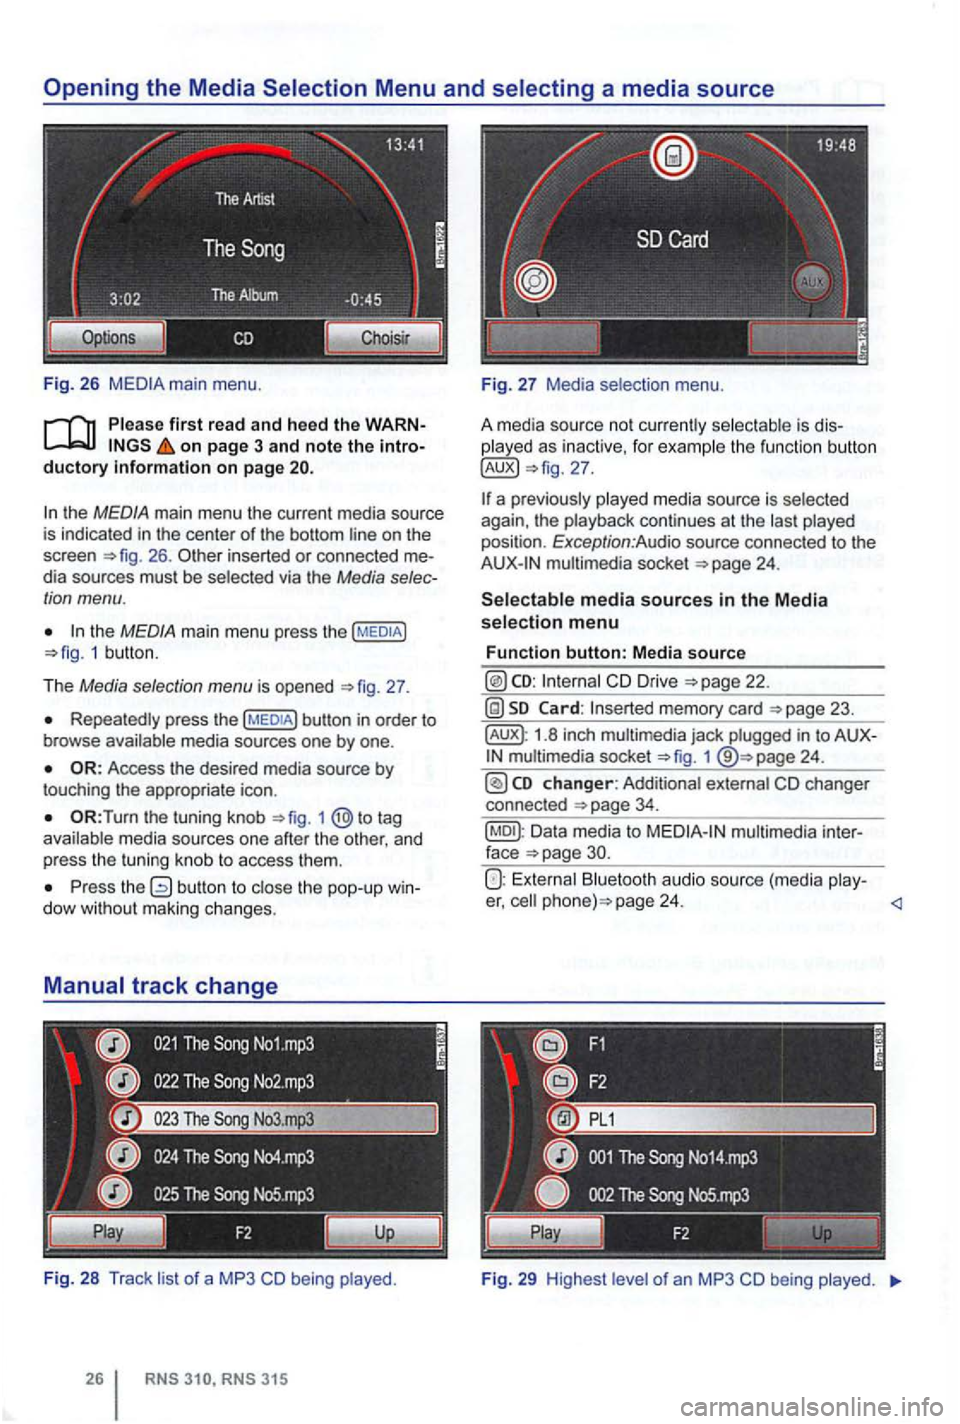
Fig . 26
Please first read and heed the on page 3 and note the
the MEDIA main menu the current media source
is indicated in the center of the bottom line on the
screen 26 . inserted or connected dia sources must be selected via the Media
the MEDIA main menu press the 1 butt on .
T he
Media selection menu is opened 27 .
Repeatedly press the
the tuning knob to tag
a va ila ble media sources one after the other , and
p ress
the tuning knob to access them .
Press the dow with out maki ng changes.
Fi g. 28
Track li st of a MP3 CD being played .
played as inactive, for examp le the function button
multimedia socket
CD Drive
memory card
1.8 inch multimedia jack plugged in to 1
Data media to
Bluetooth audio source (media play-er, page 24.
Fig . 29 High est le ve l of an MP3 CD being played.
Page 48 of 516
Operation via the radio navigation system
External data media con nec ted to the multimedia interface can be ope rated via the radio
navigation system.
D epend i
ng on th e de vic e, it m ay be necessary to launch playback on t he radio na vigat ion
s ys te m afte r co nn ec ting an d swi tch ing the extern al
d a ta medium on.
back from external data media
con trol of th e externa l data media (ac-
cessing tr ack change, track selectio n and playb ack
m odes) takes plac e as described in the corre-
spon ding ch apt ers
and
When and TM is connected , an list view is displayed on the highest
selec tion 35 .
Th e
The music co ntro l of a conn ected
Cause Remedy
Device is not s upp orted. of the external data
medium or communication via
the adap ter cable is not
ble . Check
the adapter cable.
Update software
of the media interfac e via t he Volkswage n er. possible , update th e software of th e
exte rnal data me diu m .
Device no t functional Co mmu nicatio n malfunctio nin g . Ve rify the con nect io n an d fu n ct ion ality of externa l data m ediu m.
D ue to the large num be r of different types
of d ata media and several gene rations,
no gua ran tee can be made that fu nctions described can be executed without errors.
iTunes Tagging
first read and heed th e on page 3 and note the ductory Information on page
Radio mode, track information Tags) for a played track can be tr ansm itted to a
connected
necting to a compu ter.
Requirements
multimedia interface .
Radio mode.
Track and artist are disp layed .
Track in forma tion is available as a Tag .
N ot
for iTunes TM Tagging.
Compatible Tags or
RNS 315
current track information
th e (Options ) function butt on in the
1
is conne cted to the
as a Tag .
When the track informa tion for the current track is
n ot ava ilab le as a
Tag, or th e tr ack has
tion buttoni s inactive.
When no is currently connect ed , up to
Page 65 of 516
Press the !Last Destinations) function button to delete
Press the button to the pop-up
window without saving any changes .
on page 3 and note the
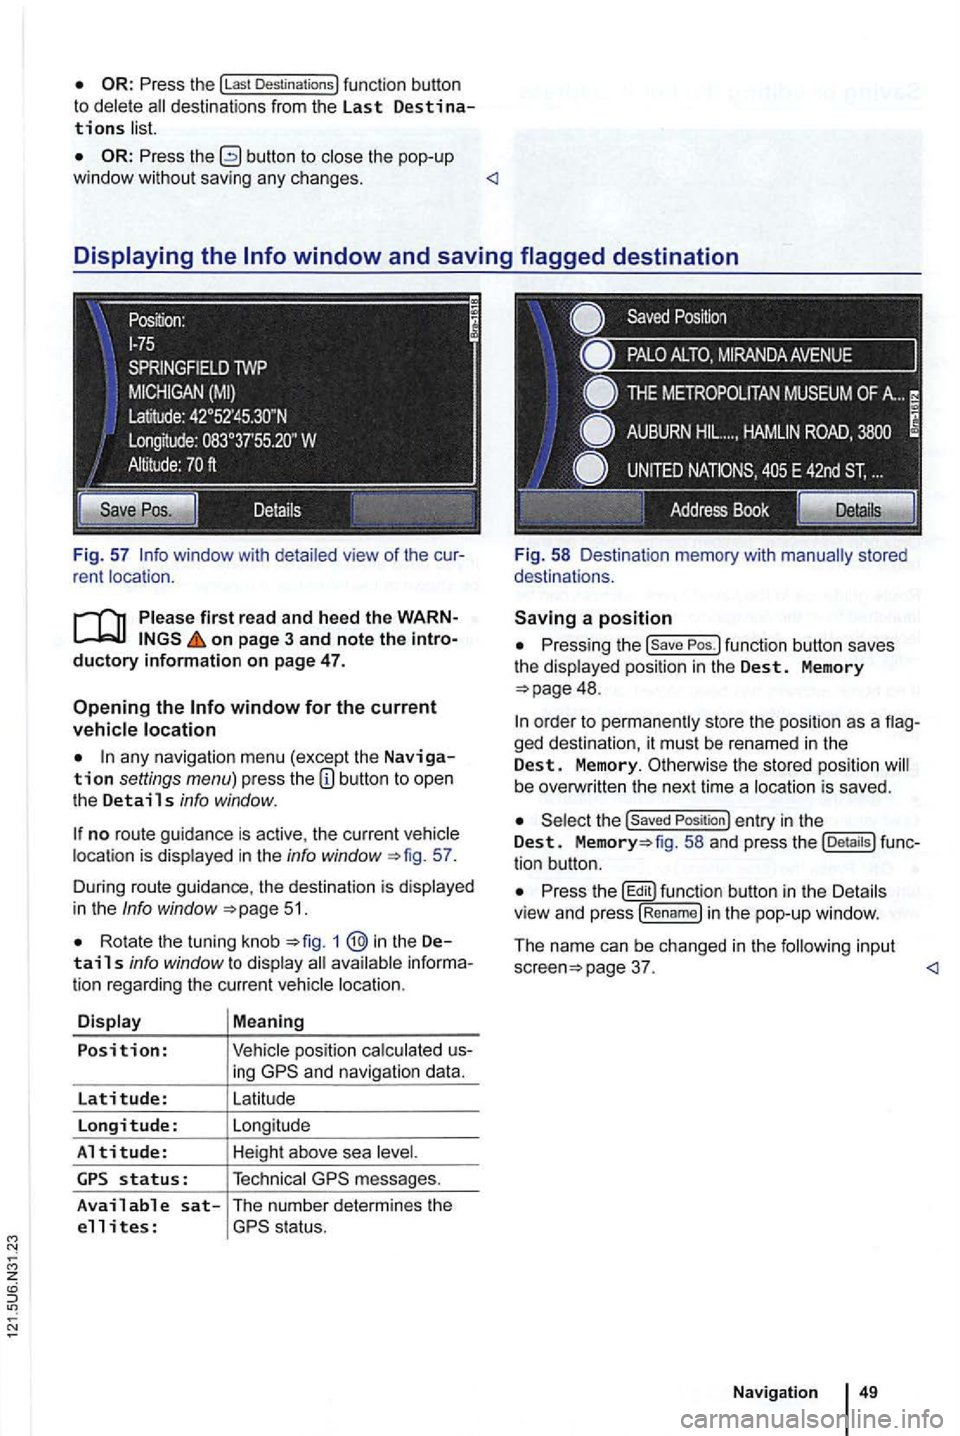
any navigation menu (excep t the Navigation settings menu) press the
no route guidance is active , the current location is displayed in the info window 57.
During route guidance , the destination is d isp lay ed
in the
Info window 51.
Rota te the tuning knob 1 @in the Details info window to display
ing
messages.
Available sat-The number determines the
e 11 i tes :
Pressing the
48.
ged destination, it must be renamed in the Dest. Memory. Otherwise the stored position be overw ritten the next time a locat ion is saved .
the Saved Position ) entry in the Dest. fig. 58 and press the tion button.
Press th e butt on in th e Details
v iew and press !R en am e) i n the pop-up window .
The name can be changed in
the follow in g input page 37.
Page 69 of 516
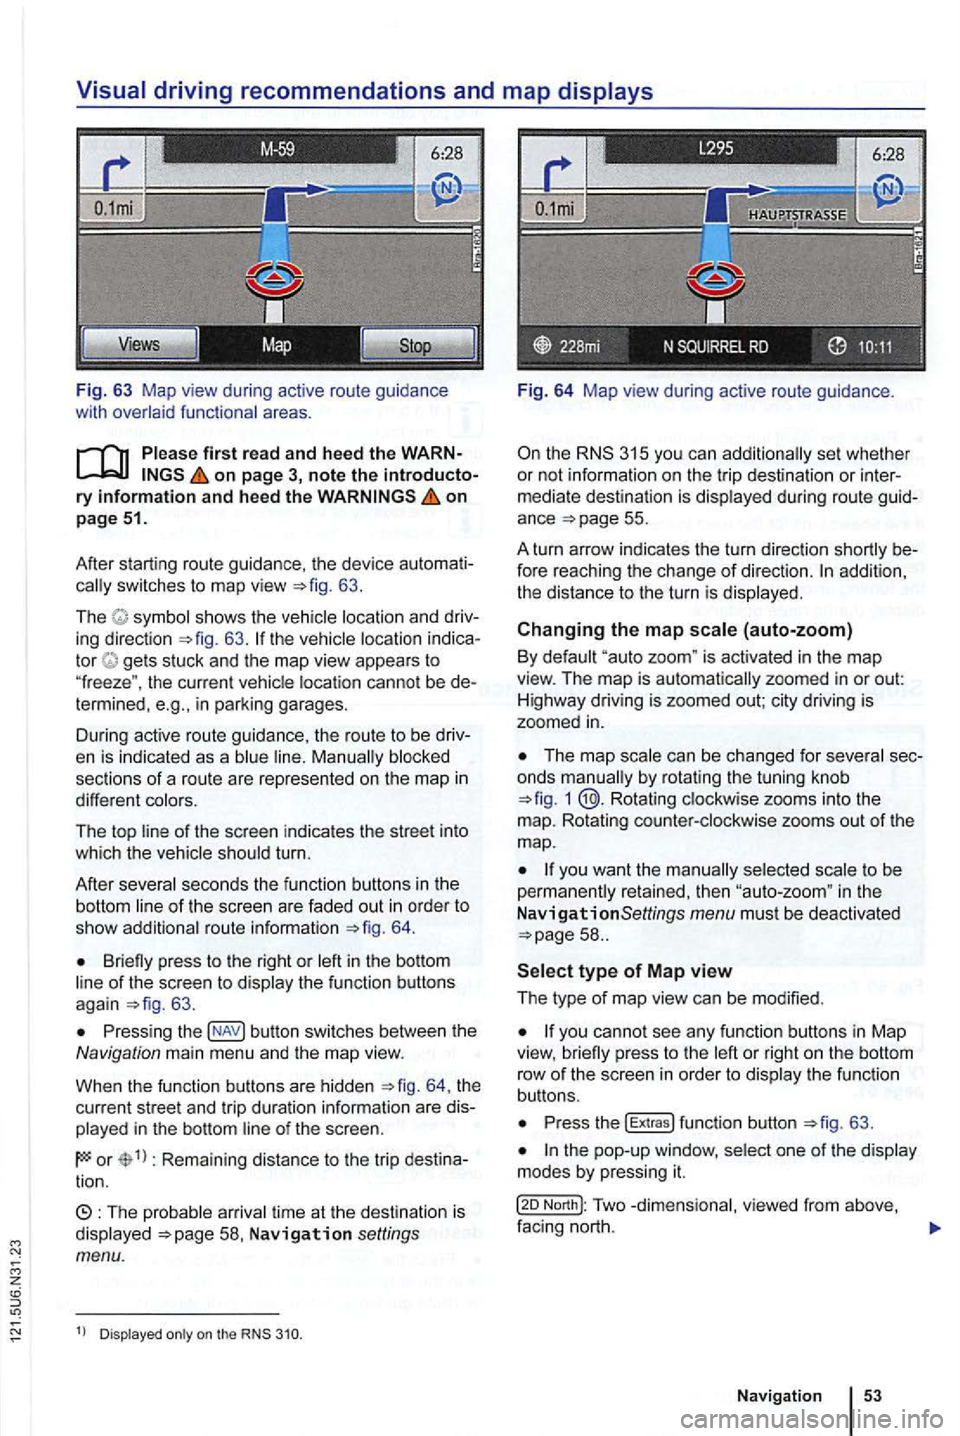
Fig. 63 Map view during active route guidance
with
on page 3, note the introductory information and heed the on page 51.
After starting route guidance. the device
switches to map view 63.
The sh ows the ing direction 63. tor gets stuck and the map view appears to
" freeze ". the current cannot be in parking garages.
During active route guidance , the route to
be
sections of a ro ute are represented on the map in
different
of the screen indicates the street into
which the turn.
After
seco nds the function buttons in th e
bottom
route informa tion 64.
Briefly press to the right or of the screen to 63 .
Press ing button switches between the Navigation main men u and the map view.
When the func tion buttons are hidden
th e
current street and trip duratio n info rmation are
in the bottom
or Rema ining distance to the trip tion.
time at th e destinat ion is Navigation settings menu.
Dis played on the
Fig. 64 Map view during active route guidance .
the RNS 315 you can additio nally set whethe r
or not inform ation on the trip dest ina tion or
ance =>page 55.
A turn arrow indicates the turn direction
fore reaching the change of direction. addition,
th e distance to the turn is
Changing the map (auto-zoom)
By "auto zoom " is activated in the map
view. The map is automatically zoomed in or out:
H ighwa y driving is zoomed out; city driving is
zoomed
in.
The map by rotat ing the tuning knob 1 @.Rotating zooms into the
m ap. Rotating
to be
perma nen tly retained, then in the
N avigationSettings menu must be deactivated
or right on the bottom
row of th e sc ree n in orde r to th e fu n ct io n
buttons.
Press the !Extras ! function button =>fig. 63 .
North!: Two facing nort h.
N avi gation