2012 VOLKSWAGEN GOLF MK6 change time
[x] Cancel search: change timePage 70 of 516
Two-dimensional, viewed from above ,
facing the direction of
Travel ): Three-dimensional , bird's eye-view, viewed from the front.
the three types of Map view can be browsed by tapp ing the co mpass on the
map .
D uring route guidance , th e
route can so be
Press the (Map overview) fun ction button in the
pop-up window to
of the overview map cannot be chang ed.
Press the function button in the overview
ma p to change back to the previo us map view.
the speed ca n be on the of
the turning arrow has priori ty over the speed
during route guidance.
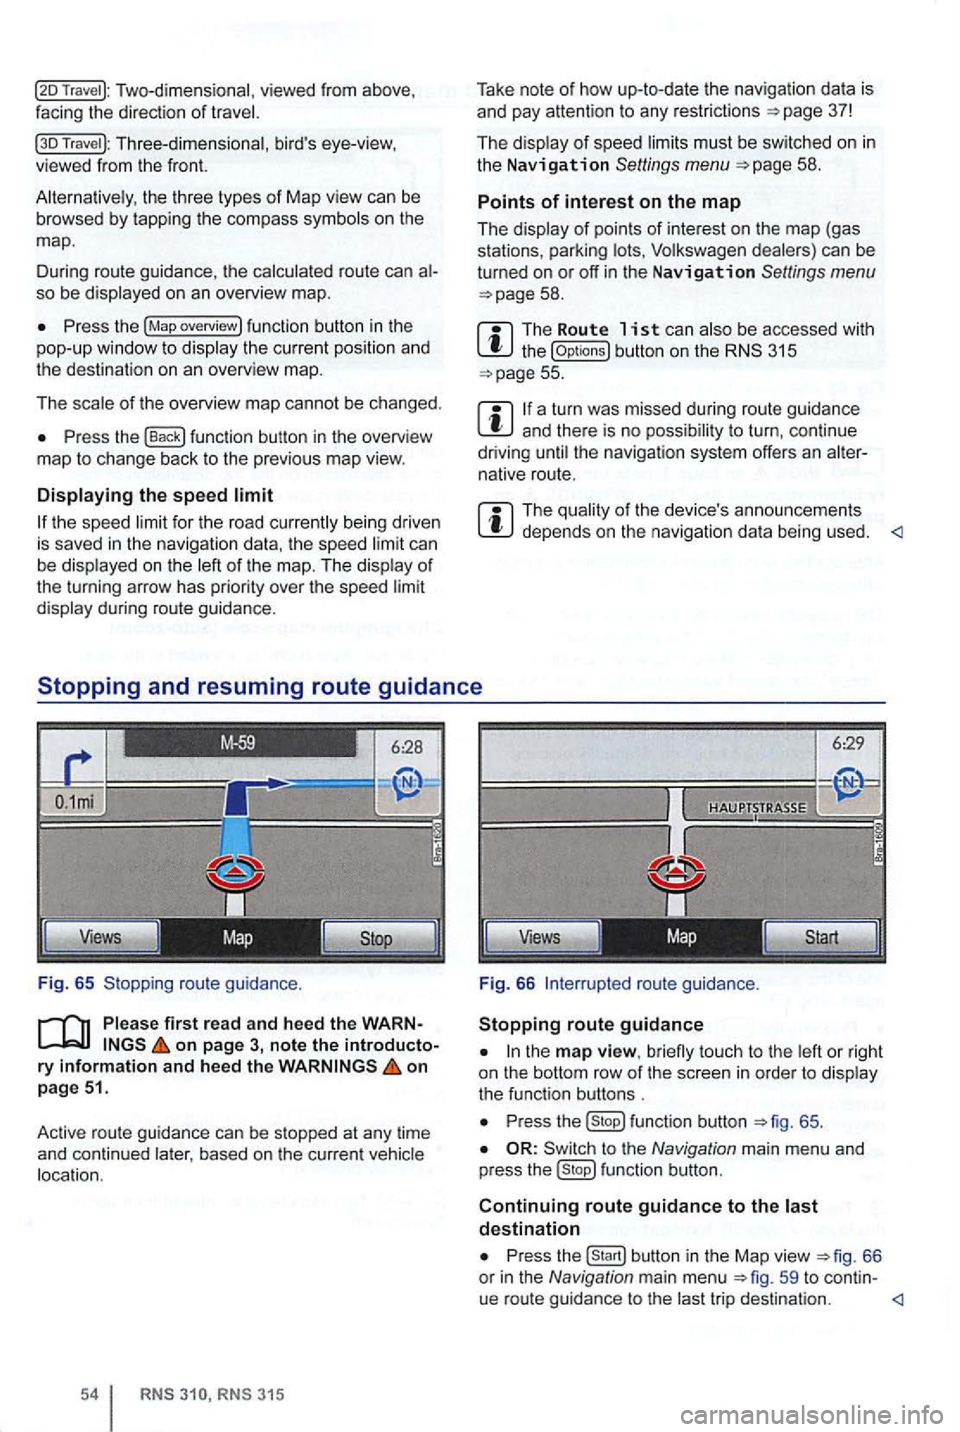
Fig. 65 Stopping route guidan
ce.
first rea d and heed the WARNon page 3, note the introductory information and hee d the on
p age 51.
Active route gu idan ce
can be stopped at any time
and continued based on the curre nt
RN S RNS 315
Take note of how up-to-date the nav igation data is
and pay attention to any restrictions =>page 37!
The
must be sw itched on in the Navigation Settings menu =>page 58 .
Points of interest on the map
The
the (Op tions) button on the 315 =>page 55.
a turn was missed during route guidance and there is no t o turn , con tinue
driving the navigat ion system offers an native route.
The depends on the navigation data being used.
6:29
Views
Fig. 66
to u ch to the
P ress function button =>fig. 65 .
to the Navigation main menu and
p ress fu nction button.
Continuing route guidance to the destination
Press
trip desti nation.
Page 72 of 516
Displaying the route list
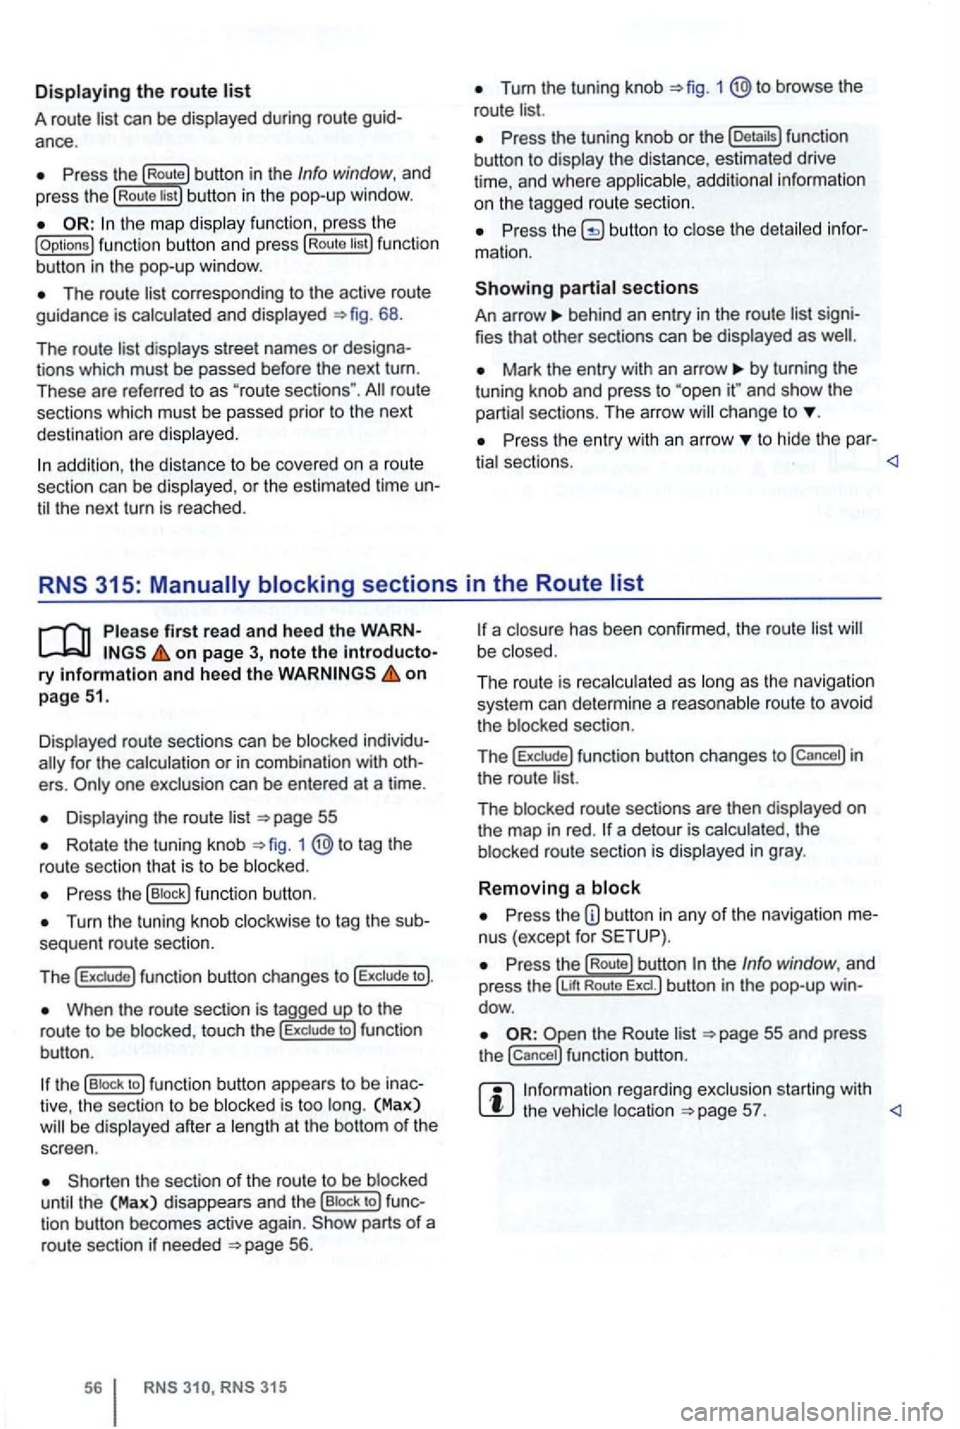
A route list can be displayed during ro ut e
Press the Route button in the Info window, and
press the Rou te list bu tton in the pop-up window.
the map display function , ress the (Options ) function butt on and press Route tist function
button in th e pop-up window .
The route corresponding to the active route
guidance is calcula ted and displayed 68.
The route
d ispl ays street names or
route
sections which must be passed prior to the next
dest ination are displayed .
Tum the tuning knob 1 @to browse the
route list.
Press the tuning knob or th e (Deta ils) function
button to disp lay the distance, estimated drive
time , and where
Press butto n to close the
behind an entry in the route list
Mark the entry with an arrow by turning the
t uning knob and press to and sh ow the
partia l sect ions. The arro w ch ange to
Pr ess the entry wit h an arrow to hide the par-
tia l sectio ns.
Displayed route sections can be blocked
for the calculation or in com binat ion with
Displa ying the route list
Rotate the tuning knob 1 to tag the
route sectio n that is to be blo cked .
Press the (B lock ) function button .
Turn the tuning knob clockwise to tag the
When the route section is tagged up to the
r o ute to be blo cke d, touc h the to ) fun ction
bu tton .
the (B lock to ) function button appears to be
the sect ion of the route to be blocked
until the (Max) disappea rs and th e (Bloc k to ) tion button becomes active again. parts of a
route section if neede d 56.
315
a closu re has been confirmed , the route list be close d.
The ro ut e is reca lc ulated as long
as th e naviga tio n
system can determi ne a reasonabl e route to avoid
t he blocked section.
T
he f un ction button changes to in
the route list.
The blocked route sectio ns are then displayed
on the map in red . a detour is calcula ted , th e
b locked route section is displayed in gray .
Removing a block
Press the nus (except for
re ga rding exclusion starting with the vehic le location
Page 74 of 516
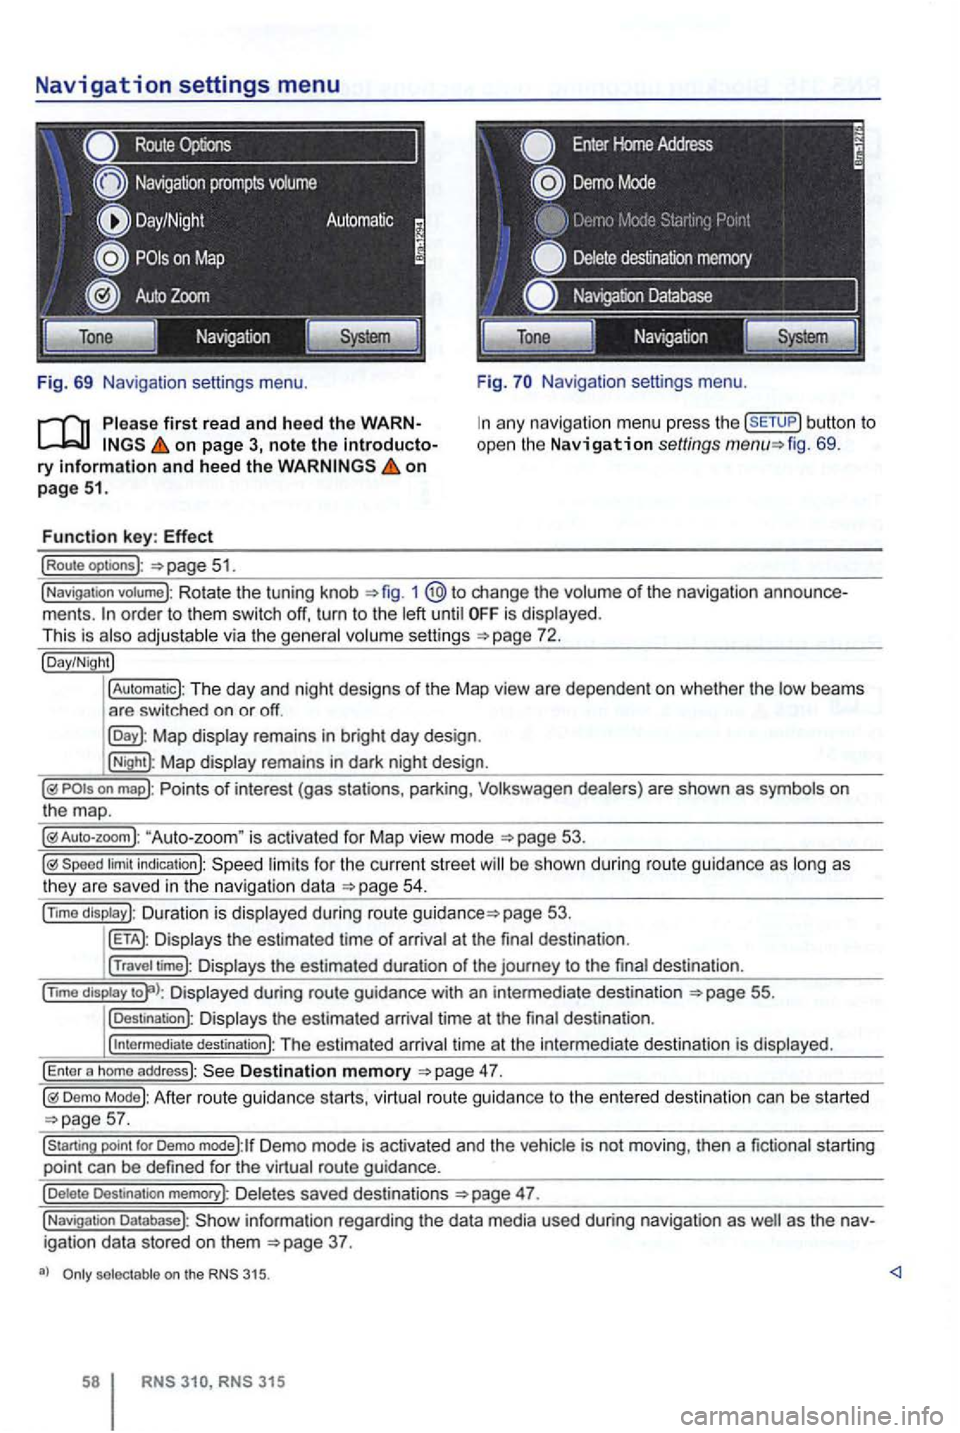
Navigation settings menu
Route
Fig. 69 Navigation settings menu.
on page 3, note the introductory information and heed the on page 51.
Function key: Effect
(Route optoons ):
Navigation settings menu.
any navigation menu press the (SETUP) button to
open the Navigation settings fig. 69.
(Navigation votume): Rotate the tuning knob 1 change the volume of the navigation order to them switch off, turn to the until is displayed.
This is
Map display remains in bright day design .
(Night): Map display remains in dark night design .
"Auto-zoom " is activated for Map vie w mode
Speed limit indication): limits for the current street be s hown duri ng route guidance as
page 53.
Displays the estimated time of arrival at the final des tination .
(Travel time): Displays the estimated duration of the journey to the final destina tion .
(nm o
display Displayed during route guidance with an intermedi ate destination 55.
(Destination): Displays the estimated arrival time at the final destination .
(
intermediate destination): The estimated arriva l time at the intermediate destination is displayed.
(Enter a homo address): Destination memory
Demo Mode): After route guidance starts, virtual route guidance to the entered destination can be started
Demo mode):lf Demo mode is activated and the vehicle is not moving , then a fictional starting
point can be defined for the virtual route guidance.
(Delete Destination memory): De letes saved destinations 47.
(Navigation Database): information regarding the data media used during navigation as igation data stored on them
selectable on the 315.
315
Page 89 of 516
Tum the tuning knob or press the
be
the maximum is se t to a very the navigation messages to this This can in the need for ad
justments to navigation every time the de
vice is switched on.
au toma ti
firs t read and heed the WARNon page 3 and note the introductory information on page 72.
the button and press the
of inc rease
is set , th en the is somewhat
rai sed with increasing road speed. For a high
ue, the means
that the is
sw itched off
the to reset the device to its
fo r text and voice.
!Automatic) to accept the set in the instru ment
!Keypad display)
in th e inpu t sc reens.
l
aWERTY) : in the input screens.
settings.
!Brightness): of br igh tness.
!Day/Night): Change the map
!Automatic): The map changes depending on activation or deactiva tion of th e head lights.
The map in day design (bright).
!Night): The map is in night design (dark).
!Confirmation tone): (D e)activate confirmation sound when pressing a function button on the screen.
!
Factory sellings): Reset dev ice to stat us.
Display J
l3
sec] , ls sec],j1o sec) : Changes to the system be shown on the screen for 3, 5 or
system are not on the screen.
Setting s 73
Page 123 of 516
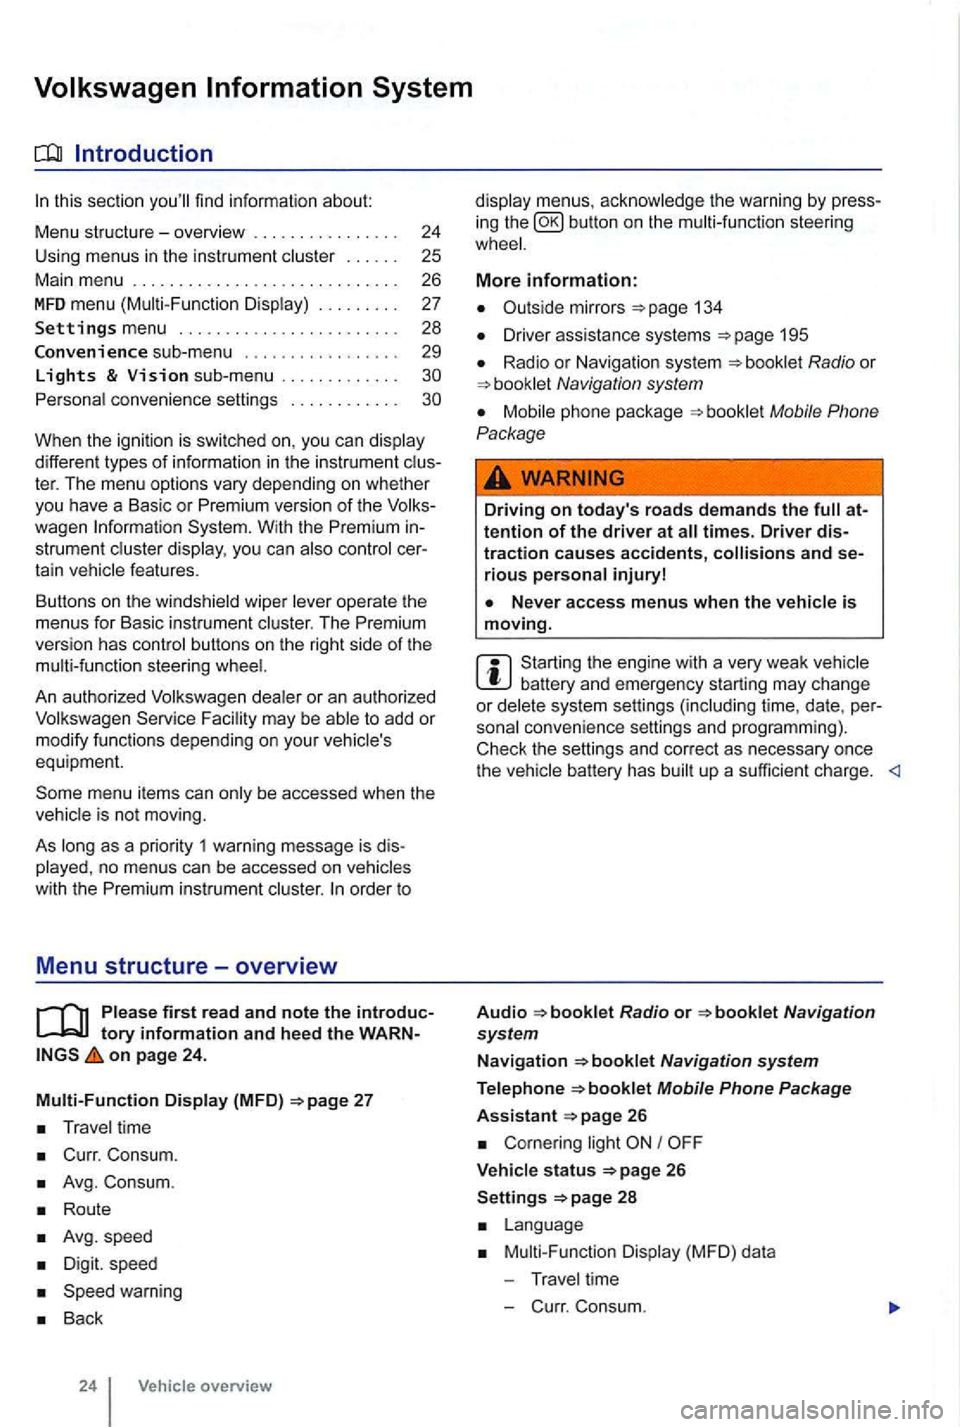
sectio n find informat ion about:
Menu structure-overv iew .......... .
U sing
menus in the instrument
..
Settings menu ................ .
Convenience sub-menu
Lights & Vision sub-menu ............ . convenience settings .. .
24
25 26
27
28
29
different types of information in the instrument ter. The menu options vary depending on whether you h ave a Basic or Premium version of th e
you can
operate the menus for Basic instrument The Premium version has con tro l buttons on the right side of the
An authorized to add or modify functio ns depending on you r vehicle's
equ ipment.
on page 24.
Multi-Function Display (MFD)
Travel time
Curr. Consum.
Avg. Consum.
Route
Avg.speed
Digit. speed
Back
24 Vehicle overview
menus, the warning by press
in g the button on the steeri ng
134
D river assistance systems 195
Radio or Navigation system
Mobile Phone
Package
Driving on today's roads demands the attention of the driver at times. Driver distraction causes accidents, and serious persona l injuryl
is moving.
Start ing the engine with a very weak battery and emergency starting may change or delete system settings (including time, date , per
sonal convenience settings and programming) .
Check the settings and correct as necessary once the
Radio or
26
Corn ering light I
V ehicle s tatus 26
Settings 2 8
Mult i-Functi on Displa y (MFD) da ta
T ravel time
- C urr. Consum.
Page 129 of 516
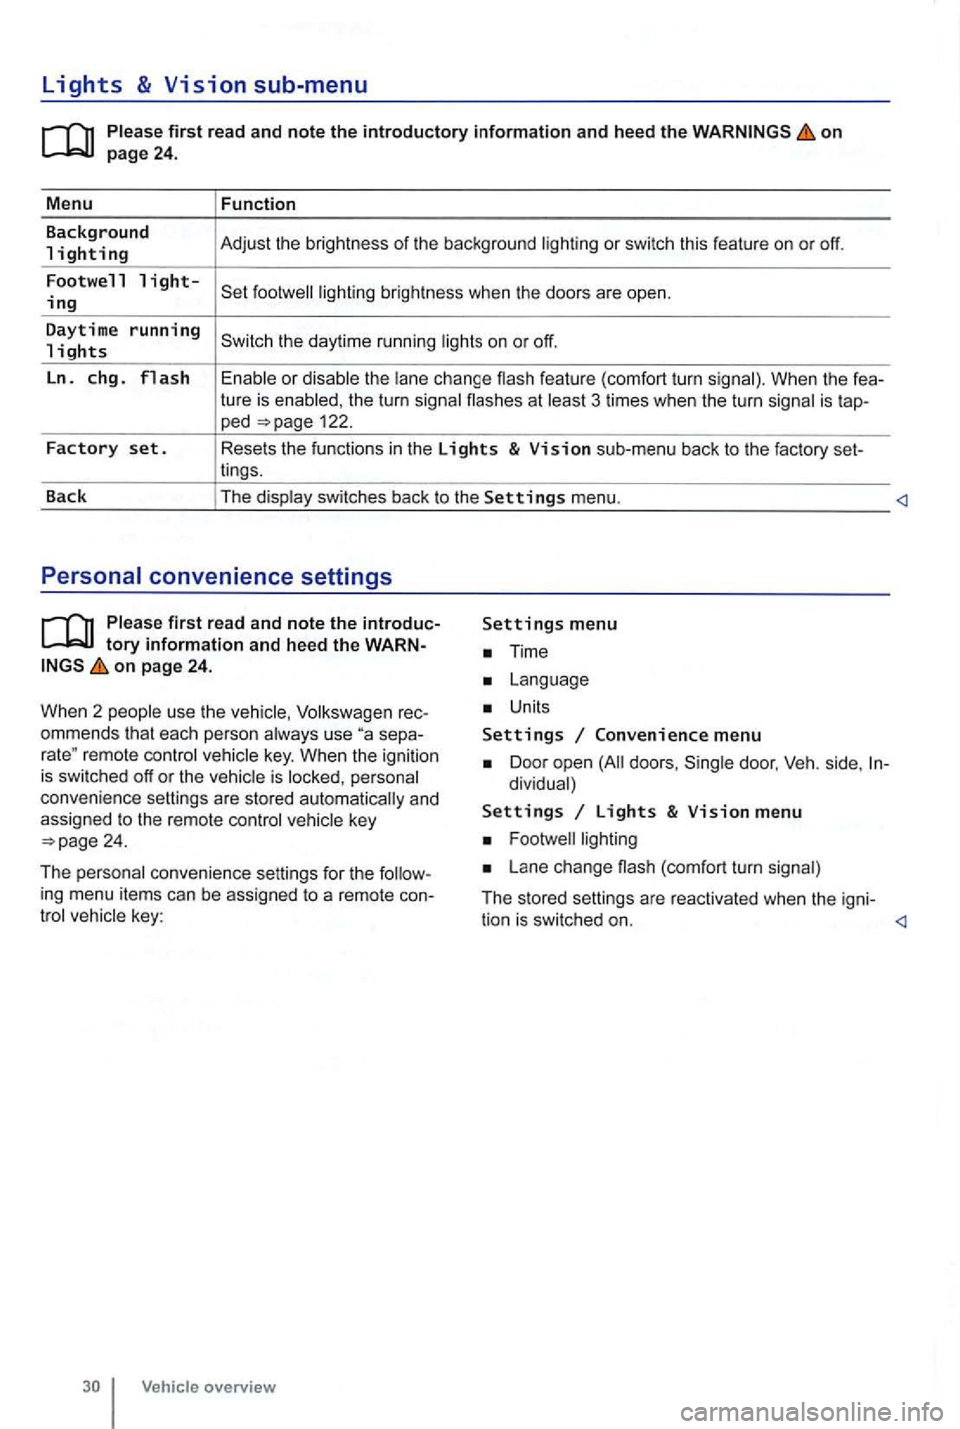
Lights & Vision sub-menu
on
the turn signa l flashes at 3 times when the turn signal is tap-ped 122.
Factory set. Resets the functions in the Lights & Vision sub-menu back to the factory set-
lings.
Back The display switches back to the
Settings menu.
tory information and heed the WARNon page 24.
W hen 2 people use th e
Volksw agen rec
ommends that each person always use separemote control veh icle key. When the ignition is switched off or the vehicle is personal
convenience settings are stored automatically and
assigned
to the remote control
Time
Units
Settings Convenience menu
Door open doors , dividual)
Settings Lights & Vision menu
Lane change (com fort turn signal)
The stored settings are reac tivated when the igni-
tion is switched on.
Page 182 of 516
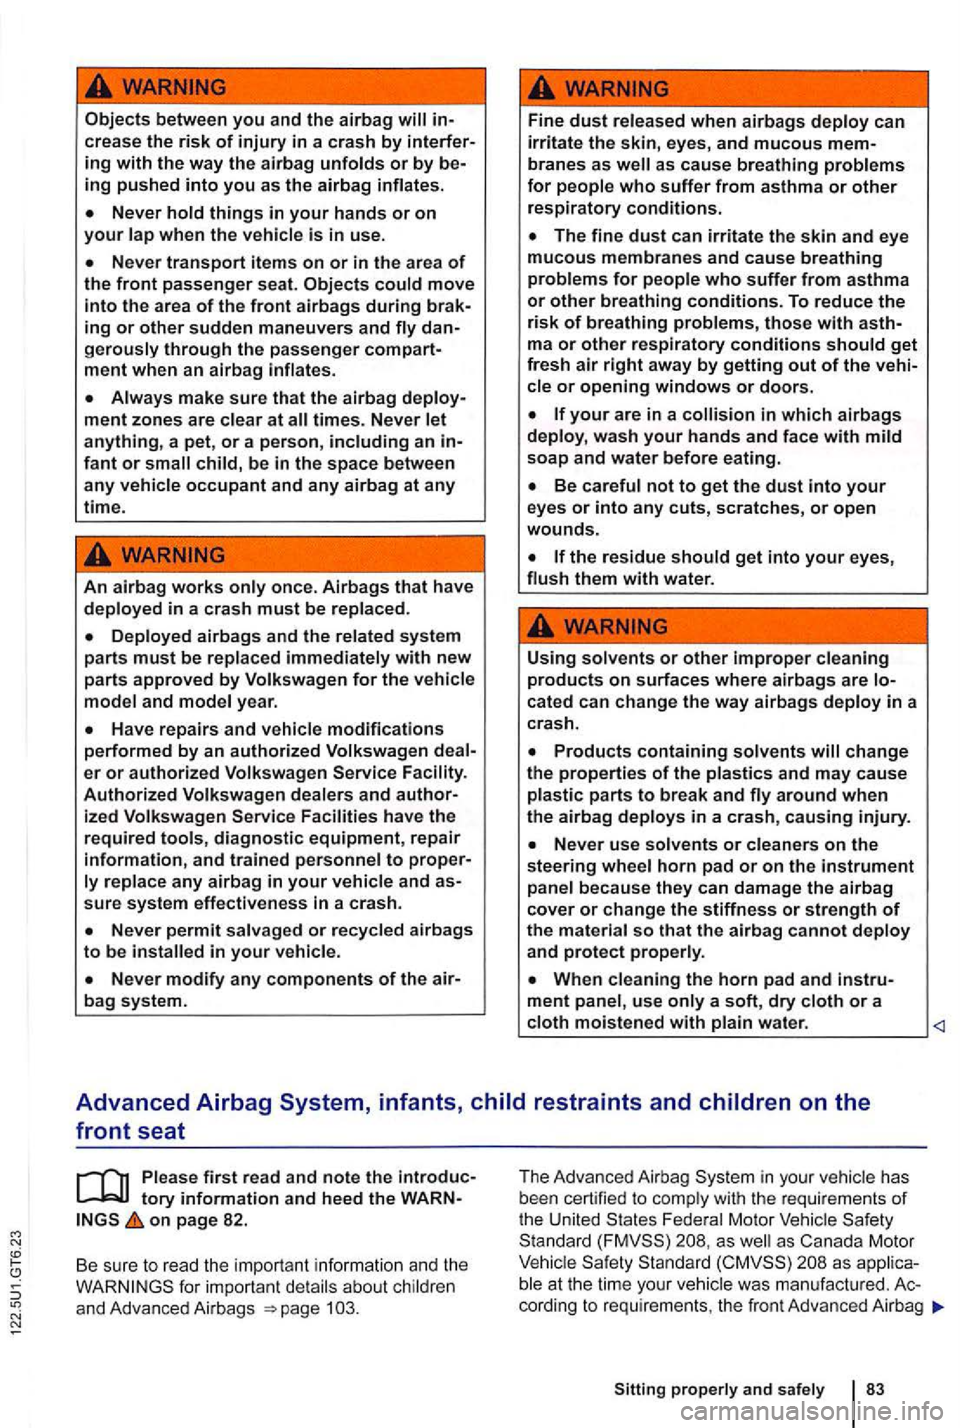
between you and the airbag
things in your hands or on your
move into the area of the front airbags during braking or other sudden maneuvers and
Always make sure that the airbag times. Never anything, a pet, or a person, including an infant or
An airbag works only once. Airbags that have deployed in a crash must be replaced .
year.
er or authorized Volkswagen Facility. Authorized dealers and authorized Volkswagen Facilities have the required tools, diagnostic equipment, repair information, and trained personnel to proper
in your vehicle.
as cause breathing problems for people who suffer from asthma or other respiratory conditions.
solvents or other improper cleaning products on surfaces where airbags are cated can change the way airbags deploy in a
crash.
around when the airbag deploys in a crash, causing injury.
Advanced Airbag System, infants,
on page 82.
Be sure to read
the impor tant informat ion and the
The Advanc ed Airbag in your ve hi cle has
b ee n cert ified to com ply with the req uirement s of the United Federal Motor Sta ndard as well as Canada Motor
at the time your vehicle was manuf acture d . Ac
cord ing to requir e ments , the fron t Adv ance d Airbag
Sitting properly and safely 83
Page 249 of 516
some area s, speed
is higher.
you are driv ing a new vehicle or a ve hicle with a new or rebui lt engine, do not tow a during the break-in period, about 283.
Technical requirements
tory informatio n an d heed the WARNon page 149.
Use only a weight-car rying
hitch must be suitable for
you r
a "weight -dis
tributing " or "load-equalizing " trailer hitch on your The vehicle is not designed for this kind of trailer hitch
Do not use a bumper-mounted traile r hitch
Never
a trailer hitch on the bumper or on the
bumper attachments. The trailer hitch must not in
terfe re with the impact-absorbing bumper system.
Do not make any changes to the vehicle exhaust
and brake systems. From time to time, check that trailer hitch mounting bolts are secure ly fas
tened. When you are not towing, remove the trailer
hitch. This
helps keep the trailer hitch from causing damage if your vehicle is hit from behind.
Engine cooling syste m
Tow i
ng a trailer makes the engine and its cooling
system work harder.
Before driving
maintenance more often because of the extra
load it has to move.
When you are not towing , remove the trailer hitch
Some models need a trailer hitch to tow or tow-start other vehicles. after it has
been removed. Be sure to stow it securely.
your trailer has its own brakes , make sure it
meets
151 .
T ra
iler
Trailer lights must meet regulations 151.
Never connect the trailer lights directly to the elec
t rical system
of your
Outside mirrors
you cannot see the traffic behind you using the
r egular outside mirrors, then you must ex
t ended mirrors. Extended mirrors may also be re
quired by law in some countries
I states I provin
ces . Always adjust the outside mirrors befo re dr iving. It's vital that you always have a clear view to
the rear of the veh icle .
Maximum po w er con sumption fo r the trailer
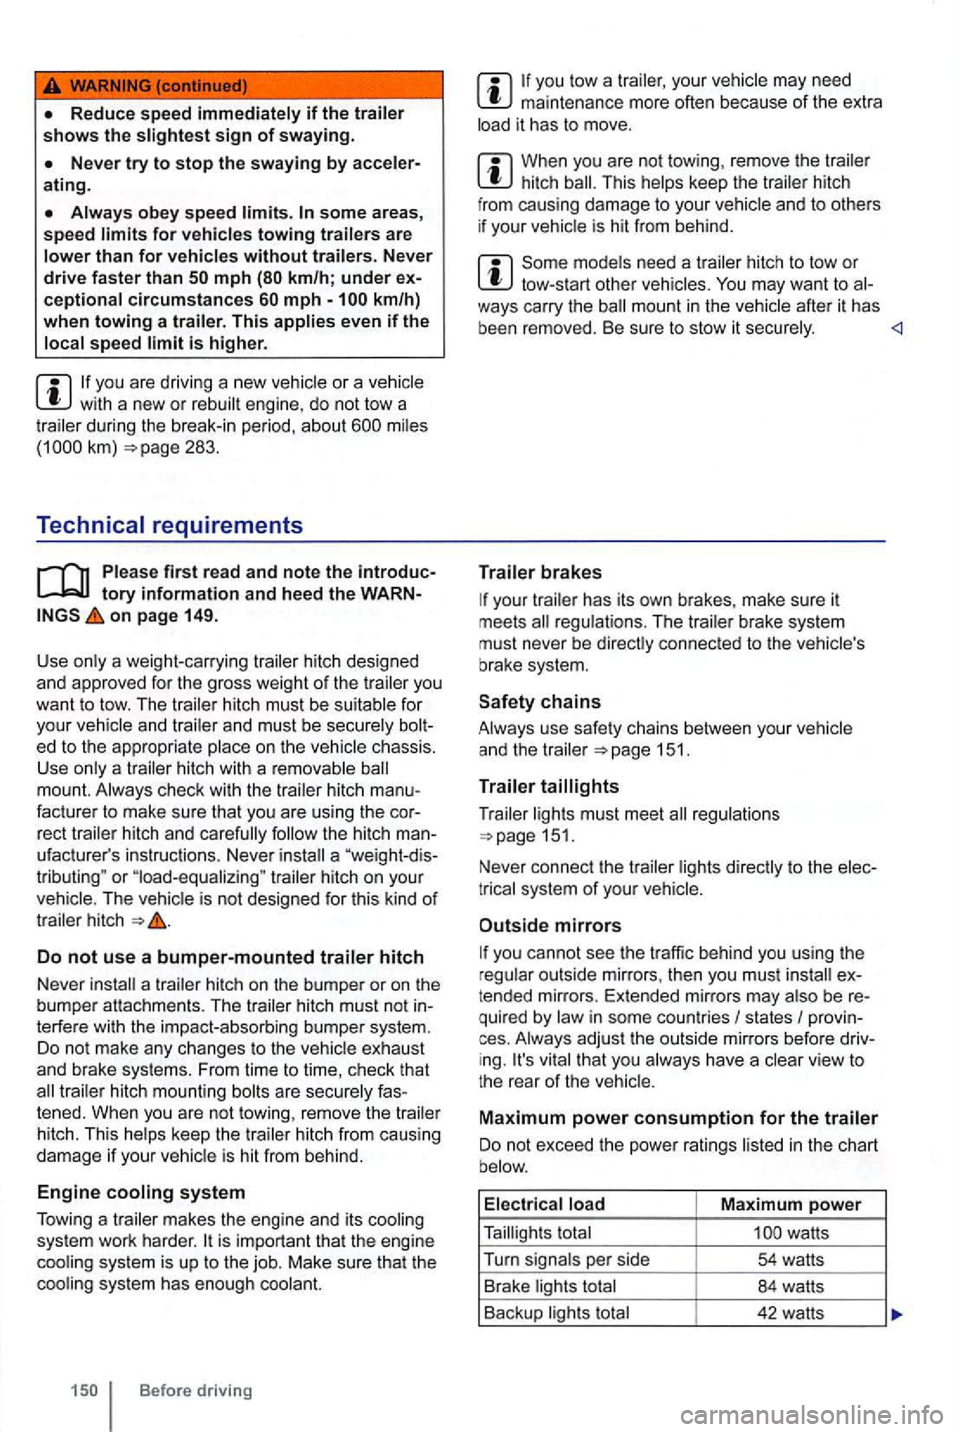
Do not exceed the power ratings listed in the chart
b elow.
E l
ectr ica l load Maximum power
Taillights total