2012 MERCEDES-BENZ G-CLASS SUV warning lights
[x] Cancel search: warning lightsPage 194 of 357

Monitoring range of the sensors
Blind Spot Assist monitors the area up to
three metres behind yourv ehicle and directly
nextt o your vehicle as shown in the diagram.
If the lanes are narrow, vehicles driving in the
lane beyond the lane next to your vehicle may
be indicated, especially if the vehicles are not
driving in the middle of their lane. This may
be the case if the vehicles are driving on the
inner side of their lane.
Due to the nature of the system:
R warnings may be issued in error when driv-
ing close to crash barriers or similar solid
lane borders.
R warnings may be interrupted when driving
alongside long vehicles, for example lor-
ries, for a prolonged time.
The two sensors for Blind Spot Assist are
integrated into the sides of the rear bumper.
Make sure that the bumper is free of dirt, ice
or slush in the vicinit yofthe sensors. The
radar sensors must not be covered, for exam-
ple by cycle racks or overhanging loads. Fol-
lowing a severe impact or in the event of dam-
age to the bumpers, have the function of the
radar sensors checked at aqualified special-
ist workshop. Blind Spot Assist may other-
wise no twork properly. Indicator and warning display G
WARNING
Blind Spot Assist does not react to:
R vehicles overtaken too closely on the side,
placing them in the blind spot area
R vehicles approaching and driving by with a
speed difference of more than approx-
imately 11 km/h
As a result, Blind Spot Assist may not give
warnings in such situations. There is a risk of
an accident.
Always observe the traffic conditions care-
fully, and maintain a safe lateral distance. :
Yellow indicator lamp/red warning lamp
If Blind Spot Assist is switched on, indicator
lamp :in the exterior mirrors lights up yel-
low up to a speed of 30 km/h. At speeds
above 30 km/h, the indicator lamp goes out
and Blind Spot Assist is operational.
If a vehicle is detected within the monitoring
range of Blind Spot Assist at speeds above
30 km/h, warning lamp :on the corre-
sponding side lights up red. This warning
always occurs when a vehicle enters the blind
spot monitoring range from behind or from
the side. When you overtake a vehicle, the
warning only occurs if the difference in speed
is less than 12 km/h.
The yellow indicator lamp goes out if reverse
gear is engaged. Blind Spot Assist is then
deactivated. Driving systems
191Driving and parking Z
Page 195 of 357
The brightness of the indicator/warning
lamps is adjusted automatically according to
the ambient light.
Collision warning
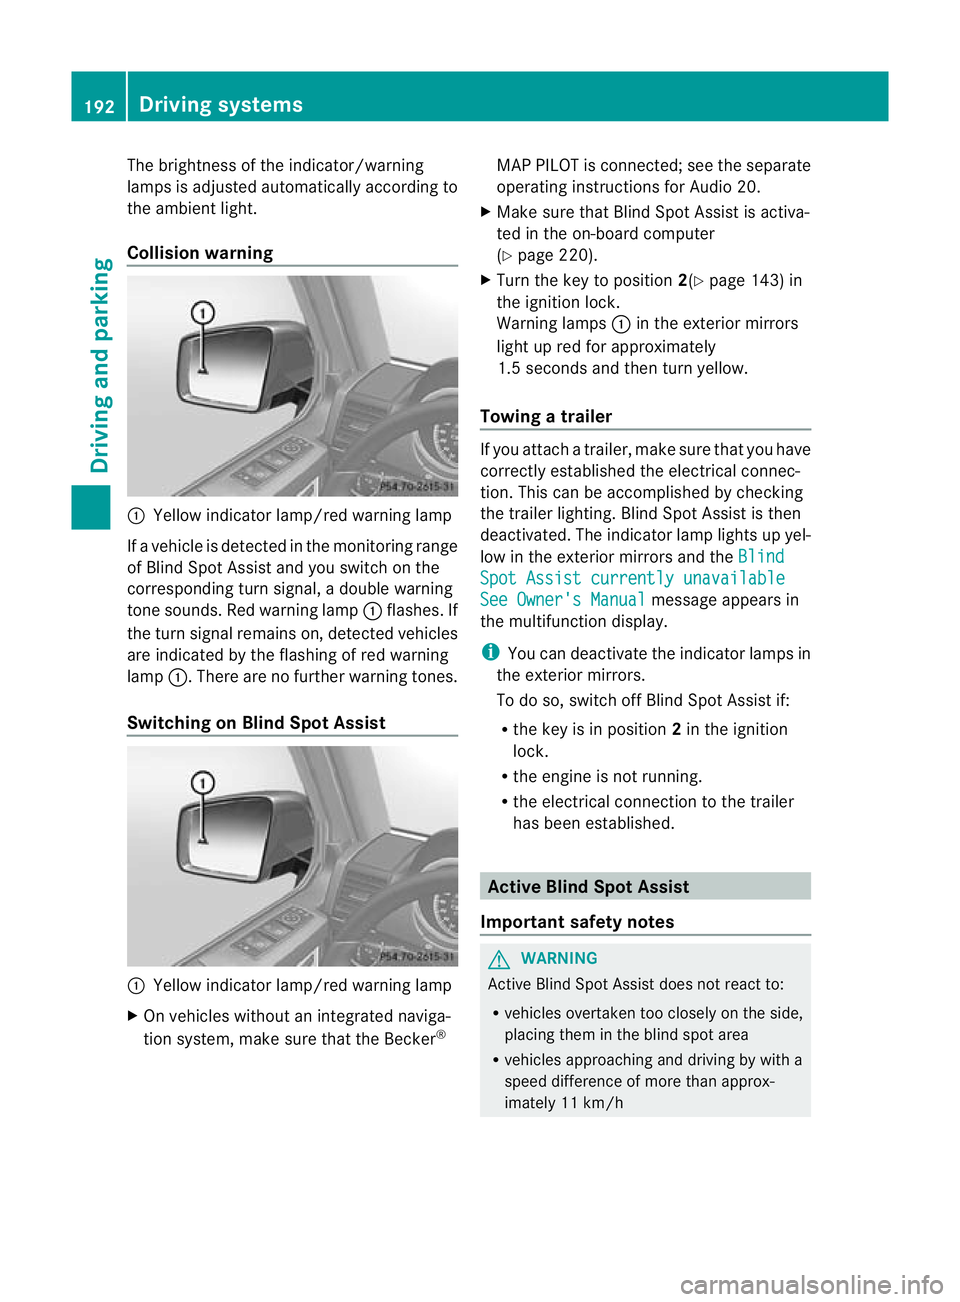
:
Yellow indicator lamp/red warning lamp
If a vehicle is detected in the monitoring range
of Blind Spot Assist and you switch on the
corresponding turn signal, a double warning
tone sounds. Red warning lamp :flashes. If
the turn signal remains on, detected vehicles
are indicated by the flashing of red warning
lamp :.There are no further warning tones.
Switching on Blind Spot Assist :
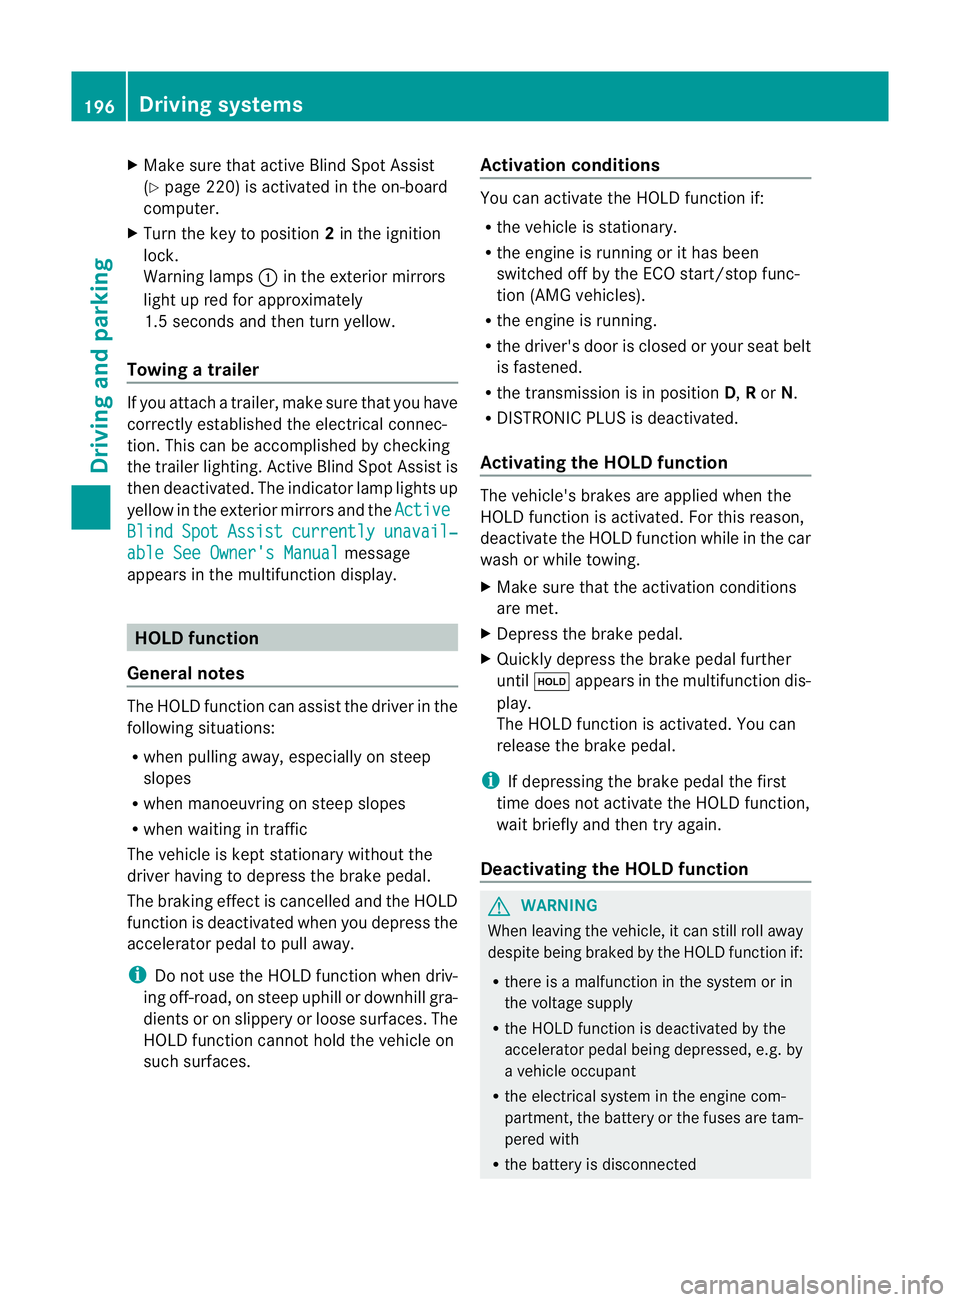
Yellow indicator lamp/red warning lamp
X On vehicles without an integrated naviga-
tion system, make sure that the Becker ®MAP PILOT is connected; see the separate
operating instructions for Audio 20.
X Make sure that Blind Spot Assist is activa-
ted in the on-board computer
(Y page 220).
X Turn the key to position 2(Ypage 143) in
the ignition lock.
Warning lamps :in the exterior mirrors
light up red for approximately
1.5 seconds and then turn yellow.
Towing atrailer If you attach a trailer, make sure tha
tyou have
correctly established the electrical connec-
tion. This can be accomplished by checking
the trailer lighting. Blind Spot Assist is then
deactivated. The indicator lamp lights up yel-
low in the exterior mirrors and the Blind Spot Assist currently unavailable
See Owner's Manual message appears in
the multifunction display.
i You can deactivate the indicator lamps in
the exterior mirrors.
To do so, switch off Blind Spot Assist if:
R the key is in position 2in the ignition
lock.
R the engine is not running.
R the electrical connection to the trailer
has been established. Active Blind Spot Assist
Important safety notes G
WARNING
Active Blind Spot Assist does not react to:
R vehicles overtaken too closely on the side,
placing them in the blind spot area
R vehicles approaching and driving by with a
speed difference of more than approx-
imately 11 km/h 192
Driving systemsDriving and parking
Page 197 of 357

Due to the nature of the system:
R
warnings may be issued in error when driv-
ing close to crash barriers or simila rsolid
lane borders.
R warnings may be interrupted when driving
alongside particularly long vehicles, for
example lorries, for a prolonged time.
Two Active Blind Spot Assist radar sensors
are integrated into the front and rear bumpers
respectively. An additional radar sensor is
located behind the cover in the radiator grille.
Make sure that the bumpers and the cover in
the radiator grille are free of dirt, ice or slush.
The rear sensors must not be covered, e.g. by
bicycle racks or overhanging loads. Following
a severe impact or in the event of damage to
the bumpers, have the function of the radar
sensors checked at a qualified specialist
workshop. Active Blind Spot Assist may oth-
erwise no longer work properly.
Indicator and warning display G
WARNING
Active Blind Spot Assist is not active at speeds
below 30 km/h. The indicator lamps in the
exterior mirrors are yellow .Vehicles in the
monitoring range are then not indicated.
Always pay attention to traffic conditions and
your surroundings. Otherwise, you may fail to
recognise dangers in time and cause an acci-
dent and injure yourself and others. :
Yellow indicator lamp/red warning lamp
When Active Blind Spot Assist is activated,
indicator lamp :in the exterior mirrors lights up yellow at speeds of up to 30 km/h. At
speeds above 30 km/h, the indicator lamp
goes out and Active Blind Spot Assist is
operational.
If a vehicle is detected within the monitoring
range of Blind Spot Assist at speeds above
30 km/h, warning lamp :on the corre-
sponding side lights up red. This warning
always occurs when a vehicle enters the blind
spot monitoring range from behind or from
the side. When you overtake a vehicle, the
warning only occurs if the difference in speed
is less than 12 km/h.
The yellow indicator lamp goes out if reverse
gear is engaged. Active Blind Spot Assist is
then no longer active.
The brightness of the indicator/warning
lamps is adjusted automatically according to
the ambient light.
Visual and acoustic collision warning When you switch on the turn signals to
change lanes and a vehicle is detected in the
side monitoring range, you receive a visual
and acoustic collision warning. You then hear
a double warning tone and red warning
lamp
:flashes. If the turn signal remains on,
detected vehicles are indicated by the flash-
ing of red warning lamp :.There are no fur-
ther warning tones. 194
Driving systemsDriving and parking
Page 199 of 357
X
Make sure that active Blind Spot Assist
(Y page 220) is activated in the on-board
computer.
X Turn the key to position 2in the ignition
lock.
Warning lamps :in the exterior mirrors
light up red for approximately
1.5 seconds and then turn yellow.
Towing atrailer If you attach a trailer, make sure tha
tyou have
correctly established the electrical connec-
tion. This can be accomplished by checking
the trailer lighting. Active Blind Spot Assist is
then deactivated. The indicator lamp lights up
yellow in the exterior mirrors and the ActiveBlind Spot Assist currently unavail‐
able See Owner's Manual message
appears in the multifunction display. HOLD function
General notes The HOLD function can assist the driver in the
following situations:
R
when pulling away, especially on steep
slopes
R when manoeuvring on steep slopes
R when waiting in traffic
The vehicle is kept stationary without the
driver having to depress the brake pedal.
The braking effect is cancelled and the HOLD
function is deactivated when you depress the
accelerator pedal to pull away.
i Do not use the HOLD function when driv-
ing off-road, on steep uphill or downhill gra-
dients or on slippery or loose surfaces. The
HOLD function cannot hold the vehicle on
such surfaces. Activation conditions You can activate the HOLD function if:
R
the vehicle is stationary.
R the engine is running or it has been
switched off by the ECO start/stop func-
tion (AMG vehicles).
R the engine is running.
R the driver's door is closed or your seat belt
is fastened.
R the transmission is in position D,Ror N.
R DISTRONIC PLUS is deactivated.
Activating the HOLD function The vehicle's brakes are applied when the
HOLD function is activated. For this reason,
deactivate the HOLD function while in the car
wash or while towing.
X
Make sure that the activation conditions
are met.
X Depress the brake pedal.
X Quickly depress the brake pedal further
until ë appears in the multifunction dis-
play.
The HOLD function is activated. You can
release the brake pedal.
i If depressing the brake pedal the first
time does not activate the HOLD function,
wait briefly and then try again.
Deactivating the HOLD function G
WARNING
When leaving the vehicle, it can still roll away
despite being braked by the HOLD function if:
R there is a malfunction in the system or in
the voltage supply
R the HOLD function is deactivated by the
accelerator pedal being depressed, e.g. by
a vehicle occupant
R the electrical system in the engine com-
partment, the battery or the fuses are tam-
pered with
R the battery is disconnected 196
Driving systemsDriving and parking
Page 202 of 357

Warning displays
Warning display for the front area
:
Segments on the left-hand side of the
vehicle
; Segments on the right-hand side of the
vehicle
= Segments showing operational readiness
The warning displays show the distance
between the sensors and the obstacle. The
warning display for the front area is located
on the dashboard above the centre airv ents.
The warning display for the rear area is loca-
ted on the roof lining in the rear compart-
ment.
The warning display for each side of the vehi-
cle is divided into five yellow and two red seg-
ments. PARKTRONIC is operational if yellow
segments showing operational readiness =
light up.
The selected transmission position and the
direction in which the vehicle is rolling deter-
mine which warning display is active when the
engine is running. Transmission
position Warning display
D
Front area activated
R,
Nor the vehicle
is rolling back-
wards Rear and front areas
activated
P
No areas activated One or more segments light up as the vehicle
approaches an obstacle, depending on the
vehicle's distance from the obstacle.
From the:
R
sixth segmen tonwards, you will hea ran
intermittent warning ton efor approx-
imately two seconds.
R seventh segment onwards, you will hear a
warning tone for approximately two sec-
onds. This indicates that you have now
reached the minimum distance.
Deactivating/activating PARKTRONIC :
Indicator lamp
; To deactivate/activate PARKTRONIC
If indicator lamp :lights up, PARKTRONIC is
deactivated.
i PARKTRONIC is automatically activated
when you turn the key to position 2in the
ignition lock.
Towing atrailer PARKTRONIC is deactivated for the rea
rarea
when you establish an electrical connection
between yourv ehicle and a trailer. Driving systems
199Driving and parking Z
Page 203 of 357

Problems with PARKTRONIC
Problem Possible causes/consequences and
M Solutions
Only the red segments
in the PARKTRONIC
warning displays are lit.
You also hear a warning
tone for approximately
two seconds.
PARKTRONIC is deacti-
vated after a few sec-
onds, and the indicator
lamp in the PARK-
TRONIC button lights
up. PARKTRONIC has malfunctioned and has switched off.
X
If problems persist, have PARKTRONIC checked at a qualified
specialist workshop. Only the red segments
in the PARKTRONIC
warning displays are lit.
PARKTRONIC is deacti-
vated after a few sec-
onds. The PARKTRONIC sensors are dirty or there is interference.
X
Cleant he PARKTRONIC sensors (Y page 298).
X Switch the ignition back on. The problem may be caused by an external source of radio or
ultrasound waves.
X
See if PARKTRONIC functions in a different location. Reversing camera
Important safety notes The reversing camera is only an aid. It is not
a replacement for your attention to your
immediate surroundings. You are always
responsible for safe manoeuvring and park-
ing. When manoeuvring or parking, make sure
that there are no persons, animals or objects
in the area in which you are manoeuvring.
Under the following circumstances, the
reversing camera will not function, or will
function in a limited manner:
R the rear door is open
R in heavy rain, snow or fog
R at night or in very dark places
R if the camera is exposed to very bright light
R if the area is lit by fluorescent light or LED
lighting (the display may flicker) R
if there is a sudden change in temperature,
e.g. when driving into a heated garage in
winter
R if the camera lens is dirty or obstructed
R if the rear of your vehicle is damaged. In
this event, have the camera position and
setting checked at a qualified specialist
workshop. Mercedes-Ben zrecommends
that you use a Mercedes-BenzS ervice
Centre for this purpose. 200
Driving systemsDriving and parking
Page 206 of 357
X
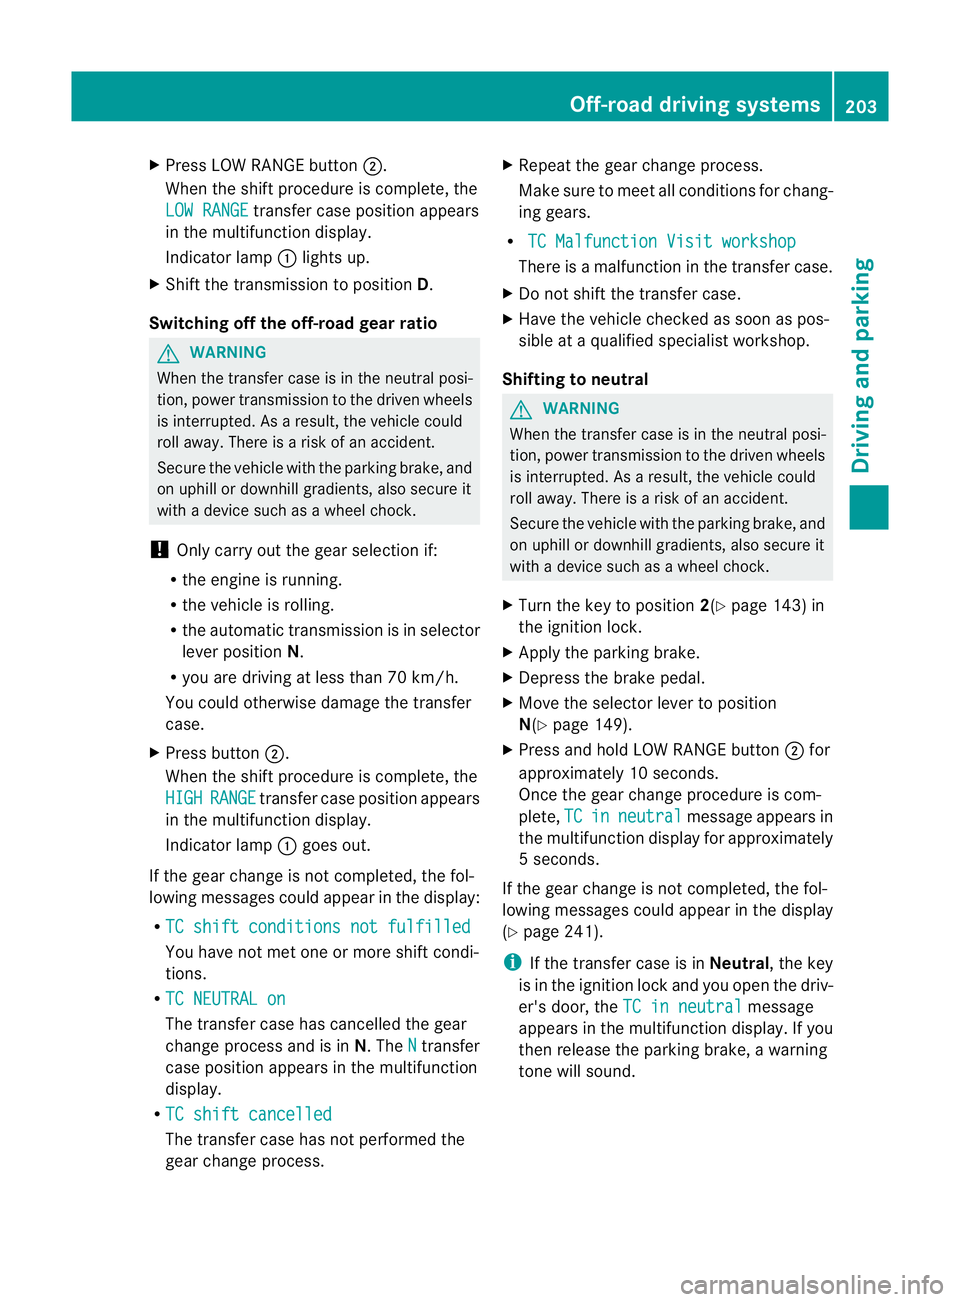
Press LOW RANGE button ;.
When the shift procedure is complete, the
LOW RANGE transfer case position appears
in the multifunction display.
Indicator lamp :lights up.
X Shift the transmission to position D.
Switching off the off-road gear ratio G
WARNING
When the transfer case is in the neutral posi-
tion, power transmission to the driven wheels
is interrupted. As a result, the vehicle could
roll away .There is a risk of an accident.
Secure the vehicle with the parking brake, and
on uphill or downhill gradients, also secure it
with a device such as a wheel chock.
! Only carry out the gear selection if:
R the engine is running.
R the vehicle is rolling.
R the automatic transmission is in selector
lever position N.
R you are driving at less than 70 km/h.
You could otherwise damage the transfer
case.
X Press button ;.
When the shift procedure is complete, the
HIGH RANGE transfer case position appears
in the multifunction display.
Indicator lamp :goes out.
If the gear change is not completed, the fol-
lowing messages could appearint he display:
R TC shift conditions not fulfilled You have not met one or more shift condi-
tions.
R TC NEUTRAL on The transfer case has cancelled the gear
change process and is in N.TheN transfer
case position appears in the multifunction
display.
R TC shift cancelled The transfer case has not performed the
gear change process. X
Repeatt he gear change process.
Make sure to meet all conditions for chang-
ing gears.
R TC Malfunction Visit workshop There is a malfunction in the transfer case.
X Do not shift the transfer case.
X Have the vehicle checked as soon as pos-
sible at a qualified specialist workshop.
Shifting to neutral G
WARNING
When the transfer case is in the neutral posi-
tion, power transmission to the driven wheels
is interrupted. As a result, the vehicle could
roll away.T here is a risk of an accident.
Secure the vehicle with the parking brake, and
on uphill or downhill gradients, also secure it
with a device such as a wheel chock.
X Turn the key to position 2(Ypage 143) in
the ignition lock.
X Apply the parking brake.
X Depress the brake pedal.
X Move the selector lever to position
N(Y page 149).
X Press and hold LOW RANGE button ;for
approximately 10 seconds.
Once the gear change procedure is com-
plete, TC in neutral message appears in
the multifunction display for approximately
5s econds.
If the gear change is not completed, the fol-
lowing messages could appear in the display
(Y page 241).
i If the transfer case is in Neutral, the key
is in the ignition lock and you open the driv-
er's door, the TC in neutral message
appears in the multifunction display. If you
then release the parking brake, a warning
tone will sound. Off-road driving systems
203Driving and parking Z
Page 208 of 357
For further information on driving off-road,
see (Y page 169).
i You can only engage the differential locks
if the transfer case is in the LOW RANGE
off-road driving positio n(Ypage 201).
i You can activate the differential locks in
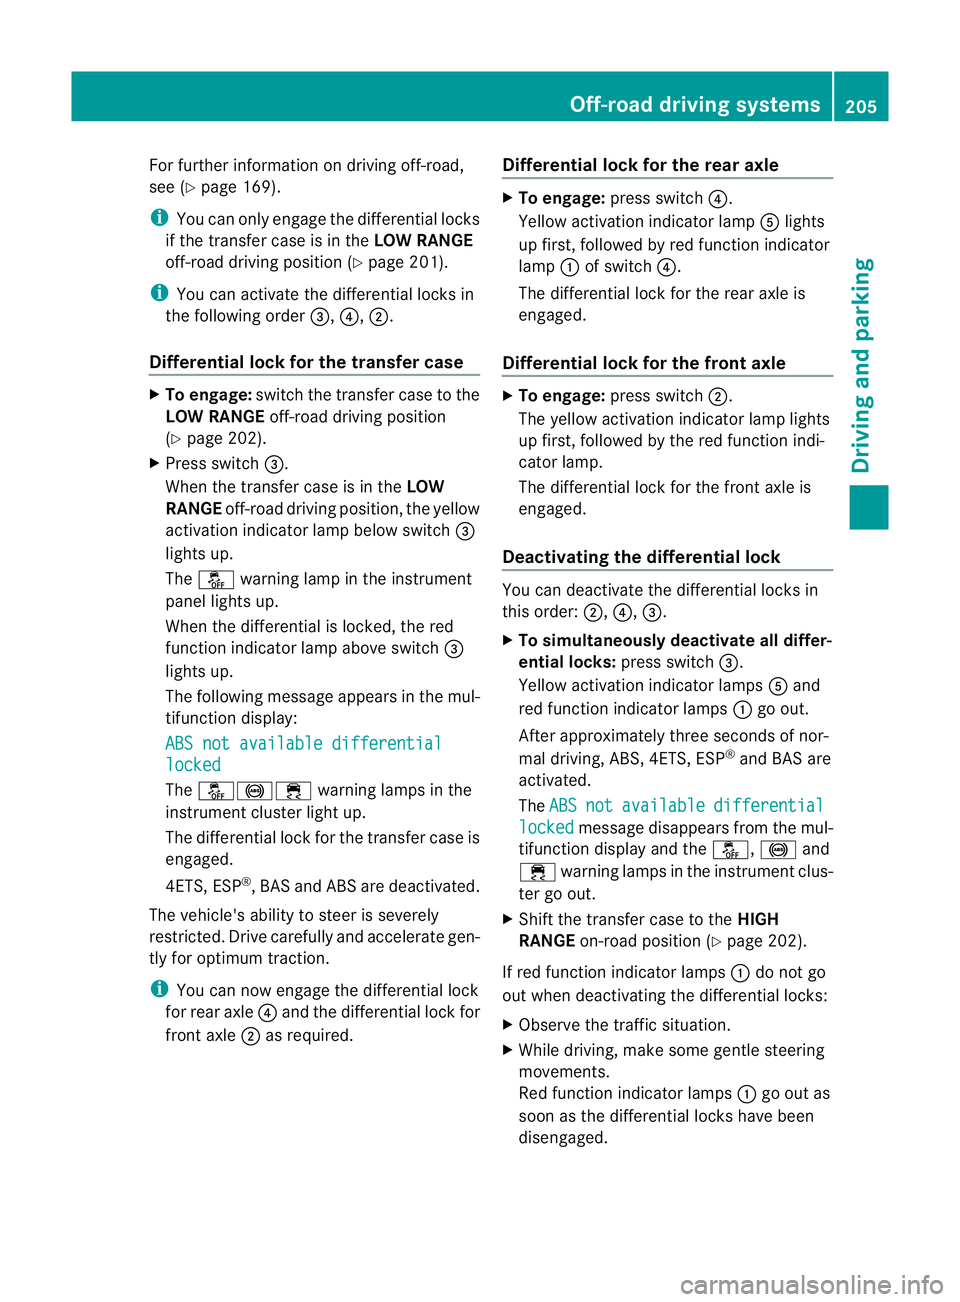
the following order =,?,;.
Differential lock for the transfer case X
To engage: switch the transfer case to the
LOW RANGE off-road driving position
(Y page 202).
X Press switch =.
When the transfer case is in the LOW
RANGE off-road driving position, the yellow
activation indicator lamp below switch =
lights up.
The å warning lamp in the instrument
panel lights up.
When the differential is locked, the red
function indicator lamp above switch =
lights up.
The following message appears in the mul-
tifunction display:
ABS not available differential locked
The
å!÷ warning lamps in the
instrument cluster light up.
The differential lock for the transfer case is
engaged.
4ETS, ESP ®
, BASa nd ABS ar edeactivated.
The vehicle's ability to steer is severely
restricted. Drive carefully and accelerate gen-
tly for optimum traction.
i You can now engage the differential lock
for rear axle ?and the differential lock for
front axle ;as required. Differential lock for the rear axle X
To engage: press switch ?.
Yellow activation indicator lamp Alights
up first, followed by red function indicator
lamp :of switch ?.
The differential lock for the rear axle is
engaged.
Differential lock for the front axle X
To engage: press switch ;.
The yellow activation indicator lamp lights
up first, followed by the red function indi-
cator lamp.
The differential lock for the front axle is
engaged.
Deactivating the differential lock You can deactivate the differential locks in
this order:
;,?,=.
X To simultaneously deactivate all differ-
ential locks: press switch=.
Yellow activation indicator lamps Aand
red function indicator lamps :go out.
After approximately three seconds of nor-
mal driving, ABS, 4ETS, ESP ®
and BAS are
activated.
The ABS not available differential
locked message disappears from the mul-
tifunction display and the å,!and
÷ warning lamps in the instrument clus-
ter go out.
X Shift the transfer case to the HIGH
RANGE on-road position (Y page 202).
If red function indicator lamps :do not go
out when deactivating the differential locks:
X Observe the traffic situation.
X While driving, make some gentle steering
movements.
Red function indicator lamps :go out as
soon as the differential locks have been
disengaged. Off-road driving systems
205Driving and parking Z