2012 MERCEDES-BENZ CLS COUPE warning
[x] Cancel search: warningPage 211 of 373
Useful information
i This Owner's Manual describes all mod-
els, series and optional equipment for your
vehicle that were available at the time of
going to press. National variation sare pos-
sible. Not ethat your vehicle may not be
equipped with all of the function sdescri-
bed. This is also the case for system sand
function srelevan ttosafety.
i Read the information on qualified special-
ist workshops: (Y page 23). Important safet
ynotes G
WARNING
Only use the on-board computer when road
and traffic condition spermit .You would oth-
erwise be distracted and unable to concen-
trate properly on driving, and could cause an
accident. G
WARNING
No messages will be displayed if either the
instrument cluster or the multifunction dis-
play is inoperative.
As aresult, you will not be able to see infor-
mation about your driving conditions, such as
speed, outside temperature, warning and indi-
cator lamps, display messages or system fail-
ures. Drivin gcharacteristics may be impaired.
Adjust your driving style and vehicle speed
accordingly.
Contact aqualified specialist workshop
immediately. G
WARNING
The on-board computer only records and dis-
plays malfunctions and warnings from certain
systems. For this reason, you should always
make sure that your vehicle is safe to use. You
could otherwise cause an accident by driving
an unsafe vehicle. G
WARNING
The operating safety of your vehicle could be
impaired if maintenance work is carried out
incorrectly. This could cause you to lose con-
trol of your vehicle and cause an accident.
Moreover, the safety systems may no longer
be able to protect you or others as they are
designed to do.
Always have service work carried out at a
qualified specialist workshop.
For an illustration of the instrument cluster,
see (Y page 30). 208
Important safety notesOn-board computer and displays
Page 213 of 373

?
Coolan ttemperature (Y page 210)
A Fuel gauge Coolant temperature gauge
The coolant temperature gauge is in the
instrument cluster on the left-hand side
(Y page 30).
Under normal operatin gconditions and with
the specified coolant level, the coolant tem-
perature may rise to 120 †.
At high outside temperatures and when driv-
ing uphill, the coolant temperature may rise
to the end of the scale. Rev counter
! Do not drive in the overrevving range.
Doin gsow ill damage the engine.
The red band in the rev counter indicates the
engine's overrevving range.
The fuel supply is interrupted to protec tthe
engine when the red band is reached. Outside temperature display
G
WARNING
At temperatures just above freezing point, the
street may be icy, especially in wooded areas
or on bridges. If you do not adapt your driving
style to the conditions, the vehicle could skid.
For this reason, adapt your driving style and
speed to the weather conditions.
The outside temperature displayisint he mul-
tifunction display( Ypage 211).
Changes in the outside temperature are dis-
played after ashort delay. Speedometer with segments
The segments in the speedometer indicate
which speed range is available.
R Cruise control activated (Y page 165):The segments light up from the stored
speed to the maximum speed.
R VariableS PEEDTRONIC activated
(Y page 168):
The segments light up from the start of the
scale to the selected limit speed.
R DISTRONIC PLUS activated (Y page 170):
One or two segments in the set speed
range light up.
R DISTRONIC PLUS detects avehicle in front:
The segments between the speed of the
vehicle in fron tand the stored speed light
up. Operatin
gthe on-board computer
Overview :
Multifunctio ndisplay
; Right control panel
= To switc honLINGUATRONIC; see the sep-
arate operating instructions
? Bac kbutton
A Left control panel 210
Display
sand operationOn-board computer and displays
Page 220 of 373
X
To select the next or previous scene:
briefl ypress the 9or: button.
X To select ascene from th escene list
(rapid scrolling): press and hold the
9 or: buttonuntil desired
scene :hasb eenr eached. Telephon
emenu
Introduction G
WARNING
Observ ethe lega lrequirements of the country
in which yo uarecurrentl ydriving regarding
the us eofm obilephonesint he vehicle.
If it is permitted to us emobilephonesw hile
the vehicl eisinmotion, yo ushoul donlyu se
them when the roa dand traffi cconditions
allow. Otherwise, yo umaybe distracted from
the traffi cconditions, cause an accident and
injure yoursel fand others.
X Switch on the mobil ephone (se ethe sep-
arate operating instructions).
X Switch on the audi osystem or COMAND
Online ;see the separate operating instruc-
tions.
X Insert the mobil ephone into the bracket
(Y page 286).
or
X Establis haBluetooth ®
connectio ntothe
audi osystem or COMAND Online ;see the
separate operating instructions.
X Press the =or; button on the steer-
ing whee ltoselect the Tel menu.
Yo uw ills ee one of the following display mes-
sages in the multifunctio ndisplay:
R Please enter PIN :t
he mobile phone has
been placed in the mobile phone bracket
and the PIN has not been entered.
When you enter your PIN via the mobile
phone, LINGUATRONIC, the audios ystemor COMAND Online, the mobile phone
searches for
anetwork.
R Telephone ready or the name of the net-
work provider: the mobile phone has found
an etwork and is ready to receive.
R Telephone No service :t
here is no net-
work available or the mobile phone is
searching for anetwork.
i You can obtain further information about
suitable mobile phones and connecting
mobile phones via Bluetooth ®
:
R from any Mercedes Benz Service Centre
R on the Internet at: http://
www.mercedes-benz.com/connect
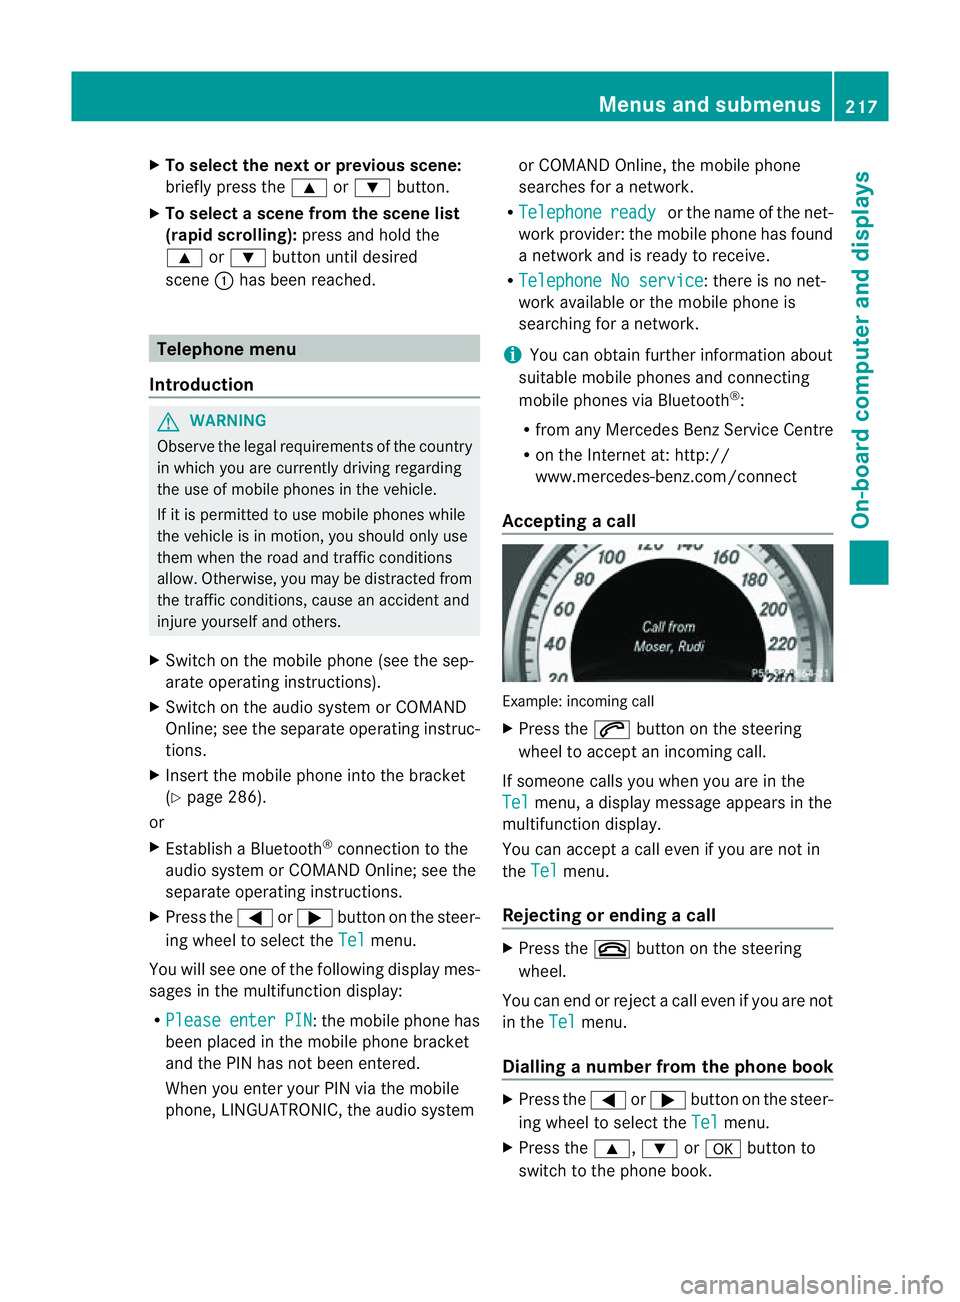
Accepting acall Example: incoming call
X
Press the 6button on the steering
wheel to accep tanincoming call.
If someone calls yo uwheny ou areint he
Tel menu
,adisplay message appear sinthe
multifunctio ndisplay.
You can accept acall even if you are not in
the Tel menu.
Rejecting or ending acall X
Press the ~button on the steering
wheel.
You can end or reject acall even if you are not
in the Tel menu.
Dialling anumber from the phone book X
Press the =or; button on the steer-
ing wheel to select the Tel menu.
X Press the 9,:ora button to
switch to the phone book. Menus and submenus
217On-board computer and displays Z
Page 222 of 373
X
Press the abutton.
The multifunction display shows Speed
Limit Assist.
X Press the :button.
The curren tselection is displayed.
X To activate or deactivate: pressa.
If the Speed Limit Assist message function
is activated, adetected speed limit is auto-
matically displayed for five seconds. Other
items in the multifunction display are not
shown during this time.
If Speed Limit Assist is operational and the
message function is activated, the multifunc-
tion display shows the Äsymbol when the
ignition is switched on.
Showing the distance display X
Press the =or; button on the steer-
ing wheel to select the Assist. menu.
X Press the 9or: button to select
Distanc edisplay .
X Press the abutton.
The DISTRONIC PLUS distanc edisplay
appears in the multifunction display
(Y page 176).
If the Sensors deactivated message
appears, the radar sensor system is deacti-
vated.
X Check whether or not the radar sensor sys-
tem is permitted to be activated
(Y page 368).
X Switc hont he radar sensor system
(Y page 225).
Deactivating/activating ESP ®G
WARNING
If you deactivat eESP®
,E SP ®
no longer sta-
bilises the vehicle. There is an increased risk
of skidding and an accident.
Only deactivat eESP®
in the situation sdescri-
bed in the following. Activating/deactivating ESP
®
on AMG vehi-
cles (Y page 66).
For further information about ESP ®
,s ee
(Y page 65).
X Start the engine.
X Press the =or; button on the steer-
ing wheel to select the Assist. menu.
X Press the 9or: button to select
ESP .
X Press the abutton.
The curren tselection is displayed.
X To activate/deactivate: press thea
button again.
ESP ®
is deactivated if the åwarning lamp
in the instrument cluster lights up continu-
ously when the engin eisrunning.
If the ÷ warning lamp and the åwarn-
ing lamp are lit continuously, ESP ®
is not
available due to amalfunction.
It may be best to deactivat eESP®
in the fol-
lowing situations:
R when using snow chains
R in deep snow
R on sand or gravel
Observe the information on warning lamps
(Y page 263).
Observe the information on display messages
(Y page 232).
Activating/deactivating PRE-SAFE ®
Brake PRE-SAFE
®
Brak eiso nly available in vehicles
with DISTRONIC PLUS.
X Press the =or; button on the steer-
ing wheel to select the Assist. menu.
X Press the 9or: button to select
PRE-SAF EBrake .
X Press the abutton.
The curren tselection is displayed.
X To activate/deactivate: press thea
button again. Menus and submenus
219On-boardcomputer and displays Z
Page 224 of 373
In the
Serv. menu, you have the following
options:
R call up display messages in the message
memory (Y page 231)
R restart the tyre pressure loss warning sys-
tem (Y page 333)
R check the tyre pressure electronically
(Y page 334)
R call up when aservice is due
(Y page 300) Settings menu
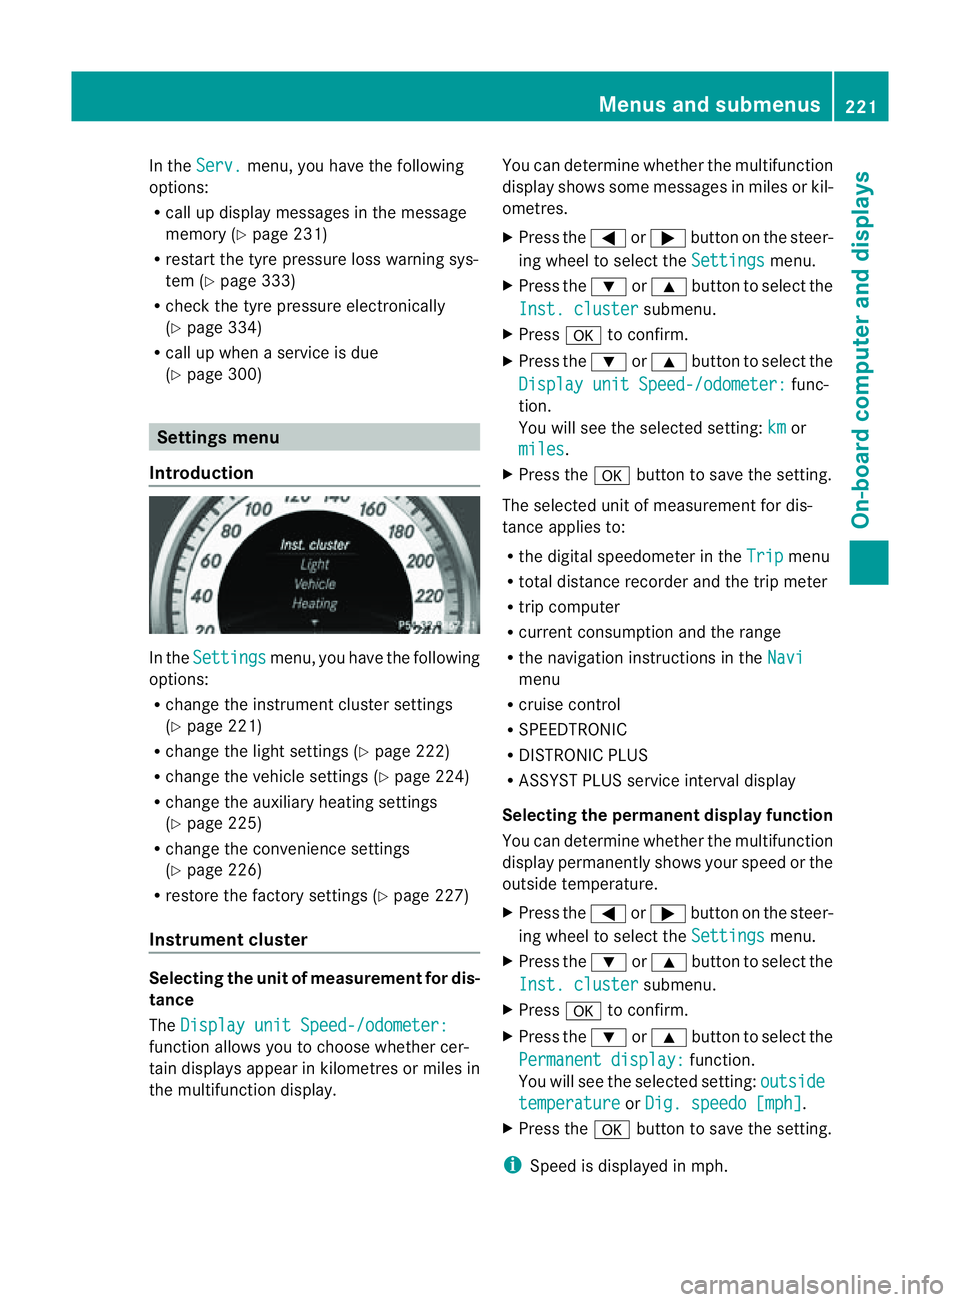
Introduction In the
Settings menu, you have the following
options:
R change the instrument cluster settings
(Y page 221)
R change the lights ettings (Ypage 222)
R change the vehicle settings (Y page 224)
R change the auxiliary heating settings
(Y page 225)
R change the convenience settings
(Y page 226)
R restore the factory settings (Y page 227)
Instrument cluster Selecting the unit of measurement for dis-
tance
The Display unit Speed-/odometer: function allows you to choose whether cer-
tain displays appear in kilometres or miles in
the multifunction display. You can determine whether the multifunction
display shows some messages in miles or kil-
ometres.
X
Press the =or; button on the steer-
ing wheel to select the Settings menu.
X Press the :or9 button to select the
Inst. cluster submenu.
X Press ato confirm.
X Press the :or9 button to select the
Display unit Speed-/odometer: func-
tion.
You will see the selected setting: km or
miles .
X Press the abutton to save the setting.
The selected unit of measuremen tfor dis-
tancea pplies to:
R the digital speedometer in the Trip menu
R total distance recorder and the trip meter
R trip computer
R current consumption and the range
R the navigation instructions in the Navi menu
R cruise control
R SPEEDTRONIC
R DISTRONIC PLUS
R ASSYST PLUS service interval display
Selecting the permanent display function
You can determin ewhether the multifunction
display permanently shows your speed or the
outside temperature.
X Press the =or; button on the steer-
ing wheel to select the Settings menu.
X Press the :or9 button to select the
Inst. cluster submenu.
X Press ato confirm.
X Press the :or9 button to select the
Permanent display: function.
You will see the selected setting: outside temperature or
Dig. speedo [mph] .
X Press the abutton to save the setting.
i Speed is displayed in mph. Menus and submenus
221On-board computer and displays Z
Page 228 of 373
Switching the automatic locking feature
on/off
X
Press the =or; button on the steer-
ing wheel to select the Settings menu.
X Press the :or9 button to select the
Vehicle submenu.
X Press ato confirm.
X Press the :or9 button to select the
Auto. door locks function.
When the Automatic door locks func-
tion is activated, the vehicle doors are dis-
played in red in the multifunction display.
X Press the abutton to save the setting.
If you activate the Automatic door locks function, the vehicle is centrally locked above
as
peed of around 15 km/h.
For further information on the automatic lock-
ing feature, see (Y page 84).
Activating/deactivating the acoustic
locking confirmation
If you switch on the Acoustic Lock function,
an acoustic signal sounds when you lock the
vehicle.
X Press the =or; button on the steer-
ing wheel to select the Settings menu.
X Press the :or9 button to select the
Vehicle submenu.
X Press ato confirm.
X Press the :or9 button to select the
Acoustic Lock function.
If the Acoustic Lock function is activated,
the & symbol in the multifunction dis-
play lights up red.
X Press the abutton to save the setting.
Activating/deactivating the radar sensor
system
X Press the =or; button on the steer-
ing wheel to select the Settings menu.
X Press the :or9button to select the
Vehicle submenu.
X Press ato confirm. X
Press the 9or: button to select
Radar sensor (See Owner's Man.): .
You will see the selected setting: on or
off .
X Press the abutton to save the setting.
i You must deactivate the radar sensor sys-
tem in certain countries and near radio
telescope facilities. For further informa-
tion, see (Y page 368).
When you are close to radio telescope facili-
ties, the radar sensor system will be deacti-
vated automatically.
The following systems are switched off when
the radar sensor system is deactivated:
R DISTRONIC PLUS (Y page 170)
R BAS PLUS (Y page 64)
R PRE-SAFE ®
Brake (Y page 68)
R Blind Spot Assist (Y page 197)
R Active Blind Spot Assist (Y page 201)
Heating Auxiliary heating departuret
ime G
WARNING
Exhaust fumes are produced when the auxili-
ary heating is in operation. Inhaling these
exhaust fumes can be poisonous. You should
therefore switch off the auxiliary heating in
confined spaces without an extraction sys-
tem, e.g. agarage. G
WARNING
When operating the auxiliary heating parts of
the vehicle can get very hot. Make sure that
the exhaust system does not under any cir-
cumstances come into contact with easily
ignitable material such as dry grass or fuels.
The material could otherwise ignite and set
the vehicle alight. Choose your parking spot
accordingly.
Operating the auxiliary heating is thus pro-
hibited at filling stations or when your vehicle
is being refuelled. You must therefore switch
off the auxiliary heating at filling stations. Menus and submenus
225On-board computer and displays Z
Page 229 of 373
!
Operating the auxiliary heating/ventila-
tion draws on the vehicle battery. After you
have heated or ventilated the vehicle a
maximum of two times, drive for alonger
distance.
This function is only available on vehicles with
auxiliary heating (Y page 132).
In the Heating submenu, you can select a
stored departure time or change adeparture
time.
The auxiliary heating timer function calcu-
lates the switch-on time according to the out-
side temperature so that the vehicle is pre-
heated by the departure time. When the
departure time is reached, the auxiliary heat-
ing continues to heat for afurther five
minutes and then switches off. The auxiliary
heating adopts the THERMATIC or
THERMOTRONIC temperature setting.
You can switch off the auxiliary heating by
using the remote control or the auxiliary heat-
ing button on the centre console.
i Switch the auxiliary heating on regularly
once amonth for aboutt en minutes.
Selecting the departure time or deactivat-
ing aselected departure time
X Press the =or; button on the steer-
ing wheel to select the Settings menu.
X Press the :or9 button to select the
Heating submenu.
X Press ato confirm.
You will see the selected setting.
X Press ato confirm.
X Press the :or9 button to select
one of the three departure times or Timeroff (no timer active).
X Press ato confirm.
If ad eparture time is selected, the yellow
indicator lamp lights up on the auxiliary
heating button. Changing the departure time
X
Press the =or; button on the steer-
ing wheel to select the Settings menu.
X Press the :or9 button to select the
Heating submenu.
X Press ato confirm.
You will see the selected setting.
X Press ato confirm.
X Press the :or9 button to select A ,
B or
Change C .
X Press ato confirm.
You can now change the departure time.
X Press the =or; button to select the
displaytobec hanged: hours, minutes.
X Press the :or9 button to set the
selected display.
X Press the abutton to store the entry.
The yellow indicator lamp on the auxiliary
heating button lights up.
Convenience Activating/deactivating the EASY-
ENTRY/EXIT feature
G
WARNING
The steering wheel moves when the EASY-
ENTRY/EXIT feature is active. There is arisk
of occupants becoming trapped. Before acti-
vating the EASY-ENTRY/EXIT feature, make
sure that nobody can become trapped.
Do not leave children unsupervised in the
vehicle, even if they are secured in achild
restraint system. The children could open the
driver's door and thereby unintentionally acti-
vate the EASY-ENTRY/EXIT feature and
become trapped.
X Press the =or; button on the steer-
ing wheel to select the Settings menu.
X Press the :or9 button to select the
Convenience submenu.
X Press ato confirm. 226
Menus and submenusOn-board computer and displays
Page 234 of 373
Display messages
Introduction
General notes Display message
sappear in th emultifunction display.
Display message swithg raphic symbols are simplified in th eOwner's Manual and may differ
fro mt he symbols in the multifunction display.
Please respond in accordance with the displaym essages and follow the additional notes in
this Owner's Manual.
Certain displaym essages are accompanied by an audible warning tone or acontinuous tone.
When the ignition is switched off, all displaym essages are deleted apart from some high-
priority displaym essages. Once the causes of the high-priority displaym essages have been
rectified, the corresponding displaym essages are also deleted.
When you stop and park the vehicle, please observe the notes on:
R HOLD function (Y page 179)
R Parking (Y page 159)
Hiding display messages X
Press the aor% button on the steering wheel to hide the displaym essage.
The displaym essage is cleared.
The multifunction displays hows high-priority displaym essages in red. Some high-priority dis-
play messages cannot be hidden.
The multifunction displays hows these messages continuously until the causes for the mes-
sages have been remedied.
Message memory The on-board computer saves certain displaym
essages in themessage memory.Y ou can
call up the display messages:
X Press the =or; button on the steerin gwheel to select the Serv. menu.
If there are display messages, the multifunction display shows 2messages ,f
or example.
X Press the 9or: button to select the entry, e.g. 2messages .
X Press ato confirm.
X Press the 9or: button to scroll through the display messages. Display messages
231On-board computer and displays Z