2012 LINCOLN MKT light
[x] Cancel search: lightPage 82 of 437

Speaker setup
This screen allows you to adjust the
audio balance for your speakers. To
access:
1. Press SETUP on the remote to access the menu options.
2. Press
/to ’highlight’ the speaker icon. (A disc will appear
beneath the icon signifying it is the current selection.)
3. Press
to select and enter the Speaker setup menu.
4. When Downmix is highlighted, press
to access the menu.
5. Press
/to select from left/right and stereo.
6. When the desired selection is highlighted, press ENTER on the remote
to confirm.
Video setup
The video setup screen allows you
to adjust the quality of the video
image for each headrest monitor. To
access:
1. Press SETUP on the remote to access the menu options.
2. Press
/to ’highlight’ the film reel icon. (A disc will appear
beneath the icon signifying it is the current selection.)
3. Press
to select and enter the Video setup menu.
Entertainment Systems
82
2012 MKT(mkt)
Owners Guide, 1st Printing
USA(fus)
Page 83 of 437
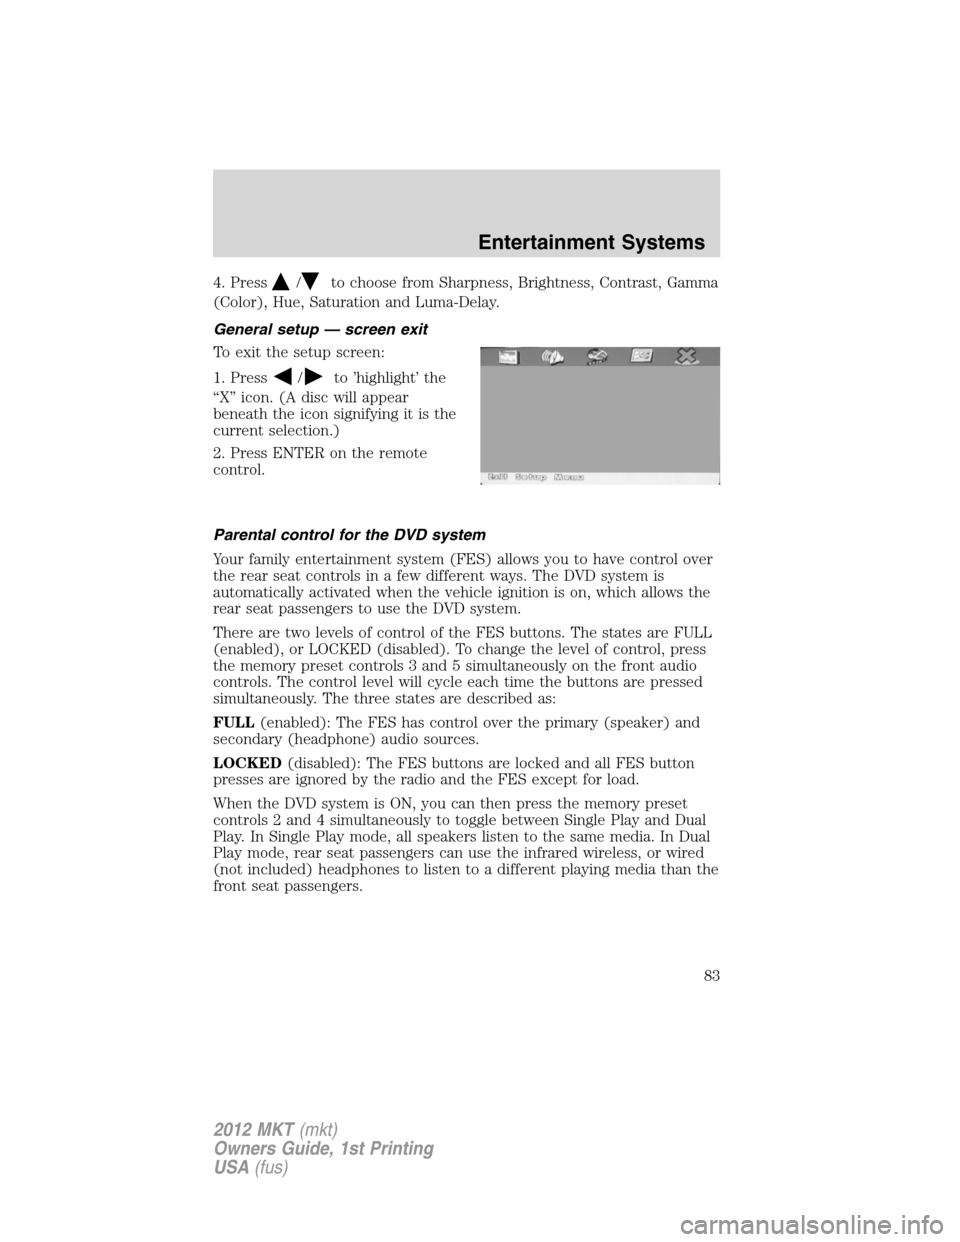
4. Press/to choose from Sharpness, Brightness, Contrast, Gamma
(Color), Hue, Saturation and Luma-Delay.
General setup — screen exit
To exit the setup screen:
1. Press
/to ’highlight’ the
“X” icon. (A disc will appear
beneath the icon signifying it is the
current selection.)
2. Press ENTER on the remote
control.
Parental control for the DVD system
Your family entertainment system (FES) allows you to have control over
the rear seat controls in a few different ways. The DVD system is
automatically activated when the vehicle ignition is on, which allows the
rear seat passengers to use the DVD system.
There are two levels of control of the FES buttons. The states are FULL
(enabled), or LOCKED (disabled). To change the level of control, press
the memory preset controls 3 and 5 simultaneously on the front audio
controls. The control level will cycle each time the buttons are pressed
simultaneously. The three states are described as:
FULL(enabled): The FES has control over the primary (speaker) and
secondary (headphone) audio sources.
LOCKED(disabled): The FES buttons are locked and all FES button
presses are ignored by the radio and the FES except for load.
When the DVD system is ON, you can then press the memory preset
controls 2 and 4 simultaneously to toggle between Single Play and Dual
Play. In Single Play mode, all speakers listen to the same media. In Dual
Play mode, rear seat passengers can use the infrared wireless, or wired
(not included) headphones to listen to a different playing media than the
front seat passengers.
Entertainment Systems
83
2012 MKT(mkt)
Owners Guide, 1st Printing
USA(fus)
Page 85 of 437

Safety information
WARNING:Driving while distracted can result in loss of vehicle
control, accident and injury. Ford strongly recommends that
drivers use extreme caution when using any device or feature that may
take their focus off the road. Your primary responsibility is the safe
operation of the vehicle. We recommend against the use of any handheld
device while driving, encourage the use of voice-operated systems when
possible and that you become aware of applicable state and local laws
that may affect the use of electronic devices while driving.
Read all of the safety and operating instructions before operating the
system and retain for future reference.
Do not attempt to service, repair or modify the Family Entertainment
System (FES). See your dealer.
Do not insert foreign objects into the DVD compartment.
WARNING:Do not leave children unattended in the vehicle and
do not let children operate the system while unsupervised. If
wired headphones or auxiliary systems are used, children may become
entangled in the cords and seriously injure themselves.
WARNING:The front glass on the liquid crystal display (LCD)
flip-down screen may break when hit with a hard surface. If the
glass breaks, do not touch the liquid crystalline material. In case of
contact with skin, wash immediately with soap and water.
WARNING:The driver should not attempt to operate any
function of the DVD system while the vehicle is in motion. Give
full attention to driving and to the road. Pull off the road in a safe
place before inserting or extracting DVDs from the system. A remote
control is included in the system to allow the rear seat occupants to
operate the FES functions without distracting the driver.
Do not expose the liquid crystal display (LCD) flip-down screen
to direct sunlight or intensive ultraviolet rays for extensive
periods of time. Ultraviolet rays deteriorate the liquid crystal.
Be sure to review User Manuals for video games and video game
equipment when used as auxiliary inputs for your Family Entertainment
System (FES).
Entertainment Systems
85
2012 MKT(mkt)
Owners Guide, 1st Printing
USA(fus)
Page 86 of 437
Do not operate video games or video equipment if the power cords
and/or cables are broken, split or damaged. Carefully place cords and/or
cables where they will not be stepped on or interfere with the operation
of seats and/or compartments.
Disconnect video games and video equipment power cords and/or cables
when not in use.
Avoid touching auxiliary input jacks with your fingers. Do not blow on
them or allow them to get wet or dirty.
Do not clean any part of the DVD player with benzene, lacquer thinner,
acetone, or any other solvent.
Federal Communication Commission (FCC) Compliance
Changes or modifications not approved by Ford Lincoln-Mercury could void
user’s authority to operate the equipment. This equipment has been tested
and found to comply with the limits for a Class B digital device, pursuant
to Part 15 of the FCC Rules. These limits are designed to provide
reasonable protection against harmful interference in a residential
installation. This equipment generates, uses and can radiate radio
frequency energy and, if not installed and used in accordance with the
instructions, may cause harmful interference and radio communications.
However, there is no guarantee that interference will not occur in a
particular installation. If this equipment does cause harmful interference
to radio or television reception, which can be determined by turning the
equipment off and on, the user is encouraged to consult the dealer or an
experienced radio/TV technician for help.
Care and service of the DVD player
Environmental extremes
DVD players which are subjected to harsh environmental conditions may
be damaged or perform at less than maximum capability. To avoid these
outcomes, whenever possible avoid exposing your DVD player to:
•extremely hot or cold temperatures.
•direct sunlight.
•high humidity.
•a dusty environment.
•locations where strong magnetic fields are generated.
Temperature extremes
When the vehicle is parked under direct sunlight or in an extremely cold
place for a long period of time, wait until the cabin temperature of the
vehicle is at normal temperature before operating the system.
Entertainment Systems
86
2012 MKT(mkt)
Owners Guide, 1st Printing
USA(fus)
Page 92 of 437
VOICE COMMANDS IN CLIMATE MODE
Please refer to theVoice commands in climate modesection of the
Navigation systemsupplement for more information on using voice
commands with the climate control system.
Operating tips
•To reduce fog build-up on the windshield during humid weather, place
the air flow selector in the
position.
•To reduce humidity build-up inside the vehicle: do not drive with the
system off or with recirculated air engaged.
•Do not put objects under the front seats that will interfere with the
airflow to the back seats.
•Remove any snow, ice or leaves from the air intake area at the base of
the windshield.
•To improve the A/C cool down, drive with the windows slightly open
for 2–3 minutes after starting the vehicle or until the vehicle has
“aired out.”
•A small amount of air may be felt from the floor vent regardless of the
air distribution setting that is selected.
In extremely cold temperatures, to maximize overall heater performance
it is suggested to not operate the auxiliary system (if equipped) until the
engine temperature gauge crosses into the normal operating range.
For maximum cooling performance (MAX A/C):
1. Select MAX A/C. The system will default to single-zone operation and
set the temperature to 60°F (16°C).
2. A/C,
andwill be selected.
3. Fan speed will be increased to the highest speed, but can be adjusted
as desired.
To aid in side window defogging/demisting in cold weather:
1. Select
.
2. Select A/C.
3. Adjust the temperature control to maintain comfort.
4. Set the fan to the highest speed.
5. Direct the outer instrument panel vents toward the side windows.
Climate Controls
92
2012 MKT(mkt)
Owners Guide, 1st Printing
USA(fus)
Page 93 of 437
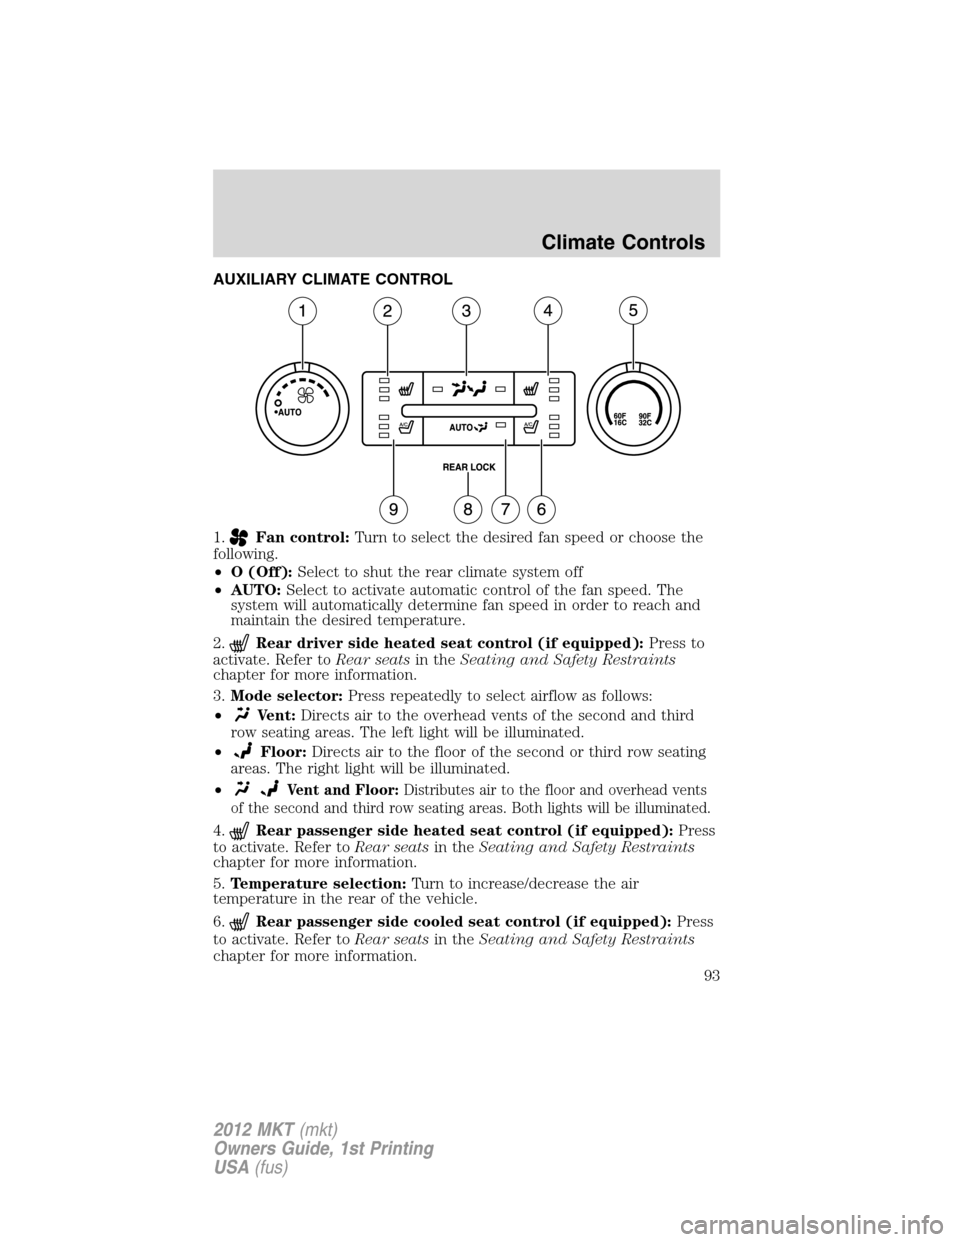
AUXILIARY CLIMATE CONTROL
1.
Fan control:Turn to select the desired fan speed or choose the
following.
•O (Off):Select to shut the rear climate system off
•AUTO:Select to activate automatic control of the fan speed. The
system will automatically determine fan speed in order to reach and
maintain the desired temperature.
2.
Rear driver side heated seat control (if equipped):Press to
activate. Refer toRear seatsin theSeating and Safety Restraints
chapter for more information.
3.Mode selector:Press repeatedly to select airflow as follows:
•
Vent:Directs air to the overhead vents of the second and third
row seating areas. The left light will be illuminated.
•
Floor:Directs air to the floor of the second or third row seating
areas. The right light will be illuminated.
•
Vent and Floor:Distributes air to the floor and overhead vents
of the second and third row seating areas. Both lights will be illuminated.
4.Rear passenger side heated seat control (if equipped):Press
to activate. Refer toRear seatsin theSeating and Safety Restraints
chapter for more information.
5.Temperature selection:Turn to increase/decrease the air
temperature in the rear of the vehicle.
6.
Rear passenger side cooled seat control (if equipped):Press
to activate. Refer toRear seatsin theSeating and Safety Restraints
chapter for more information.
Climate Controls
93
2012 MKT(mkt)
Owners Guide, 1st Printing
USA(fus)
Page 95 of 437
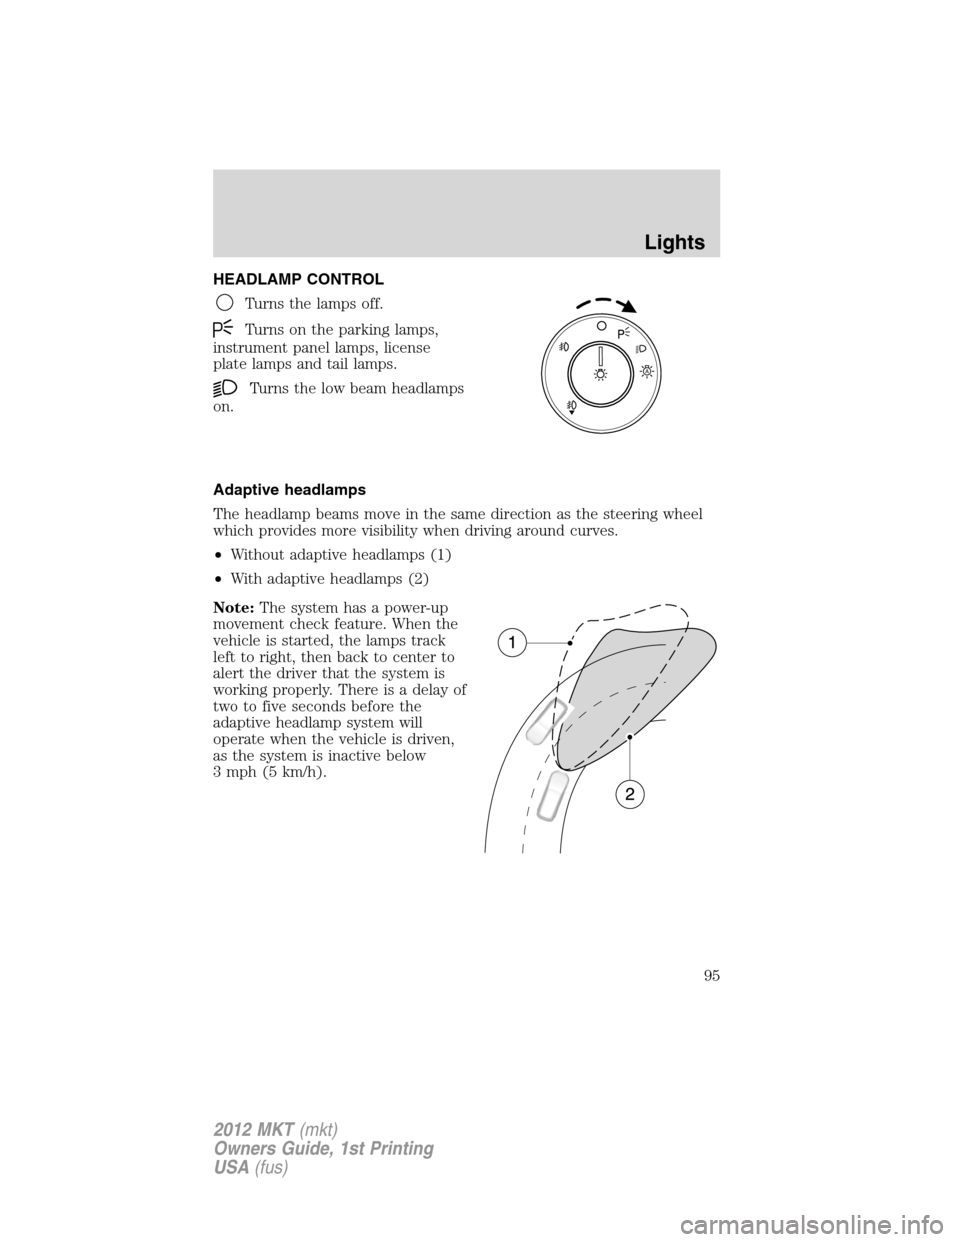
HEADLAMP CONTROL
Turns the lamps off.
Turns on the parking lamps,
instrument panel lamps, license
plate lamps and tail lamps.
Turns the low beam headlamps
on.
Adaptive headlamps
The headlamp beams move in the same direction as the steering wheel
which provides more visibility when driving around curves.
•Without adaptive headlamps (1)
•With adaptive headlamps (2)
Note:The system has a power-up
movement check feature. When the
vehicle is started, the lamps track
left to right, then back to center to
alert the driver that the system is
working properly. There is a delay of
two to five seconds before the
adaptive headlamp system will
operate when the vehicle is driven,
as the system is inactive below
3 mph (5 km/h).
A
Lights
95
2012 MKT(mkt)
Owners Guide, 1st Printing
USA(fus)
Page 96 of 437
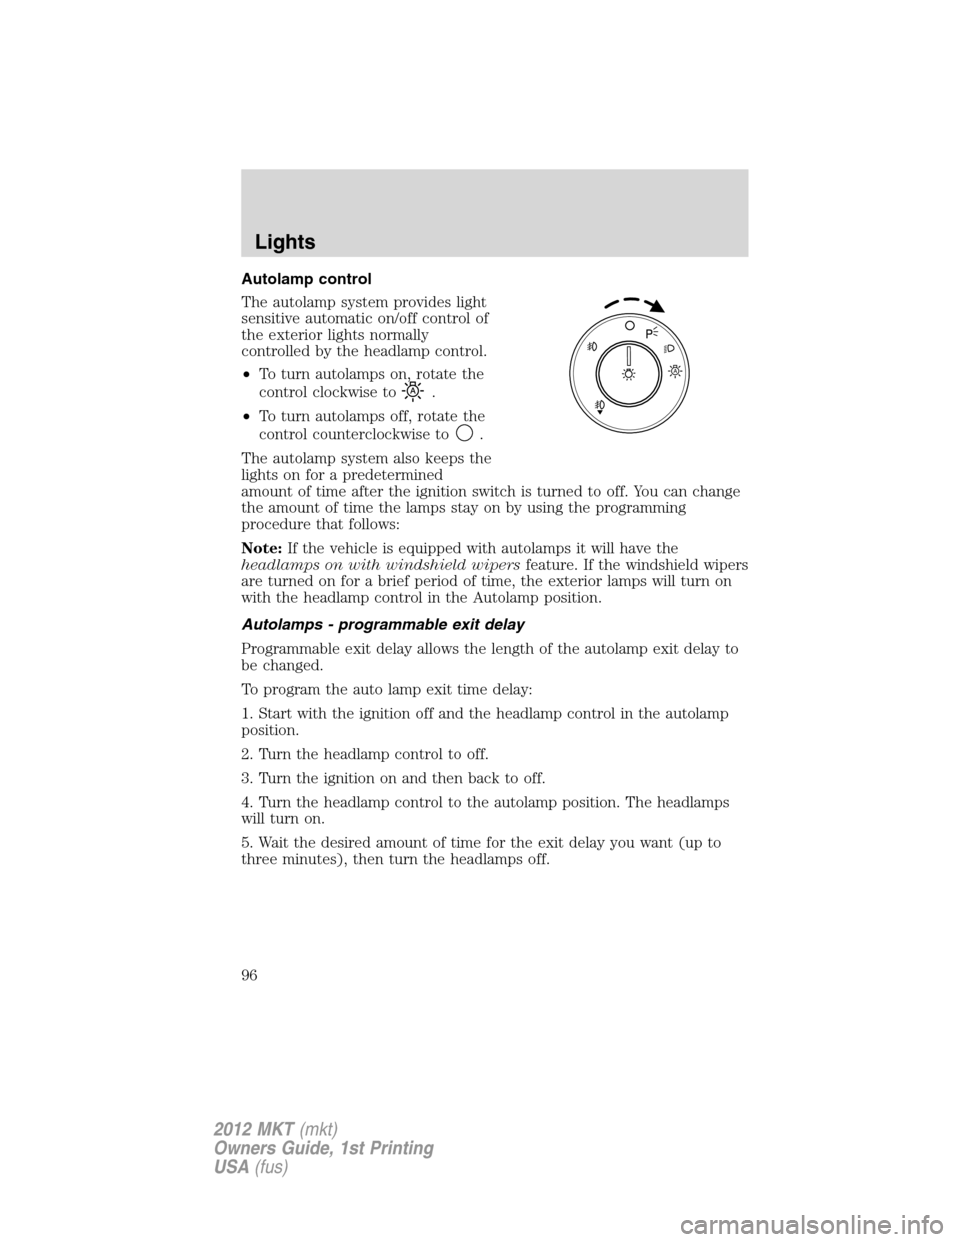
Autolamp control
The autolamp system provides light
sensitive automatic on/off control of
the exterior lights normally
controlled by the headlamp control.
•To turn autolamps on, rotate the
control clockwise to
.
•To turn autolamps off, rotate the
control counterclockwise to
.
The autolamp system also keeps the
lights on for a predetermined
amount of time after the ignition switch is turned to off. You can change
the amount of time the lamps stay on by using the programming
procedure that follows:
Note:If the vehicle is equipped with autolamps it will have the
headlamps on with windshield wipersfeature. If the windshield wipers
are turned on for a brief period of time, the exterior lamps will turn on
with the headlamp control in the Autolamp position.
Autolamps - programmable exit delay
Programmable exit delay allows the length of the autolamp exit delay to
be changed.
To program the auto lamp exit time delay:
1. Start with the ignition off and the headlamp control in the autolamp
position.
2. Turn the headlamp control to off.
3. Turn the ignition on and then back to off.
4. Turn the headlamp control to the autolamp position. The headlamps
will turn on.
5. Wait the desired amount of time for the exit delay you want (up to
three minutes), then turn the headlamps off.
A
Lights
96
2012 MKT(mkt)
Owners Guide, 1st Printing
USA(fus)