Page 137 of 437
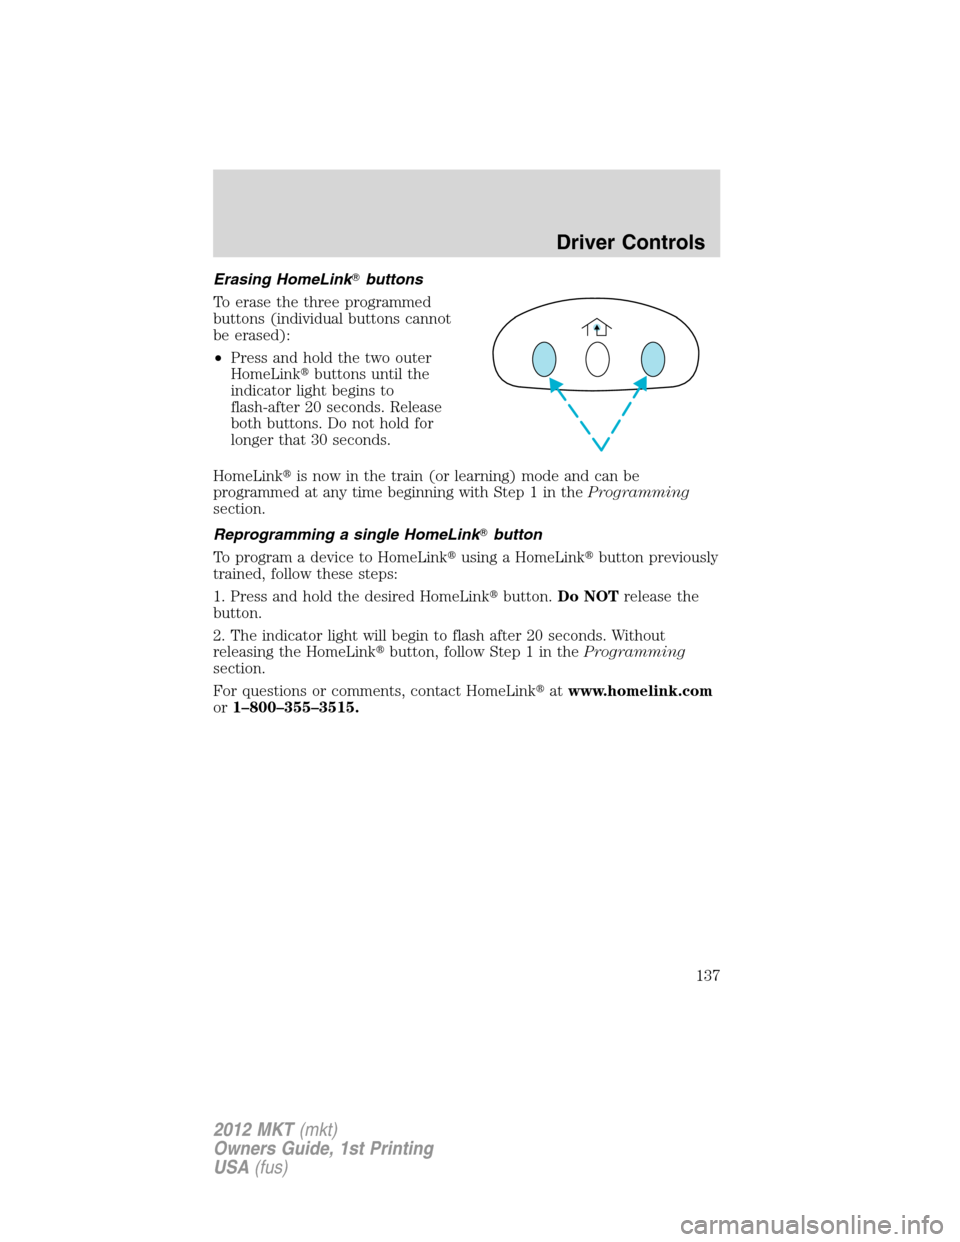
Erasing HomeLink�buttons
To erase the three programmed
buttons (individual buttons cannot
be erased):
•Press and hold the two outer
HomeLink�buttons until the
indicator light begins to
flash-after 20 seconds. Release
both buttons. Do not hold for
longer that 30 seconds.
HomeLink�is now in the train (or learning) mode and can be
programmed at any time beginning with Step 1 in theProgramming
section.
Reprogramming a single HomeLink�button
To program a device to HomeLink�using a HomeLink�button previously
trained, follow these steps:
1. Press and hold the desired HomeLink�button.Do NOTrelease the
button.
2. The indicator light will begin to flash after 20 seconds. Without
releasing the HomeLink�button, follow Step 1 in theProgramming
section.
For questions or comments, contact HomeLink�atwww.homelink.com
or1–800–355–3515.
Driver Controls
137
2012 MKT(mkt)
Owners Guide, 1st Printing
USA(fus)
Page 142 of 437

To reset the power liftgate:
1. Disconnect the battery for 20 seconds then, reconnect the battery.
2. Manually close and fully latch the liftgate.
3. Power open the liftgate by using the transmitter, or the instrument
panel control button.
Note:If the power liftgate system is turned off in the message center,
the system cannot be activated with the outside release handle or rear
cargo area control button. The system will need to be turned on to
resume operation with the outside release handle or rear cargo area
control button. The power liftgate is still operational through the use of
the transmitter and instrument panel button when the power liftgate is
turned off in the message center.
WARNING:Make sure that the liftgate is closed to prevent
exhaust fumes from being drawn into the vehicle. This will also
prevent passengers and cargo from falling out. If you must drive with
the liftgate door open, keep the vehicle well ventilated so outside air
comes into the vehicle.
CARGO AREA FEATURES
Cargo net (if equipped)
The cargo net secures lightweight
objects in the cargo area. Attach the
net to the anchors provided. Do not
put more than 50 lb (22 kg) in the
net.
WARNING:The cargo net
is not designed to restrain
objects during a collision or heavy
braking.
Driver Controls
142
2012 MKT(mkt)
Owners Guide, 1st Printing
USA(fus)
Page 147 of 437

4. On any of the menus press RESET to highlight your choice with the
<…>.
5. Press SETUP to enter your choice. The next optional setting will be
displayed.
6. Repeat Steps 4 and 5 until you are done changing the optional
settings.
Clear MyKey�
To reset all MyKeys�as admin keys, do the following:
1. Turn the vehicle on using the admin key.
2. Press SETUP until PRESS RESET TO CLEAR MYKEY is displayed.
3. Press and release the RESET button. HOLD RESET TO CONFIRM
CLEAR is displayed.
4. Press and hold the RESET button for two seconds until ALL MYKEYS
CLEARED is displayed.
Check MyKey�system status
The vehicle system check will provide the status of the following MyKey�
parameters:
•MYKEY MILES — This odometer only tracks mileage when a MyKey�
is used. If mileage does not accumulate as expected, then the MyKey�
is not being used by the intended user. The only way to reset this
odometer to zero is by clearing MyKey�. If this odometer is lower than
the last time you checked, then the MyKey�system has been recently
cleared.
•# MYKEY(S) PROGRAMMED — Indicates how many MyKeys�are
programmed to the vehicle. Can be used to detect deletion of a
MyKey�.
•# ADMIN KEYS PROGRAMMED — Indicates how many admin keys
are programmed to the vehicle. Can be used to detect if an additional
spare key has been programmed to the vehicle.
Refer toMessage centerin theInstrument Clusterchapter for MyKey�
system warnings displays.
Locks and Security
147
2012 MKT(mkt)
Owners Guide, 1st Printing
USA(fus)
Page 160 of 437

2. Remove the old battery.
Note:Please refer to local
regulations when disposing of
transmitter batteries.
3. Insert the new battery. Refer to
the instructions inside the IA key
for the correct orientation of the
battery. Press the battery down to
ensure that the battery is fully
seated in the battery housing cavity.
4. Snap the battery cover back onto the transmitter and install the
backup key.
Note:Replacement of the battery willnotcause the IA key to become
de-programmed from your vehicle. They should operate normally after
battery replacement.
Replacing lost intelligent access keys (IA keys)
If you would like to have your IA keys reprogrammed because you lost
one, or would like to buy additional transmitters you can either
reprogram them yourself, or takeall transmittersto your authorized
dealer for reprogramming.
How to reprogram your intelligent access keys (IA keys)
To program a new IA keys yourself, refer toSecuriLock�passive
anti-theft systemsection of this chapter.Note:At least two already
programmed transmitters are required to perform this procedure
yourself.
Illuminated entry
The interior lamps, parking lamps and puddle lamps (if equipped)
illuminate when the IA key or the keyless entry keypad is used to unlock
the door(s).
The illuminated entry system will turn off the lights if:
•the ignition is turned on, or
•the
control on the transmitter is pressed, or
•the vehicle is locked using the keyless entry keypad, or
•the vehicle is locked using the key in the driver door cylinder, or
•after 25 seconds of illumination.
Locks and Security
160
2012 MKT(mkt)
Owners Guide, 1st Printing
USA(fus)
Page 161 of 437

The lights will not turn off if:
•they have been turned on with the dimmer control, or
•any door is open.
Illuminated exit
When all vehicle doors are closed and the ignition is turned off, the
interior dome lamps, parking lamps and puddle lamps (if equipped) will
illuminate.
The lights will turn off if all the doors remain closed and
•25 seconds elapse, or
•the start button is pressed.
Battery saver
The battery saver will shut off the lamps 10 minutes after the ignition
has been turned off.
•If the dome lamps were turned on using the panel dimmer control, the
battery saver will shut them off 10 minutes after the ignition has been
turned off.
•If the courtesy lamps were turned on because one of the vehicle doors
or the trunk was opened, the battery saver will shut them off
10 minutes after the ignition has been turned off.
•The battery saver will shut off the headlamps 10 minutes after the
ignition has been turned off.
Accessory mode battery saver for intelligent access keys with
push button start
If you shut off the engine and leave the ignition in the on or accessory
mode, the ignition will shut off after 30 minutes.
Locks and Security
161
2012 MKT(mkt)
Owners Guide, 1st Printing
USA(fus)
Page 162 of 437

SECURICODE™ KEYLESS ENTRY SYSTEM
The keypad, located near the driver’s window, is invisible until touched
and then it lights up so you can see and touch the appropriate buttons.
Note:If you enter your entry code too fast on the keypad, the unlock
function may not work. Re-enter your entry code more slowly.
You can use the keyless entry
keypad to:
•lock or unlock the doors without
using a key.
•recall memory seat/power mirrors
and adjustable pedals (if
equipped).
•enable or disable the autolock
and autounlock features
•activate intelligent access at the
driver door, refer toIntelligent
accessin this chapter.
The keypad can be operated with
the factory set 5–digit entry code;
this code is located on the owner’s wallet card in the glove box and is
available from your authorized dealer. You can also create up to three of
your own 5–digit personal entry codes.
Note:Your keypad will still function normally if you enter your personal
entry code or factory set code. However, if your transmitter is within
range of the driver’s door, an Intelligent Access unlock will also occur
each time you press any number on the keypad. Note that this additional
unlock will not impact keypad functionality, and you can still enter your
code and perform all keypad functions (unlock, lock, liftgate release).
Programming a personal entry code and keypad association to
memory seats, mirrors, and adjustable pedals
To create your own personal entry code:
1. Enter the factory set code.
2. Within five seconds touch the 1•2 on the keypad.
3. Enter your personal 5-digit code. Each number must be entered
within five seconds of each other.
Locks and Security
162
2012 MKT(mkt)
Owners Guide, 1st Printing
USA(fus)
Page 175 of 437
.
Continue pressing to scroll through")
The heated seats will only function when the engine is running.
To operate the heated seats:
Press once to activate the high heat
setting (three indicator lights).
Continue pressing to scroll through
the other settings; medium heat
(two indicator lights), low heat (one indicator light) or off.
If the engine falls below 350 rpm while the heated seats are on, the
feature will turn itself off and will need to be reactivated.
Cooled seats
The cooled seats will only function when the engine is running.
To operate the cooled seats:
Press once to activate the high cool
setting (three indicator lights).
Continue pressing to scroll through
the other settings; medium cool
(two indicator lights), low cool (one indicator light) or off.
If the engine falls below 350 rpm while the cooled seats are on, the
feature will turn itself off and will need to be reactivated.
Climate controlled seats air filter replacement
The climate controlled seat system includes air filters that must be
replaced periodically. Refer to theScheduled maintenance information
for more information.
•There is a filter located under the
rear of each front seat which can
be accessed from the second row
seat. Move the front seats all the
way forward and up to ease
access.
Seating and Safety Restraints
175
2012 MKT(mkt)
Owners Guide, 1st Printing
USA(fus)
Page 184 of 437

WARNING:Before returning the seatback to its original
position, make sure that cargo or any objects are not trapped
behind the seatback. After returning the seatback to its original
position, pull on the seatback to ensure that it has fully latched. An
unlatched seat may become dangerous in the event of a sudden stop or
collision.
Ensure that the rear latch hooks are
properly engaged with the floor
striker.
Note: Ensure that the seat and
seatback are latched securely in
position. Keep floor area free of
objects that would prevent proper
seat engagement.
WARNING:Do not adjust
or release the seat floor
latch while vehicle is in motion.
Do not operate the vehicle with
seats in tumbled position. Always
latch the vehicle seat to the floor,
whether the seat is occupied or
empty. If not latched or if the seat
is tumbled, the seat may cause
injury during a sudden stop.
Second row heated seats (if equipped)
Note:For a list of warnings regarding personal injury and damage to the
seat, refer toFront-row heated and cooled seatsearlier in this chapter.
To operate the heated seats:
•Press the button located on the
rear of the floor console once to
activate high heat.
•Press twice to activate low heat.
•Press a third time to deactivate.
The indicator light on the control will illuminate when activated. For low
heat, one light will be lit; for high heat, both lights will be lit.
Seating and Safety Restraints
184
2012 MKT(mkt)
Owners Guide, 1st Printing
USA(fus)