Page 185 of 407
179
2. SETUP
4
TELEPHONE
ISF_IS_ISC_Navi_EE
6Touch the desired data, or to delete
all the data touch “Select all”, then
touch “OK”.
Multiple data can be selected and
deleted at the same time.
7Touch “Yes”.
THE CALL HISTORY CAN
ALSO BE DELETED
1Press the button or the switch
on the steering wheel.
2Touch “Call history” on the “Tele-
phone” screen.
3Touch “Delete”.
4This screen is displayed.
The following operations are per-
formed in the same manner as when
they are performed from the “Setup”
screen.
Other call history can be operated simi-
larly.
Deleting after call history has been
displayed
1Press the button or the switch
on the steering wheel.
2Touch “Call history” on the “Tele-
phone” screen.
3Touch the desired history to be delet-
ed.
4Touch “Delete”.
5Touch “Yes”.
Page 186 of 407
180
2. SETUP
ISF_IS_ISC_Navi_EE
1Press the “SETUP” button.
2Touch “Telephone” on the “Setup”
screen.
3Touch “Message settings”.
4Perform each setting according to
the procedures outlined on the fol-
lowing pages.
5Touch “OK” when each setting is
completed.
1Press the button or the switch
on the steering wheel.
2Touch “Messages” on the “Tele-
phone” screen.
3Touch “Options”.
MESSAGE SETTINGS
Message settings can be changed.
THE “Message settings”
SCREEN CAN ALSO BE
DISPLAYED
Page 192 of 407
186
2. SETUP
ISF_IS_ISC_Navi_EE
1Touch “Incoming call display
mode”.
2Touch “Full screen” or “Drop
down”.
3Touch “OK”.
1Touch “Rotate contact image”.
INCOMING CALL DISPLAY
The type of incoming call display
can be selected.Screen buttonFunction
“Full screen”
When a call is re-
ceived, the hands-free
screen is displayed and
it can be operated on
the screen.
“Drop down”
The message is dis-
played on the upper
side of the screen and it
can only be operated
via the steering wheel
switches.
ROTATING CONTACT
IMAGES
For PBAP compatible models, when
“Contact image for incoming calls”
is set to “On”, images stored together
with telephone numbers in the cellu-
lar phone’s phonebook will be trans-
ferred and displayed during the
incoming call. The orientation of the
image can be set.
Page 206 of 407

5
199
1
3
4
6
7
8
9
10
5
2
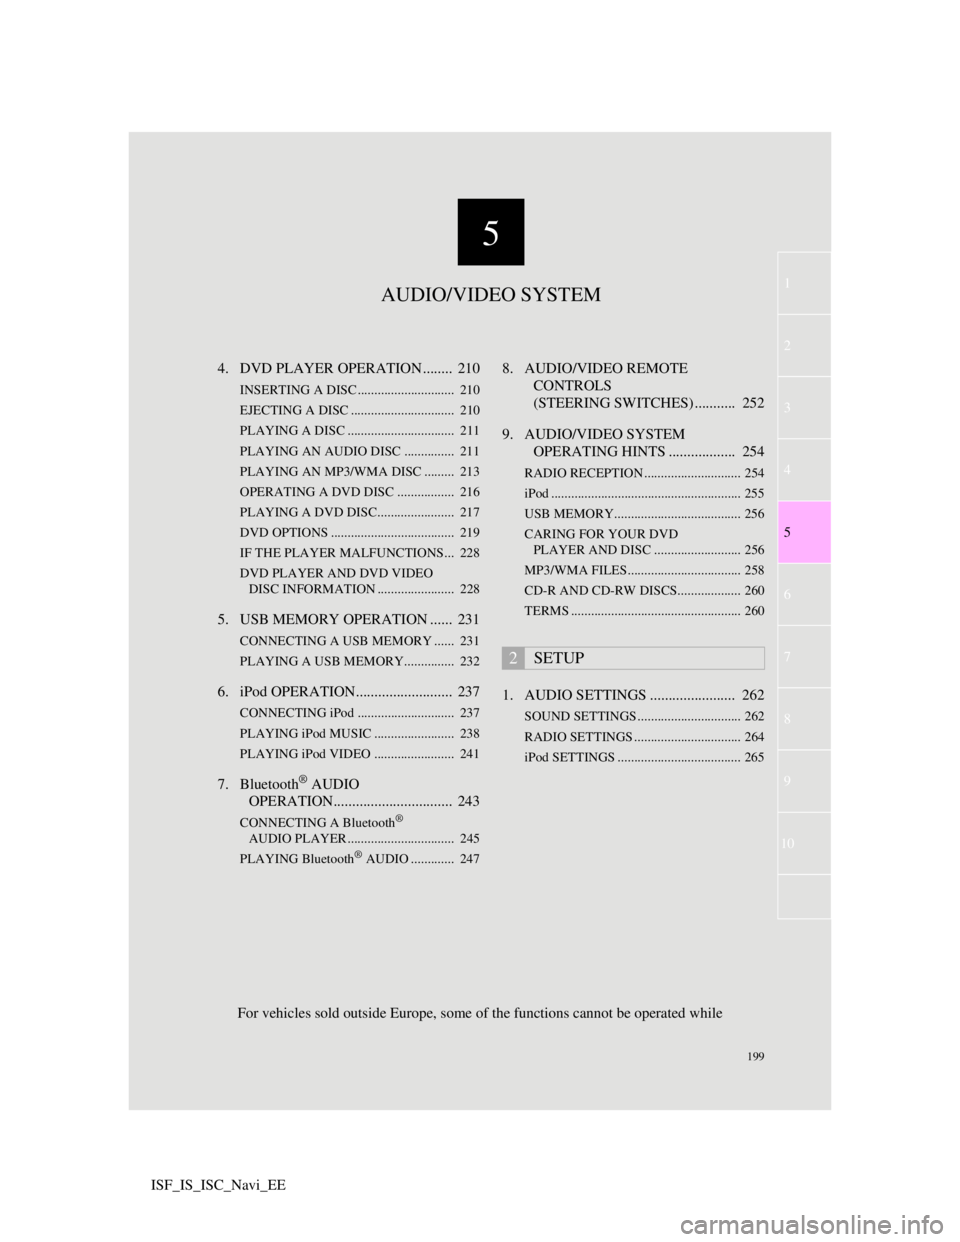
ISF_IS_ISC_Navi_EE4. DVD PLAYER OPERATION ........ 210
INSERTING A DISC ............................. 210
EJECTING A DISC ............................... 210
PLAYING A DISC ................................ 211
PLAYING AN AUDIO DISC............... 211
PLAYING AN MP3/WMA DISC ......... 213
OPERATING A DVD DISC ................. 216
PLAYING A DVD DISC....................... 217
DVD OPTIONS ..................................... 219
IF THE PLAYER MALFUNCTIONS... 228
DVD PLAYER AND DVD VIDEO
DISC INFORMATION ....................... 228
5. USB MEMORY OPERATION ...... 231
CONNECTING A USB MEMORY ...... 231
PLAYING A USB MEMORY............... 232
6. iPod OPERATION.......................... 237
CONNECTING iPod ............................. 237
PLAYING iPod MUSIC ........................ 238
PLAYING iPod VIDEO ........................ 241
7. Bluetooth® AUDIO
OPERATION................................ 243
CONNECTING A Bluetooth®
AUDIO PLAYER ................................ 245
PLAYING Bluetooth
® AUDIO ............. 247
8. AUDIO/VIDEO REMOTE
CONTROLS
(STEERING SWITCHES) ........... 252
9. AUDIO/VIDEO SYSTEM
OPERATING HINTS .................. 254
RADIO RECEPTION ............................. 254
iPod ......................................................... 255
USB MEMORY...................................... 256
CARING FOR YOUR DVD
PLAYER AND DISC .......................... 256
MP3/WMA FILES.................................. 258
CD-R AND CD-RW DISCS................... 260
TERMS ................................................... 260
1. AUDIO SETTINGS ....................... 262
SOUND SETTINGS ............................... 262
RADIO SETTINGS ................................ 264
iPod SETTINGS ..................................... 265
2SETUP
AUDIO/VIDEO SYSTEM
For vehicles sold outside Europe, some of the functions cannot be operated while
Page 259 of 407

252
1. AUDIO/VIDEO SYSTEM OPERATION
ISF_IS_ISC_Navi_EE
8. AUDIO/VIDEO REMOTE CONTROLS (STEERING SWITCHES)
Volume control switch
Press the “+” side to increase the vol-
ume. The volume continues to increase
while the switch is being pressed.
Press the “-” side to decrease the vol-
ume. The volume continues to decrease
while the switch is being pressed.“ ” switch
AM/FM
To select a preset station: Quickly press
and release the “ ” or “ ” switch. Re-
peat this to select the next preset station.
To seek a station: Press and hold the “ ”
or “ ” switch until a beep is heard. Re-
peat this to find the next station. If either
switch is pressed during seek mode,
seeking will be canceled.
DVD player
Use the “ ” or “ ” switch to skip up or
down to a different track, file or chapter
in either direction.
To select a desired track, file or chapter:
Quickly press and release the “ ” or
“ ” switch until the desired track, file or
chapter to play is selected. To return to
the beginning of the current track, file or
chapter, press the “ ” switch once
quickly.
To select a desired folder: Press and
hold the “ ” or “ ” switch until a beep
is heard to change to the next or the pre-
vious folder. Repeat it until the desired
folder is selected.
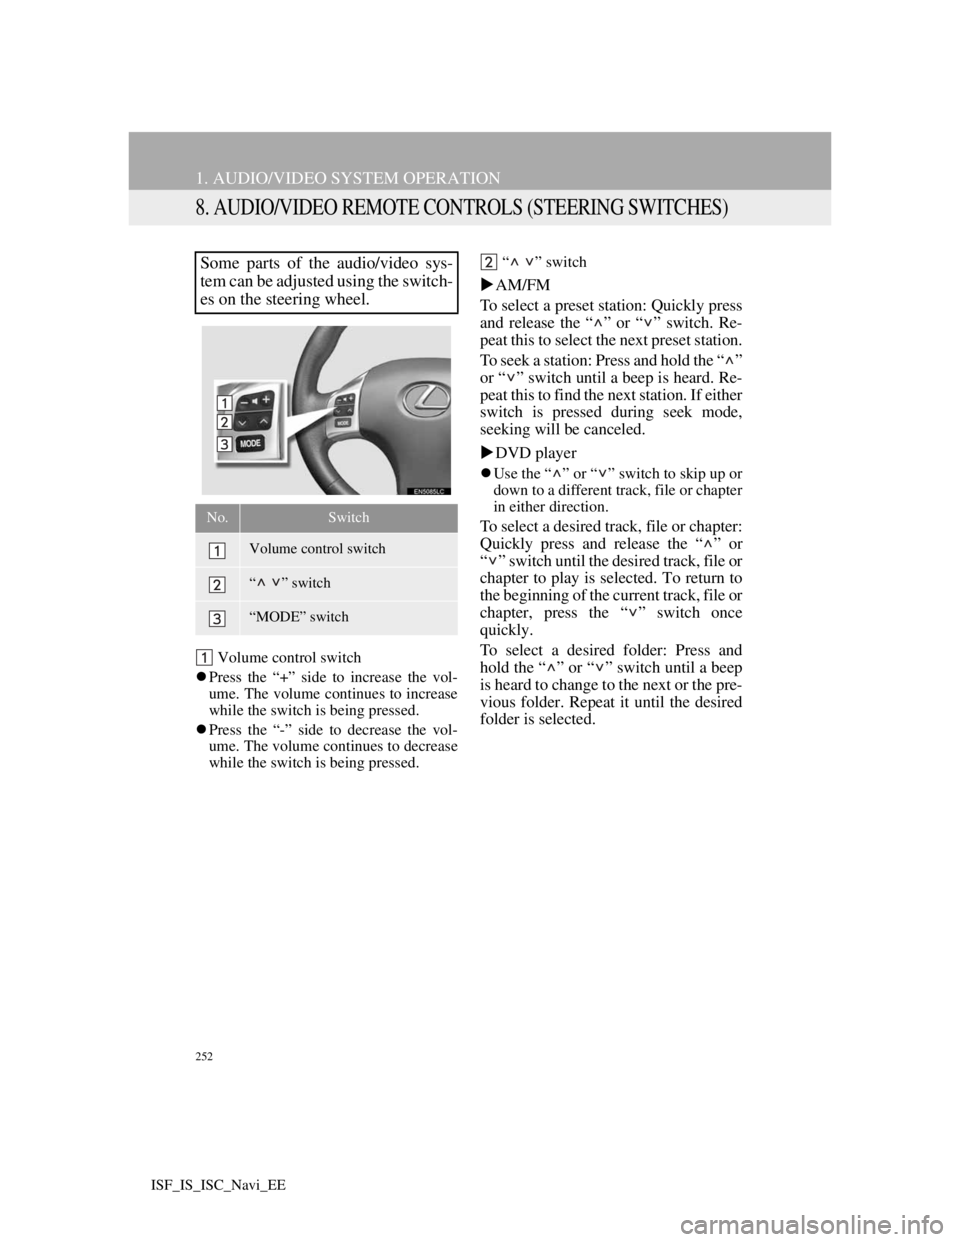
Some parts of the audio/video sys-
tem can be adjusted using the switch-
es on the steering wheel.
No.Switch
Volume control switch
“” switch
“MODE” switch
Page 288 of 407
281
1
2
3
7
5
6
7
8
9
10
4
ISF_IS_ISC_Navi_EE1. SPEECH COMMAND SYSTEM .. 282
STEERING SWITCHES FOR THE
SPEECH COMMAND SYSTEM ........ 282
SPEECH COMMAND SYSTEM
OPERATION ....................................... 282
2. COMMAND LIST ......................... 288
1SPEECH COMMAND
SYSTEM OPERATION
SPEECH COMMAND SYSTEM
Page 289 of 407

282
ISF_IS_ISC_Navi_EE
1. SPEECH COMMAND SYSTEM OPERATION
1. SPEECH COMMAND SYSTEM
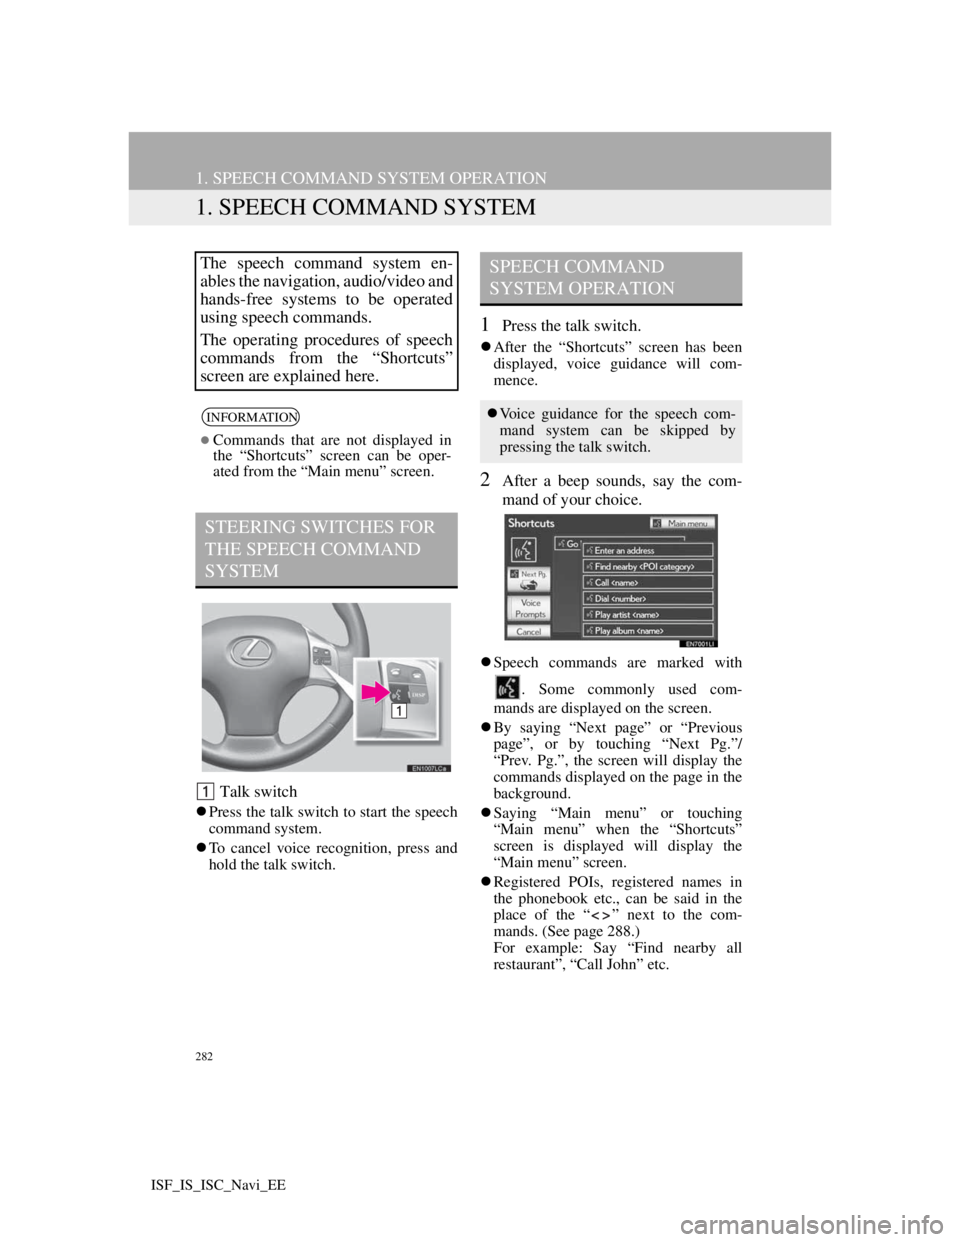
Talk switch
Press the talk switch to start the speech
command system.
To cancel voice recognition, press and
hold the talk switch.
1Press the talk switch.
After the “Shortcuts” screen has been
displayed, voice guidance will com-
mence.
2After a beep sounds, say the com-
mand of your choice.
Speech commands are marked with
. Some commonly used com-
mands are displayed on the screen.
By saying “Next page” or “Previous
page”, or by touching “Next Pg.”/
“Prev. Pg.”, the screen will display the
commands displayed on the page in the
background.
Saying “Main menu” or touching
“Main menu” when the “Shortcuts”
screen is displayed will display the
“Main menu” screen.
Registered POIs, registered names in
the phonebook etc., can be said in the
place of the “ ” next to the com-
mands. (See page 288.)
For example: Say “Find nearby all
restaurant”, “Call John” etc.
The speech command system en-
ables the navigation, audio/video and
hands-free systems to be operated
using speech commands.
The operating procedures of speech
commands from the “Shortcuts”
screen are explained here.
INFORMATION
Commands that are not displayed in
the “Shortcuts” screen can be oper-
ated from the “Main menu” screen.
STEERING SWITCHES FOR
THE SPEECH COMMAND
SYSTEM
SPEECH COMMAND
SYSTEM OPERATION
Voice guidance for the speech com-
mand system can be skipped by
pressing the talk switch.
Page 332 of 407

325
1. LEXUS PARKING ASSIST MONITOR
10
PERIPHERAL MONITORING SYSTEM
ISF_IS_ISC_Navi_EE
CAUTION
The instructions given are only guide-
lines. When and how much to turn the
steering wheel will vary according to
traffic conditions, road surface condi-
tions, vehicle condition, etc. when
parking. It is necessary to be fully
aware of this before using the parking
assist system.
When parking, be sure to check that
the parking space will accommodate
your vehicle before maneuvering into
it.
Do not use system in the following
cases:
• On icy or slick road surfaces, or in
snow
• When using tyre chains
• When the trunk is not closed com-
pletely
• When the retractable hardtop is open
partially. (IS250C)
• On roads that are not flat or straight,
such as curves or slopes
In low temperatures, the screen may
darken or the image may become
faint. The image could distort when
the vehicle is moving, or you may
become unable to see the image on
the screen. Be sure to visually check
all around the vehicle both directly
and using the mirrors before proceed-
ing.
If the tyre sizes are changed, the posi-
tion of the guide lines displayed on
the screen may change.
The camera uses a special lens. The
distances between objects and pedes-
trians that appear in the image dis-
played on the screen will differ from
the actual distances. (See page 345.)