Page 198 of 458
&Adjustable level of each mode
Mode Range of levels (displayed)Initial setting Turn counterclockwise Turn clockwise
Volume Volume control 0 to 40 15 For less volume For more volume AUX volume control* 0 to 40 15 For less volume For more volume
Tone and balance Bass control �8 to +8 0 For less bass sound For more bass sound
Midrange control �8 to +8 0 For less midrange sound For more midrange sound
Treble control �8 to +8 0 For less treble sound For more treble sound
Balance L9 to R9 0 Right channel attenuated Left channel attenuated
Fader R9 to F9 0 Front attenuated Rear attenuated
Other settings SPEED VOLUME OFF to 2 OFF For less auto volume change For more auto volume change
BEEP OFF to ON ON OFF ON
CS Auto (Type B audio) OFF to ON OFF OFF ON
*: For type A and B audio, AUX volume can be adjusted only when an AUX audio product is connected. Audio
5-11
Page 199 of 458
5-12Audio
FM/AM radio operation &FM/AM selection
Type A and B audio
Type C audio
Push the “FM/AM ”button when the radio is off to turn on the radio.
Push the
“FM/AM ”button when the radio
is on to select FM1, FM2, FM3 or AM reception.
Each brief press of the “FM/AM ”button
changes the radio in the following se-
quence starting from the last radio band
with you selected.
& Tuning
! Manual tuning
Type A and B audio
Type C audio
Turn the “TUNE/TRACK/CH ”dial clock-
wise to increase the tuning frequency and
turn the “TUNE/TRACK/CH ”dial counter-
clockwise to decrease it.
Each time the dial is turned, the frequency
interval can be changed between 10 kHz
in the AM mode and 0.2 MHz in the FMmode. ! Stereo indicator
The stereo indicator “ST ”will illuminate
when an FM stereo broadcast is received.
Page 206 of 458
&Band selection
Type A and B audio
Type C audio
Push the “SAT ”button when the radio is
off to turn on the radio.
Push the “SAT ”button when the radio is on to select SAT1, SAT2 or SAT3 recep- tion.
& Channel and category selec- tion
! Channel selection
Type A and B audio
Type C audio
Turn the “TUNE/TRACK/CH ”dial clock-
wise to select the next channel and turn the “TUNE/TRACK/CH ”dial counterclock-
wise to select the previous channel. Audio
5-19
– CONTINUED –
Page 213 of 458
5-26Audio
& To select a track from its beginning
! Forward direction
Type A and B audio
Type C audio Turn the
“TUNE/TRACK/CH ”dial clock-
wise to skip to the beginning of the next
track/file. Each time the dial is turned, the
indicated track/file number will increase. NOTE
In an MP3, WMA or AAC (type C audio)
folder, skipping past the last track/file
will take you back to the first track/file
in the folder. ! Backward direction
Type A and B audio
Type C audio
Turn the “TUNE/TRACK/CH ”dial counter-
clockwise to skip to the beginning of the
current track/file. Each time the dial is
turned, the indicated track/file number willdecrease.
NOTE
In an MP3, WMA or AAC (type C audio)
folder, skipping past the first track/file
will take you to the last track/file in the
folder.
Page 228 of 458

&Random playback
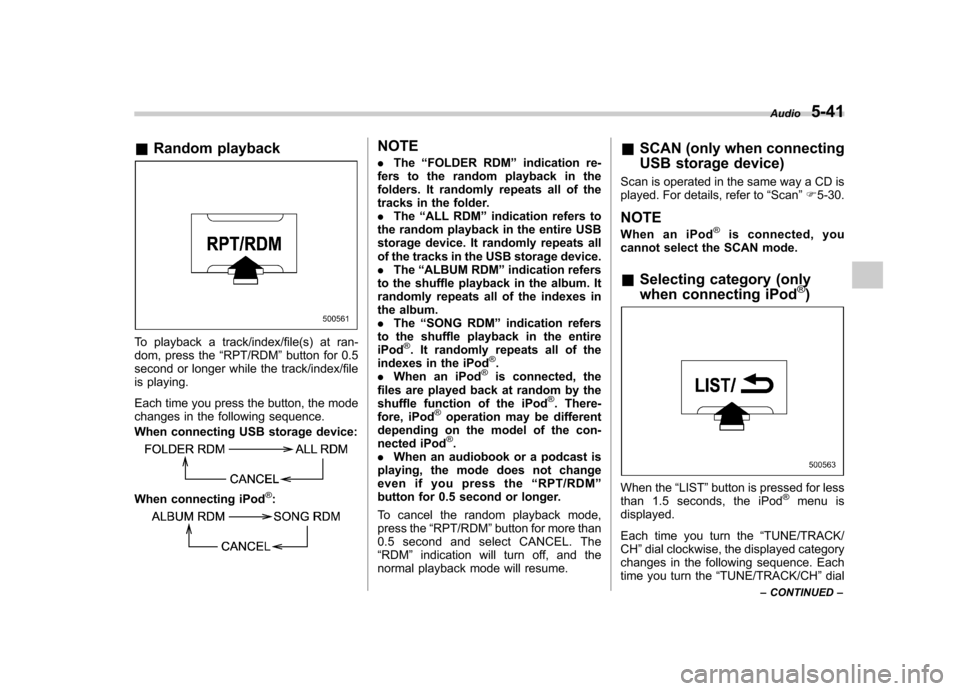
To playback a track/index/file(s) at ran-
dom, press the “RPT/RDM ”button for 0.5
second or longer while the track/index/file
is playing.
Each time you press the button, the mode
changes in the following sequence.
When connecting USB storage device:
When connecting iPod®:
NOTE . The “FOLDER RDM ”indication re-
fers to the random playback in the
folders. It randomly repeats all of the
tracks in the folder.. The “ALL RDM ”indication refers to
the random playback in the entire USB
storage device. It randomly repeats all
of the tracks in the USB storage device.. The “ALBUM RDM ”indication refers
to the shuffle playback in the album. It
randomly repeats all of the indexes in
the album.. The “SONG RDM ”indication refers
to the shuffle playback in the entireiPod
®. It randomly repeats all of the
indexes in the iPod®.
. When an iPod®is connected, the
files are played back at random by the
shuffle function of the iPod
®. There-
fore, iPod®operation may be different
depending on the model of the con-
nected iPod
®.
. When an audiobook or a podcast is
playing, the mode does not change
even if you press the “RPT/RDM ”
button for 0.5 second or longer.
To cancel the random playback mode,
press the “RPT/RDM ”button for more than
0.5 second and select CANCEL. The“ RDM ”indication will turn off, and the
normal playback mode will resume. &
SCAN (only when connecting
USB storage device)
Scan is operated in the same way a CD is
played. For details, refer to “Scan ”F 5-30.
NOTE
When an iPod
®is connected, you
cannot select the SCAN mode.
& Selecting category (only
when connecting iPod
®)
When the “LIST ”button is pressed for less
than 1.5 seconds, the iPod®menu is
displayed.
Each time you turn the “TUNE/TRACK/
CH ”dial clockwise, the displayed category
changes in the following sequence. Each
time you turn the “TUNE/TRACK/CH ”dial
Audio
5-41
– CONTINUED –
Page 229 of 458

5-42Audio
counterclockwise, the displayed category
changes in the opposite sequence.
To select the category, press the “TUNE/
TRACK/CH ”dial. To close the iPod®
menu, press the “LIST ”button for more
than 1.5 seconds. To return to the pre-
vious screen, briefly press the “LIST ”
button. & Display selection
Refer to “Display selection ”F 5-30.
! Page scroll
Refer to “Page (track/folder title) scroll ”
F 5-31.
& Folder selection (only when
connecting USB storage de- vice)
Refer to “Folder selection ”F 5-31. NOTE
When an iPod
®is connected, you
cannot select a folder. & When “CHECK DEVICE ”is
displayed
This message is displayed under the
following conditions. . When there is a short in the USB bus
. When a non-corresponding device (for
example a USB mouse) is connected. When a non-corresponding iPod
®is
connected . When a connected iPod
®is frozen
. When a transmission malfunction oc-
curs . When an iPod
®confirmation malfunc-
tion occurs. When a HUB class USB storage
device is connected
Disconnect the USB storage device/iPod
®
and check it. Audio control buttons (if
equipped)
These buttons are located on the spokes
of the steering wheel. They allow the
driver to control audio functions without
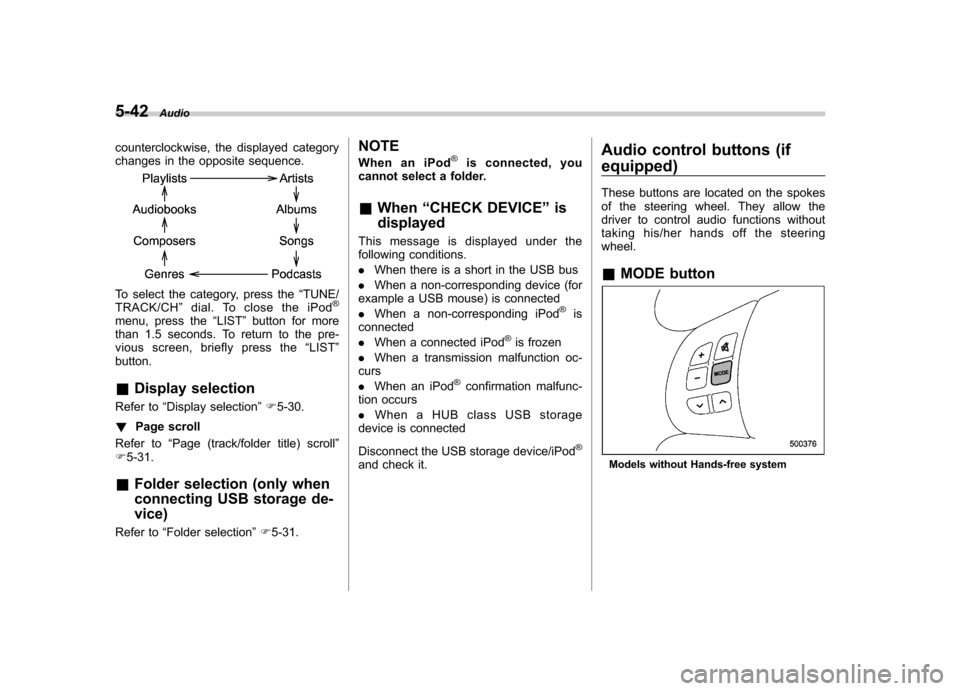
taking his/her hands off the steeringwheel. &
MODE buttonModels without Hands-free system
Page 254 of 458
&Glove box
1) Lock
2) Unlock
To open the glove box, pull the handle. To
close it, push the lid firmly upward.
To lock the glove box, insert the key and
turn it clockwise. To unlock the glove box,
insert the key and turn it counterclockwise. &
Center consoleTo open the lid, pull up the lock release. &Coin tray (if equipped)
A coin tray is built in the center console. Cup holders
CAUTION
Take care to avoid spills. Beverages,
if hot, might burn you or your
passengers. Spilled beverages may
also damage upholstery, carpets or
audio equipment.
& Front passenger ’s cup holder
CAUTION
Do not pick up a cup from the cup
holder or put a cup in the holder
while you are driving, as this may
distract you and lead to an accident. Interior equipment
6-5
– CONTINUED –
Page 268 of 458

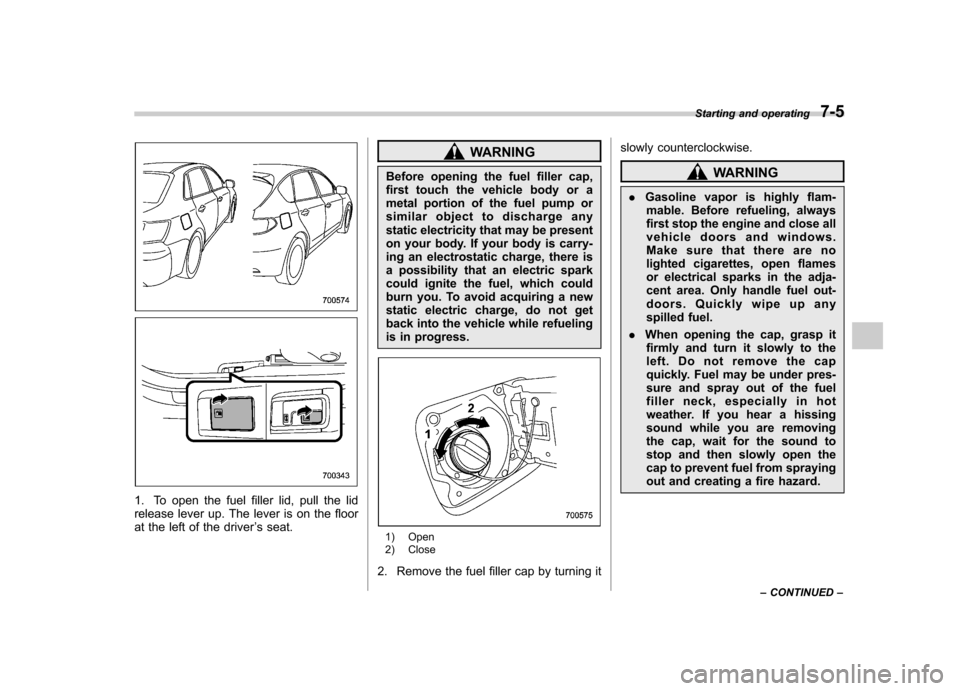
1. To open the fuel filler lid, pull the lid
release lever up. The lever is on the floor
at the left of the driver’s seat.
WARNING
Before opening the fuel filler cap,
first touch the vehicle body or a
metal portion of the fuel pump or
similar object to discharge any
static electricity that may be present
on your body. If your body is carry-
ing an electrostatic charge, there is
a possibility that an electric spark
could ignite the fuel, which could
burn you. To avoid acquiring a new
static electric charge, do not get
back into the vehicle while refueling
is in progress.
1) Open
2) Close
2. Remove the fuel filler cap by turning it slowly counterclockwise.
WARNING
. Gasoline vapor is highly flam-
mable. Before refueling, always
first stop the engine and close all
vehicle doors and windows.
Make sure that there are no
lighted cigarettes, open flames
or electrical sparks in the adja-
cent area. Only handle fuel out-
doors. Quickly wipe up any
spilled fuel.
. When opening the cap, grasp it
firmly and turn it slowly to the
left. Do not remove the cap
quickly. Fuel may be under pres-
sure and spray out of the fuel
filler neck, especially in hot
weather. If you hear a hissing
sound while you are removing
the cap, wait for the sound to
stop and then slowly open the
cap to prevent fuel from spraying
out and creating a fire hazard. Starting and operating
7-5
– CONTINUED –