Page 9 of 200
4
2c
2e
7b
7a
2d8
2e
7b
2c
7a4
2d
8
7
1
FAMILIARISATION
20
22
Rear roof fl ap
The rear roof fl ap is only
compatible with the hinged doors.
Changing bulbs
11 7 11 2
Spare wheel
Hinged rear doors
Tailgate and rear screen
The tools are located under
the right-hand seat.
Raise the carrier with the
wheel fl ush against the fl oor.
23 Asymmetrical (2/3 - 1/3).
This lock makes it possible
to keep the large door closed
and drive with the small door
open.
This control permits opening
to approximately 180°.
Useable dimensions
128
Parking sensors
81
Exterior
Page 36 of 200

34
Instruments and controls
Puncture
Stop immediately, avoiding any sudden
movement of the steering wheel and
the brakes.
Change the damaged (punctured or
very defl ated) tyre, and have the tyre
pressure checked as soon as possible.
Sensor(s) not detected
Under-infl ation detection is absent
from one (or several) tyre(s). Contact a
PEUGEOT dealer to replace the faulty
sensor(s).
This message is also displayed when
one of the tyres is away from the
vehicle (being repaired) or when a
wheel without a sensor is fi tted.
All repairs and changing of tyres on a
wheel fi tted with this system must be
carried out by a PEUGEOT dealer.
The tyre under-infl ation detection
system is a driving aid which does
not take the place of vigilance or the
responsibility of the driver.
This system does not remove the need
to have the tyre pressure checked
regularly (including the spare wheel), to
ensure that the dynamic performance
of the vehicle remains at its best and
to avoid premature wear of the tyres,
in particular in the case of arduous
driving (heavy load, high speed).
The system may temporarily be
disturbed by radio broadcasts on a
frequency close to it.
DETECTION
- CO (carbon monoxide),
- HC (unburnt hydrocarbons),
- NOx (nitrogen oxides) or particles,
detected by oxygen sensors placed
upstream and downstream of the
catalytic converters.
Therefore, the driver is warned of any
malfunction of this emission control
system by the lighting of this specifi c
warning lamp on the instrument panel.
There is a risk of damage to the
catalytic converter. Have it checked by
a PEUGEOT dealer.
EMISSION CONTROL
Flat tyre
Check the tyre pressure as soon as
possible.
Refer to the "Changing a wheel"
section of chapter 7.
If the damaged tyre is temporarily
stored inside the vehicle, it will again
emit this message to remind you of the
necessity of having it repaired. This will
prevent another warning of the same
type being displayed.
Sensors check the tyre pressure during
driving (speed higher than 12 mph
[20 km/h]) and trigger a warning in the
event of a malfunction or puncture.
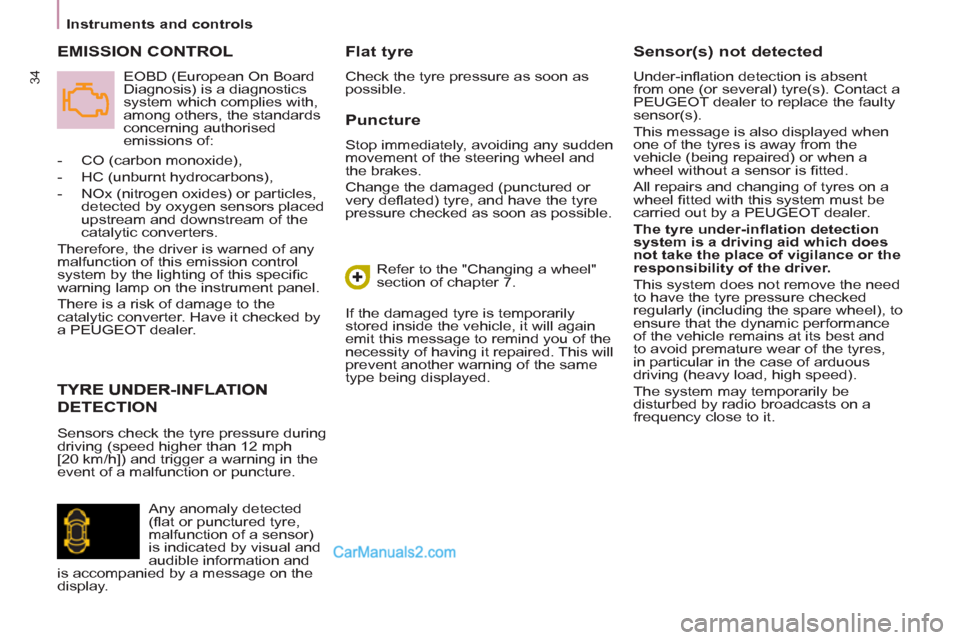
EOBD (European On Board
Diagnosis) is a diagnostics
system which complies with,
among others, the standards
concerning authorised
emissions of:
Any anomaly detected
(fl at or punctured tyre,
malfunction of a sensor)
is indicated by visual and
audible information and
is accompanied by a message on the
display.
Page 114 of 200

11 2
Changing a wheel
1. PARKING THE VEHICLE
- Tthe occupants must get out of the
vehicle and wait in a safe location.
- If possible, park the vehicle on
level, stable and non-slippery
ground.
- Apply the parking brake, switch
off the ignition and engage fi rst or
reverse gear.
- If available, place a chock under
the wheel diagonally opposite the
one to be changed.
If the vehicle is fi tted with a towbar,
it is sometimes necessary to raise
the vehicle slightly to make it easier
to remove the spare wheel from its
carrier.
On certain types of ground and/or
if considerable loads are being
transported, call a PEUGEOT dealer.
CHANGING A WHEEL
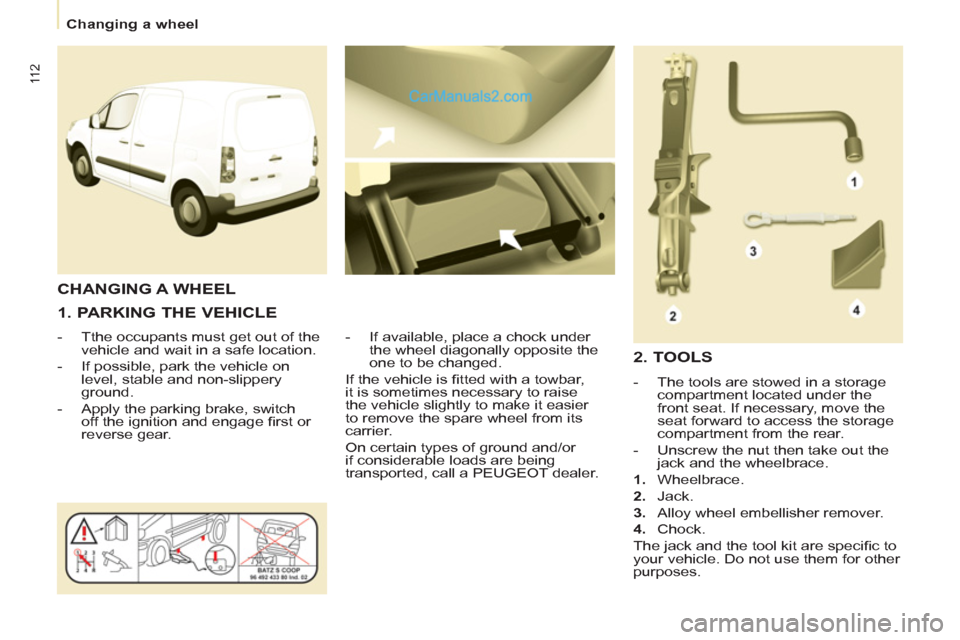
2. TOOLS
- The tools are stowed in a storage
compartment located under the
front seat. If necessary, move the
seat forward to access the storage
compartment from the rear.
- Unscrew the nut then take out the
jack and the wheelbrace.
1.
Wheelbrace.
2.
Jack.
3.
Alloy wheel embellisher remover.
4.
Chock.
The jack and the tool kit are specifi c to
your vehicle. Do not use them for other
purposes.
Page 115 of 200
11 3
QUICK HEL
P
7
Changing a wheel
3. SPARE WHEEL
- Detach the carrier from the hook
and place the spare wheel near the
wheel to be changed.
- Unscrew the bolt using the
wheelbrace until the carrier is
lowered fully.
- Open the rear doors to gain access
to the spare wheel.
Page 117 of 200
11 5
QUICK HEL
P
7
Changing a wheel
- Lower the vehicle completely by
folding the jack, then remove the
jack.
- Tighten the bolts again using the
wheelbrace, tighten them fully
without forcing them.
- Place the wheel to be repaired in
the carrier.
- Secure the carrier on the hook then
raise the carrier using the bolt and
the wheelbrace.
Never go underneath a vehicle
that is supported only by a
jack (use a ramp). Never use
a screwdriver in place of the
wheelbrace.
5. FITTING THE SPARE WHEEL
- Position the wheel on the hub and
start tightening the bolts by hand.
- Carry out an initial tightening of the
bolts using the wheelbrace.
Page 118 of 200

11 6
Snow screen
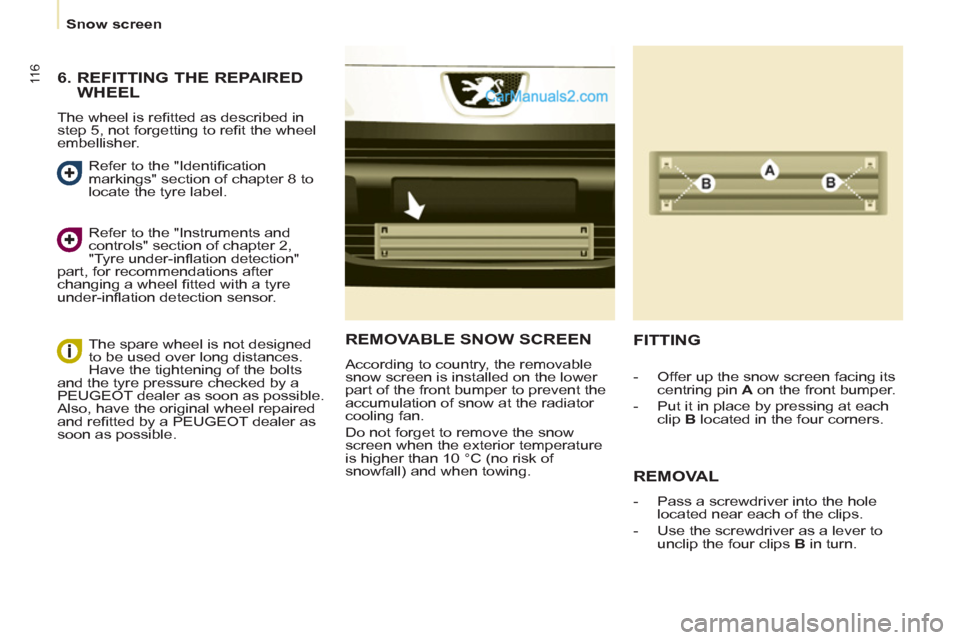
REMOVABLE SNOW SCREEN
According to country, the removable
snow screen is installed on the lower
part of the front bumper to prevent the
accumulation of snow at the radiator
cooling fan.
Do not forget to remove
the snow
screen when the exterior temperature
is higher than 10 °C (no
risk of
snowfall) and when towing.
FITTING
REMOVAL
- Pass a screwdriver into the hole
located near each of the clips.
- Use the screwdriver as a lever to
unclip the four clips B
in turn.
- Offer up the snow screen facing its
centring pin A
on the front bumper.
- Put it in place by pressing at each
clip B
located in the four corners.
6. REFITTING THE REPAIRED
WHEEL
The wheel is refi tted as described in
step 5, not forgetting to refi t the wheel
embellisher.
Refer to the "Identifi cation
markings" section of chapter 8 to
locate the tyre label.
Refer to the "Instruments and
controls" section of chapter 2,
"Tyre under-infl ation detection"
part, for recommendations after
changing a wheel fi tted with a tyre
under-infl ation detection sensor.
The spare wheel is not designed
to be used over long distances.
Have the tightening of the bolts
and the tyre pressure checked by a
PEUGEOT dealer as soon as possible.
Also, have the original wheel repaired
and refi tted by a PEUGEOT dealer as
soon as possible.
Page 127 of 200
125
QUICK HEL
P
7
Changing a fuse
FUSES UNDER THE BONNET
After opening the bonnet, unclip and tilt
the box to gain access to the fuses. Fuses
F
Amperes
A
Allocation
1 20 Engine management
2 15 Horn
3 10 Front and rear screenwash pump
4 20 Headlamp wash pump
5 15 Engine components
6 10 Steering wheel angle sensor, ESP
7 10 Brake switch, clutch switch
8 25 Starter
9 10 Headlamp beam motor, parc management unit
10 30 Engine components
11 40 Spare
12 30 Wipers
13 40 Built-in systems interface
14 30 Pump
15 10 Right-hand main beam headlamp
16 10 Left-hand main beam headlamp
17 15 Right-hand dipped beam headlamp
18 15 Left-hand dipped beam headlamp
Page 193 of 200

135
Exterior
VISUAL SEARCH
10
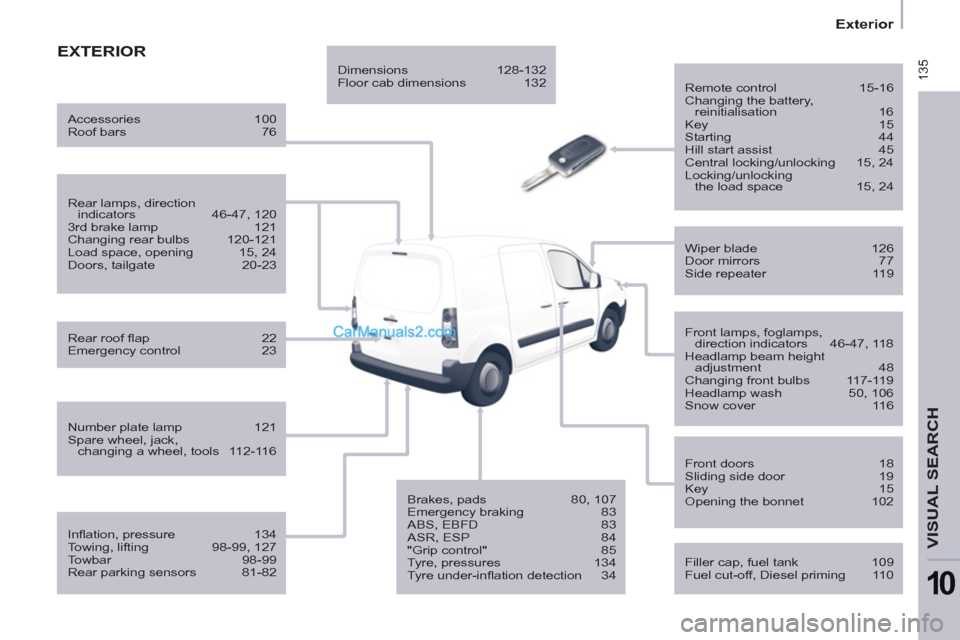
EXTERIOR
Remote control 15-16
Changing the battery,
reinitialisation 16
Key 15
Starting 44
Hill start assist 45
Central locking/unlocking 15, 24
Locking/unlocking
the load space 15, 24
Filler cap, fuel tank 109
Fuel cut-off, Diesel priming 110
Wiper blade 126
Door mirrors 77
Side repeater 119
Front lamps, foglamps,
direction indicators 46-47, 118
Headlamp beam height
adjustment 48
Changing front bulbs 117-119
Headlamp wash 50, 106
Snow cover 116
Front doors 18
Sliding side door 19
Key 15
Opening the bonnet 102
Infl ation, pressure 134
Towing, lifting 98-99, 127
Towbar 98-99
Rear parking sensors 81-82
Number plate lamp 121
Spare wheel, jack,
changing a wheel, tools 112-116
Rear lamps, direction
indicators 46-47, 120
3rd brake lamp 121
Changing rear bulbs 120-121
Load space, opening 15, 24
Doors, tailgate 20-23
Accessories 100
Roof bars 76
Rear roof fl ap 22
Emergency control 23
Dimensions 128-132
Floor cab dimensions 132
Brakes, pads 80, 107
Emergency braking 83
ABS, EBFD 83
ASR, ESP 84
"Grip control" 85
Tyre, pressures 134
Tyre under-infl ation detection 34