2011 MERCEDES-BENZ E-CLASS CABRIOLET service
[x] Cancel search: servicePage 255 of 353

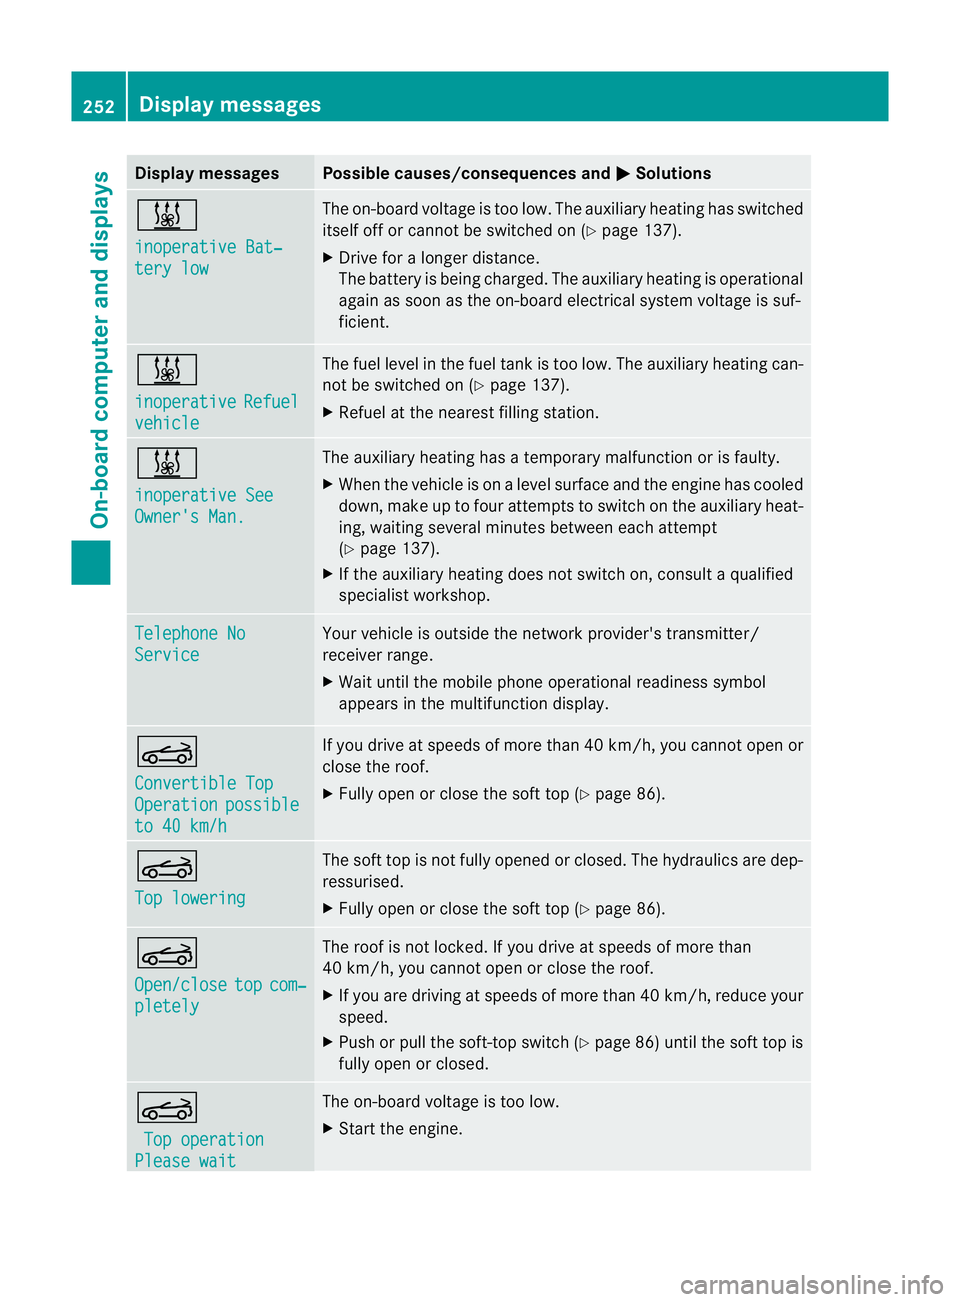
Display messages Possible causes/consequences and
M Solutions
&
inoperative Bat‐
ter
yl ow The on-boar
dvoltag eistoolow. The auxiliar yheatin ghas switched
itself of forcannot be switched on (Y page 137).
X Drive for alonger distance.
The battery is bein gcharged. The auxiliary heating is operational
again as soon as th eon-bo ard electrical system voltage is suf-
ficient. &
inoperative
Refuel
vehicle The fuel leve
linthefuel tan kistoo low. The auxiliary heating can-
not be switched on (Y page 137).
X Refuel at the nearest filling station. &
inoperative See
Owner's Man. The auxiliary heating has
atemporary malfunction or is faulty.
X When the vehicle is on alevel surface and the engin ehas cooled
down, make up to four attempts to switch on the auxiliary heat-
ing, waiting several minutes between each attempt
(Y page 137).
X If the auxiliary heating does not switch on, consult aqualified
specialist workshop. Telephone No
Service Your vehicle is outside the network provider's transmitter/
receiver range.
X
Wait until the mobile phone operational readiness symbol
appears in the multifunction display. K
Convertible Top
Operation possible
to 40 km/h If you drive at speeds of more than 40 km/h,
you cannotopen or
close the roof.
X Fully open or close the soft top (Y page 86).K
Top lowering The soft top is not fully opened or closed. The hydraulics are dep-
ressurised.
X
Fully open or close the soft top (Y page 86).K
Open/close
top com‐
pletely The roof is not locked. If you drive at speeds of more than
40 km/h, you cannot open or close the roof.
X
If you are driving at speeds of more than 40 km/ h,reduce your
speed.
X Push or pullt he soft-top switch (Y page86) until the soft top is
full yopen or closed. K
Top operation Please wait The on-board voltag
eistoo low.
X Start the engine. 252
Display messagesOn-board computer and displays
Page 267 of 353

Useful information
i This Owner's Manual describes all models
and all standard and optional equipment
available to your vehicle at the time of pub-
lication of the Owner's Manual. Country-
specific deviation sare possible. Please
not ethat your vehicle may not be equipped
with all feature sdescribed. This also
applies to safety-relevan tsystems and
functions.
i Pleas ereadt he information on qualified
specialist workshop s(Ypage 22). Loading guidelines (Coupé)
G
WARNING
Secur eand position th eload as described in
th el oadin gguidelines.
Otherwise ,vehicl eoccupant scould
be injured by th eload bein gthrow na round in
the event of sharp braking, asudden change
in directio noranaccident.
You willf ind further informatio ninthe "Secur-
ing aload" section.
Even if you follow all the loading guidelines,
the load will increase the risk of injury in the
event of an accident. G
WARNING
Keep the boot lid closed while the vehicle is
in operation. Otherwise, you could be pois-
oned by exhaust fumes enteringt he vehicle.
The handling characteristics of aladen vehi-
cle are dependent on the distribution of the
load within the vehicle. For this reason, you
should observe the following notes when
transporting aload:
R when transporting aload, never exceed the
maximum permissible gross vehicle weight or the permissible axle loads for the vehicle
(including occupants).
R position heavy loads as far forwards as pos-
sible and as low down in the boot as pos-
sible.
R the load must not protrude above the upper
edge of the seat backrests.
R always place the load against the rear or
front seat backrests. Make sure that the
seat backrests are securely locked into
place.
R always place the load behind unoccupied
seats if possible.
R secure the load with sufficiently stronga nd
wear-resistant lashing material. pad sharp
edges for protection.
i Load restraintsa re available at any quali-
fied specialist workshop, e.g. aMercedes-
Benz Service Centre. Stowage areas
Stowage compartments
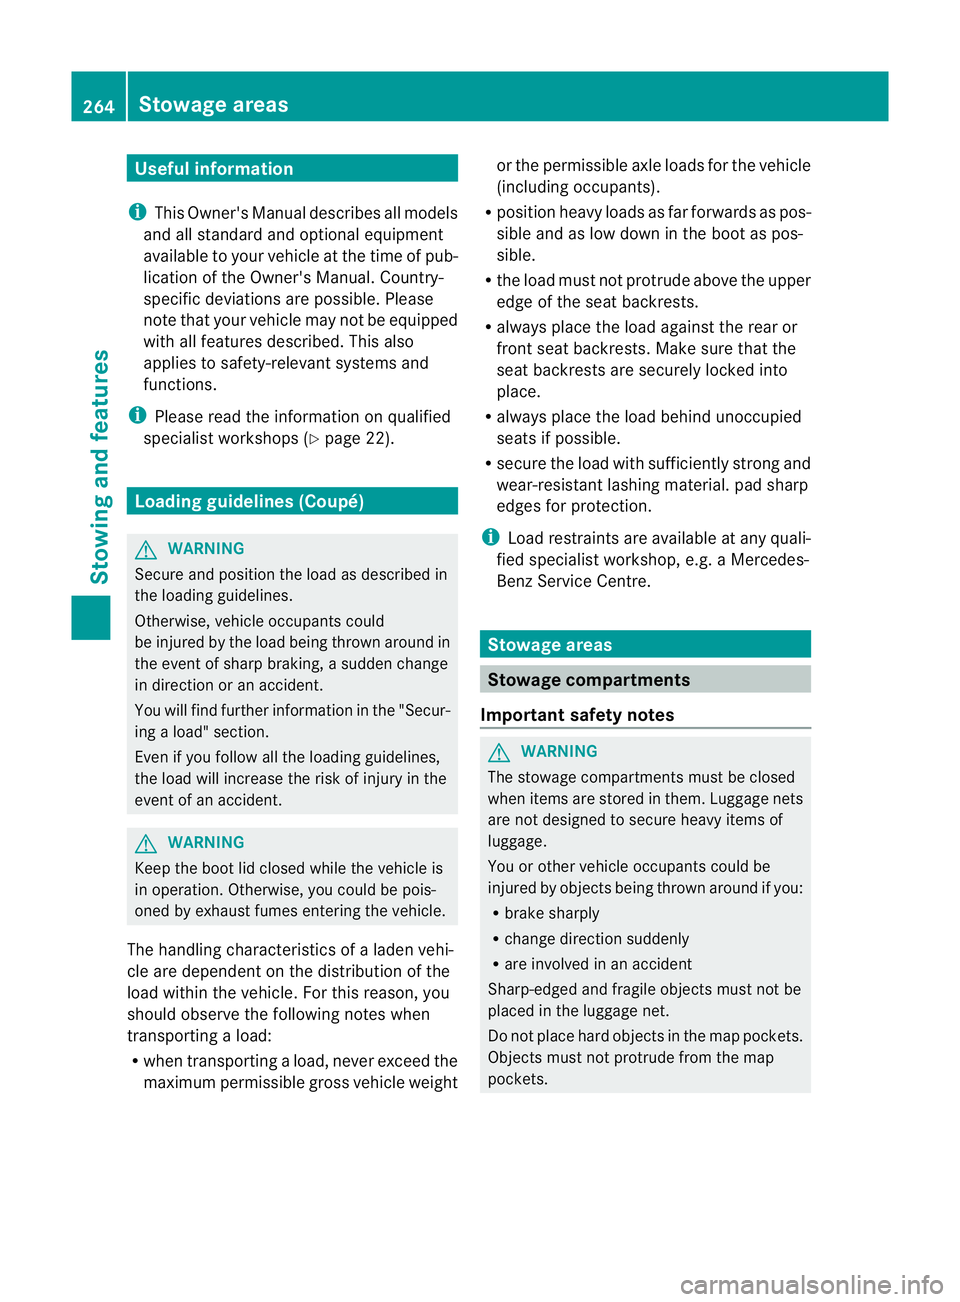
Important safety notes G
WARNING
The stowage compartments must be closed
when items are stored in them. Luggage nets
are not designed to secure heavy items of
luggage.
You or other vehicle occupants could be
injured by objectsb eing thrown around if you:
R brake sharply
R change direction suddenly
R are involved in an accident
Sharp-edged and fragile objectsm ust not be
placed in the luggagen et.
Do not place hard objectsint he map pockets.
Objectsm ust not protrude from the map
pockets. 264
Stowage areasStowing and features
Page 277 of 353

Mercedes-Ben
zrecommends the use of an
approved exterior aerial. This ensures:
R optimal mobile phone reception quality in
the vehicle
R mutual influences between the vehicle
electronics and mobile phones are mini-
mised
An exterior aerial has the following advan-
tages:
R it conducts the electromagnetic fields gen-
erated by awireless device to the exterior.
R the field strengt hinthe vehicle interior is
lower than in avehicle that does not have
an exterior aerial.
i There are various mobile phone brackets
that may be fitted to your vehicle; in some
cases, these are country-specific.
i Even if your vehicle is equipped with con-
venience telephony, you can connecta
Bluetooth ®
capable mobil ephone to Audio
20 or COMAND Online via the Bluetooth ®
interface.
More information on suitabl emobilephones,
mobil ephone brackets and on connecting
Bluetooth ®
capable mobil ephones to Audio
20 or COMAND Online can be obtained:
R at your Mercedes-Benz Service Centre
R on the Internet at http://www.mercedes-
benz.com/connect
i The functions and service savailablew hen
you use the phone depend on yourm obile
phone model and service provider.
Inserting the mobile phone X
Open the telephone compartment
(Y page 265).
X Place the mobile phone bracket into the
pre-installed bracket (see the separate
mobile phone bracket installation instruc-
tions).
X Insert the mobile phone into the mobile
phone bracket (see the separate mobile
phone bracket installation instructions). If the mobile phone is inserted in the mobile
phone bracket
,you can speak to the person
you are calling using the hands-free system.
i On some mobile phone brackets, you first
have to connect the mobile phone via Blue-
tooth ®
to am obile phone bracket (see the
separate operating instructions for the
mobile phone bracket).
On these mobile phone brackets, the
mobile phone does not have to be inserted
into the bracket for you to be able to use
the telephone functions. In this case, the
charging function and aerial function are
not available.
Operating the mobile phone You can operate the telephone using the
6
and~ button sonthe multifunction
steerin gwheel. You can operate other mobile
phone functions via the on-board computer
(Y page 221).
If you take the key out of the ignition lock, the
mobile phone stays on but you can no longer
use the hands-free system.
If you are making acall and you would like to
take the key out of the ignition lock, first
remove the mobile phone from the bracket.
Otherwise, the call will be ended.
i When amobile phone bracket is used that
is connected to the mobile phone via Blue-
tooth ®
:ify ou want to continue acall in
"Private mode", you have to perform the
necessary steps on the mobile phone (see
the separate mobile phone operating
instructions).
You can fold the pre-installed bracket up to
improve access to the stowage space
beneath it. Dependin gonthe vehicle's equip-
ment,aU SB connection and an AUX-IN con-
nection/Media Interface are fitted in the
stowage compartment (Y page 265).274
FeaturesStowing and features
Page 278 of 353

X
To fold the bracket up: press button:.
X To fold the bracket down: press the
bracket down and allo wittoengage. Garag
edooro pener
Important safety notes The HomeLink
®
garage door opene rintegra-
ted in the rear-view mirror allows yo utooper-
ate up to thre edifferent door and gate sys-
tems.
i The garage door opene risonly available
for certain countries. Observe the legal
requirements in each country.
The HomeLink ®
garage door opener is
compatible with most European garage and
gate opener drives. More information on
HomeLink ®
and/or compatible products is
available from:
R any Mercedes-Benz Service Centre
R the HomeLink ®
hotline
(0) 08000 466 354 65 (free of charge) or
+49 (0) 6838 907 277 (charges apply)
R on the Internet at:
http://www.homelink.com
Programming the integrated garage
door opener in the rear-view mirror Programming
G
WARNING
Only press the transmitter button on the inte-
grated garage door opener if there are no per- sons or objects present within the sweep of
the garage door. Persons could otherwise be
injured as the door moves. Integrated garage door opener in the rear-view mir-
ror (example: Coupé)
Garaged oor remote control Ais not part of
this integrated garage door opener.
i To achieve the best results, insert new
batteries in garage door remote control
A before programming.
X Before programming for the first time, clear
the memory of the integrated garage door
opener (Y page 277).
X Turn the key to position 2in the ignition
lock.
X Press and hold one of transmitter but-
tons ;to? on the integrated garage door
opener.
After ashort time, indicator lamp :starts
flashing yellow.
i Indicator lamp :flashes yellow immedi-
ately the first time that the transmitter but-
ton is programmed. If this transmitter but-
ton has already been programmed, indica-
tor lamp :only starts flashing yellow after
10 seconds have elapsed.
X Release the transmitter button.
X Point transmitter button Bof garage door
remote control Atowards the transmitter
buttons on the rear-view mirror at adis-
tance of 5to20c m.
i The required distance between garage
door remote control Aand the integrated Features
275Stowingand features Z
Page 281 of 353

Frequencies for th
egarage door opener The radio typ
eapproval number and th efrequency range for th egarag edoor opener can be
foun dont heInternet at: http://www.mercedes-benz.de/betriebsanleitung. Floorma
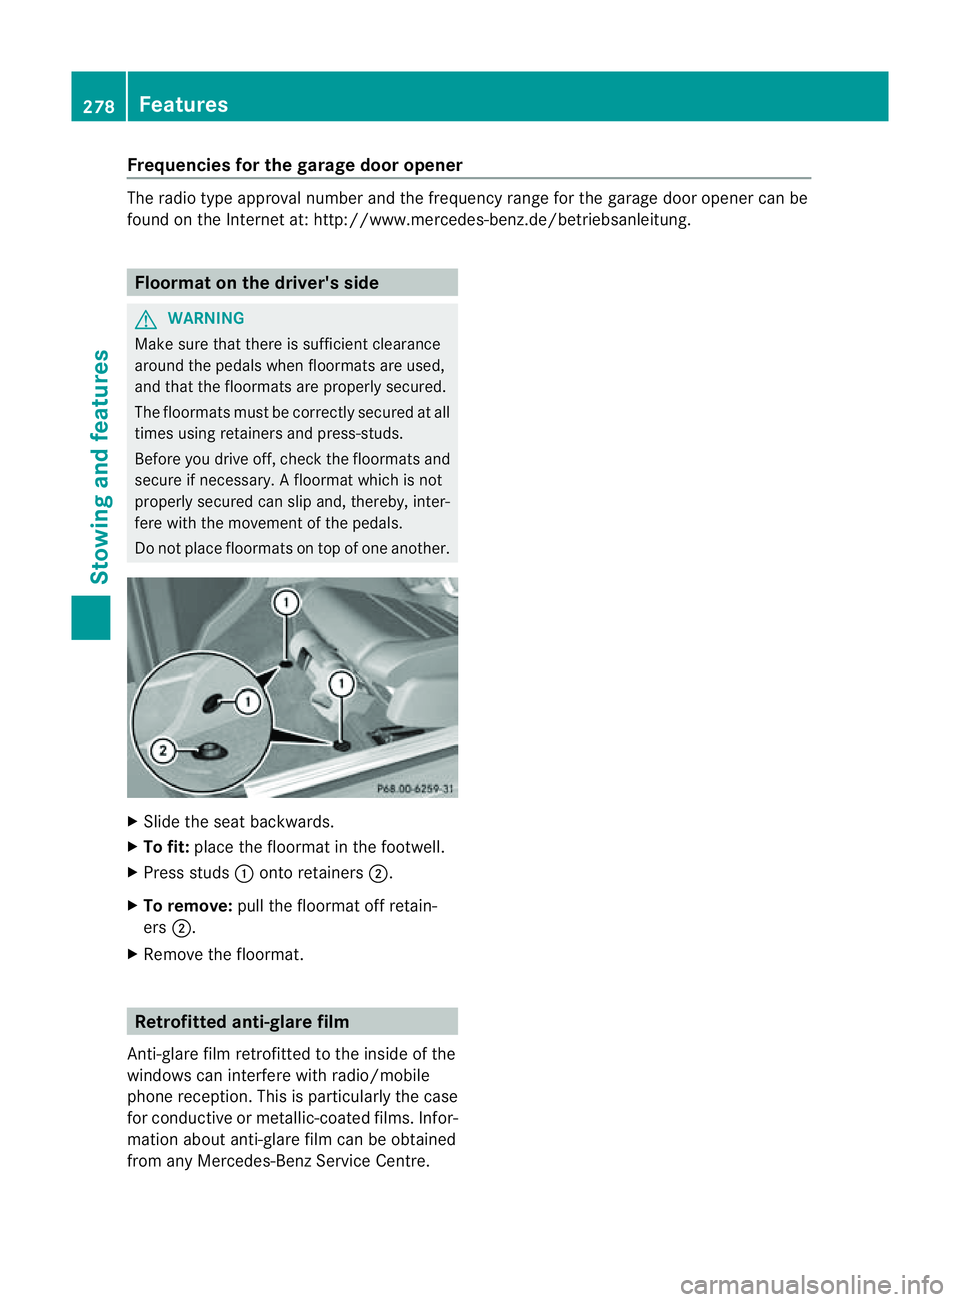
tonthedriver's side G
WARNING
Mak esure that there is sufficien tclearance
around the pedals when floormats are used,
and that the floormats are properly secured.
The floormats must be correctly secured at all
times using retainer sand press-studs.
Before you drive off ,chec kthe floormats and
secure if necessary. Afloormat which is not
properly secured can slip and, thereby, inter-
fere with the movemen tofthe pedals.
Do not place floormats on top of one another. X
Slide the seat backwards.
X To fit: place the floormat in the footwell.
X Press studs :onto retainers ;.
X To remove: pull the floormat off retain-
ers ;.
X Remove the floormat. Retrofitted anti-glaref
ilm
Anti-glare film retrofitted to the inside of the
windows can interferew ith radio/mobile
phone reception. This is particularly the case
for conductive or metallic-coated films. Infor-
mation about anti-glare film can be obtained
from any Mercedes-Ben zService Centre. 278
FeaturesStowing and features
Page 286 of 353

X
Slowl yslide oi ldipstick :into the guide
tub etot he stop ,and take it ou tagain.
The oil level is correc tifthe level is between
MIN mark =and MAX mark ;.
X Top up the oil if necessary.
Adding engine oil H
Environmental note
When topping up the oil, take care not to spill
any. If oil enters the soil or waterways, it is
harmful to the environment. G
WARNING
If engine oil comes into contact with hot
engine parts, it may ignite and you could burn
yourself. Do not spill any engine oil on hot
engine parts. Example: engine oil cap
X
Turn cap :anti-clockwise and remove it.
X Top up with the amount of oil required.
Fill carefully to the maximum mark on the oil
dipstick.
i Depending on the engine, the difference
between the minimum mark and the maxi-
mum mark is approximately 1.5 –2litres.
! Do not add too much oil. If the oil level is
above the "max" mark on the dipstick, too
much oil has been added. This can lead to
damage to the engine or the catalytic con-
verter. Have excess oil siphoned off.
For further information on engine oil, see
(Y page 335). X
Replace cap :on the filler neck and
tighten clockwise.
Ensure that the cap locks into place
securely. Checking and adding other service
products
Checking the coolant level Only check the coolant level when the vehicle
is on alevel surface and the engine has cooled
down.
X Turn the key to position 2(Y page 147) in
the ignition lock.
On vehicles with KEYLESS-GO, press the
Start/Stop button twice (Y page 147).
X Check the coolant temperature displayin
the instrumentc luster. G
WARNING
The cooling system is pressurised. Therefore,
only unscrew the cap once the engine has
cooled down. The coolant temperature gauge
must display less than 70 †.Otherwise, you
could be scalded if hot coolant escapes. X
Slowl yturnc ap : half aturna nti-clock-
wise and allow exces spressure to escape.
X Turn cap :further anti-clockwis eand
remove it.
If th ecoolan tisatt heleve lofm arkerbar
= in th efille rneck when cold, there is
enough coolant in coolant expansion
tank ;. Engine compartment
283Maintenance and care Z
Page 287 of 353

If the coolant level is approximately 1.5 cm
above marker bar =in the filler neck when
warm, there is enough coolant in coolant
expansio ntank ;.
X If necessary, to pupwithc oolan tthat has
been tested and approved by Mercedes-
Benz.
X Replace cap :and turn it clockwise as far
as it will go.
For further information on coolant, see
(Y page 337).
Windscreen washer system and head-
lamp cleanings ystemThe washer fluid reservoir is used for both the
windscreen washer system and the headlamp
cleaning system.
i
Components and service products must
be matched. Mercedes-Ben zrecommends
that you use products tested and approved
by Mercedes-Benz. They are listed in this
Mercedes-Ben zOwner's Manual in the
appropriat esection.
You can identif yservice product sapproved
by Mercedes-Ben zbythe followin ginscrip-
tions on the container:
R MB-Freigabe (e.g. MB-Freigabe 371.0)
R MB-Approval (e.g. MB-Approval 371.0)
Other labels and recommendations that
make reference to quality level or aspeci-
fication according to an MB Sheet no. (e.g.
MB 371.0) are not necessarily approved by
Mercedes-Benz.
You can obtain further information from
any Mercedes-Benz Servic eCentre. G
WARNING
Windscreen washer fluid is highly flammable.
Fire, naked flames and smokin gare prohibi-
ted when handling washer fluid concentrate.
! Only use washer fluid concentrate which
is suitable for plastic lamp lenses. Unsuit-
able washer fluid concentrate could dam- age the plastic lamp lenses of the head-
lamps.
! Do not use distilled or de-ionised water in
the washer fluid reservoir. Otherwise, the
level sensor may be damaged.
i Add windscreen washer concentrate, e.g.
MB SummerFit, to the washer fluid all year
round. Example: washer fluid reservoir
X
Mix the windscreen washer fluid in acon-
tainer beforehand.
X At temperatures above freezing: fill the
washer fluid reservoir with amix of water
and windscreen washer concentrate (e.g.
MB SummerFit).
X At temperatures below freezing: fill the
washer fluid reservoir with amix of water
and windscreen washer concentrate (e.g.
MB WinterFit). Adapt the mixing ratio to the
outside temperatures.
X To open: pull cap:upwards by the tab.
X Top up with the premixed washer fluid.
X To close: press cap :ontothe filler neck
until it engages. Maintenance
ASSYST PLUS service interval display
Service messages Information on the type of service and service
intervals (see separat
eServic eBooklet). 284
MaintenanceMaintenance and care
Page 288 of 353

You can obtain further information fro
ma
Mercedes-Ben zService Centre.
The ASSYS TPLUS service interval display
informs you when the nex tservice is due.
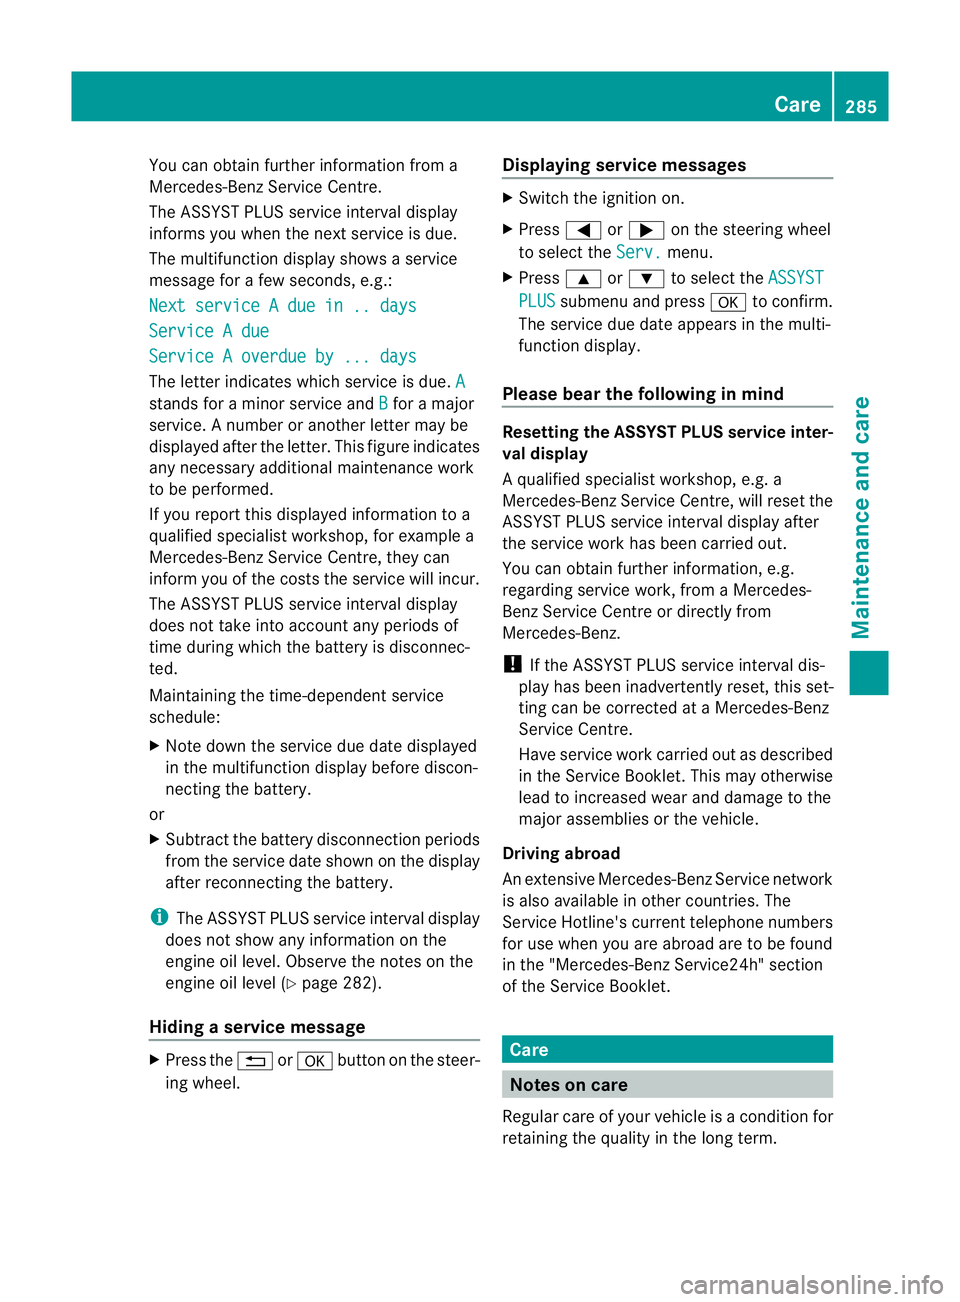
The multifunction display shows aservice
message for afew seconds, e.g.:
Next service Adue in .. days Service
Adue Service
Aoverdue by ... days The letter indicates which servic
eisdue.A stands for
aminor servic eand B for
am ajor
service. Anumber or another letter may be
displayed after the letter. This figure indicates
any necessary additional maintenanc ework
to be performed.
If you report this displayed information to a
qualified specialist workshop, for example a
Mercedes-Benz Service Centre, they can
infor myou of the costst he service will incur.
The ASSYST PLUS service interval display
does not take into account any periods of
time during which the battery is disconnec-
ted.
Maintaining the time-dependent service
schedule:
X Note down the service due date displayed
in the multifunction display before discon-
necting the battery.
or
X Subtract the battery disconnection periods
from the service date shown on the display
after reconnecting the battery.
i The ASSYST PLUS service interval display
does not show any information on the
engine oil level. Observe the notes on the
engine oil level (Y page 282).
Hiding aservice message X
Pres sthe % ora button on th esteer-
ing wheel. Displaying service messages X
Switch th eignitio non.
X Press =or; on the steering wheel
to select the Serv. menu.
X Press 9or: to select the ASSYST PLUS submenu and press
ato confirm.
The servic eduedate appear sinthe multi-
functio ndisplay.
Please bear th efollowing in mind Resetting th
eASSYST PLUS service inter-
val display
Aq ualified specialist workshop, e.g. a
Mercedes-Ben zService Centre, will reset the
ASSYST PLUS servic einterval display after
the servic ework has been carried out.
You can obtain further information ,e.g.
regarding servic ework, from aMercedes-
Benz Service Centr eordirectly from
Mercedes-Benz.
! If the ASSYST PLUS servic einterval dis-
play has been inadvertently reset ,this set-
tingc an be corrected at aMercedes-Benz
Service Centre.
Have servic ework carried out as described
in the Service Booklet. This may otherwise
lead to increased wear and damage to the
major assemblies or the vehicle.
Driving abroad
An extensive Mercedes-Benz Service network
is also available in other countries. The
Service Hotline's curren ttelephone numbers
for use when you are abroad are to be found
in the "Mercedes-BenzS ervice24h" section
of the Service Booklet. Care
Notes on care
Regular care of your vehicle is acondition for
retaining the quality in the long term. Care
285Maintenance and care Z