Page 105 of 353

rials, e.g. blankets, coats, bags, seat cov-
ers, child seats or booster seats.
! When you move the seats, make sure that
there are no objects in the footwel lor
behind the seats. Otherwise, you could
damage the seats and the objects.
i The headr estraints in the front seats are
fitted with the NECK-PRO system
(Y page4 5). For this reason, it is not pos-
sibl etor emove the headr estraints from
the front seats.
Please contact aMercedes-Benz Service
Centre for more information.
i Related topics:
R Through-loading feature in the rear
bench seat 6
(folding the rear bench seat
forwards) Adjusting the seats manually and
electrically :
Backrest angle
; Seat height
= Seat cushion angle
? Seat fore-and-aft adjustment
i Adjust the seat cushion angle so that your
thighs are lightly supported. Seat fore-and-aft adjustment X
Lift handle ?and slid ethe seat forwards
or backwards.
X Release lever ?again.
Make sure that you heart he seat engage in
position.
Seat cushion angle X
Turn handwheel =in the desired direction. Adjusting the seat electrically
:
Head restraint height
; Seat cushion angle
= Seat height
? Seat fore-and-aft adjustment
A Backrest angle
i Vehicles with memory function: if PRE-
SAFE ®
has been triggered, the front-
passenger seat will be moved to abetter
6 Only in the Coupé. 102
SeatsSeats, steering wheela
nd mirrors
Page 106 of 353

position if it was previously in an unfavour-
able position.
i You can stor ethe seat settings using the
memor yfunction (Y page 112).
i Vehicles with the through-loading feature
and memor yfunction :ifyou fold down a
rear seat backrest, the respective front
seat is moved forwards slightly if neces-
sary.
i Vehicles with memor yfunction :when the
seat is moved forwards or backwards, the
headrest is moved up or down automati-
cally. Adjusting the head restraints
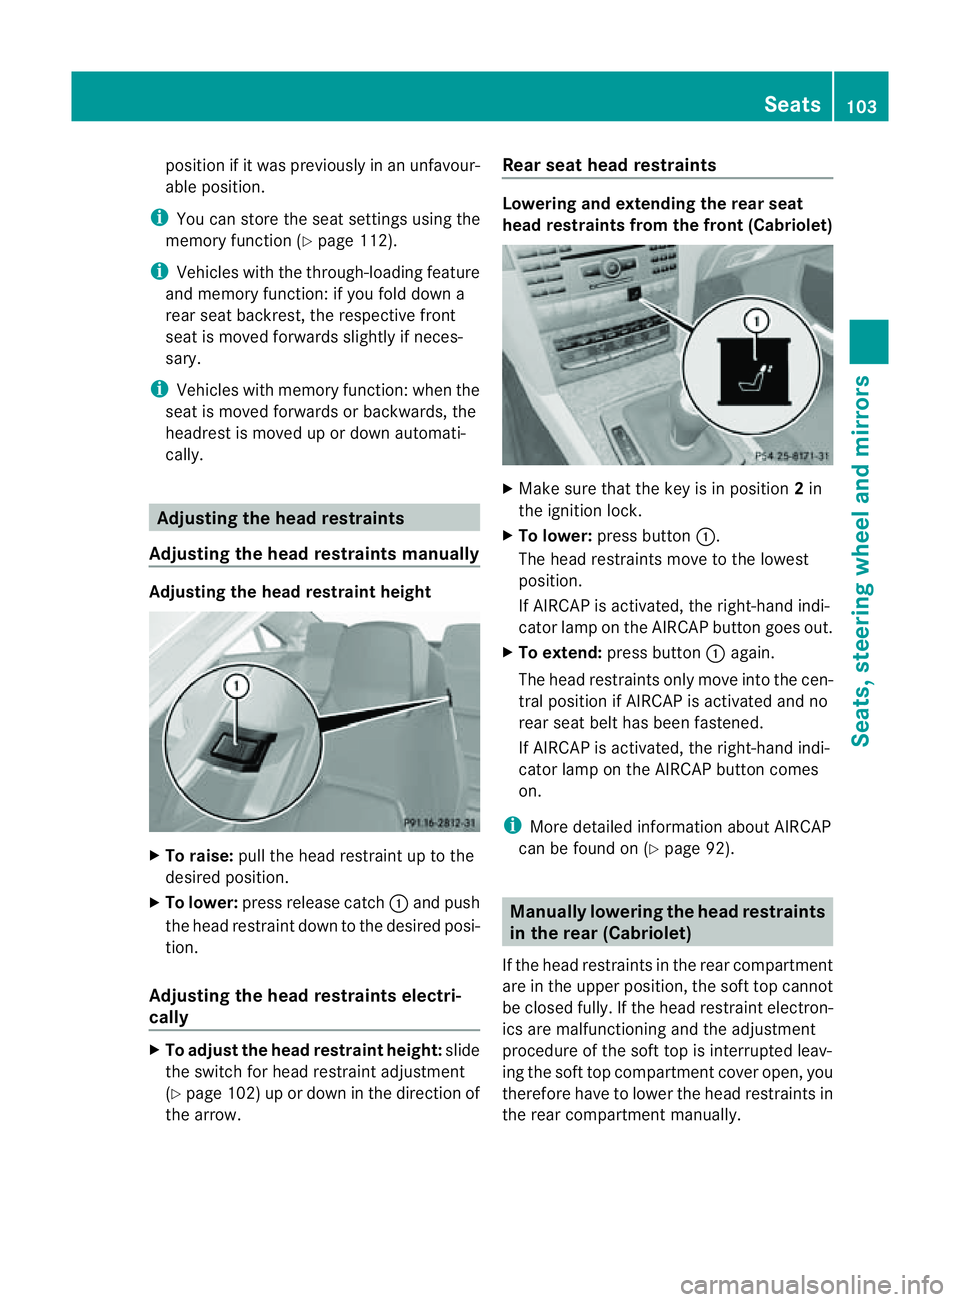
Adjusting the head restraints manually Adjusting the head restraint height
X
To raise: pull the head restraint up to the
desired position.
X To lower: press release catch :and push
the head restraint down to the desired posi-
tion.
Adjusting the head restraints electri-
cally X
To adjust the head restraint height: slide
the switch for head restraint adjustment
(Y page 102) up or down in the direction of
the arrow. Rear seat head restraints Lowering and extending the rear seat
head restraints from the front (Cabriolet)
X
Make sure that the key is in position 2in
the ignition lock.
X To lower: press button :.
The head restraintsm ove to the lowest
position.
If AIRCAP is activated, the right-hand indi-
cator lamp on the AIRCAP button goes out.
X To extend: press button :again.
The head restraintso nly move into the cen-
tral position if AIRCAP is activated and no
rear seat belt has been fastened.
If AIRCAP is activated, the right-hand indi-
cator lamp on the AIRCAP button comes
on.
i More detailed information about AIRCAP
can be found on (Y page 92). Manually lowering the head restraints
in the rear (Cabriolet)
If the head restraintsint he rear compartment
are in the upper position, the soft top cannot
be closed fully.Ift he head restraint electron-
ics are malfunctionin gand the adjustment
procedure of the soft top is interrupted leav-
ing the soft top compartmentc over open, you
therefor ehave to lower the head restraints in
the rear compartment manually. Seats
103Seats, steering wheel and mirrors Z
Page 110 of 353

driver'
sseat automatically switches to the
highest level.
X To switch off: press button:repeatedly
until all the indicator lamps go out.
Problems with the seat ventilation The seat ventilation has switched off prema-
turely or cannot be switched on. The vehicle's
electrical system voltage is too low because
too many electrical consumers are switched
on.
X Switc hoff electrical consumers which you
do not need, such as the rear window heat-
ing or interior lighting. AIRSCARF (Cabriolet)
Switching on/off G
WARNING
Very hot air can flow out of the AIRSCARF
vent sint he head restraint swhen AIRSCARF
is in operation .This can cause burns on unpro-
tected skin near the AIRSCARF vents.L ower
the heating output in good time, when neces-
sary.
The AIRSCARF function warms the head and
neck area of vehicle occupants with warm air.
The warm air flows out of the holes in the head
restraints.
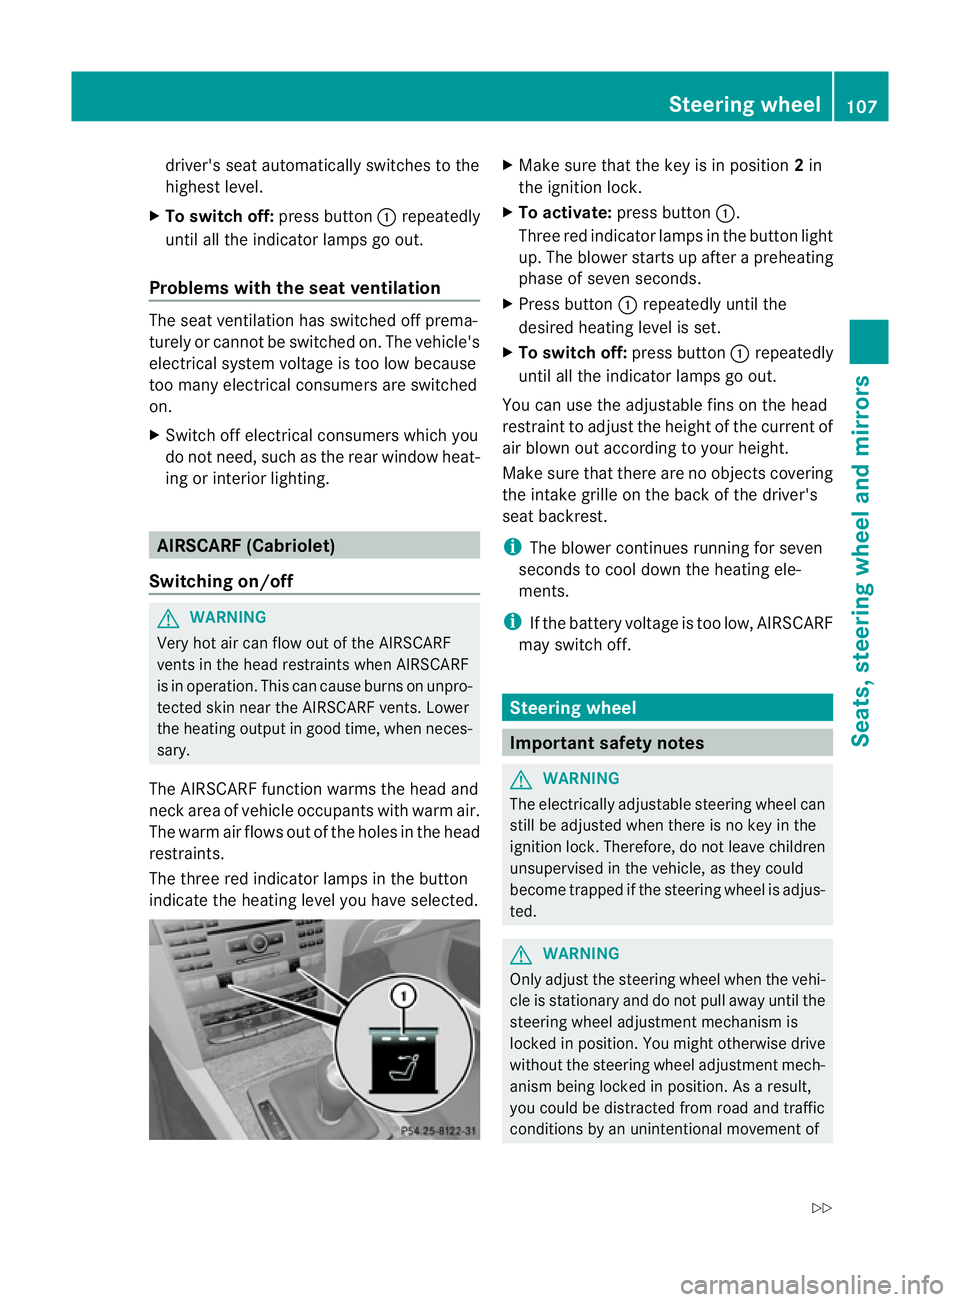
The three red indicator lamps in the button
indicate the heating level you have selected. X
Make sure that the key is in position 2in
the ignition lock.
X To activate: press button :.
Three red indicator lamps in the button light
up. The blower starts up after apreheating
phase of seven seconds.
X Press button :repeatedly until the
desired heating level is set.
X To switch off: press button:repeatedly
until all the indicator lamps go out.
You can use the adjustable fins on the head
restraint to adjust the height of the current of
air blown out according to your height.
Make sure that there are no objectsc overing
the intake grille on the back of the driver's
seat backrest.
i The blower continues running for seven
seconds to cool down the heating ele-
ments.
i If the battery voltage is too low, AIRSCARF
may switch off. Steering wheel
Important safety notes
G
WARNING
The electrically adjustable steering wheel can
still be adjusted when there is no key in the
ignition lock. Therefore, do not leave children
unsupervised in the vehicle, as they could
become trapped if the steering wheel is adjus-
ted. G
WARNING
Only adjust the steering wheel when the vehi-
cle is stationary and do not pull away until the
steering wheel adjustment mechanism is
locked in position. You might otherwise drive
without the steering wheel adjustment mech-
anism being locked in position. As aresult,
you could be distracted from road and traffic
conditions by an unintentional movement of Steering wheel
107Seats, steering wheela nd mirrors
Z
Page 111 of 353

the steering whee
land thereb ycause an acci-
dent.
However, the steerability of the vehicl eisnot
affected. Adjusting the steering whee
lman-
ually :
Release lever
; To adjust the steering wheel height
= To adjust the steering wheel position
(fore-and-aft adjustment)
X Pus hrelease lever :dow ncompletely.
The steerin gcolumn is unlocked.
X Adjust the steerin gwheel to the desired
position.
X Push release lever :up completely.
The steerin gcolumn is locked.
X Check if the steerin gcolumn is locked.
When doing so, try to push the steering
wheel up or down or try to move it in the
fore-and-aft direction. Adjusting the steering wheel electri-
cally
:
To adjust the steerin gwheel height
; To adjust the steerin gwheel position
(fore-and-aft adjustment)
i Related topics:
R EASY-ENTRY/EXIT feature
(Y page 108)
R Storing settings (Y page 112) EASY-ENTRY/EXIT feature
Important safety notes The EASY-ENTRY/EXIT feature makes getting
in and out of your vehicle easier.
You can activate and deactivate the EASY-
ENTRY/EXIT feature in the on-board com-
puter (Y
page 230). G
WARNING
Make sure that nobody can become trapped
when you activate the EASY-ENTRY/EXIT fea-
ture.
If there is arisk of someone becoming trap-
ped, stop the adjustmen tprocedure. To halt
the procedure:
R move the switch for steering whee ladjust-
ment in the opposite directio ntothat in
which the steering whee lismoving.
R press one of the memory function position
buttons.
Never leave children unsupervise dinthe vehi-
cle. They could open the driver' sdoor and 108
Steerin
gwheelSeats, steering wheel and mirrors