2011 INFINITI QX56 check engine
[x] Cancel search: check enginePage 5046 of 5598

STC-1
STEERING
C
DE
F
H I
J
K L
M
SECTION STC
A
B
STC
N
O P
CONTENTS
STEERING CONTROL SYSTEM
PRECAUTION ................ ...............................2
PRECAUTIONS .............................................. .....2
Precaution for Supplemental Restraint System
(SRS) "AIR BAG" and "SEAT BELT PRE-TEN-
SIONER" ............................................................. ......
2
Precaution Necessary for Steering Wheel Rota-
tion after Battery Disconnect .....................................
2
SYSTEM DESCRIPTION ..............................4
COMPONENT PARTS ................................... .....4
Component Parts Location .................................. ......4
Component Description .............................................4
Power Steering Control Unit ......................................4
Power Steering Solenoid Valve .................................4
SYSTEM ..............................................................5
EPS SYSTEM ........................................ ......................5
EPS SYSTEM : System De scription .........................5
EPS SYSTEM : Fail-Safe ..........................................6
ECU DIAGNOSIS INFO RMATION ...............8
POWER STEERING CONTROL UNIT ........... .....8
Reference Value ................................................. ......8
Fail-Safe ....................................................................9
WIRING DIAGRAM ......................................10
ELECTRONICALLY CONTROLLED POWER
STEERING SYSTEM ...................................... ....
10
Wiring Diagram ................................................... ....10
BASIC INSPECTION ...................................13
DIAGNOSIS AND REPAIR WORK FLOW .......13
Work Flow ............................................................ ....13
DTC/CIRCUIT DIAGNOSIS .........................14
POWER SUPPLY AND GROUND CIRCUIT ....14
Diagnosis Procedure ........................................... ....14
POWER STEERING SOLENOID VALVE .........16
Component Function Check ....................................16
Diagnosis Procedure ...............................................16
Component Inspection .............................................17
ENGINE SPEED SIGNAL CIRCUIT ..................18
Diagnosis Procedure ........................................... ....18
VEHICLE SPEED SIGNAL CIRCUIT ................20
Diagnosis Procedure ...............................................20
SYMPTOM DIAGNOSIS ..............................22
UNBALANCE STEERING WHEEL TURNING
FORCE (TORQUE VARIATION) .......................
22
Description ........................................................... ....22
Diagnosis Procedure ...............................................22
REMOVAL AND INSTALLATION ...............23
POWER STEERING CONTROL UNIT ..............23
Removal and Installation ..................................... ....23
Revision: 2010 May2011 QX56
Page 5053 of 5598
STC-8
< ECU DIAGNOSIS INFORMATION >
POWER STEERING CONTROL UNIT
ECU DIAGNOSIS INFORMATION
POWER STEERING CONTROL UNIT
Reference Value INFOID:0000000006256121
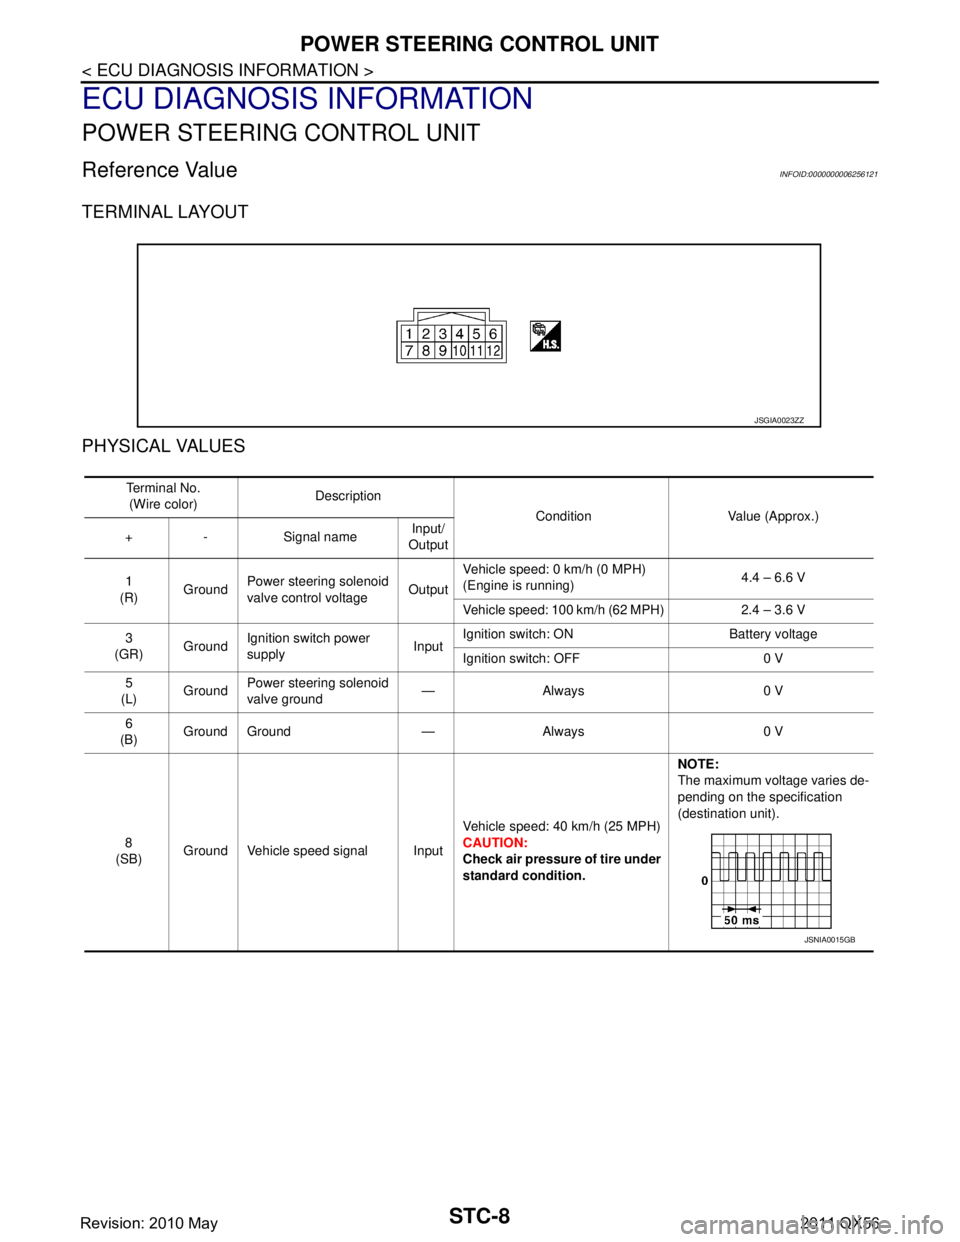
TERMINAL LAYOUT
PHYSICAL VALUES
JSGIA0023ZZ
Te r m i n a l N o .(Wire color) Description
Condition Value (Approx.)
+ - Signal name Input/
Output
1
(R) GroundPower steering
solenoid
valve control voltage OutputVehicle speed: 0 km/h (0 MPH)
(Engine is running)
4.4 – 6.6 V
Vehicle speed: 100 km/h (62 MPH) 2.4 – 3.6 V
3
(GR) GroundIgnition switch power
supply InputIgnition switch: ON Battery voltage
Ignition switch: OFF 0 V
5
(L) Ground
Power steering
solenoid
valve ground —Always 0 V
6
(B) Ground Ground — Always 0 V
8
(SB) Ground Vehicle speed signal Input Vehicle speed: 40 km/h (25 MPH)
CAUTION:
Check air pressure of tire under
standard condition.NOTE:
The maximum voltage varies de-
pending on the specification
(destination unit).
JSNIA0015GB
Revision: 2010 May2011 QX56
Page 5059 of 5598
STC-14
< DTC/CIRCUIT DIAGNOSIS >
POWER SUPPLY AND GROUND CIRCUIT
DTC/CIRCUIT DIAGNOSIS
POWER SUPPLY AND GROUND CIRCUIT
Diagnosis ProcedureINFOID:0000000006256125
1.CHECK POWER SUPPLY (1)
1. Turn the ignition switch OFF.
2. Disconnect power steering control unit harness connector.
3. Check the voltage between power steering control unit harness connector and ground.
4. Turn the ignition switch ON. CAUTION:
Never start the engine.
5. Check the voltage between power steering control unit harness connector and ground.
Is the inspection result normal?
YES >> GO TO 3.
NO >> GO TO 2.
2.CHECK POWER SUPPLY (2)
1. Turn the ignition switch OFF.
2. Check 10A fuse (#3).
3. Disconnect fuse block (J/B) harness connector.
4. Check the continuity between power steering cont rol unit harness connector and fuse block (J/B) harness
connector.
5. Check the continuity between power st eering control unit harness connector and ground.
Is the inspection result normal?
YES >> Perform trouble diagnosis for ignition power supply circuit. Refer to PG-89, "Wiring Diagram -
IGNITION POWER SUPPLY -".
NO >> Repair or replace damaged parts.
3.CHECK GROUND CIRCUIT
1. Turn the ignition switch OFF.
2. Check the continuity between power st eering control unit harness connector and ground.
Power steering control unit
—Voltage
Connector Terminal
M108 3 Ground 0 V
Power steering control unit — Voltage
Connector Terminal
M108 3 Ground Battery voltage
Power steering control unit Fuse block (J/B) Continuity
Connector Terminal Connector Terminal
M108 3 M1 2A Existed
Power steering control unit —Continuity
Connector Terminal
M108 3 Ground Not existed
Revision: 2010 May2011 QX56
Page 5061 of 5598
STC-16
< DTC/CIRCUIT DIAGNOSIS >
POWER STEERING SOLENOID VALVE
POWER STEERING SOLENOID VALVE
Component Function CheckINFOID:0000000006256126
1.CHECK POWER STEERING SOLENOID VALVE OPERATION
Check changes in steering force from a halt condition to high-speed driving.
Is the inspection result normal?
YES >> INSPECTION END
NO >> Check the power steering solenoid valve. Refer to STC-16, "
Diagnosis Procedure".
Diagnosis Procedure INFOID:0000000006256127
1.CHECK POWER STEERING SOLENOID VALVE SIGNAL
1. Turn the ignition switch OFF.
2. Check the voltage between power steering control unit harness connector and ground.
Is the inspection result normal?
YES >> GO TO 4.
NO >> GO TO 2.
2.CHECK HARNESS BETWEEN POWER STEERING SO LENOID VALVE AND POWER STEERING CON-
TROL UNIT
1. Turn the ignition switch OFF.
2. Disconnect power steering solenoid valve harness connector.
3. Disconnect power steering control unit harness connector.
4. Check the continuity between power steering solenoid valve harness connector and the power steering
control unit harness connector.
5. Check the continuity between power st eering control unit harness connector and ground.
Is the inspection result normal?
YES >> GO TO 3.
NO >> Repair or replace error-detected parts.
3.CHECK POWER STEERING SOLENOID VALVE
Check the power steering solenoid valve. Refer to STC-17, "
Component Inspection".
Is the inspection result normal?
YES >> GO TO 4.
NO >> Replace gear-sub assembly. Refer to ST-43, "
Disassembly and Assembly".
Power steering control unit
— Condition Voltage (Approx.)
Connector Terminal
M108 1 Ground Vehicle speed: 0 km/h (0 MPH)
(Engine is running)
4.4 – 6.6 V
Vehicle speed: 100 km/h (62 MPH) 2.4 – 3.6 V
Power steering solenoid valve Power steering control unit Continuity
Connector Terminal Connector Terminal
F45 1
M108 1 Existed
25Existed
Power steering control unit — Continuity
Connector Terminal
M108 1
Ground Not existed
5
Revision: 2010 May2011 QX56
Page 5063 of 5598
STC-18
< DTC/CIRCUIT DIAGNOSIS >
ENGINE SPEED SIGNAL CIRCUIT
ENGINE SPEED SIGNAL CIRCUIT
Diagnosis ProcedureINFOID:0000000006256129
1.PERFORM ECM SELF-DIAGNOSIS
With CONSULT-III
Perform “ENGINE” self-diagnosis.
Is any DTC detected?
YES >> Check the DTC. Refer to EC-98, "DTC Index".
NO >> GO TO 2.
2.CHECK HARNESS BETWEEN ECM AND POWER STEERING CONTROL UNIT
1. Turn the ignition switch OFF.
2. Disconnect ECM harness connectors.
3. Disconnect power steering control unit harness connector.
4. Check the continuity between ECM harness connecto r and power steering control unit harness connector.
5. Check the continuity between power st eering control unit harness connector and ground.
Is the inspection result normal?
YES >> GO TO 3.
NO >> Repair or replace error-detected parts.
3.CHECK ENGINE SPEED SIGNAL (ECM)
1. Connect ECM harness connectors.
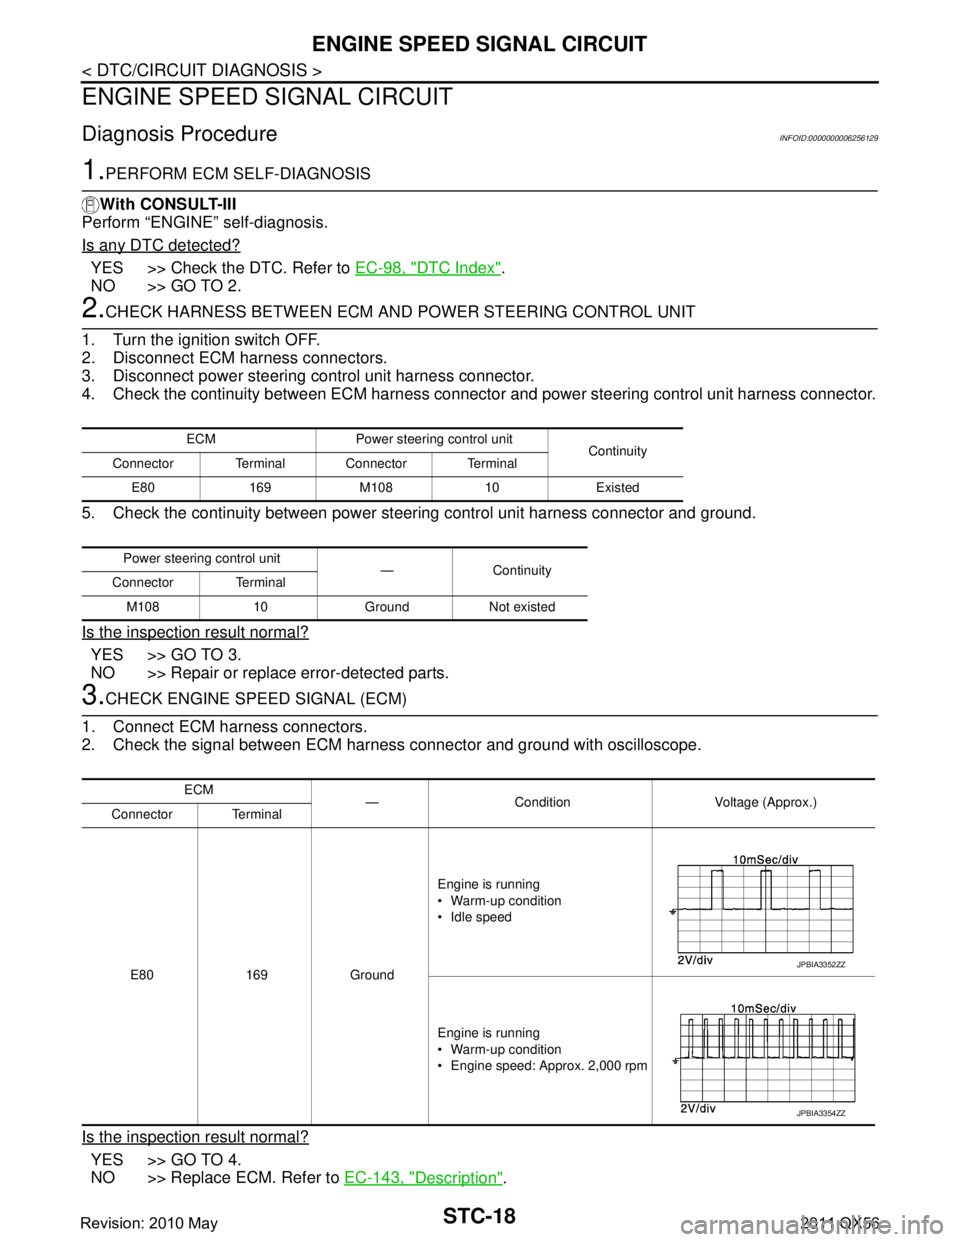
2. Check the signal between ECM harness connector and ground with oscilloscope.
Is the inspection result normal?
YES >> GO TO 4.
NO >> Replace ECM. Refer to EC-143, "
Description".
ECM Power steering control unit
Continuity
Connector Terminal Connector Terminal
E80 169 M108 10 Existed
Power steering control unit — Continuity
Connector Terminal
M108 10 Ground Not existed
ECM — Condition Voltage (Approx.)
Connector Terminal
E80 169 Ground Engine is running
Warm-up condition
Idle speed
Engine is running
Warm-up condition
Engine speed: Approx. 2,000 rpm
JPBIA3352ZZ
JPBIA3354ZZ
Revision: 2010 May2011 QX56
Page 5064 of 5598
ENGINE SPEED SIGNAL CIRCUITSTC-19
< DTC/CIRCUIT DIAGNOSIS >
C
DE
F
H I
J
K L
M A
B
STC
N
O P
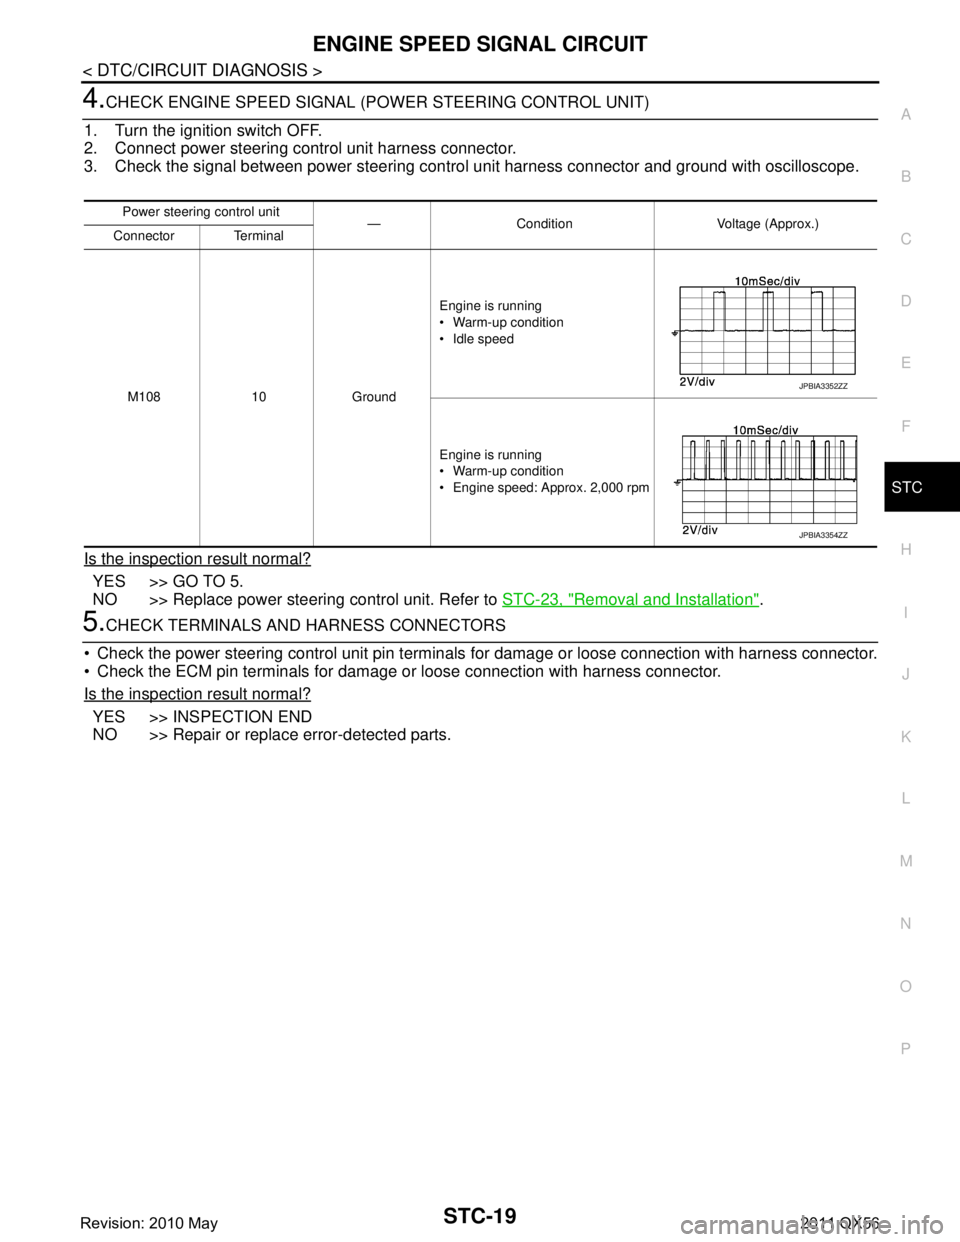
4.CHECK ENGINE SPEED SIGNAL (P OWER STEERING CONTROL UNIT)
1. Turn the ignition switch OFF.
2. Connect power steering control unit harness connector.
3. Check the signal between power steering control unit harness connector and ground with oscilloscope.
Is the inspection result normal?
YES >> GO TO 5.
NO >> Replace power steering control unit. Refer to STC-23, "
Removal and Installation".
5.CHECK TERMINALS AND HARNESS CONNECTORS
Check the power steering control unit pin terminal s for damage or loose connection with harness connector.
Check the ECM pin terminals for damage or loose connection with harness connector.
Is the inspection result normal?
YES >> INSPECTION END
NO >> Repair or replace error-detected parts.
Power steering control unit — Condition Voltage (Approx.)
Connector Terminal
M108 10 Ground Engine is running
Warm-up condition
Idle speed
Engine is running
Warm-up condition
Engine speed: Approx. 2,000 rpm
JPBIA3352ZZ
JPBIA3354ZZ
Revision: 2010 May2011 QX56
Page 5067 of 5598
STC-22
< SYMPTOM DIAGNOSIS >
UNBALANCE STEERING WHEEL TURNING FORCE (TORQUE VARIATION)
SYMPTOM DIAGNOSIS
UNBALANCE STEERING WHEEL TURNING FORCE (TORQUE VARIA-
TION)
Description INFOID:0000000006256131
Hard steering when fully turning the steering wheel.
Light steering when driving at a high speed.
Diagnosis Procedure INFOID:0000000006256132
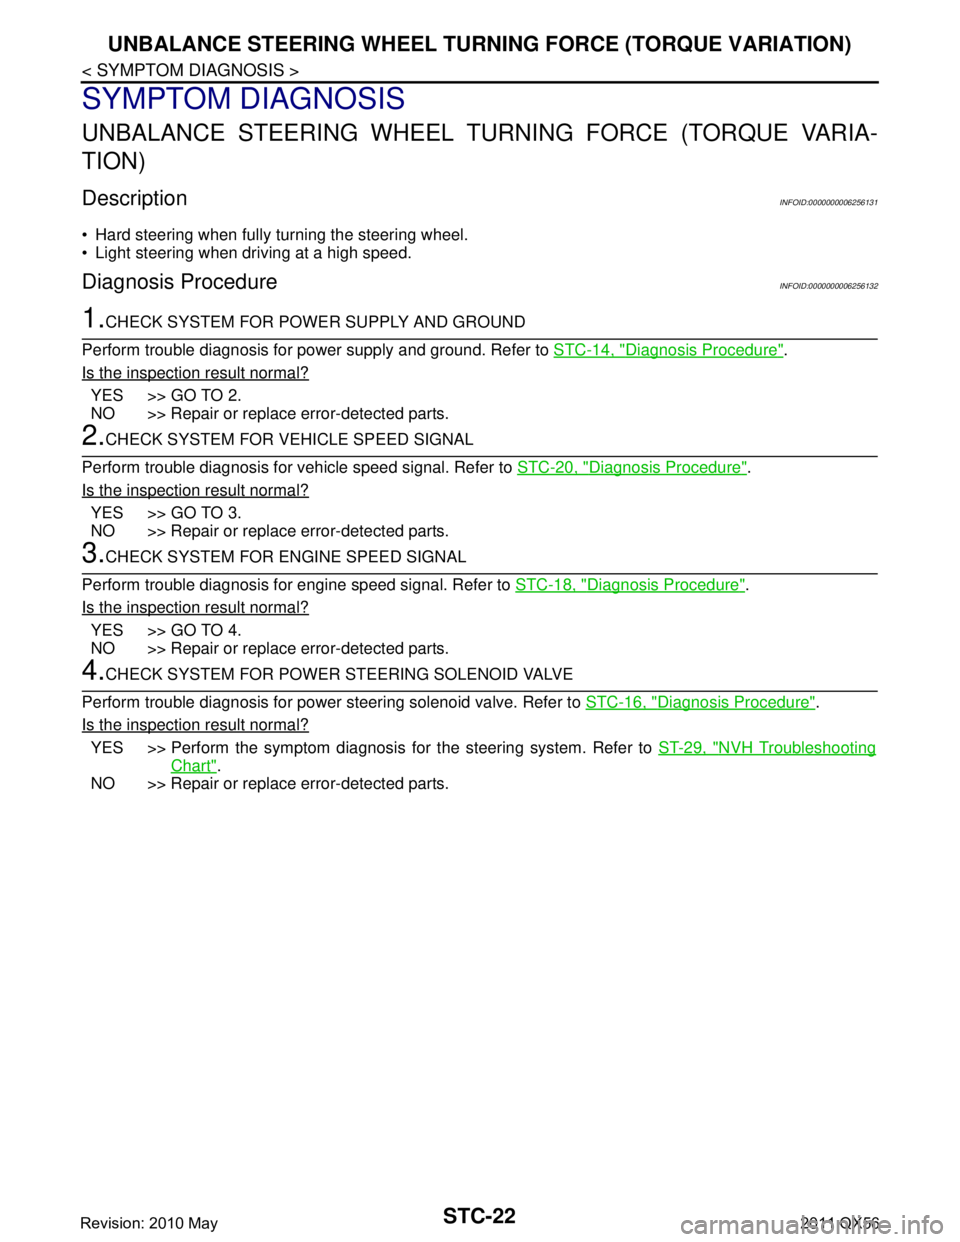
1.CHECK SYSTEM FOR POWER SUPPLY AND GROUND
Perform trouble diagnosis for power supply and ground. Refer to STC-14, "
Diagnosis Procedure".
Is the inspection result normal?
YES >> GO TO 2.
NO >> Repair or replace error-detected parts.
2.CHECK SYSTEM FOR VEHICLE SPEED SIGNAL
Perform trouble diagnosis for vehicle speed signal. Refer to STC-20, "
Diagnosis Procedure".
Is the inspection result normal?
YES >> GO TO 3.
NO >> Repair or replace error-detected parts.
3.CHECK SYSTEM FOR ENGINE SPEED SIGNAL
Perform trouble diagnosis for engine speed signal. Refer to STC-18, "
Diagnosis Procedure".
Is the inspection result normal?
YES >> GO TO 4.
NO >> Repair or replace error-detected parts.
4.CHECK SYSTEM FOR POWER STEERING SOLENOID VALVE
Perform trouble diagnosis for power steering solenoid valve. Refer to STC-16, "
Diagnosis Procedure".
Is the inspection result normal?
YES >> Perform the symptom diagnosis for the steering system. Refer to ST-29, "NVH Troubleshooting
Chart".
NO >> Repair or replace error-detected parts.
Revision: 2010 May2011 QX56
Page 5080 of 5598
STR-12
< BASIC INSPECTION >
DIAGNOSIS AND REPAIR WORKFLOW
NOTE:
To ensure a complete and thorough diagnosis, the battery, starter motor and alternator test segments must be
done as a set from start to finish.
1.DIAGNOSIS WITH STARTING /CHARGING SYSTEM TESTER
Perform the starting system test with Starting/Char ging System Tester (SST: J-44373). For details and operat-
ing instructions, refer to Technical Service Bulletin.
Te s t r e s u l t
CRANKING VOLTAGE NORMAL>>GO TO 2.
CRANKING VOLTAGE LOW>>GO TO 5.
CHARGE BATTERY>>Perform the slow battery charging procedure. (Initial rate of charge is 10A for 12
hours.) Perform battery test again. Re fer to Technical Service Bulletin.
REPLACE BATTERY>>Before replacing battery, clean t he battery cable clamps and battery posts. Perform
battery test again. Refer to Technical Service Bu lletin. If second test result is “REPLACE BAT-
TERY”, then do so. Perform battery test again to confirm repair.
2.CRANKING CHECK
Check that the starter motor operates correctly.
Does the engine crank normally?
YES >> GO TO 3.
NO >> GO TO 4.
3.ENGINE START CHECK
Check that the engine starts.
Does the engine start?
YES >> Starter motor is OK. INSPECTION END
NO >> Perform further diagnosis of engine mechanical or engine control system. Refer EM and EC sec-
tions. Once resolved, perform battery test again.
4.STARTER MOTOR ACTIVATION
Check that the starter motor operates.
Does the starter motor turn?
YES >> Check ring gear and starter motor drive pinion. Once resolved, perform battery test again.
NO >> GO TO 7.
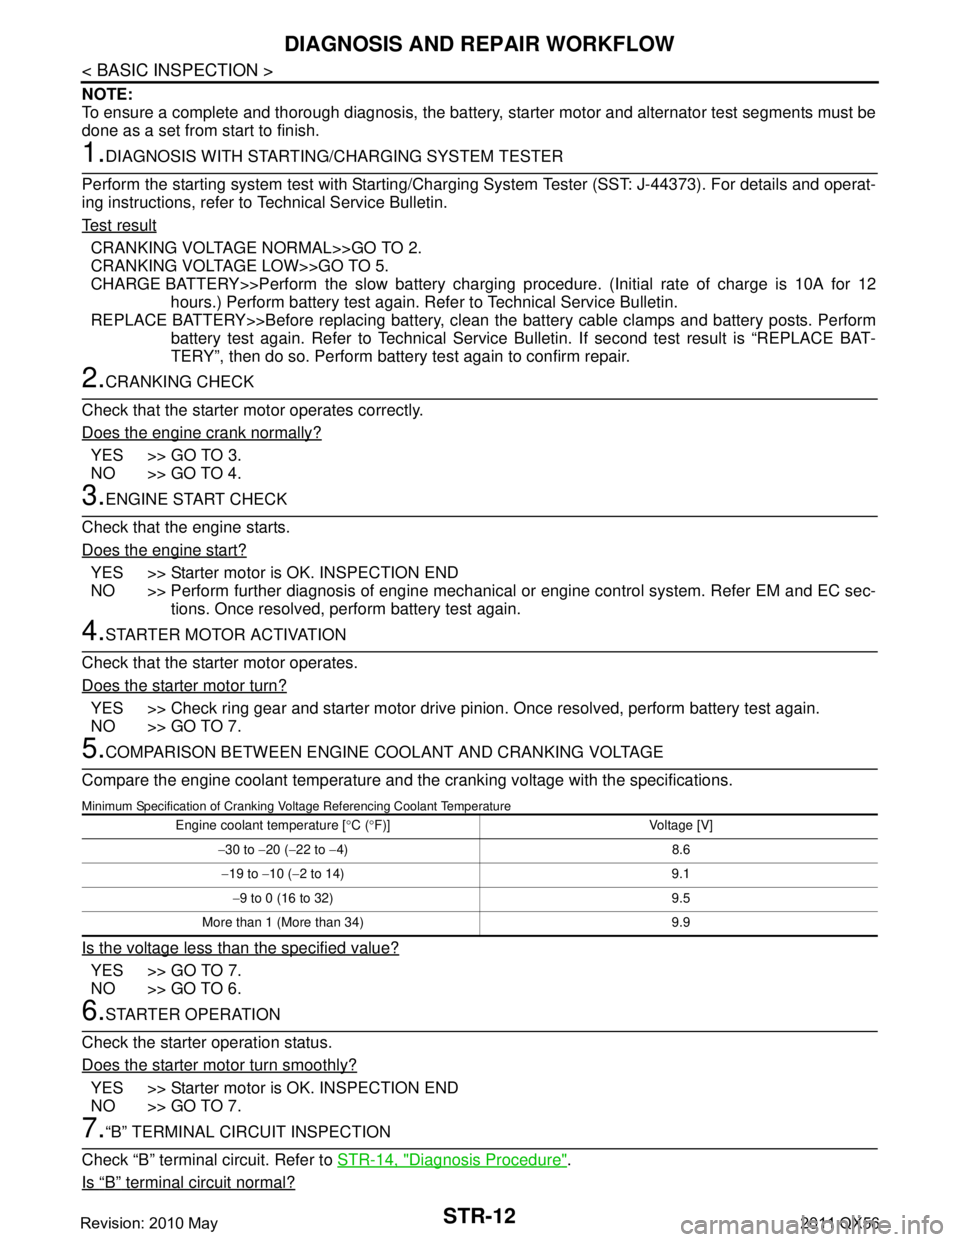
5.COMPARISON BETWEEN ENGINE COOLANT AND CRANKING VOLTAGE
Compare the engine coolant temperature and the cranking voltage with the specifications.
Minimum Specification of Cranking Voltage Referencing Coolant Temperature
Is the voltage less than the specified value?
YES >> GO TO 7.
NO >> GO TO 6.
6.STARTER OPERATION
Check the starter operation status.
Does the starter motor turn smoothly?
YES >> Starter motor is OK. INSPECTION END
NO >> GO TO 7.
7.“B” TERMINAL CIRCUIT INSPECTION
Check “B” terminal circuit. Refer to STR-14, "
Diagnosis Procedure".
Is
“B” terminal circuit normal?
Engine coolant temperature [ °C ( °F)] Voltage [V]
− 30 to −20 ( −22 to −4) 8.6
− 19 to −10 ( −2 to 14) 9.1
− 9 to 0 (16 to 32) 9.5
More than 1 (More than 34) 9.9
Revision: 2010 May2011 QX56