2011 FORD F150 lock
[x] Cancel search: lockPage 312 of 461

The ELD is designed for off-road use only and is not intended for use on
dry pavement.
Activating the electronic locking differential (ELD)
The ELD can be turned on by
pulling the knob on the 4WD control
toward you while the control is in
either 4H (4X4 high) or 4L (4X4
low) mode.
Once the knob is pulled, the
light located on the control will
blink for approximately two seconds
and then it will remain solid. The
indicator light will also display in
the message center.
Once the
light on the control
remains solid and the
indicator
light is displayed in the message
center, both rear wheel axle shafts
will be locked together providing
added traction.
If the
light blinks for 10 seconds, then turns off, and theindicator
light in the message center turns off, one of the following has occurred:
•The vehicle speed is too high.
•The left and right rear wheel speed difference is too high during an
engagement attempt.
•The system has malfunctioned and will be accompanied by aCHECK
LOCKING DIFFERENTIALmessage in the message center.
Note:If the ELD has difficulty disengaging, release the accelerator pedal
and turn the steering wheel in the opposite direction while rolling.
Driving off-road with truck and utility vehicles
4WD vehicles are specially equipped for driving on sand, snow, mud and
rough terrain and have operating characteristics that are somewhat
different from conventional vehicles, both on and off the road.
Your vehicle may be equipped with a front air dam that can become
damaged (due to reduced ground clearance) when taking your vehicle
off-road. This air dam can be taken off by removing two bolts.
Driving
312
2011 F-150(f12)
Owners Guide, 1st Printing
USA(fus)
Page 316 of 461
Power is supplied to all four wheels through a transfer case. On 4WD
vehicles, the transfer case allows you to select 4WD when necessary.
Information on transfer case operation and shifting procedures can be
found in this chapter. Information on transfer case maintenance can be
found in theMaintenance and Specificationschapter. You should
become thoroughly familiar with this information before you operate
your vehicle.
Normal characteristics
On some 4WD models, the initial shift from two-wheel drive to 4x4 while
the vehicle is moving can cause some momentary clunk and ratcheting
sounds. This is the front drivetrain coming up to speed and the
automatic locking hubs engaging and is not cause for concern.
Sand
When driving over sand, try to keep all four wheels on the most solid
area of the trail. Avoid reducing the tire pressures but shift to a lower
gear and drive steadily through the terrain. Apply the accelerator slowly
and avoid spinning the wheels.
Avoid excessive speed because vehicle momentum can work against you
and cause the vehicle to become stuck to the point that assistance may
be required from another vehicle. Remember, you may be able to back
out the way you came if you proceed with caution.
Mud and water
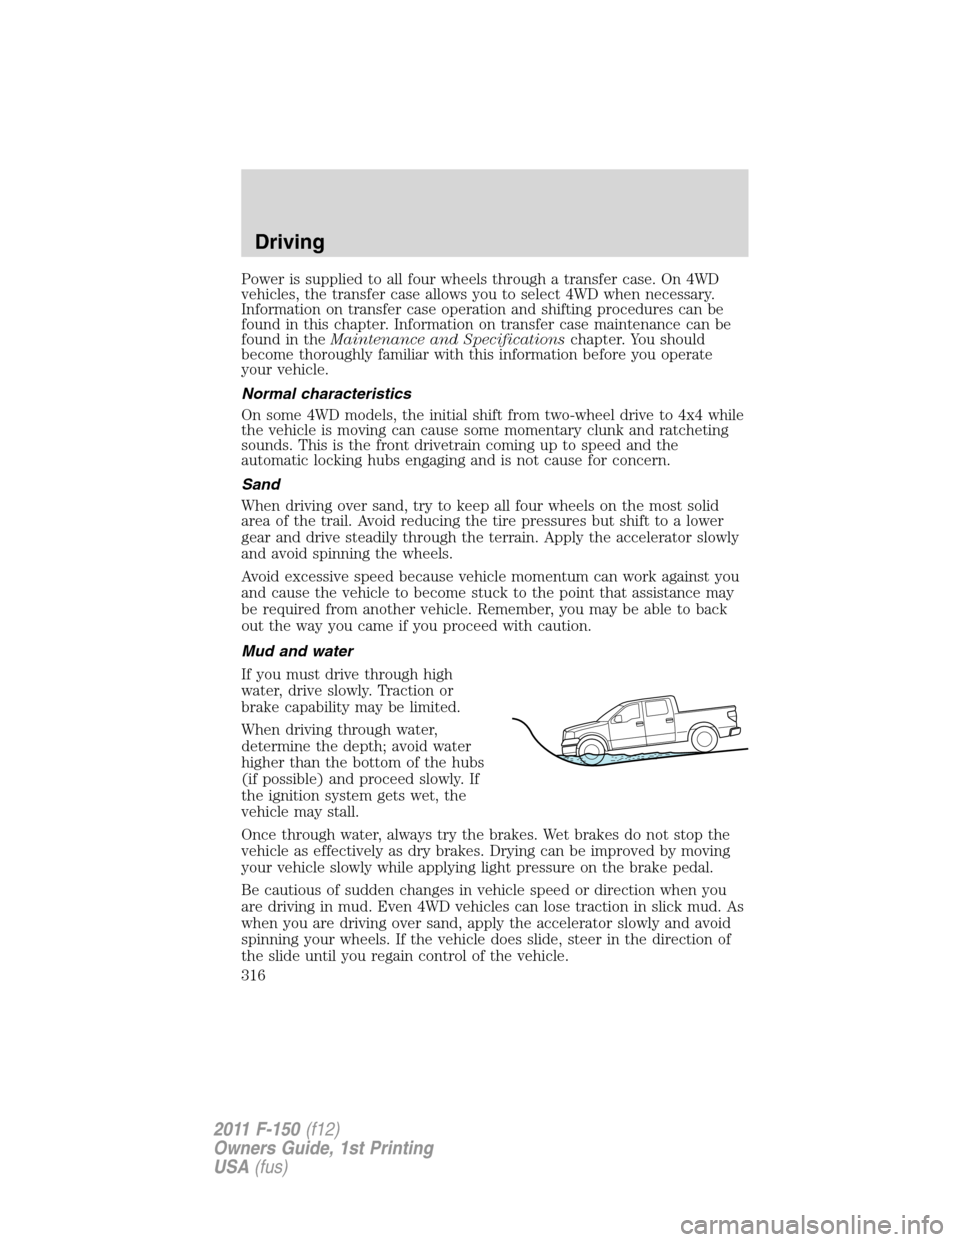
If you must drive through high
water, drive slowly. Traction or
brake capability may be limited.
When driving through water,
determine the depth; avoid water
higher than the bottom of the hubs
(if possible) and proceed slowly. If
the ignition system gets wet, the
vehicle may stall.
Once through water, always try the brakes. Wet brakes do not stop the
vehicle as effectively as dry brakes. Drying can be improved by moving
your vehicle slowly while applying light pressure on the brake pedal.
Be cautious of sudden changes in vehicle speed or direction when you
are driving in mud. Even 4WD vehicles can lose traction in slick mud. As
when you are driving over sand, apply the accelerator slowly and avoid
spinning your wheels. If the vehicle does slide, steer in the direction of
the slide until you regain control of the vehicle.
Driving
316
2011 F-150(f12)
Owners Guide, 1st Printing
USA(fus)
Page 318 of 461
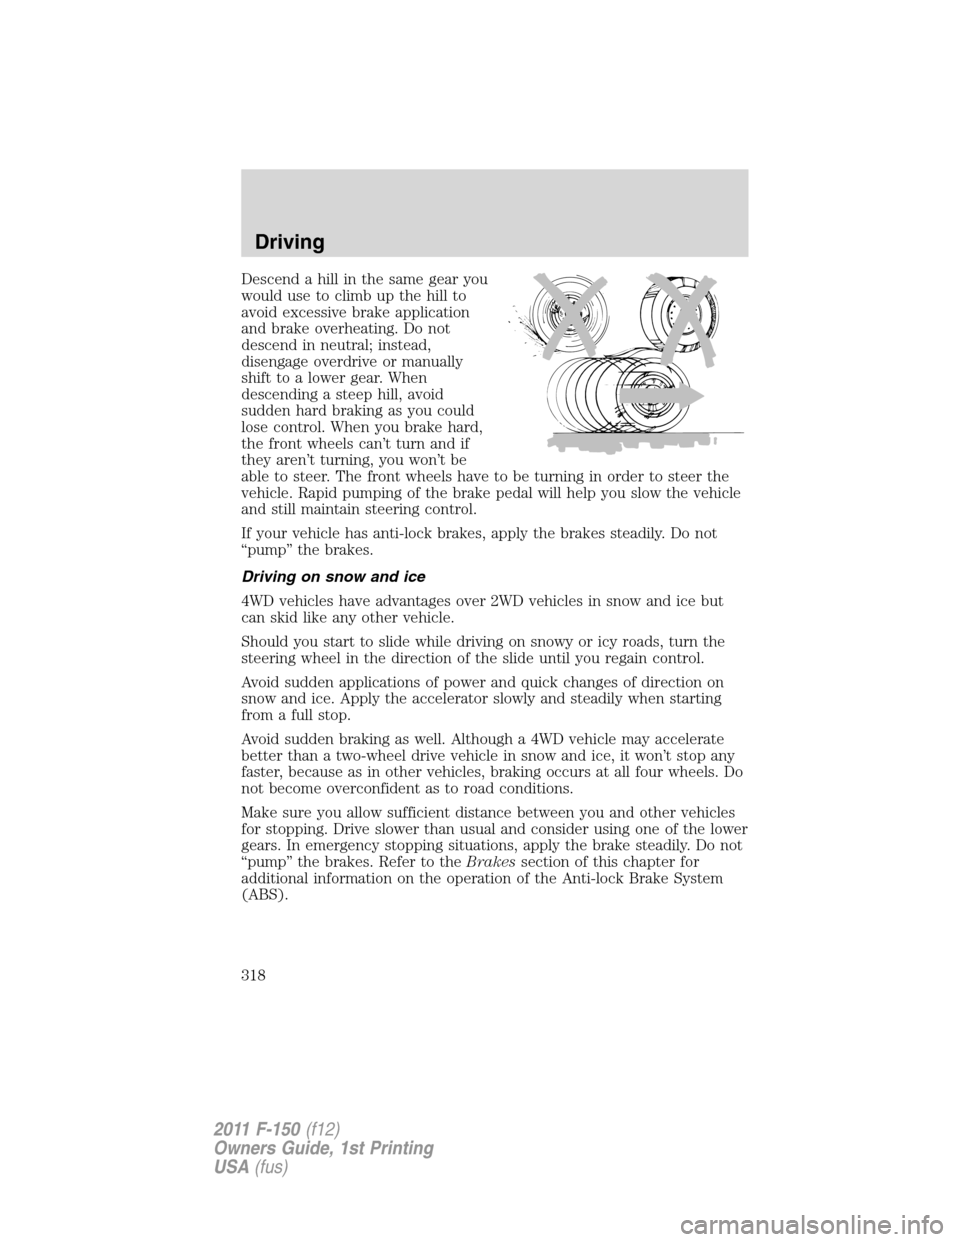
Descend a hill in the same gear you
would use to climb up the hill to
avoid excessive brake application
and brake overheating. Do not
descend in neutral; instead,
disengage overdrive or manually
shift to a lower gear. When
descending a steep hill, avoid
sudden hard braking as you could
lose control. When you brake hard,
the front wheels can’t turn and if
they aren’t turning, you won’t be
able to steer. The front wheels have to be turning in order to steer the
vehicle. Rapid pumping of the brake pedal will help you slow the vehicle
and still maintain steering control.
If your vehicle has anti-lock brakes, apply the brakes steadily. Do not
“pump” the brakes.
Driving on snow and ice
4WD vehicles have advantages over 2WD vehicles in snow and ice but
can skid like any other vehicle.
Should you start to slide while driving on snowy or icy roads, turn the
steering wheel in the direction of the slide until you regain control.
Avoid sudden applications of power and quick changes of direction on
snow and ice. Apply the accelerator slowly and steadily when starting
from a full stop.
Avoid sudden braking as well. Although a 4WD vehicle may accelerate
better than a two-wheel drive vehicle in snow and ice, it won’t stop any
faster, because as in other vehicles, braking occurs at all four wheels. Do
not become overconfident as to road conditions.
Make sure you allow sufficient distance between you and other vehicles
for stopping. Drive slower than usual and consider using one of the lower
gears. In emergency stopping situations, apply the brake steadily. Do not
“pump” the brakes. Refer to theBrakessection of this chapter for
additional information on the operation of the Anti-lock Brake System
(ABS).
Driving
318
2011 F-150(f12)
Owners Guide, 1st Printing
USA(fus)
Page 321 of 461
ROADSIDE ASSISTANCE
Getting roadside assistance
To fully assist you should you have a vehicle concern, Ford Motor
Company offers a complimentary roadside assistance program. This
program is separate from the New Vehicle Limited Warranty. The service
is available:
•24-hours, seven days a week
•for the coverage period listed on the Roadside Assistance Card
included in your Owner Guide portfolio.
Roadside assistance will cover:
•a flat tire change with a good spare (except vehicles that have been
supplied with a tire inflation kit)
•battery jump start
•lock-out assistance (key replacement cost is the customer’s
responsibility)
•fuel delivery – Independent Service Contractors, if not prohibited by
state, local or municipal law shall deliver up to 2.0 gallons (7.5L) of
gasoline or 5.0 gallons (18.9L) of diesel fuel to a disabled vehicle. Fuel
delivery service is limited to two no-charge occurrences within a
12-month period.
•winch out – available within 100 feet (30.5 meters) of a paved or
county maintained road, no recoveries.
•towing – Ford and Lincoln eligible vehicles towed to an authorized
dealer within 35 miles (56 km) of the disablement location or to the
nearest authorized dealer. If a member requests to be towed to an
authorized dealer more than 35 miles (56 km) from the disablement
location, the member shall be responsible for any mileage costs in
excess of 35 miles (56 km).
Trailers shall be covered up to $200 if the disabled eligible vehicle
requires service at the nearest authorized dealer. If the trailer is disabled,
but the towing vehicle is operational, the trailer does not qualify for any
roadside services.
Roadside Emergencies
321
2011 F-150(f12)
Owners Guide, 1st Printing
USA(fus)
Page 326 of 461

Fuse/Relay
LocationFuse Amp
RatingProtected Circuits
9 10A Radio display, GPS module, Navigation
display
10 10A Run/accessory relay
11 10A Instrument cluster
12 15A Interior lighting, Puddle lamps,
Backlighting, Cargo lamp
13 15A Right turn signals/stop lamps
14 15A Left turn signals/stop lamps
15 15A Reverse lights, High-mounted stop lamp
16 10A Right low-beam headlamp
17 10A Left low-beam headlamp
18 10A Brake-shift interlock, Keypad
illumination, PCM wakeup, PATS
19 20A Audio amplifier
20 20A Power door locks
21 10A Ambient lighting
22 20A Horn
23 15A Steering wheel control module
24 15A Datalink connector, Steering wheel
control module
25 15A Not used (spare)
26 5A Radio frequency module
27 20A Not used (spare)
28 15A Ignition switch
29 20A Radio/Navigation
30 15A Front parking lamps
31 5A BOO – IP, BOO – Engine
32 15A Delay/accessory – moon roof, power
windows, locks, Automatic dimming
mirror/Compass
33 10A Heated seats
Roadside Emergencies
326
2011 F-150(f12)
Owners Guide, 1st Printing
USA(fus)
Page 329 of 461

Fuse/Relay
LocationFuse Amp
RatingProtected Circuits
14 30A** Passenger power seat
1540A** Electric fan
50A** Electric fan (6.2L with max trailer
tow, SVT Raptor)
16 — Not used
17 30A** Trailer brake control
18 30A** Upfitter 1 (SVT Raptor)
19 30A** Upfitter 2 (SVT Raptor)
20 20A** 4x4 module (electronic shift)
21 30A** TT battery charge relay power
22 20A** Cigar lighter
23 — A/C clutch relay
24 — Not used
25 — Vacuum pump relay (3.5L engine)
26 10A* PCM – keep alive power, PCM relay
coil, canister vent solenoid (3.7L,
5.0L and 6.2L engines)
27 20A* Fuel pump relay power
28 10A* Upfitter 4 (SVT Raptor)
29 10A* 4x4 IWE solenoid
30 10A* A/C clutch
31 15A* Run/start relay power
32 40A** Rear window defroster relay power
33 40A** 110V AC power point
34 40A** PCM relay power (3.7L, 5.0L and
6.2L engines)
50A** PCM relay power (3.5L engine)
35 — Not used
36 30A** Roll stability control (RSC)/Anti-lock
brake system (ABS)
37 — TT left stop/turn relay
38 — TT right stop/turn relay
Roadside Emergencies
329
2011 F-150(f12)
Owners Guide, 1st Printing
USA(fus)
Page 335 of 461
•Load leveling adjustment (if applicable)
When driving with the full-size dissimilar spare tire/wheel additional
caution should be given to:
•Towing a trailer
•Driving vehicles equipped with a camper body
•Driving vehicles with a load on the cargo rack
Drive cautiously when using a full-size dissimilar spare tire/wheel and
seek service as soon as possible.
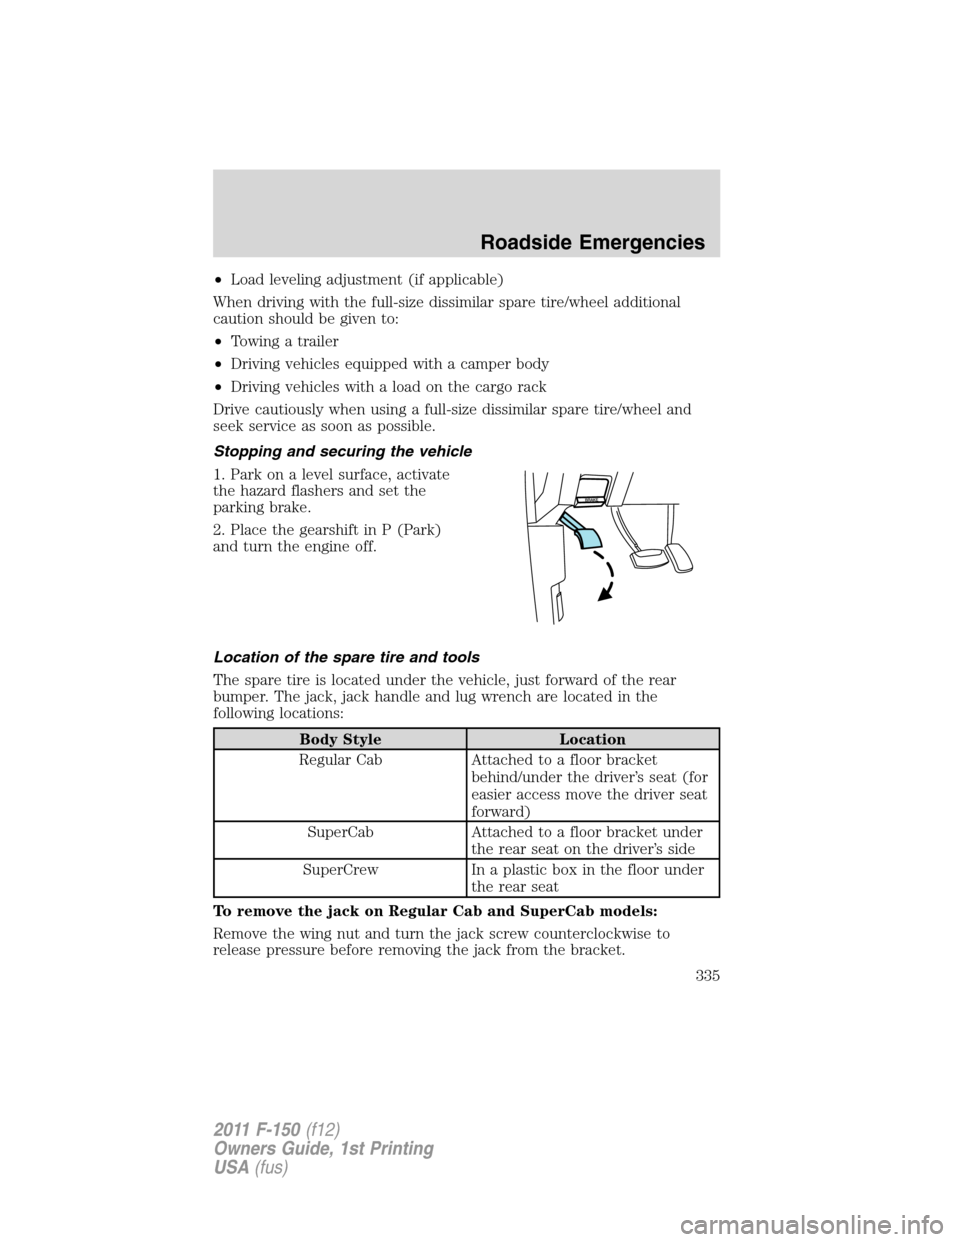
Stopping and securing the vehicle
1. Park on a level surface, activate
the hazard flashers and set the
parking brake.
2. Place the gearshift in P (Park)
and turn the engine off.
Location of the spare tire and tools
The spare tire is located under the vehicle, just forward of the rear
bumper. The jack, jack handle and lug wrench are located in the
following locations:
Body Style Location
Regular Cab Attached to a floor bracket
behind/under the driver’s seat (for
easier access move the driver seat
forward)
SuperCab Attached to a floor bracket under
the rear seat on the driver’s side
SuperCrew In a plastic box in the floor under
the rear seat
To remove the jack on Regular Cab and SuperCab models:
Remove the wing nut and turn the jack screw counterclockwise to
release pressure before removing the jack from the bracket.
Roadside Emergencies
335
2011 F-150(f12)
Owners Guide, 1st Printing
USA(fus)
Page 336 of 461
To remove the jack on SuperCrew models:
1. Lift both rear seat cushions.
2. Remove the insert containing the Easy Fuel ™ funnel from the driver’s
side.
3. Remove the two small wing nuts on the passenger side.
4. Slide the plastic box toward the driver’s side and remove.
Removing the spare tire
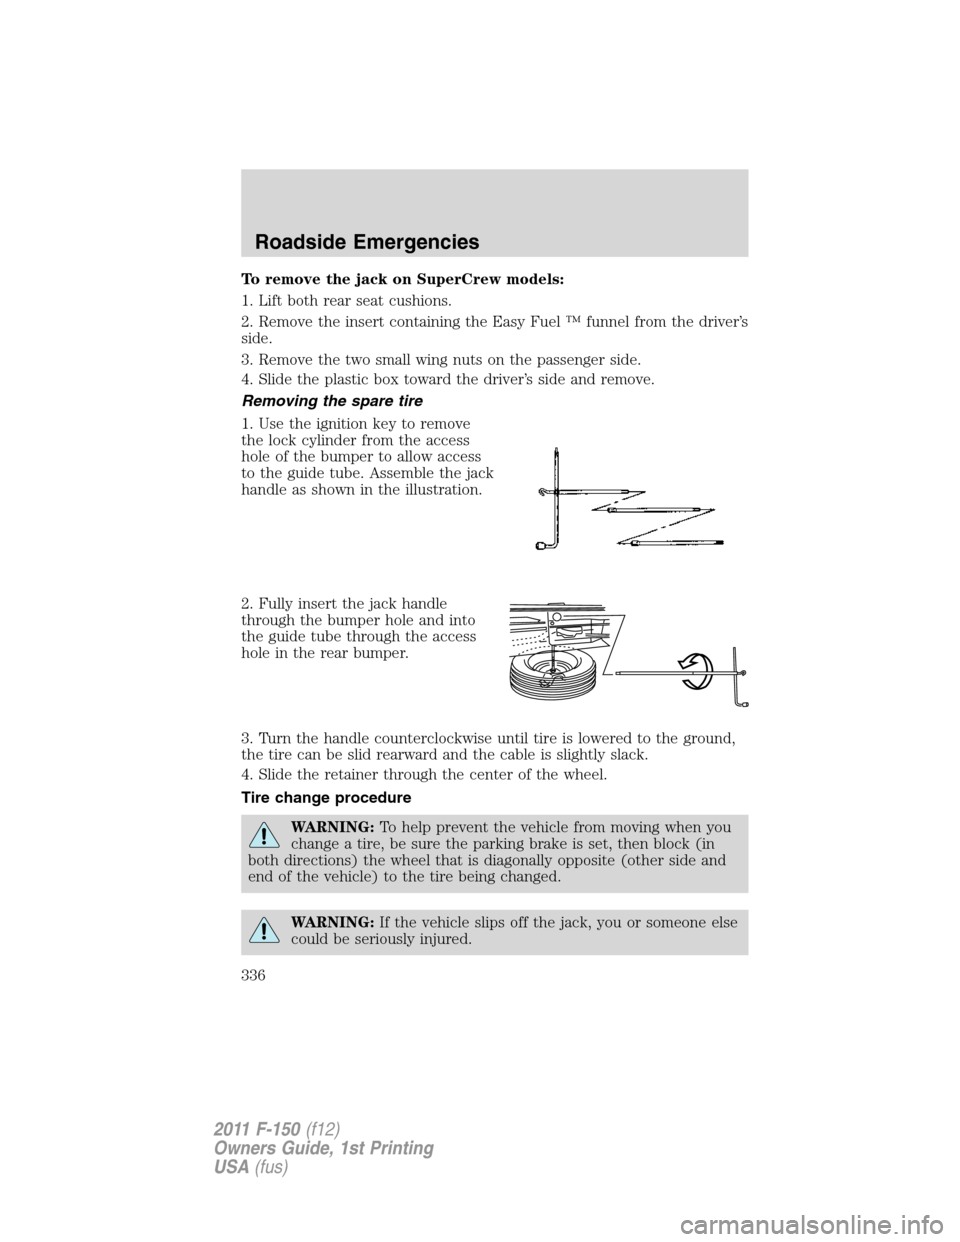
1. Use the ignition key to remove
the lock cylinder from the access
hole of the bumper to allow access
to the guide tube. Assemble the jack
handle as shown in the illustration.
2. Fully insert the jack handle
through the bumper hole and into
the guide tube through the access
hole in the rear bumper.
3. Turn the handle counterclockwise until tire is lowered to the ground,
the tire can be slid rearward and the cable is slightly slack.
4. Slide the retainer through the center of the wheel.
Tire change procedure
WARNING:To help prevent the vehicle from moving when you
change a tire, be sure the parking brake is set, then block (in
both directions) the wheel that is diagonally opposite (other side and
end of the vehicle) to the tire being changed.
WARNING:If the vehicle slips off the jack, you or someone else
could be seriously injured.
Roadside Emergencies
336
2011 F-150(f12)
Owners Guide, 1st Printing
USA(fus)