2011 CHEVROLET CORVETTE fuse
[x] Cancel search: fusePage 195 of 428
Black plate (5,1)Chevrolet Corvette Owner Manual - 2011
Lighting 6-5
The lever returns to its starting
position when it is released.
If after signaling a turn or lane
change the arrows flash rapidly or
do not come on, a signal bulb may
be burned out.
Have the bulbs replaced. If the bulb
is not burned out, check the fuse.
SeeFuses and Circuit Breakers on
page 10‑51.
Turn Signal on Chime
A chime sounds if the turn signal
has been on for more than 1.2 km
(0.75 miles) of driving.
If you need to leave the turn
signal on for more than 1.2 km
(0.75 miles), turn off the signal
and then turn it back on.Fog Lamps
Use fog lamps for better vision in
foggy or misty conditions.
The fog lamps control is located on
the multifunction lever next to the
exterior lamp control.
#(Fog Lamps): Turning the band
to this position will turn the fog
lamps on.
When you turn the fog lamps on,
the fog lamp light will appear on the
instrument panel cluster to indicate
that the fog lamps and the parking
lamps are on.
If you turn the high-beam
headlamps on, the fog lamps will
turn off. They will turn on again
when you switch to low-beam
headlamps.
The ignition must be on for the fog
lamps to operate.
Some localities have laws that
require the headlamps to be on
along with the fog lamps.
Interior Lighting
Instrument Panel
Illumination Control
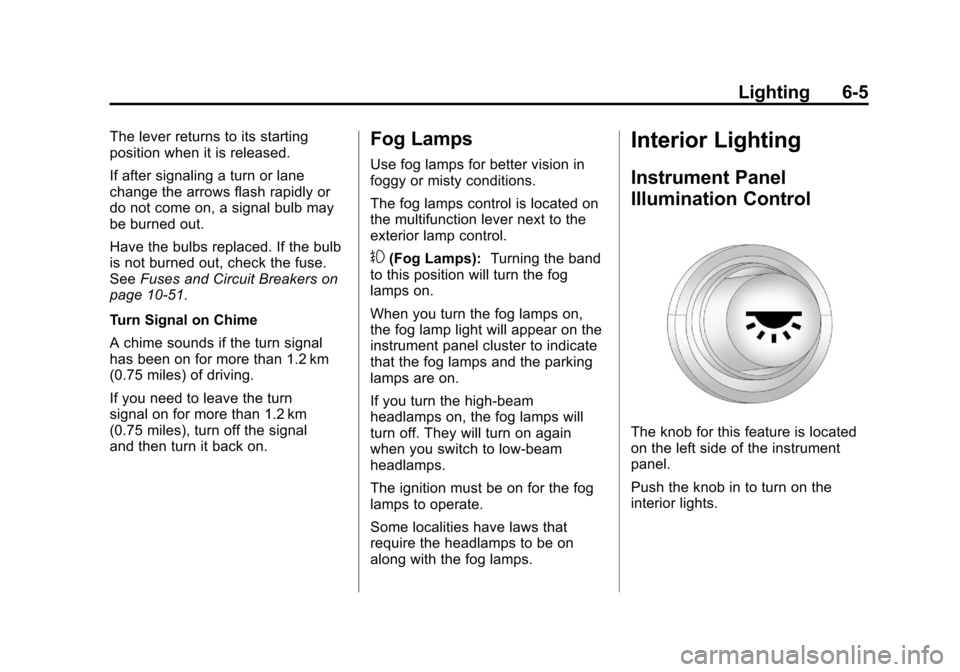
The knob for this feature is located
on the left side of the instrument
panel.
Push the knob in to turn on the
interior lights.
Page 286 of 428
Black plate (2,1)Chevrolet Corvette Owner Manual - 2011
10-2 Vehicle Care
Electrical System
Electrical SystemOverload . . . . . . . . . . . . . . . . . . 10-50
Fuses and Circuit Breakers . . . . . . . . . . . . . . . . . . 10-51
Engine Compartment Fuse
Block . . . . . . . . . . . . . . . . . . . . . 10-52
Instrument Panel Fuse Block . . . . . . . . . . . . . . . . . . . . . 10-55
Wheels and Tires
Tires . . . . . . . . . . . . . . . . . . . . . . . . 10-58
Winter Tires . . . . . . . . . . . . . . . . 10-59
Run-Flat Tires . . . . . . . . . . . . . . 10-59
Low-Profile Tires . . . . . . . . . . . 10-60
Tire Sidewall Labeling . . . . . . 10-61
Tire Designations . . . . . . . . . . . 10-62
Tire Terminology andDefinitions . . . . . . . . . . . . . . . . 10-63 Tire Pressure . . . . . . . . . . . . . . . 10-66
Tire Pressure for High-Speed
Operation . . . . . . . . . . . . . . . . . 10-67
Tire Pressure Monitor System . . . . . . . . . . . . . . . . . . . 10-68
Tire Pressure Monitor Operation . . . . . . . . . . . . . . . . . 10-69
Tire Inspection . . . . . . . . . . . . . . 10-72
Tire Rotation . . . . . . . . . . . . . . . 10-72
When It Is Time for New Tires . . . . . . . . . . . . . . . . . . . . . . 10-72
Buying New Tires . . . . . . . . . . . 10-73
Different Size Tires and Wheels . . . . . . . . . . . . . . . . . . . 10-75
Uniform Tire Quality Grading . . . . . . . . . . . . . . . . . . . 10-76
Wheel Alignment and Tire Balance . . . . . . . . . . . . . . . . . . . 10-77
Wheel Replacement . . . . . . . . 10-78
Tire Chains . . . . . . . . . . . . . . . . . 10-80
If a Tire Goes Flat . . . . . . . . . . 10-80
Jump Starting
Jump Starting . . . . . . . . . . . . . . 10-82
Towing
Towing the Vehicle . . . . . . . . . 10-86
Recreational Vehicle Towing . . . . . . . . . . . . . . . . . . . . 10-86
Appearance Care
Exterior Care . . . . . . . . . . . . . . . 10-86
Interior Care . . . . . . . . . . . . . . . . 10-90
Floor Mats . . . . . . . . . . . . . . . . . . 10-93
Page 292 of 428

Black plate (8,1)Chevrolet Corvette Owner Manual - 2011
10-8 Vehicle Care
Vehicle Checks
Doing Your Own
Service Work
{WARNING
You can be injured and the
vehicle could be damaged if you
try to do service work on a vehicle
without knowing enough about it.
.Be sure you have sufficient
knowledge, experience,
the proper replacement
parts, and tools before
attempting any vehicle
maintenance task.(Continued)
WARNING (Continued)
.Be sure to use the proper
nuts, bolts, and other
fasteners. English and metric
fasteners can be easily
confused. If the wrong
fasteners are used, parts
can later break or fall off.
You could be hurt.
If doing some of your own service
work, use the proper service
manual. It tells you much more
about how to service the vehicle
than this manual can. To order the
proper service manual, see Service
Publications Ordering Information
on page 13‑15. This vehicle has an airbag system.
Before attempting to do your own
service work, see
Servicing the
Airbag-Equipped Vehicle on
page 3‑34.
Keep a record with all parts receipts
and list the mileage and the date of
any service work performed. See
Maintenance Records on page 11‑9.
Page 295 of 428
Black plate (11,1)Chevrolet Corvette Owner Manual - 2011
Vehicle Care 10-11
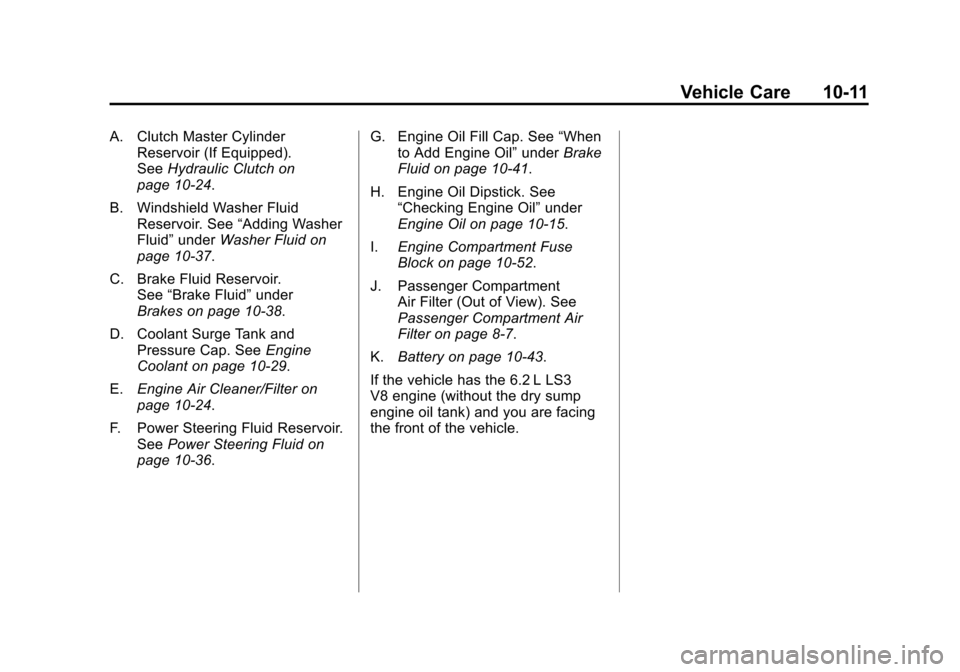
A. Clutch Master CylinderReservoir (If Equipped).
See Hydraulic Clutch on
page 10‑24.
B. Windshield Washer Fluid Reservoir. See “Adding Washer
Fluid” under Washer Fluid on
page 10‑37.
C. Brake Fluid Reservoir. See “Brake Fluid” under
Brakes on page 10‑38.
D. Coolant Surge Tank and Pressure Cap. See Engine
Coolant on page 10‑29.
E. Engine Air Cleaner/Filter on
page 10‑24.
F. Power Steering Fluid Reservoir. See Power Steering Fluid on
page 10‑36. G. Engine Oil Fill Cap. See
“When
to Add Engine Oil” underBrake
Fluid on page 10‑41.
H. Engine Oil Dipstick. See “Checking Engine Oil” under
Engine Oil on page 10‑15.
I. Engine Compartment Fuse
Block on page 10‑52.
J. Passenger Compartment Air Filter (Out of View). See
Passenger Compartment Air
Filter on page 8‑7.
K. Battery on page 10‑43.
If the vehicle has the 6.2 L LS3
V8 engine (without the dry sump
engine oil tank) and you are facing
the front of the vehicle.
Page 297 of 428
Black plate (13,1)Chevrolet Corvette Owner Manual - 2011
Vehicle Care 10-13
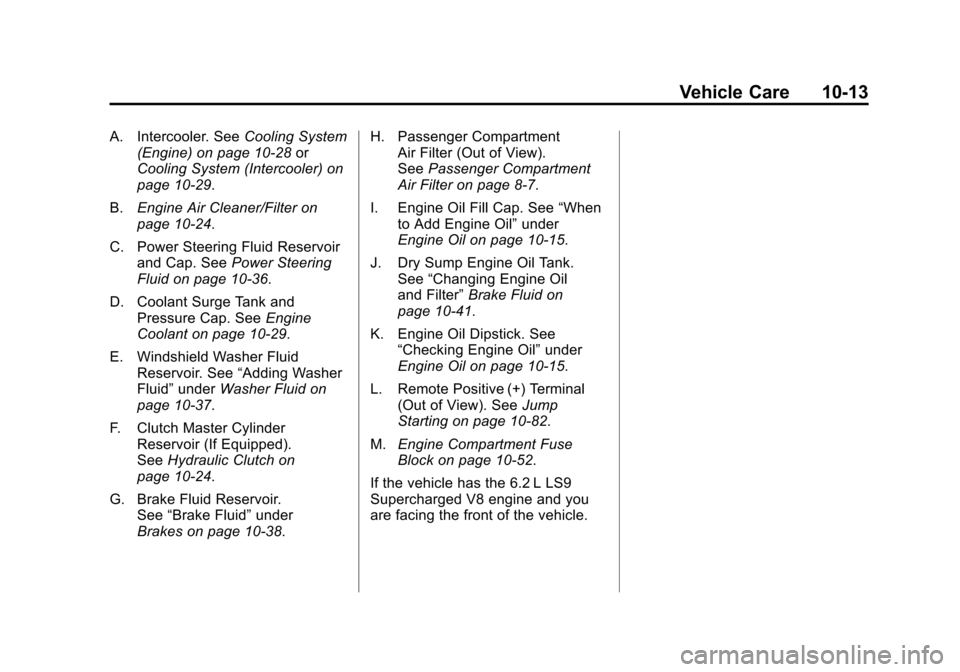
A. Intercooler. SeeCooling System
(Engine) on page 10‑28 or
Cooling System (Intercooler) on
page 10‑29.
B. Engine Air Cleaner/Filter on
page 10‑24.
C. Power Steering Fluid Reservoir and Cap. See Power Steering
Fluid on page 10‑36.
D. Coolant Surge Tank and Pressure Cap. See Engine
Coolant on page 10‑29.
E. Windshield Washer Fluid Reservoir. See “Adding Washer
Fluid” under Washer Fluid on
page 10‑37.
F. Clutch Master Cylinder Reservoir (If Equipped).
See Hydraulic Clutch on
page 10‑24.
G. Brake Fluid Reservoir. See “Brake Fluid” under
Brakes on page 10‑38. H. Passenger Compartment
Air Filter (Out of View).
See Passenger Compartment
Air Filter on page 8‑7.
I. Engine Oil Fill Cap. See “When
to Add Engine Oil” under
Engine Oil on page 10‑15.
J. Dry Sump Engine Oil Tank. See “Changing Engine Oil
and Filter” Brake Fluid on
page 10‑41.
K. Engine Oil Dipstick. See “Checking Engine Oil” under
Engine Oil on page 10‑15.
L. Remote Positive (+) Terminal (Out of View). See Jump
Starting on page 10‑82.
M. Engine Compartment Fuse
Block on page 10‑52.
If the vehicle has the 6.2 L LS9
Supercharged V8 engine and you
are facing the front of the vehicle.
Page 299 of 428
Black plate (15,1)Chevrolet Corvette Owner Manual - 2011
Vehicle Care 10-15
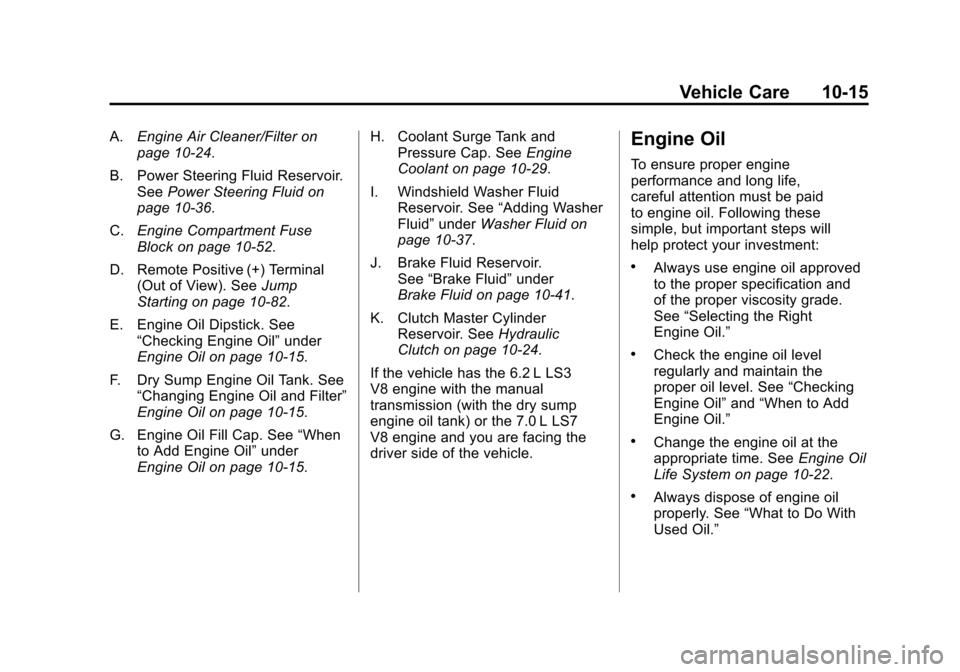
A.Engine Air Cleaner/Filter on
page 10‑24.
B. Power Steering Fluid Reservoir. See Power Steering Fluid on
page 10‑36.
C. Engine Compartment Fuse
Block on page 10‑52.
D. Remote Positive (+) Terminal (Out of View). See Jump
Starting on page 10‑82.
E. Engine Oil Dipstick. See “Checking Engine Oil” under
Engine Oil on page 10‑15.
F. Dry Sump Engine Oil Tank. See “Changing Engine Oil and Filter”
Engine Oil on page 10‑15.
G. Engine Oil Fill Cap. See “When
to Add Engine Oil” under
Engine Oil on page 10‑15. H. Coolant Surge Tank and
Pressure Cap. See Engine
Coolant on page 10‑29.
I. Windshield Washer Fluid Reservoir. See “Adding Washer
Fluid” under Washer Fluid on
page 10‑37.
J. Brake Fluid Reservoir. See “Brake Fluid” under
Brake Fluid on page 10‑41.
K. Clutch Master Cylinder Reservoir. See Hydraulic
Clutch on page 10‑24.
If the vehicle has the 6.2 L LS3
V8 engine with the manual
transmission (with the dry sump
engine oil tank) or the 7.0 L LS7
V8 engine and you are facing the
driver side of the vehicle.Engine Oil
To ensure proper engine
performance and long life,
careful attention must be paid
to engine oil. Following these
simple, but important steps will
help protect your investment:
.Always use engine oil approved
to the proper specification and
of the proper viscosity grade.
See “Selecting the Right
Engine Oil.”
.Check the engine oil level
regularly and maintain the
proper oil level. See “Checking
Engine Oil” and“When to Add
Engine Oil.”
.Change the engine oil at the
appropriate time. See Engine Oil
Life System on page 10‑22.
.Always dispose of engine oil
properly. See “What to Do With
Used Oil.”
Page 334 of 428
Black plate (50,1)Chevrolet Corvette Owner Manual - 2011
10-50 Vehicle Care
Taillamps, Turn Signal,
and Stoplamps
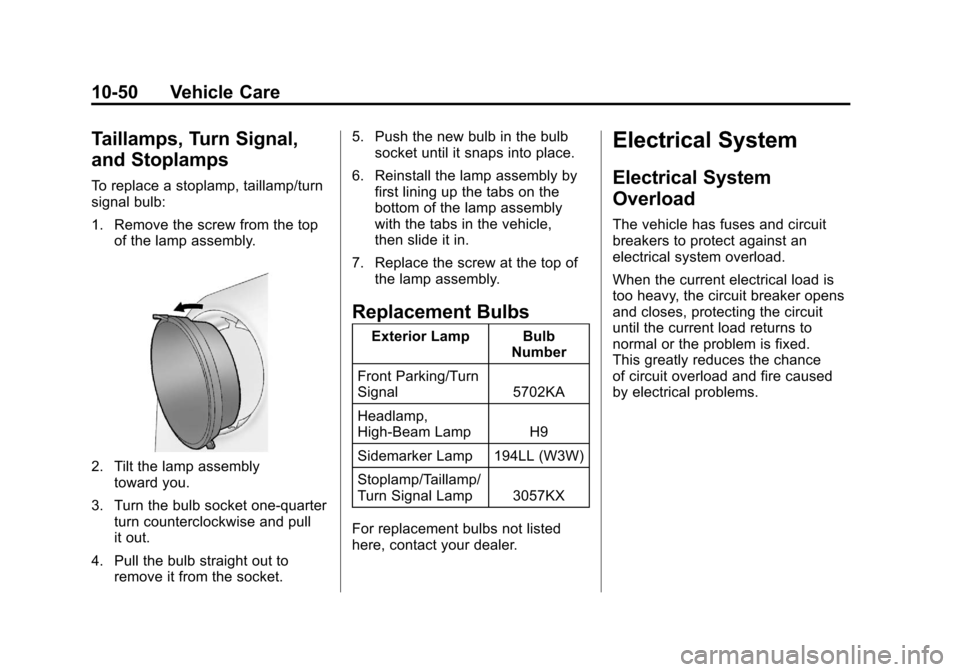
To replace a stoplamp, taillamp/turn
signal bulb:
1. Remove the screw from the topof the lamp assembly.
2. Tilt the lamp assemblytoward you.
3. Turn the bulb socket one-quarter turn counterclockwise and pull
it out.
4. Pull the bulb straight out to remove it from the socket. 5. Push the new bulb in the bulb
socket until it snaps into place.
6. Reinstall the lamp assembly by first lining up the tabs on the
bottom of the lamp assembly
with the tabs in the vehicle,
then slide it in.
7. Replace the screw at the top of the lamp assembly.
Replacement Bulbs
Exterior Lamp Bulb Number
Front Parking/Turn
Signal 5702KA
Headlamp,
High‐Beam Lamp H9
Sidemarker Lamp 194LL (W3W)
Stoplamp/Taillamp/
Turn Signal Lamp 3057KX
For replacement bulbs not listed
here, contact your dealer.
Electrical System
Electrical System
Overload
The vehicle has fuses and circuit
breakers to protect against an
electrical system overload.
When the current electrical load is
too heavy, the circuit breaker opens
and closes, protecting the circuit
until the current load returns to
normal or the problem is fixed.
This greatly reduces the chance
of circuit overload and fire caused
by electrical problems.
Page 335 of 428

Black plate (51,1)Chevrolet Corvette Owner Manual - 2011
Vehicle Care 10-51
Fuses and circuit breakers protect
the following in the vehicle:
.Headlamp Wiring
.Windshield Wiper Motor
.Power Windows and Other
Power Accessories
Replace a bad fuse with a new one
of the identical size and rating.
If there is a problem on the road
and a fuse needs to be replaced,
the same amperage fuse can be
borrowed. Choose some feature of
the vehicle that is not needed to use
and replace it as soon as possible.
Headlamp Wiring
An electrical overload may cause
the lamps to go on and off, or in
some cases to remain off. Have
the headlamp wiring checked right
away if the lamps go on and off or
remain off.
Windshield Wipers
If the wiper motor overheats due to
heavy snow or ice, the windshield
wipers will stop until the motor cools
and will then restart.
Although the circuit is protected
from electrical overload, overload
due to heavy snow or ice may
cause wiper linkage damage.
Always clear ice and heavy snow
from the windshield before using
the windshield wipers.
If the overload is caused by an
electrical problem and not snow
or ice, be sure to get it fixed.
Fuses and Circuit
Breakers
The wiring circuits in the vehicle
are protected from short circuits
by a combination of J-Case fuses,
mini-fuses and circuit breakers.
This greatly reduces the chance of
fires caused by electrical problems. Look at the silver-colored band
inside the fuse. If the band is broken
or melted, replace the fuse. Be sure
you replace a bad fuse with a new
one of the identical size and rating.
If you ever have a problem on the
road and do not have a spare fuse,
you can borrow one that has the
same amperage. Just pick some
feature of the vehicle that you can
get along without
—like the radio
or cigarette lighter —and use its
fuse, if it is the correct amperage.
Replace it as soon as you can.
Vehicles with the ZR‐1 package
have an intercooler relay located on
the fan shroud. See your dealer.
Vehicles with the ZR‐1 package also
have a fuel system mini-fuse. It is
located near the battery in the
battery storage compartment in
the rear of the vehicle.