Page 126 of 324

125
Interior Lights/Interior Convenience Items
Controls
Interior Lights
ON
The interior lights come on regardless of
whether the doors are open or closed. Door activated
The interior lights come on in the following
situations:
When any of the doors are opened. �t
You unlock the driver's door. �t
You remove the key from the ignition �t
switch. OFF
The interior lights remain off regardless of
whether the doors are open or closed.
Interior Light Switches
In the door activated position, the interior lights
fade out and go off about 30 seconds after the
doors are closed.
The lights go off after 30 seconds in the following
situations:
When you unlock the driver's door but do not �topen it.
When you remove the key from the ignition �tswitch but do not open a door.
You can change the interior lights dimming time.
Customized Features
�
P. 8 0
The interior lights go off immediately in the
following situations:
When you lock the driver's door.
�tWhen you close the driver's door with the key in �tthe ignition switch.
When you turn the ignition switch to ON �t
II.
If you leave any of the doors open without the key
in the ignition switch, the interior lights go off after
about 15 minutes.
Interior Light Switches Map Lights
The map lights can be turned on and off by
pressing the lenses.
Map Lights
When the ceiling light switch is in the door activated
position and any door is open, the map light will
not go off when you press the lens.
FrontRear
On
On
Door Activated PositionDoor Activated Position
Off
Off
Page 130 of 324
Interior Lights/Interior Convenience Items
Interior Convenience Items
129
Continued
Controls
Accessory Power Sockets
There are two accessory power sockets; one
in the console compartment and the other
at the front of the center console. They
can be used when the ignition switch is in
ACCESSORY
I or ON
II
.
Open the cover to use it.
Accessory Power Sockets NOTICE Do not insert an automotive type cigarette lighter
element.
This can overheat the power socket.
The accessory power socket is designed to supply
power for 12 volt DC accessories that are rated 120
watts or less (10 amps).
To prevent battery drain, only use the power socket
with the engine running.
Page 133 of 324

Interior Lights/Interior Convenience Items
Interior Convenience Items
132Controls
Seat Heaters
If the ignition switch is in ON
II
. The HI
setting heats the seats faster than the LO
setting.
There is no heater in the passenger's seat-
back due to the side airbag cutoff system.
Seat Heaters
Do not use the seat heaters even in LO when the
engine is off. Under such conditions, the battery
may be weakened, making the engine difficult to
start.
In the LO setting, the heater runs continuously and
does not automatically turn off after a period of
time.
WARNING
Heat induced burns are possible when
using seat heaters.
Persons with a diminished ability to sense
temperature (e.g., persons with diabetes,
lower-limb nerve damage, or paralysis)
or with sensitive skin should not use seat
heaters.
While in HI, the heater cycles on and off. The appropriate indicator will be on while
the seat heater is on. Briefly press the
button on the opposite side to turn the
heater off. The indicator will be off.
When a comfortable temperature is
reached, select LO to keep the seat warm.
Page 142 of 324
141
Audio System Basic Operation
Features
To use the audio system function, the ignition switch must be in ACCESSORY
I
or ON
II
.
Use the selector knob or MENU
button to
access some audio functions.
Press
to switch between the normal and
extended display for some functions. The
extended display has three segments to
display detailed information.
Selector knob: Rotate left or right to scroll
through the available choices. Press
to set
your selection.
MENU button: Press to select any setting
such as the clock, sound control, or the
compass. Press this button again to cancel
the menu display mode.
RETURN button: Press to go back to the
previous display.
Audio System Basic Operation
These indications are used to show how to operate
the selector knob.
Rotate
to select.
Press
to ENTER.
Menu Display
RETURN Button
Selector Knob
MENU Button
Page 170 of 324

169
Continued
Features
Bluetooth
® HandsFreeLink
®
HFL Menus
HFL MenusThe ignition switch must be in ACCESSORY
I or ON
II
to use HFL.
HFL Menus
To use HFL, you must first pair your Bluetooth-
compatible cell phone to the system while the
vehicle is parked.
Press the
(HFL Talk) button each time you give a command
"Phone setup"
"Pair""Edit""Delete""List""Status"
"Next phone"
"Set pairing code"e.g.: "123-456-####"
e.g.: "Jim Smith"
"Call" / "Dial"
"Redial""Tr a n s f e r""Mute""Send"Pair a phone to the system.
Edit the name of a paired phone.
Delete a paired phone from the system.
Hear a list of all phones paired to the system.
Hear which paired phone is linked, and its remaining battery life.
Search for another phone that has been paired.
Set the pairing code to either "Fixed" or "Random."
Say a phone number.
Say a name after a phonebook entry is stored.
Redial the last number called.
Transfer a call from HFL to your phone or from your phone to HFL.
Mute your voice to the person at the other end of the call.
Send numbers or names during a call.
Page 174 of 324
173
Continued
Features
Bluetooth
® HandsFreeLink
®
HFL Menus
Making a Call
You can make calls using any phone number or a name in the HFL phonebook,
and redial the last number called.
Direct dialing a phone number
1. Say "Call" or "Dial."
2. Say the number you want to dial after the prompts.
3. Say "Call" or "Dial" after the prompts. From the HFL phonebook
1. Say "Call" or "Dial."
2. Say the name stored in the HFL phonebook after the prompts.
3. Follow the HFL prompts. To redial the last number called by HFL
Say "Redial." To end a call
Press the
(HFL back) button.
Making a Call
Press the
button and wait for a beep before
giving a command.
HFL uses a Class 2 Bluetooth, with has a maximum
range of about 30 feet (10 meters).
HFL allows you to talk up to 30 minutes after you
remove the key from the ignition switch. However,
this may weaken the vehicle's battery.
Page 179 of 324

178Features
Bluetooth
® HandsFreeLink
®
HFL Menus
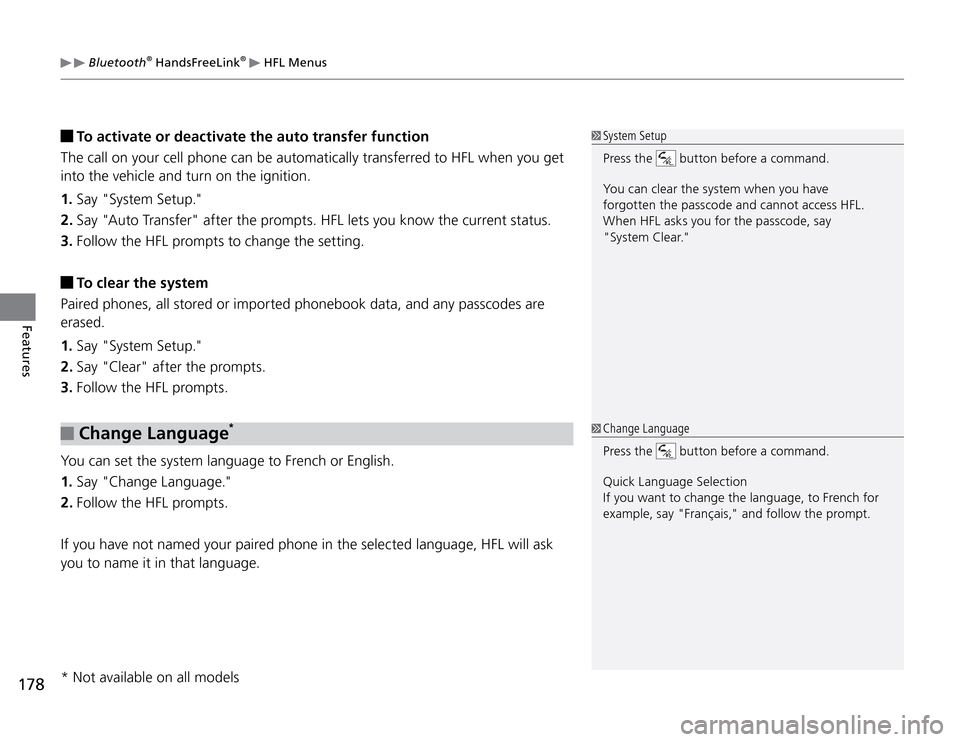
To activate or deactivate the auto transfer function
The call on your cell phone can be automatically transferred to HFL when you get
into the vehicle and turn on the ignition.
1. Say "System Setup."
2. Say "Auto Transfer" after the prompts. HFL lets you know the current status.
3. Follow the HFL prompts to change the setting. To clear the system
Paired phones, all stored or imported phonebook data, and any passcodes are
erased.
1. Say "System Setup."
2. Say "Clear" after the prompts.
3. Follow the HFL prompts. Change Language
*
You can set the system language to French or English.
1. Say "Change Language."
2. Follow the HFL prompts.
If you have not named your paired phone in the selected language, HFL will ask
you to name it in that language.
System Setup
Press the
button before a command.
You can clear the system when you have
forgotten the passcode and cannot access HFL.
When HFL asks you for the passcode, say
"System Clear."
Change Language
Press the
button before a command.
Quick Language Selection
If you want to change the language, to French for
example, say "Français," and follow the prompt.
* Not available on all models
Page 180 of 324

179
Features
* Not available on all modelsCompass
*
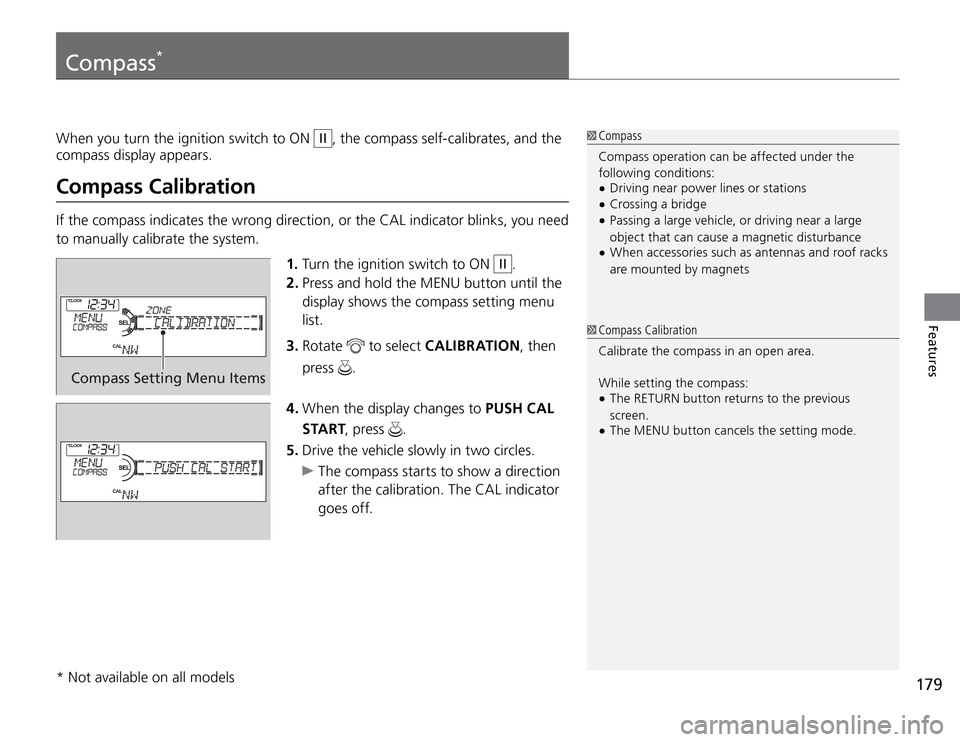
Compass Setting Menu Items
1. Turn the ignition switch to ON
II
.
2. Press and hold the MENU button until the
display shows the compass setting menu
list.
3. Rotate
to select CALIBRATION, then
press
.
4. When the display changes to PUSH CAL
START, press
.
5. Drive the vehicle slowly in two circles.
The compass starts to show a direction
after the calibration. The CAL indicator
goes off. When you turn the ignition switch to ON II
, the compass self-calibrates, and the
compass display appears.
Compass CalibrationIf the compass indicates the wrong direction, or the CAL indicator blinks, you need
to manually calibrate the system.
Compass Compass CalibrationCompass operation can be affected under the
following conditions:
Driving near power lines or stations �tCrossing a bridge �tPassing a large vehicle, or driving near a large �tobject that can cause a magnetic disturbance
When accessories such as antennas and roof racks �tare mounted by magnets
Calibrate the compass in an open area.
While setting the compass:
The RETURN button returns to the previous �tscreen.
The MENU button cancels the setting mode. �t