2010 SUZUKI SX4 Meter
[x] Cancel search: MeterPage 17 of 297

BEFORE DRIVING
2
80J23-03E
60G404
BEFORE DRIVINGKeys ...................................................................................... 2-1
Door Locks .......................................................................... 2-1
Keyless Start System Remote Controller/
Keyless Entry System Transmitter .................................... 2-6
Theft Deterrent Light ........................................................... 2-17
Windows .............................................................................. 2-17
Mirrors .................................................................................. 2-19
Front Seats .......................................................................... 2-21
Front Seat Heater (if equipped) .......................................... 2-23
Rear Seats ............................................................................ 2-24
Seat Belts and Child Restraint Systems ........................... 2-28
Supplemental Restraint System (air bags) ....................... 2-47
Instrument Cluster .............................................................. 2-59
Warning and Indicator Lights ............................................ 2-60
Speedometer ....................................................................... 2-68
Tachometer .......................................................................... 2-69
Fuel Gauge ........................................................................... 2-69
Temperature Gauge ............................................................ 2-70
Information display ............................................................. 2-70
Lighting Control Lever ........................................................ 2-75
Front Fog Light Switch (if equipped) ................................ 2-77
Turn Signal Control Lever .................................................. 2-77
Hazard Warning Switch ...................................................... 2-78
Windshield Wiper and Washer Lever ................................ 2-78
Tilt Steering Lock Lever (if equipped) ............................... 2-81
Horn ...................................................................................... 2-81
Heated Rear Window and Heated Outside Rearview
Mirrors (if equipped) Switch ............................................... 2-81
Page 76 of 297

2-59BEFORE DRIVING
80J23-03E
Instrument Cluster1. Speedometer
2. Tachometer
3. Fuel gauge
4. Temperature gauge
5. Information display
6. Trip meter selector knob
7. Indicator selector knob
8. Warning and indicator lights
80J2020
5
7
8
8
6
1
2
3
8
4
EXAMPLE
Page 85 of 297

2-68
BEFORE DRIVING
80J23-03E
intelligent All Wheel Drive (i-AWD)
LOCK Indicator Light (if equipped)
79J100
When the ignition switch is turned to the
“ON” position, this light comes on briefly so
you can check that the light is working.
The light comes on when the 2WD/i-AWD
switch is changed to the “i-AWD LOCK”
mode from the “i-AWD AUTO” mode.
If the light and the “i-AWD AUTO” indicator
light stay on or come on simultaneously
when driving, there may be something
wrong with the i-AWD system. Have the
system inspected by an authorized
SUZUKI dealer.
NOTE:
When the vehicle speed is increased,
the “i-AWD LOCK” mode will be changed
to the “i-AWD AUTO” mode automati-
cally. The “i-AWD AUTO” indicator light
will come on and stay on.
When the ignition switch is turned to the
“OFF” position, the “i-AWD LOCK” mode
is canceled.For details of the “i-AWD LOCK” mode,
refer to “Using the 2WD/i-AWD Switch” in
the “OPERATING YOUR VEHICLE” sec-
tion.
Daytime Running Light (D.R.L.) Indi-
cator Light (if equipped)
60B245
With the D.R.L. system, the headlights
light, but are dimmer than the low beam,
when the following three conditions are all
met. Whenever the D.R.L. system is oper-
ating, the D.R.L. indicator light remains on.
Conditions for D.R.L. system operation
1) The engine is running.
2) The parking brake is released.
3) The headlights are off.
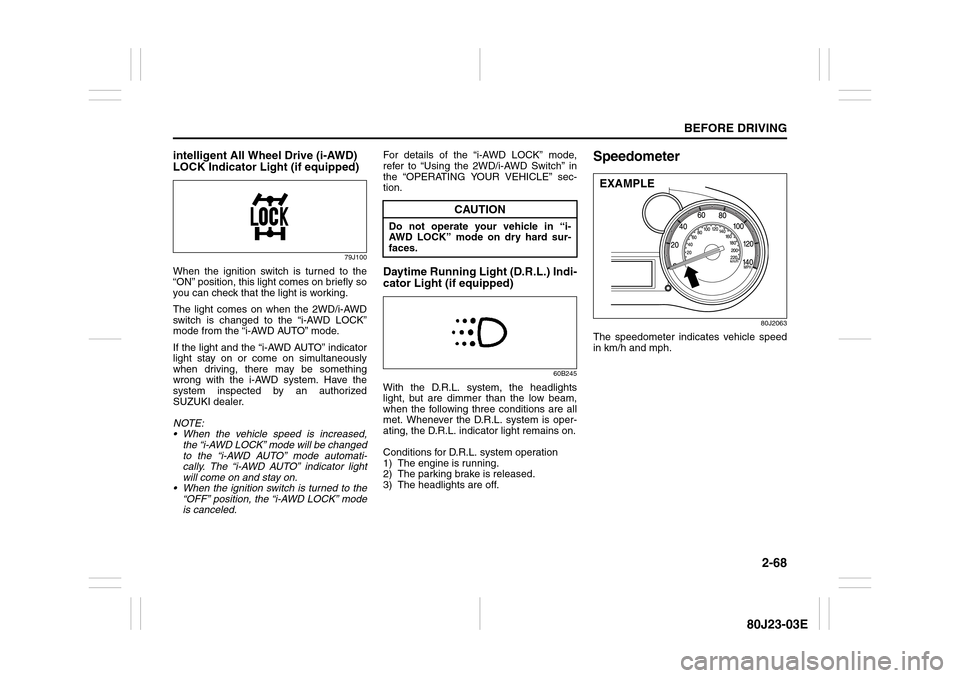
Speedometer
80J2063
The speedometer indicates vehicle speed
in km/h and mph.
CAUTION
Do not operate your vehicle in “i-
AWD LOCK” mode on dry hard sur-
faces.
EXAMPLE
Page 86 of 297

2-69BEFORE DRIVING
80J23-03E
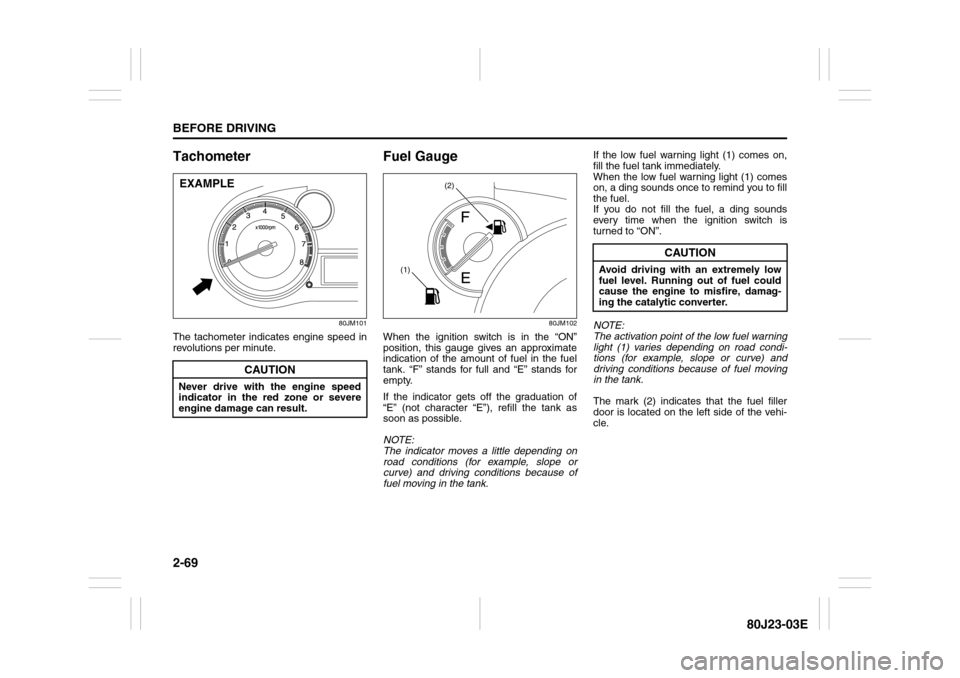
Tachometer
80JM101
The tachometer indicates engine speed in
revolutions per minute.
Fuel Gauge
80JM102
When the ignition switch is in the “ON”
position, this gauge gives an approximate
indication of the amount of fuel in the fuel
tank. “F” stands for full and “E” stands for
empty.
If the indicator gets off the graduation of
“E” (not character “E”), refill the tank as
soon as possible.
NOTE:
The indicator moves a little depending on
road conditions (for example, slope or
curve) and driving conditions because of
fuel moving in the tank.If the low fuel warning light (1) comes on,
fill the fuel tank immediately.
When the low fuel warning light (1) comes
on, a ding sounds once to remind you to fill
the fuel.
If you do not fill the fuel, a ding sounds
every time when the ignition switch is
turned to “ON”.
NOTE:
The activation point of the low fuel warning
light (1) varies depending on road condi-
tions (for example, slope or curve) and
driving conditions because of fuel moving
in the tank.
The mark (2) indicates that the fuel filler
door is located on the left side of the vehi-
cle.
CAUTION
Never drive with the engine speed
indicator in the red zone or severe
engine damage can result.EXAMPLE
(2)
(1)
CAUTION
Avoid driving with an extremely low
fuel level. Running out of fuel could
cause the engine to misfire, damag-
ing the catalytic converter.
Page 87 of 297

2-70
BEFORE DRIVING
80J23-03E
Temperature Gauge
80JM103
When the ignition switch is in the “ON”
position, this gauge indicates the engine
coolant temperature. Under normal driving
conditions, the indicator should stay within
the normal, acceptable temperature range
between “H” and “C”. If the indicator
approaches “H”, overheating is indicated.
Follow the instructions for engine overheat-
ing in the “EMERGENCY SERVICE” sec-
tion.
Information display
80JM104
(1) Trip meter selector knob
(2) Indicator selector knob
(3) Information display
When the ignition switch is in the “ON”
position, the information display shows the
following information.
Display (A)
Instantaneous fuel consumption
Display (B)
Trip meter / Average fuel consumption /
Driving range / Thermometer
Display (C)
Transaxle selector position indicator
(for CVT)
Display (D)
Odometer / Illumination control settingDisplay (E)
Clock (if equipped)
Instantaneous Fuel Consumption
The display (A) shows instantaneous fuel
consumption with a bar graph only when
the vehicle is moving.
80J2026
NOTE:
The display does not show the bar graph
unless the vehicle is moving.
The indicated maximum value of instan-
taneous fuel consumption is 80. No
more than 80 will be indicated on the dis-
play even if the actual instantaneous fuel
consumption is higher.
The indication on the display may be
delayed if fuel consumption is greatly
affected by driving conditions.
The display shows estimated values.
Indications may not be the same as
actual values.
CAUTION
Continuing to drive the vehicle when
engine overheating is indicated can
result in severe engine damage.
(1) (2)(3) (D) (B)(A)
(C)
(E)
EXAMPLE
Page 88 of 297

2-71BEFORE DRIVING
80J23-03E
You can turn off or on the indication of
instantaneous fuel consumption according
to the following instruction.
80J2027
1) Change the display (B) to the driving
range by pushing the indicator selector
knob (2).
80J2028
2) While pushing and holding the trip
meter selector knob (1), turn the indica-
tor selector knob (2) to turn off or on theindication of instantaneous fuel con-
sumption.
NOTE:
When you reconnect the negative (–) ter-
minal to the battery, the indication of the
instantaneous fuel consumption will be
reinitialized. Change the indication again to
your preference.
Trip meter / Average Fuel Consumption /
Driving Range / Thermometer
When the ignition switch is in the “ON”
position, the display (B) shows one of the
following five indications, trip meter A, trip
meter B, average fuel consumption, driving
range or thermometer.
To switch the display indication (B), push
the trip meter selector knob (1) or the indi-
cator selector knob (2) quickly.
80J2029
EXAMPLEEXAMPLE
(Initial
setting)
WARNING
If you attempt to adjust the display
while driving, you could lose control
of the vehicle.
Do not attempt to adjust the display
while driving.
Push the trip meter selector
knob (1).
Push the indicator selector
knob (2).
(a)
(b)
(c)
(d)
(e)EXAMPLE
Page 89 of 297

2-72
BEFORE DRIVING
80J23-03E
(a) Trip meter A
(b) Trip meter B
(c) Average fuel consumption
(d) Driving range
(e) Thermometer
NOTE:
Indications will change when you push
and release a knob.
The display shows estimated values.
Indications may not be the same as
actual values.
Trip meter
The trip meter can be used to measure the
distance traveled on short trips or between
fuel stops.
You can use the trip meter A or trip meter B
independently.
To reset the trip meter to zero, push and
hold the trip meter selector knob (1) for a
while when the display shows the trip
meter.NOTE:
The indicated maximum value of the trip
meter is 9999.9. When you run past the
maximum value, the indicated value will
return to 0.0.
Average fuel consumption
If you selected average fuel consumption
the last time you drove the vehicle, the dis-
play shows the last value of average fuel
consumption from previous driving when
the ignition switch is turned to the “ON”
position. Unless you reset the value of
average fuel consumption, the display indi-
cates the value of average fuel consump-
tion which includes average fuel
consumption during previous driving.
To reset the average fuel consumption to
zero, push and hold the indicator selector
knob (2) for a while when the display
shows the average fuel consumption.
NOTE:
When you reset the indication or reconnect
the negative (–) terminal to the battery, the
value of average fuel consumption will be
shown after driving for a while.Driving range
If you selected driving range the last time
you drove the vehicle, the display indicates
“---” for a few seconds and then indicates
the current driving range when the ignition
switch is turned to the “ON” position.
The driving range shown in the display is
the approximate distance you can drive
until the fuel gauge indicates “E”, based on
current driving conditions.
When the remaining fuel in fuel tank
reaches a low level, the display “---” will
appear.
If the low fuel warning light comes on, fill
the fuel tank immediately regardless of the
value of driving range shown in the display.
As the driving range after refueling is cal-
culated based on the most recent driving
condition, the value is different each time
you refuel.
NOTE:
If you refuel when the ignition switch is in
the “ON” position, the driving range may
not indicate the correct value.
When you reconnect the negative (–) ter-
minal to the battery, the value of driving
range will be shown after driving for a
while.
WARNING
If you attempt to adjust the display
while driving, you could lose control
of the vehicle.
Do not attempt to adjust the display
while driving.
Page 90 of 297

2-73BEFORE DRIVING
80J23-03E
Thermometer
The thermometer indicates the outside
temperature.
80J2030
If the outside temperature nears freezing,
the mark (f) will appear on the display.
NOTE:
The outside temperature indication is not
the actual outside temperature when
driving at low speed, or when stopped.
If there is something wrong with the ther-
mometer, or just after the ignition switch
is turned to the “ON” position, the display
may not indicate the outside tempera-
ture.
The mark (f) will appear whenever the
outside temperature is near freezing,
even if the display does not show the
thermometer.
To change the unit of temperature, while
pushing and holding the trip meter selector
knob (1), turn the indicator selector knob
(2).
80J2031
NOTE:
When you reconnect the negative (–) ter-
minal to the battery, the unit of temperature
will be reinitialized. Change the unit again
to your preference.Transaxle selector position indicator
(for CVT)
80J2032
When the ignition switch is in the “ON”
position, the display (C) indicates the gear
position (g).
When using the manual mode, the display
(C) indicates the manual mode indicator
(h).
For details on how to use the transaxle,
refer to “Using the Transaxle” in the
“OPERATING YOUR VEHICLE” section.
(f)
EXAMPLE
EXAMPLE
(Initial
setting)
(h)
(g)
EXAMPLE