2010 SUZUKI SX4 steering
[x] Cancel search: steeringPage 17 of 297

BEFORE DRIVING
2
80J23-03E
60G404
BEFORE DRIVINGKeys ...................................................................................... 2-1
Door Locks .......................................................................... 2-1
Keyless Start System Remote Controller/
Keyless Entry System Transmitter .................................... 2-6
Theft Deterrent Light ........................................................... 2-17
Windows .............................................................................. 2-17
Mirrors .................................................................................. 2-19
Front Seats .......................................................................... 2-21
Front Seat Heater (if equipped) .......................................... 2-23
Rear Seats ............................................................................ 2-24
Seat Belts and Child Restraint Systems ........................... 2-28
Supplemental Restraint System (air bags) ....................... 2-47
Instrument Cluster .............................................................. 2-59
Warning and Indicator Lights ............................................ 2-60
Speedometer ....................................................................... 2-68
Tachometer .......................................................................... 2-69
Fuel Gauge ........................................................................... 2-69
Temperature Gauge ............................................................ 2-70
Information display ............................................................. 2-70
Lighting Control Lever ........................................................ 2-75
Front Fog Light Switch (if equipped) ................................ 2-77
Turn Signal Control Lever .................................................. 2-77
Hazard Warning Switch ...................................................... 2-78
Windshield Wiper and Washer Lever ................................ 2-78
Tilt Steering Lock Lever (if equipped) ............................... 2-81
Horn ...................................................................................... 2-81
Heated Rear Window and Heated Outside Rearview
Mirrors (if equipped) Switch ............................................... 2-81
Page 66 of 297

2-49BEFORE DRIVING
80J23-03E
63J030
If the AIR BAG light on the instrument clus-
ter does not blink or come on when the
ignition switch is first turned to the “ON”
position, or the AIR BAG light stays on, or
comes on while driving, the air bag system
(or the seat belt pretensioner system) may
not work properly. Have the air bag system
inspected by an authorized SUZUKI dealer
as soon as possible.
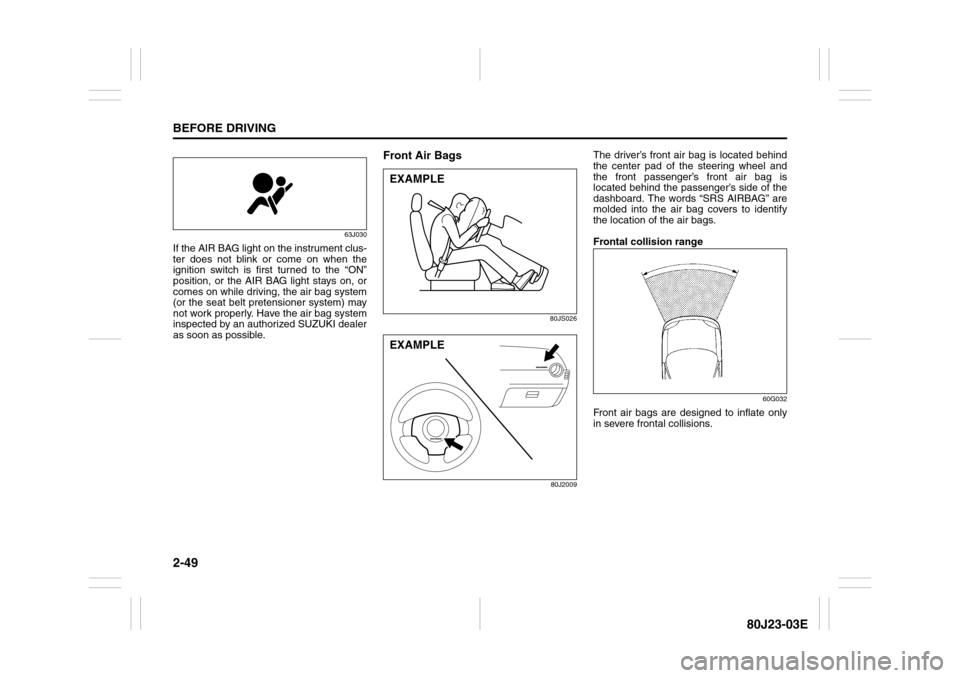
Front Air Bags
80JS026
80J2009
The driver’s front air bag is located behind
the center pad of the steering wheel and
the front passenger’s front air bag is
located behind the passenger’s side of the
dashboard. The words “SRS AIRBAG” are
molded into the air bag covers to identify
the location of the air bags.
Frontal collision range
60G032
Front air bags are designed to inflate only
in severe frontal collisions.
EXAMPLEEXAMPLE
Page 73 of 297

2-56
BEFORE DRIVING
80J23-03E
How the System WorksIn a frontal collision, the crash sensors will
detect rapid deceleration and send a signal
to the controller. If the controller judges
that the deceleration represents a severe
frontal crash, the controller will trigger the
inflators. The controller also judges:
Whether the front air bags should deploy
at reduced power or at full power accord-
ing to crash severity.
Whether the air bags should deploy at
reduced power or at full power according
to crash severity, driver’s seat fore/aft
position and whether or not the front
passenger’s seat belt is fastened.
Whether the front passenger’s front air
bag should deploy or not based on clas-
sification of the occupant of the front
passenger’s seat.
Since your vehicle is equipped with side air
bags, and side curtain air bags, crash sen-
sors will detect a side collision, and if the
controller judges that the side collision is
severe enough, it will trigger the side air
bag and side curtain air bag inflators.
The inflators inflate the appropriate air
bags with nitrogen or argon gas. The
inflated air bags provide a cushion for your
head (front air bags and side curtain air
bags only) and upper body. The air bag
inflates and deflates so quickly that you
may not even realize that it has activated.
The air bag will neither hinder your view
nor make it harder to exit the vehicle.Air bags must inflate quickly and forcefully
in order to reduce the chance of serious or
fatal injuries. However, an unavoidable
consequence of the quick inflation is that
the air bag may irritate bare skin, such as
the facial area against a front air bag. Also,
upon inflation, a loud noise will occur and
some powder and smoke will be released.
These conditions are not harmful and do
not indicate a fire in the car. Be aware,
however, that some air bag components
may be hot for a while after inflation.
A seat belt helps keep you in the proper
position for maximum protection when an
air bag inflates. Adjust your seat as far
back as possible while still maintaining
control of the vehicle. Sit fully back in your
seat; sit up straight; do not lean over the
steering wheel or dashboard. Front occu-
pants should not lean on or sleep against
the door. Please refer to the “Seat Adjust-
ment” section and the “Seat Belts and
Child Restraint Systems” section in the
“BEFORE DRIVING” section for details on
proper seat and seat belt adjustments.
WARNING
Do not spill any liquids on the seat.
Liquids can damage the sensors
under the front seat.
Have the driver’s seat position sen-
sor and the front passenger’s sen-
sor mat inspected by your dealer
after a collision.
Do not replace the front seats. If
you replace them, the air bags and
front passenger sensing system
may not work properly.
Do not use a seat cover. If you use
a seat cover, the front passenger
sensing system may not work prop-
erly.
Page 74 of 297

2-57BEFORE DRIVING
80J23-03E
65D610
54G582
Note that even though your vehicle may be
moderately damaged in a collision, the col-
lision may not have been severe enough to
trigger the front, side, or side curtain air
bags to inflate. If your car sustains ANY
front-end or side damage, have the air bag
system inspected by an authorized
SUZUKI dealer to ensure it is in proper
working order.
Your vehicle is equipped with a diagnostic
module which records information about
the air bag system if the air bags deploy in
a crash. The module records information
about overall system status, which sensors
activated the deployment, and whether the
front seat belts were in use.
WARNING
The driver should not lean over the
steering wheel. The front passen-
ger should not rest his or her body
against the dashboard, or other-
wise get too close to the dash-
board. For vehicles with side air
bags and side curtain air bags,
occupants should not lean on or
sleep against the door. In these sit-
uations, the out-of-position occu-
pant would be too close to an
inflating air bag, and may suffer
severe injury.
Do not attach any objects to, or
place any objects over, the steering
wheel or dashboard. Do not place
any objects between the air bag
and the driver or front passenger.
These objects may interfere with air
bag operation or may be propelled
by the air bag in the event of a
crash. Either of these conditions
may cause severe injury.
For vehicles with side air bags, do
not place seat covers on the front
seats, because seat covers could
restrict the air bag’s inflation. Also,
do not place any cup holders or
other objects on the door, as these
objects could be propelled by the
air bag in the event of a crash.
Either of these conditions may
cause severe injury.
Page 78 of 297

2-61BEFORE DRIVING
80J23-03E
Refer to “Tire Pressure Monitoring System”
in the “OPERATING YOUR VEHICLE” sec-
tion for additional details on the tire pres-
sure monitoring system. Refer to “Tires” in
the “INSPECTION AND MAINTENANCE”
section for information on maintaining
proper tire pressure.
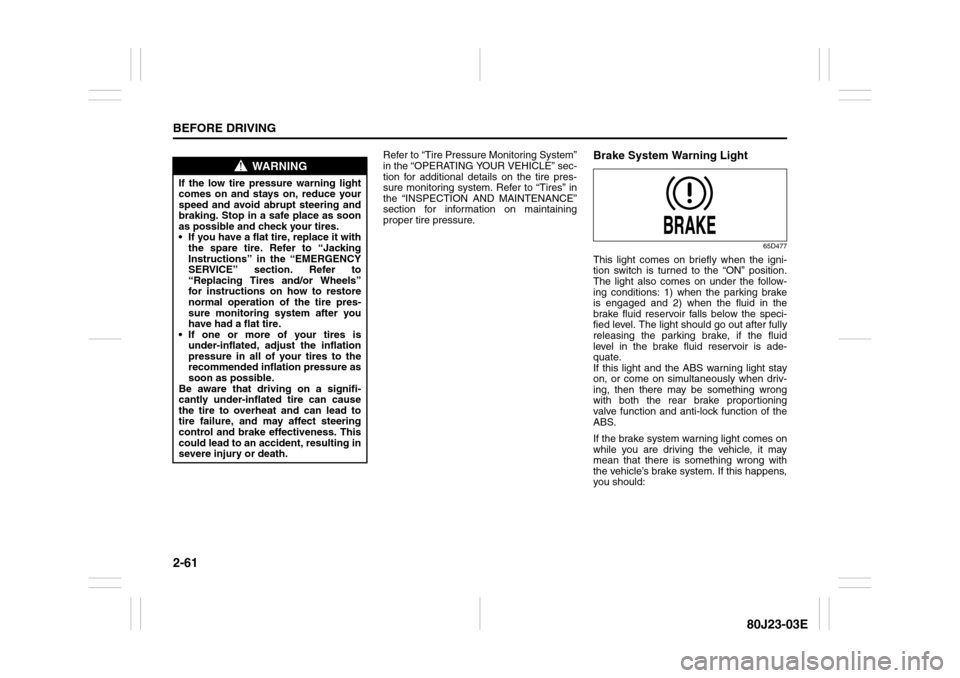
Brake System Warning Light
65D477
This light comes on briefly when the igni-
tion switch is turned to the “ON” position.
The light also comes on under the follow-
ing conditions: 1) when the parking brake
is engaged and 2) when the fluid in the
brake fluid reservoir falls below the speci-
fied level. The light should go out after fully
releasing the parking brake, if the fluid
level in the brake fluid reservoir is ade-
quate.
If this light and the ABS warning light stay
on, or come on simultaneously when driv-
ing, then there may be something wrong
with both the rear brake proportioning
valve function and anti-lock function of the
ABS.
If the brake system warning light comes on
while you are driving the vehicle, it may
mean that there is something wrong with
the vehicle’s brake system. If this happens,
you should:
WARNING
If the low tire pressure warning light
comes on and stays on, reduce your
speed and avoid abrupt steering and
braking. Stop in a safe place as soon
as possible and check your tires.
If you have a flat tire, replace it with
the spare tire. Refer to “Jacking
Instructions” in the “EMERGENCY
SERVICE” section. Refer to
“Replacing Tires and/or Wheels”
for instructions on how to restore
normal operation of the tire pres-
sure monitoring system after you
have had a flat tire.
If one or more of your tires is
under-inflated, adjust the inflation
pressure in all of your tires to the
recommended inflation pressure as
soon as possible.
Be aware that driving on a signifi-
cantly under-inflated tire can cause
the tire to overheat and can lead to
tire failure, and may affect steering
control and brake effectiveness. This
could lead to an accident, resulting in
severe injury or death.
Page 92 of 297

2-75BEFORE DRIVING
80J23-03E
NOTE:
If you push the indicator selector knob or
do not turn the knob for more than 5 sec-
onds while activating the illumination
control, the illumination control will be
canceled automatically and the display
(D) will show the odometer indication.
You can change the brightness when the
position lights or headlights are on even
if the ignition switch is in the “ACC” or
“LOCK” position.
When you reconnect the negative (–) ter-
minal to the battery, the brightness of the
instrument panel lights will be reinitial-
ized. Readjust the brightness according
to your preference.
NOTE:
If you select the lowest brightness level
when the position lights or headlights are
on, the instrument panel lights other than
meter lights are turned off.
Clock (if equipped)
When the ignition switch is in the “ON”
position, the display (E) shows the time.To change the time indication:
1) Push the trip meter selector knob (1)
and the indicator selector knob (2)
together.
2) To change the hour indication, turn the
indicator selector knob (2) left or right
repeatedly when the hour indication
flashes. To change the hour indication
quickly, turn and hold the indicator
selector knob (2). To set the hour indi-
cation, push the the indicator selector
knob (2) and the minute indication will
flash.
3) To change the minute indication, turn
the indicator selector knob (2) left or
right repeatedly when the minute indi-
cation flashes. To change the minute
indication quickly, turn and hold the
indicator selector knob (2). To set the
minute indication, push the indicator
selector knob (2).
NOTE:
When you reconnect the negative (–) ter-
minal to the battery, the clock indication will
be reinitialized. Change the indication
again to your preference.
Lighting Control Lever
65D611
WARNING
If you attempt to adjust the display
while driving, you could lose control
of the vehicle.
Do not attempt to adjust the display
while driving.
WARNING
If you attempt to adjust the display
while driving, you could lose control
of the vehicle.
Do not attempt to adjust the display
while driving.
WARNING
To avoid possible injury, do not oper-
ate controls by reaching through the
steering wheel.
Page 94 of 297

2-77BEFORE DRIVING
80J23-03E
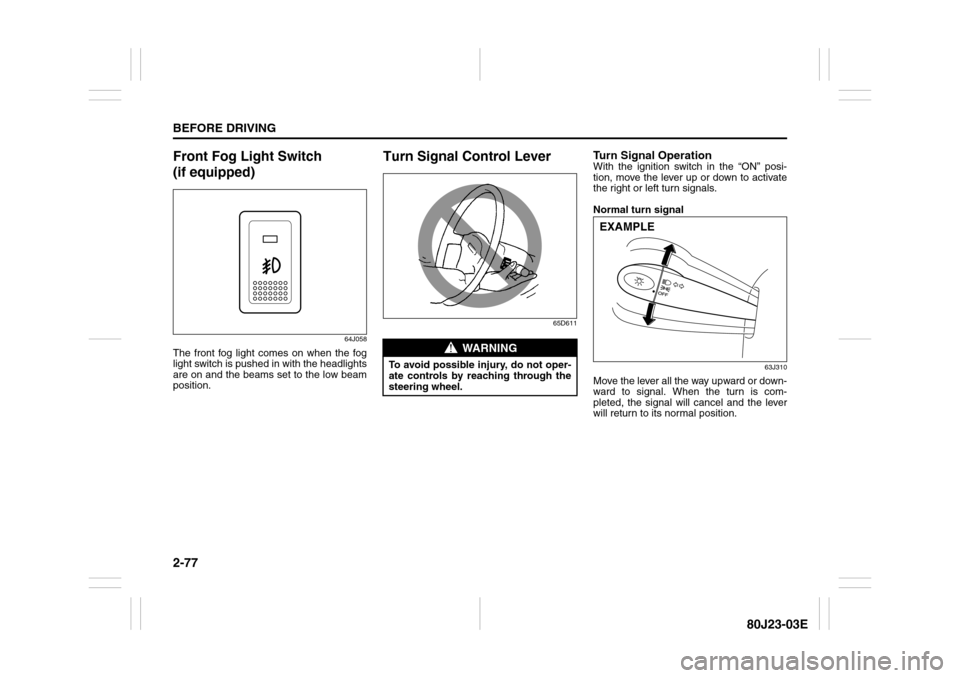
Front Fog Light Switch
(if equipped)
64J058
The front fog light comes on when the fog
light switch is pushed in with the headlights
are on and the beams set to the low beam
position.
Turn Signal Control Lever
65D611
Turn Signal OperationWith the ignition switch in the “ON” posi-
tion, move the lever up or down to activate
the right or left turn signals.
Normal turn signal
63J310
Move the lever all the way upward or down-
ward to signal. When the turn is com-
pleted, the signal will cancel and the lever
will return to its normal position.
WARNING
To avoid possible injury, do not oper-
ate controls by reaching through the
steering wheel.
EXAMPLE
Page 95 of 297

2-78
BEFORE DRIVING
80J23-03E
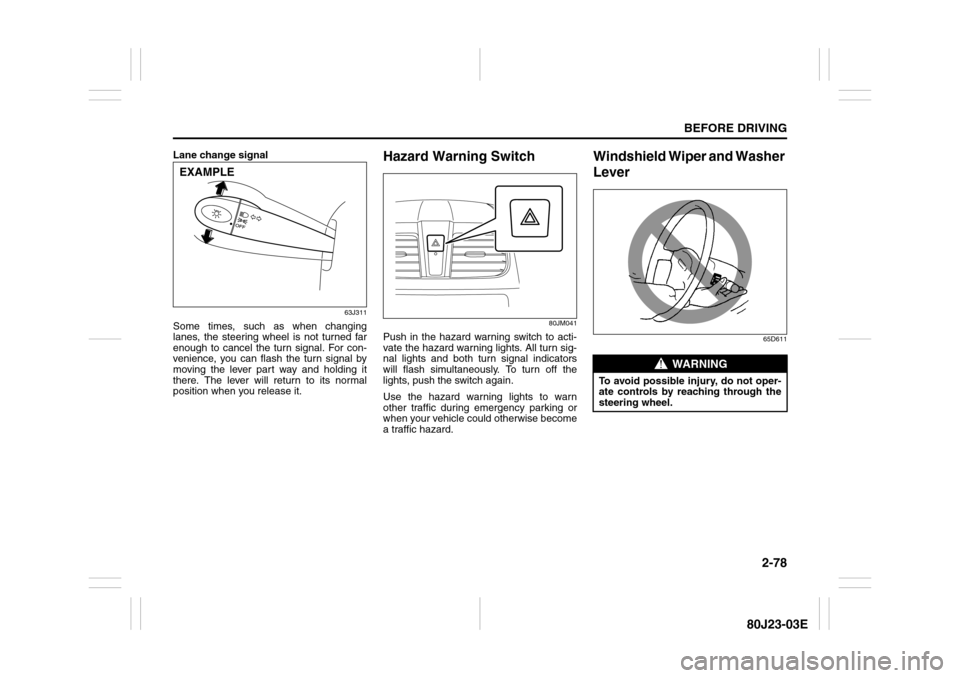
Lane change signal
63J311
Some times, such as when changing
lanes, the steering wheel is not turned far
enough to cancel the turn signal. For con-
venience, you can flash the turn signal by
moving the lever part way and holding it
there. The lever will return to its normal
position when you release it.
Hazard Warning Switch
80JM041
Push in the hazard warning switch to acti-
vate the hazard warning lights. All turn sig-
nal lights and both turn signal indicators
will flash simultaneously. To turn off the
lights, push the switch again.
Use the hazard warning lights to warn
other traffic during emergency parking or
when your vehicle could otherwise become
a traffic hazard.
Windshield Wiper and Washer
Lever
65D611
EXAMPLE
WARNING
To avoid possible injury, do not oper-
ate controls by reaching through the
steering wheel.