Page 65 of 199
 Owners Manual Seats and Stowage
64Caution
Do not open the beverages in the cup hold er while driving. They may spill when
braking and while doing so damage the vehicle.Note holderThe note holder is designed e.g. f")
Seats and Stowage
64Caution
Do not open the beverages in the cup hold er while driving. They may spill when
braking and while doing so damage the vehicle.Note holderThe note holder is designed e.g. for atta ching a car park ticket in parking areas.
The attached note has to always be removed before starting off in order not to restrict
the driver's vision.Ashtray*Fig. 68 Centre console: Removing ashtray/ashtray insert
Opening ashtray– Press on the bottom part of the cover of the ashtray - refer to fig. 68 .Removing ashtray insert– Press on the ashtray insert in the area (the insert comes out) and you can take
it out.Insert ashtray insert– Insert the ashtray insert into the mount and press it in.
WARNING
Never lay flammable objects in the ashtray basin - risk of fire!Cigarette lighter*, power socketsCigarette lighter
You can also use the socket on the ci garette lighter for other electrical
appliances.Using the cigarette lighter– Press in the button of the cigarette lighter fig. 69 .
– Wait until the button jumps forward.
Fig. 67 Windscreen: Note holder
AA
AB
Fig. 69 Centre console: Cigarette lighter
s2bs.2.book Page 64 Monday, September 27, 2010 9:53 AM
Page 66 of 199
 Owners Manual Seats and Stowage65
Using the system
Safety
Driving Tips
General Maintenance
Breakdown assistance
Technical Data
– Remove the cigarette lighter immediately and use it.
– Insert the cigarette light")
Seats and Stowage65
Using the system
Safety
Driving Tips
General Maintenance
Breakdown assistance
Technical Data
– Remove the cigarette lighter immediately and use it.
– Insert the cigarette lighter again into the socket.
Using the socket– Remove the cigarette lighter or the cover of the power socket.
– Connect the plug of the electrical appliance to the socket.
The 12 volt power socket can also be used
to supply power to additional electrical
accessories with a power uptake up to 120 watts.
WARNING
Take care when using the cigarette ligh ter! Not paying proper attention or
incorrect use the cigarette lighter in an uncontrolled manner may result in
burns.
The cigarette lighter and the power socket also operates when the ignition is
switched off or the ignition key withdrawn. You should therefore never leave
children unattended in the vehicle.Caution
Always use matching plugs to avoid damagi ng the power socket.
Note
Connecting electrical components when the engine is not running will drain
the battery of the vehicle - risk of battery draining!
Further information page 157, “Accessories, changing and replacing parts”.
Power socket in the luggage compartment (Combi)– Open the cover of the power socket fig. 70 .
– Connect the plug of the electrical appliance to the socket.
You can only use the power socket for the connection of approved electrical accesso-
ries with a power uptake up to 120 watts. The vehicle battery will be discharged in the
process if the engine is stationary.
The same remarks apply here as for page 64, “Cigarette lighter*, power sockets”.
Further information page 157, “Accessories, changing and replacing parts”.Storage compartmentsOverviewYou will find the following storag e facilities in your vehicle:Storage compartment on the front passenger side
page 66
Storage compartment on the driver's side
page 66
Storage compartment on the dash panel
page 66
Storage compartment in front centre console*
page 67
Storage compartment in the front doors
page 67
Fig. 70 Luggage compartment: Power
socket
s2bs.2.book Page 65 Monday, September 27, 2010 9:53 AM
Page 67 of 199
 Owners Manual Seats and Stowage
66WARNING
Please do not place anything on top of the dash panel. Such objects might
slide or fall down when driving (when accelerating or cornering) and may
distract you from c")
Seats and Stowage
66WARNING
Please do not place anything on top of the dash panel. Such objects might
slide or fall down when driving (when accelerating or cornering) and may
distract you from concentrating on the traffic situation - risk of accident!
Ensure that when driving no objects from the centre console of from other
storage possibilities may get into the footwell of the driver. You would then no
longer be able to apply the brakes, operate the clutch or accelerator - risk of
accident!
Storage compartment on the front passenger sideOpening and closing the storage com partment on the front passenger
side– Press the handle of the lid fig. 71 - the lid folds down.
– Raise the lid and press it until the catch is heard to engage. There is a holder for a pen and note book on the inside of the lid.
WARNING
The storage compartment must always be closed when driving for safety
reasons.
Do not place any beverages into the cu p holder while driving. Spilled bever-
ages can damage the electrical system and the upholstery. Hot beverages may
result in burns.
Storage compartment on the driver's side– The storage compartment is opened by li fting the handle and folding open in the
direction of arrow fig. 72 .
WARNING
The storage compartment must always be closed when driving for safety
reasons.Storage compartment on the dash panelThe storage compartment on the dash panel with a cover.
Front seat armrest with storage compartment*
page 67
Rear armrest with storage compartment*
page 68
Storage compartment in rear centre console*
page 68
Seat backrest with opening for skis*
page 69
Clothes hooks*
page 69
Fig. 71 Dash panel: Storage compart-
ment on the front passenger side
Fig. 72 Dash panel: Storage compart-
ment on the driver's side
s2bs.2.book Page 66 Monday, September 27, 2010 9:53 AM
Page 68 of 199
 Owners Manual Seats and Stowage67
Using the system
Safety
Driving Tips
General Maintenance
Breakdown assistance
Technical Data
WARNING
The storage compartment is not a substi tute for the ashtray and must also")
Seats and Stowage67
Using the system
Safety
Driving Tips
General Maintenance
Breakdown assistance
Technical Data
WARNING
The storage compartment is not a substi tute for the ashtray and must also
not be used for such purposes - risk of fire!
Do not put any highly inflammable obje cts or objects which are sensitive to
heat (e.g. lighters, spra ys, spectacles, carbonated drinks) in the storage
compartment.
During the journey, no objects must be in the storage compartment. In the
event of a vehicle collision these objects could be thrown out of the compart-
ment - risk of injuries!
Storage compartment in front centre console*– Press on the bottom part of the storage compartment in the area fig. 73 - the
lid opens.
WARNING
The storage compartment is not a substitu te for the ashtray and must also not
be used for such purposes - risk of fire!
Storage compartment in the front doorsA bottle holder is located in the area of the storage compartment for the front
doors.
WARNING
Use the area page 67, fig. 74 of the storage compar tment only for storing
objects which do not project so that the effectiveness of the side airbag is not
impaired.Front seat armrest with storage compartment*Fig. 75 Armrest: Storage compartm ent/cooling of storage compartmentThe armrest is adjustable for height and length.
Fig. 73 Front centre console: Storage
compartment
AA
Fig. 74 Storage compartment in the
front doors
AB
AA
s2bs.2.book Page 67 Monday, September 27, 2010 9:53 AM
Page 69 of 199
 Owners Manual Seats and Stowage
68
Opening storage compartment
– Open the lid of the armrest in the direction of arrow fig. 75 - left.Closing storage compartment– Open the lid up to the stop, then you can")
Seats and Stowage
68
Opening storage compartment
– Open the lid of the armrest in the direction of arrow fig. 75 - left.Closing storage compartment– Open the lid up to the stop, then you can fold it downwards.Setting height– First of all fold the lid to the bottom and lift it in the direction of arrow into one of
the 4 fixed positions.Adjusting in forward/back direction– Push the lid into the desired position.Opening air inlet– Pull the lock in upward direction.Closing air inlet– Push the lock as far as the stop downwards.
On vehicles fitted with ai r conditioning, the storage co mpartment is equipped with a
lockable inlet for thermally treated (warmed-up) air.
At open air supply, air flows into the storag e with a temperature which is as high as the
one out of the air outlet nozzles, depending on temperature setting.
The air inlet in the storage compartment is connected to position
through adjust-
ment of the control dial for air distribution. This position causes the maximum amount
of air to flow into the storage compartmen t (depending on the rotary regulator posi-
tion for the fan).
You can use the storage compartment, for example, to temper drinks cans, etc.
If you do not use the air inlet in the storage compartment, the end cover should
always be kept closed.
Note
Push the lid of the armrest up to stop to the rear before operating the handbrake.
Rear seat armrest with storage compartment*A storage compartment* is located in the armrest. You open the compartment by
pressing the button on the front side and raising the cover page 68, fig. 76 .Storage compartment in rear centre console*The storage compartment is equipped with a removable insert.
– Open the storage compartment by pullin g on the upper edge of the storage
compartment in the direction of arrow fig. 77 .
WARNING
The storage compartment is not a substitute for the ashtray and must also not
be used for such purposes - risk of fire!
AAAA
Fig. 76 Armrest of rear seats:Fig. 77 Centre console at rear: Storage
compartment
AA
s2bs.2.book Page 68 Monday, September 27, 2010 9:53 AM
Page 70 of 199
 Owners Manual Seats and Stowage69
Using the system
Safety
Driving Tips
General Maintenance
Breakdown assistance
Technical Data
Seat backrest with opening for skis*Fig. 78 Rear seats: Cover handle/l uggage compartm")
Seats and Stowage69
Using the system
Safety
Driving Tips
General Maintenance
Breakdown assistance
Technical Data
Seat backrest with opening for skis*Fig. 78 Rear seats: Cover handle/l uggage compartment: Unlock buttonAfter folding open the armrest and the lid, an opening in the seat backrest becomes
visible through which you can push long objects e.g. skis etc. You can fold open the
armrest and the lid from the passenger or luggage compartment.Opening from passenger compartment– Pull down the armrest of the rear seat at the loop page 55.
– Pull the handle up to the stop in upward direction and fold open the lid downwards fig. 78 - left.Opening from luggage compartment– Push the unlock button downwards fig. 78 - right and fold the lid (with armrest)
to the front.Closing– Fold the cover and the arm rest upwards as far as the stop. The cover must click into
place audibly.
Ensure that the armrest is always locked into place after closing. You can recognise this
on the fact that the red field above the unlocking button of the luggage compartment
is not visible.
Clothes hooks*The clothes hooks are located on the middle pillar and on the handle in the headliner
above each of the rear doors.
WARNING
Ensure that any clothes hanging from the hooks do not impair your vision to
the rear.
Use the hooks for hanging only light item s of clothing and ensure that there
are no heavy or sharp-edged objects in the pockets.
The maximum permissible load of the hooks is 2 kg.
Do not use clothes hangers for hanging up items of clothing otherwise this
will interfere with the protection offered by the head airbag*.
s2bs.2.book Page 69 Monday, September 27, 2010 9:53 AM
Page 71 of 199
 Owners Manual Heating and air conditioning system
70
Heating and air conditioning systemAir outlet ventsThe information provided is valid for all vehicles.Fig. 79 Air vents at the front
Fig. 80 Air vents at the r")
Heating and air conditioning system
70
Heating and air conditioning systemAir outlet ventsThe information provided is valid for all vehicles.Fig. 79 Air vents at the front
Fig. 80 Air vents at the rearOpen air outlet vents– Turn the vertical thumbwheel (not when in the end position).
Close air outlet vents– Turn the vertical thumbwhe el into the end position.Redirecting air flow– Swivel upward or downward the grille of th e vents in order to set the height of the
air flow using the vertically arranged thumbwheel.
– Turn the horizontal thumbwheel on the vent to the right or left in order to change
the air flow to the appropriate side.
The air outlet vents 3 , 4 fig. 79 and 6 fig. 80 can be closed and opened individu-
ally.
The air outlet vents 6 are only fitted on vehicles with higher centre console.
Warmed, unwarmed or cooled air will flow out of the air outlet vents according to the
setting of the regulator of the heating or the air conditioning system* and the atmos-
pheric conditions.
Note
The air outlet vents 2 ensure in the ventilation and cooling mode for a comfortable
(no-draught) ventilation of the interior of the vehicle, also if the air outlet vents 4 are
closed.
s2bs.2.book Page 70 Monday, September 27, 2010 9:53 AM
Page 72 of 199
 Owners Manual Heating and air conditioning system71
Using the system
Safety
Driving Tips
General Maintenance
Breakdown assistance
Technical Data
HeatingUsing the system
The heating system delivers air into the inte")
Heating and air conditioning system71
Using the system
Safety
Driving Tips
General Maintenance
Breakdown assistance
Technical Data
HeatingUsing the system
The heating system delivers air into the interior of the vehicle and
warms it as required.Fig. 81 Heating: Control elementsSetting temperature– Turn the control dial fig. 81 to the right in order to increase the temperature.
– Turn the control dial to the left in order to increase the temperature.Controlling blower– Turn the blower switch into one of the po sitions, 1 to 4, in order to switch the
blower on.
– Turn the blower switch into position 0 in order to switch the blower off.
– If you wish to shut off the fresh air supply , use the button - recirculated air mode
.Control for air distribution– You can adjust the direction of the air flow using the air distribution control
page 70.
Rear window heater– Press button . Further information page 46, “Rear window heater”.
The air inlet in front of the windscreen must be free of ice, snow or leaves in order to
ensure that the heating and ventilation systems operate properly.
The heating effect depends on the coolant te mperature. The full heating effect does
not kick in until the engine is run in.
The blower should aways be on to prevent the windows from misting up.
WARNING
You should not leave recirculated air mode on over a longer period of time, as
“stale” air may result in fatigue in the driver and occupants, divert your atten-
tion and also cause the windows to mist up. The risk of having an accident
increases. Switch recirculated air mo de off as soon as the windows begin
misting up.
Note
T h e w h o l e h e a t o u t p u t w i l l b e n e e d e d t o u n f ro s t t h e w i n d s c re e n a n d s i d e w i n d o w s .
No warm air will be fed to the footwell. Th is can lead to restriction of the heating
comfort.
The used air streams out through the air removal openings in the luggage
compartment.
AAAAABAB
A1
AC
A2
s2bs.2.book Page 71 Monday, September 27, 2010 9:53 AM
 1
1 2
2 3
3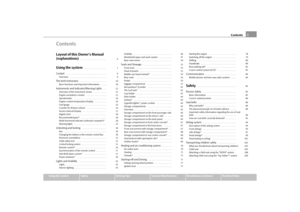 4
4 5
5 6
6 7
7 8
8 9
9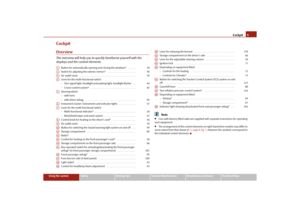 10
10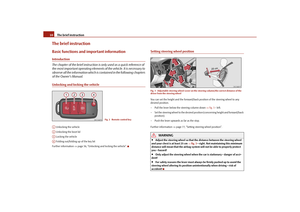 11
11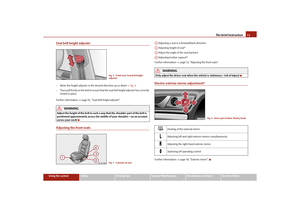 12
12 13
13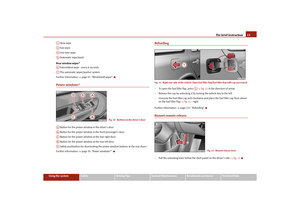 14
14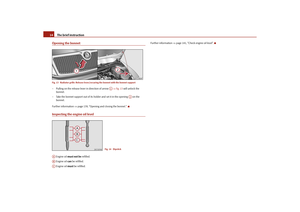 15
15 16
16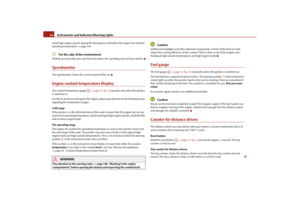 17
17 18
18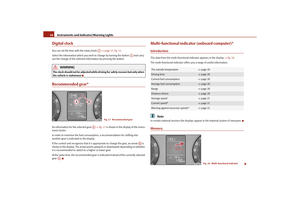 19
19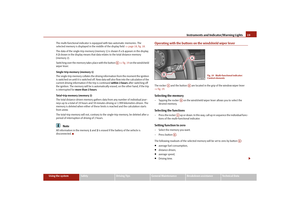 20
20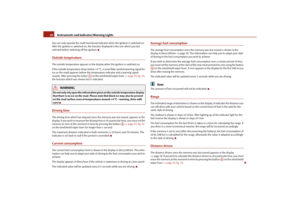 21
21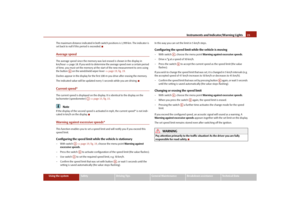 22
22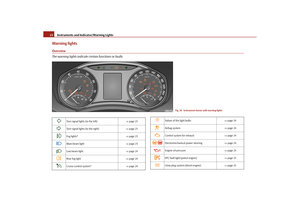 23
23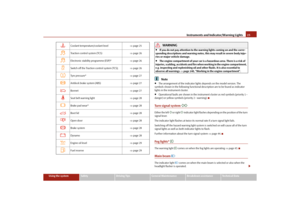 24
24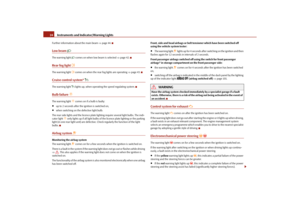 25
25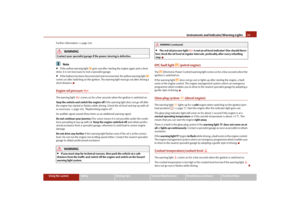 26
26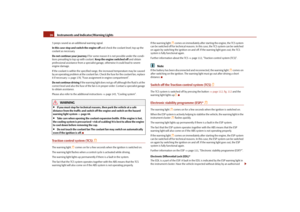 27
27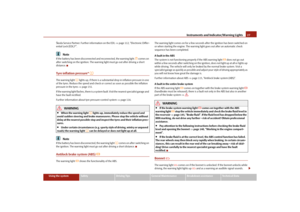 28
28 29
29 30
30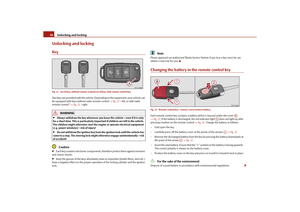 31
31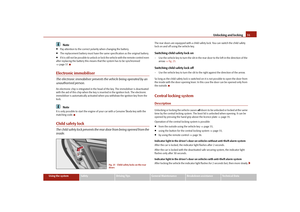 32
32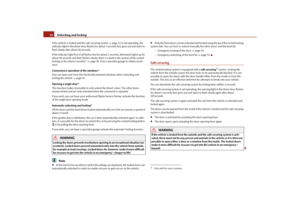 33
33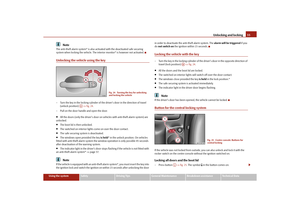 34
34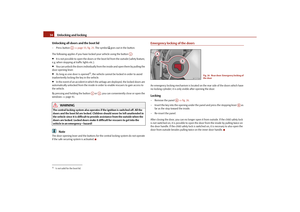 35
35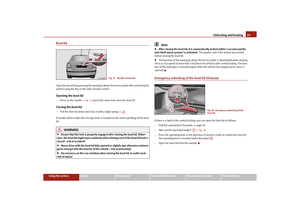 36
36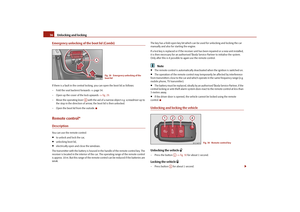 37
37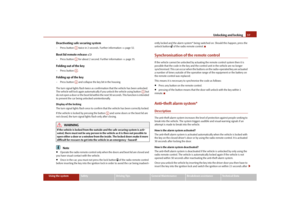 38
38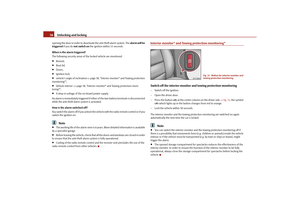 39
39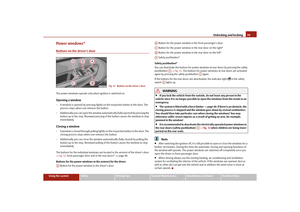 40
40 41
41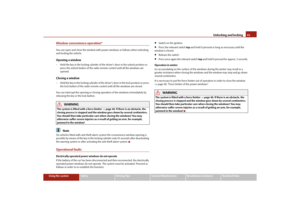 42
42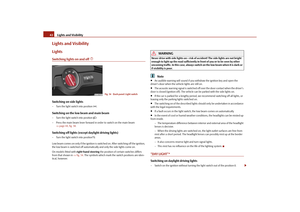 43
43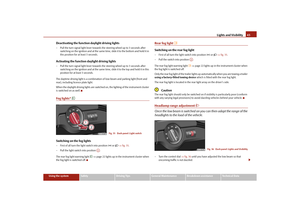 44
44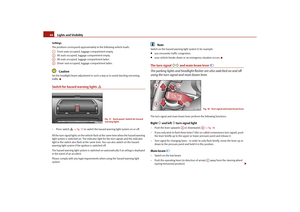 45
45 46
46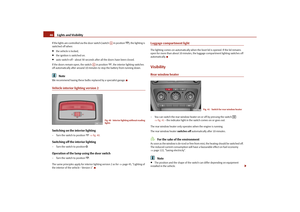 47
47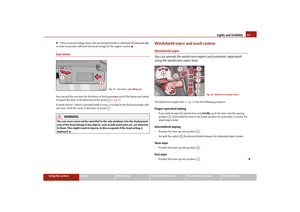 48
48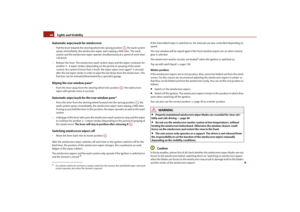 49
49 50
50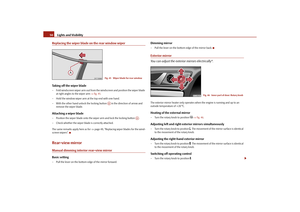 51
51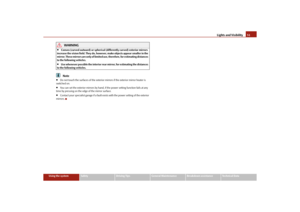 52
52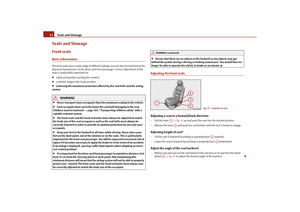 53
53 54
54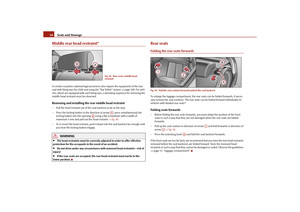 55
55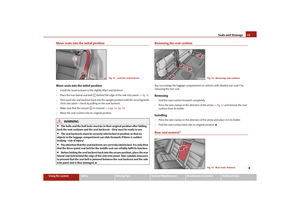 56
56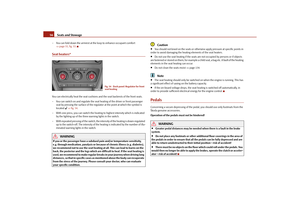 57
57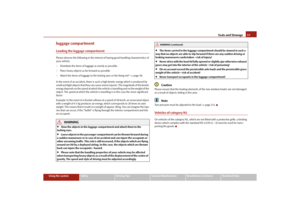 58
58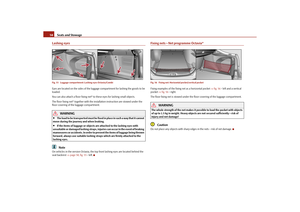 59
59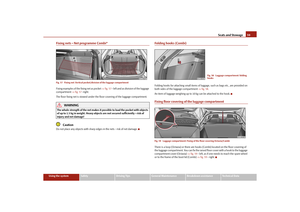 60
60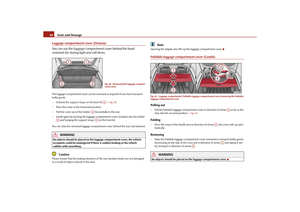 61
61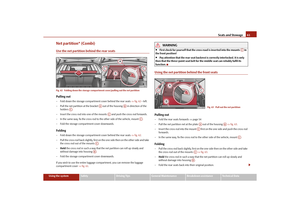 62
62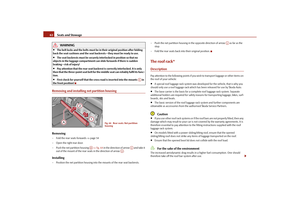 63
63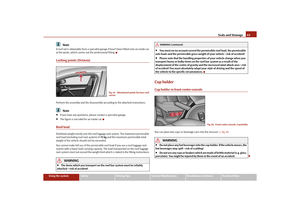 64
64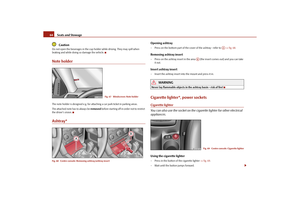 65
65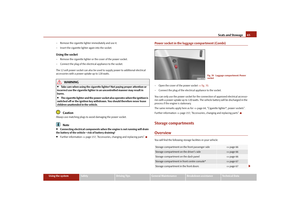 66
66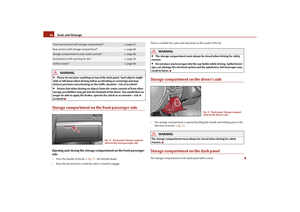 67
67 68
68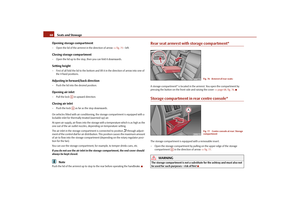 69
69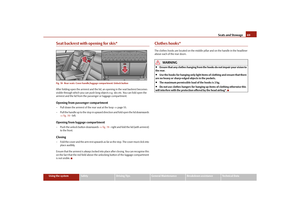 70
70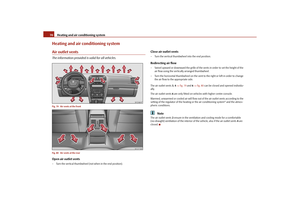 71
71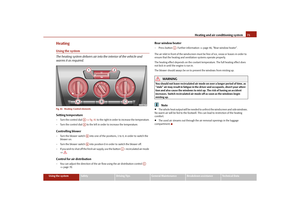 72
72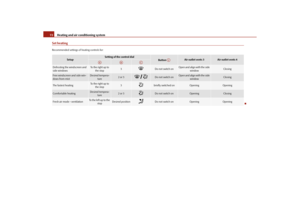 73
73 74
74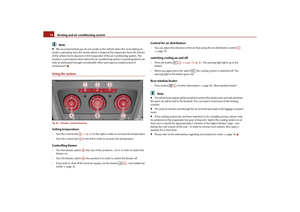 75
75 76
76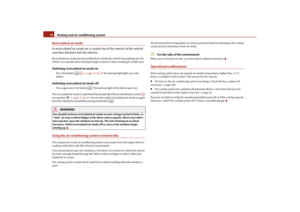 77
77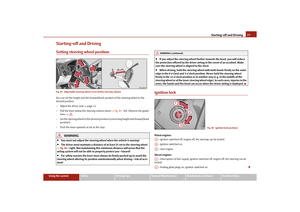 78
78 79
79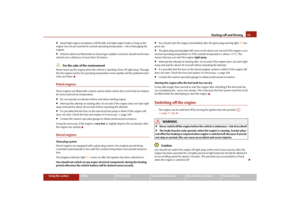 80
80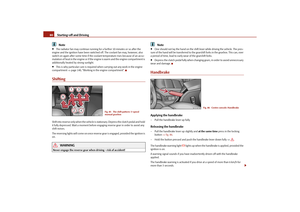 81
81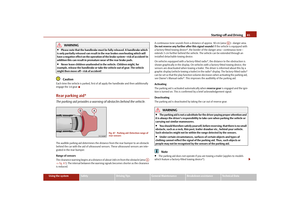 82
82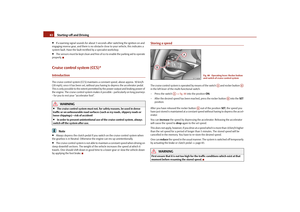 83
83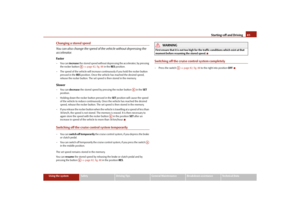 84
84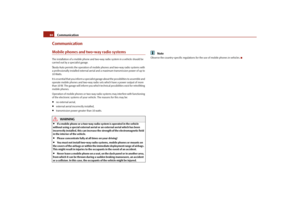 85
85 86
86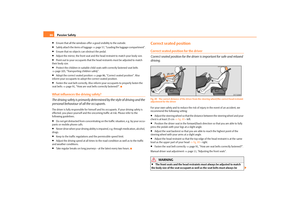 87
87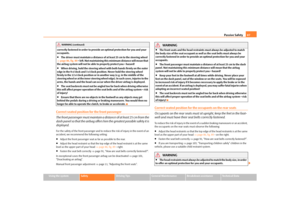 88
88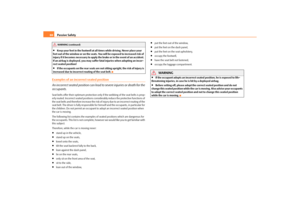 89
89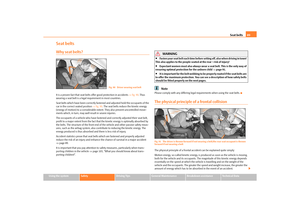 90
90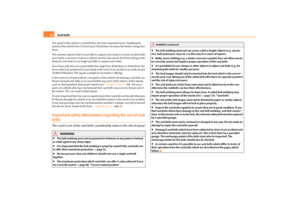 91
91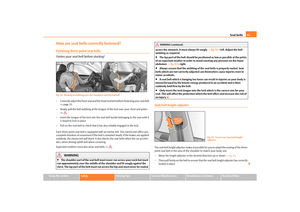 92
92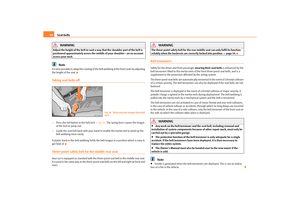 93
93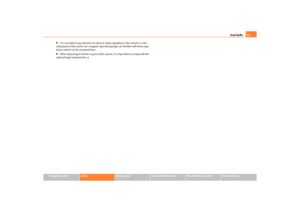 94
94 95
95 96
96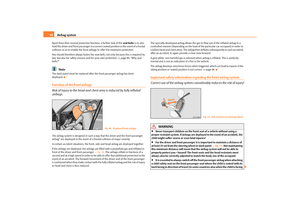 97
97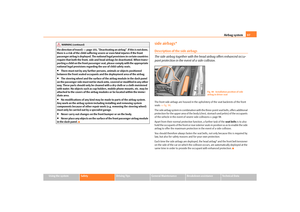 98
98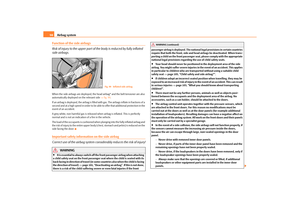 99
99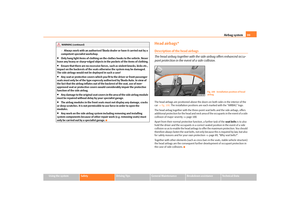 100
100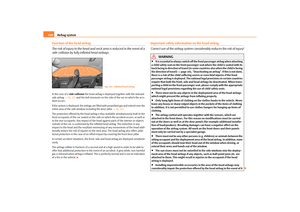 101
101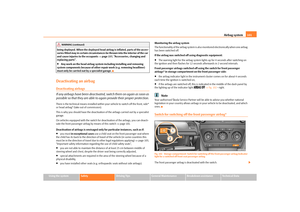 102
102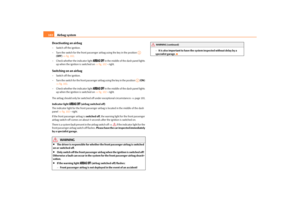 103
103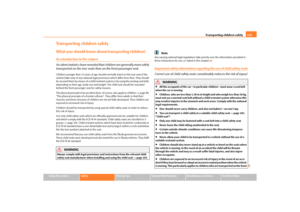 104
104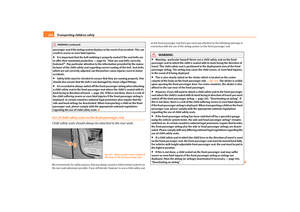 105
105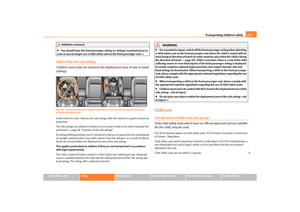 106
106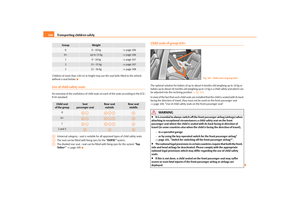 107
107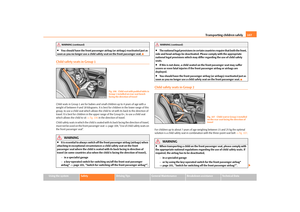 108
108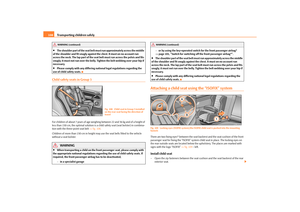 109
109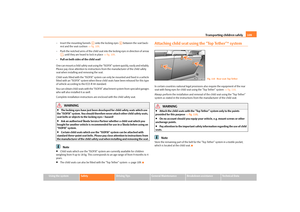 110
110 111
111 112
112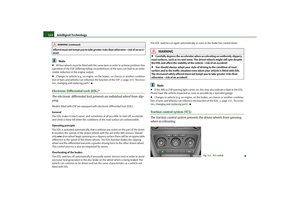 113
113 114
114 115
115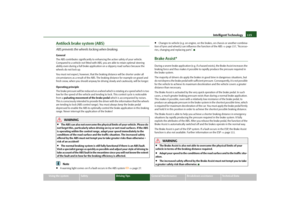 116
116 117
117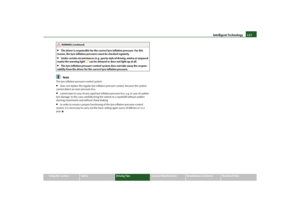 118
118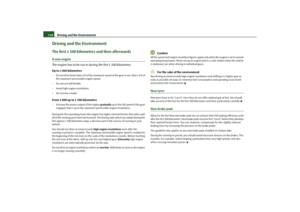 119
119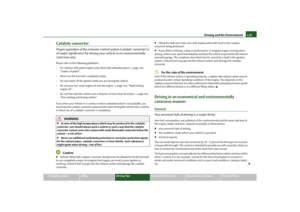 120
120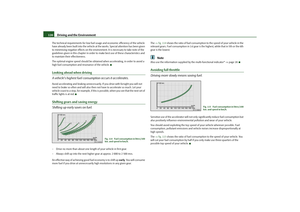 121
121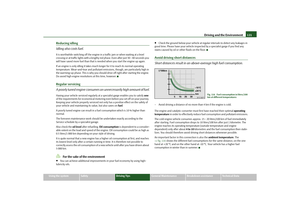 122
122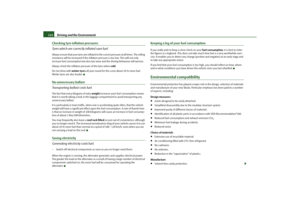 123
123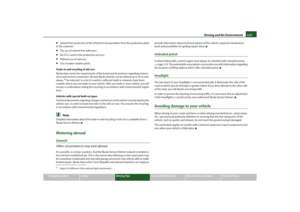 124
124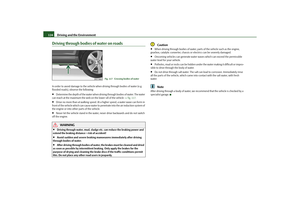 125
125 126
126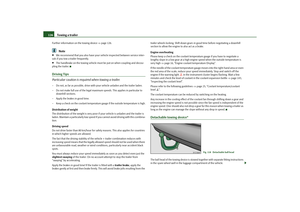 127
127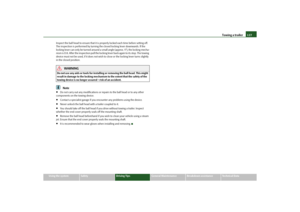 128
128 129
129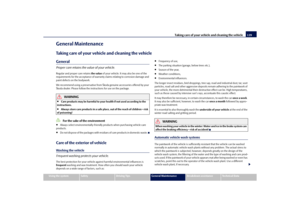 130
130 131
131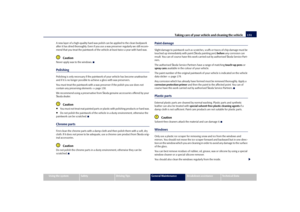 132
132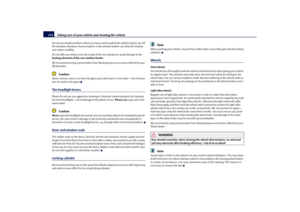 133
133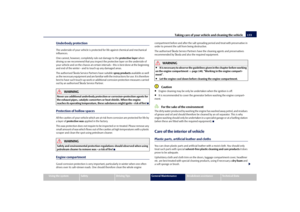 134
134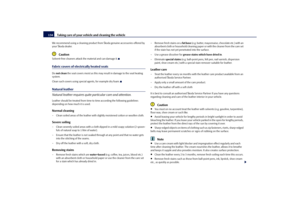 135
135 136
136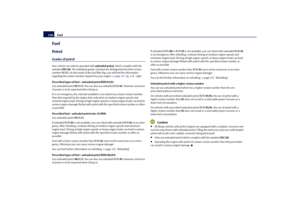 137
137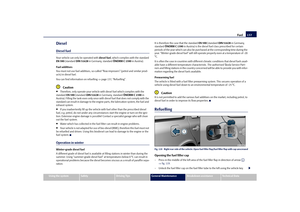 138
138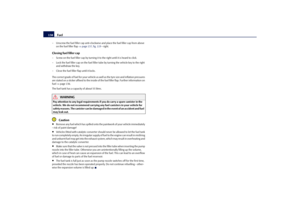 139
139 140
140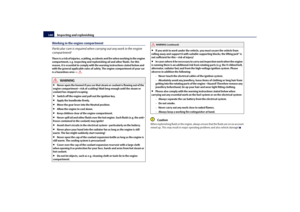 141
141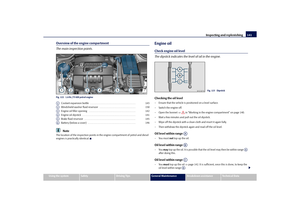 142
142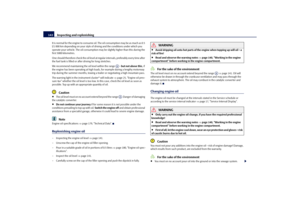 143
143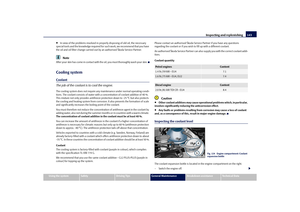 144
144 145
145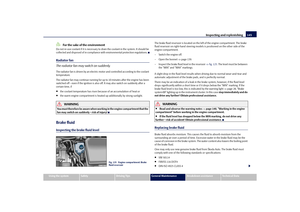 146
146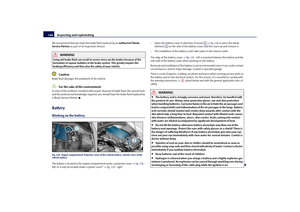 147
147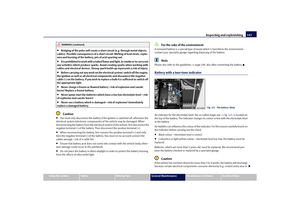 148
148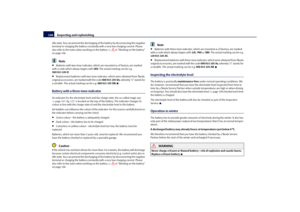 149
149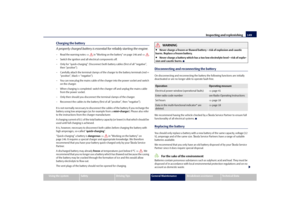 150
150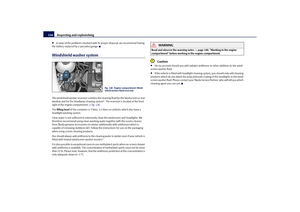 151
151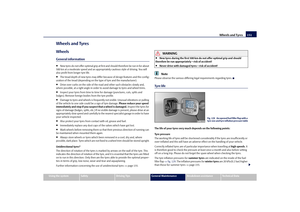 152
152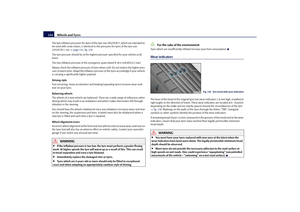 153
153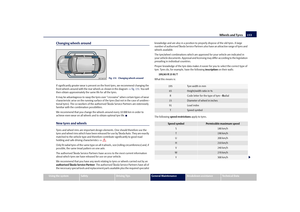 154
154 155
155 156
156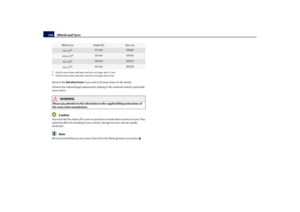 157
157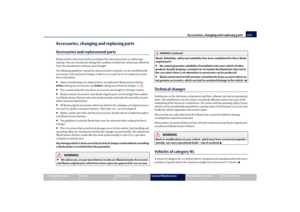 158
158 159
159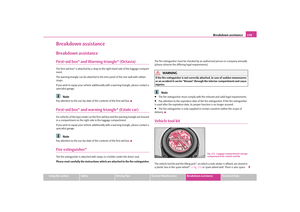 160
160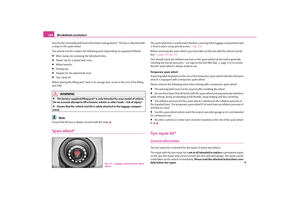 161
161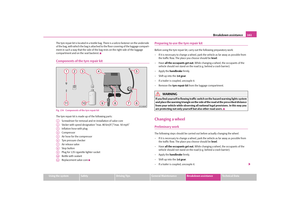 162
162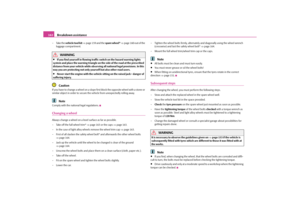 163
163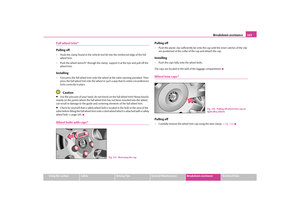 164
164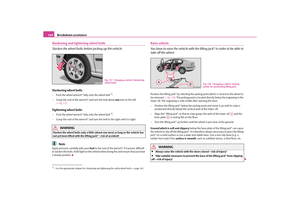 165
165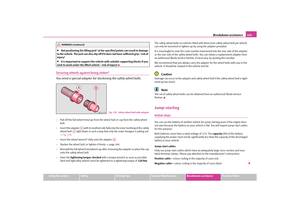 166
166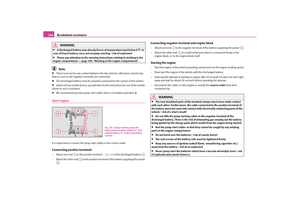 167
167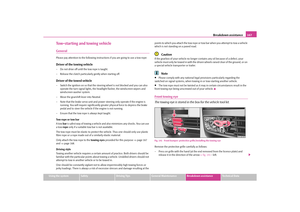 168
168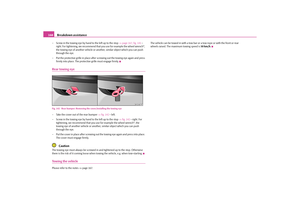 169
169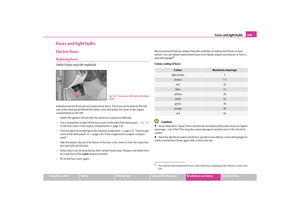 170
170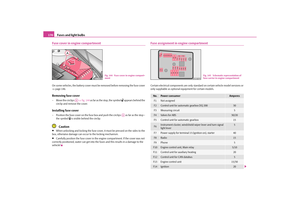 171
171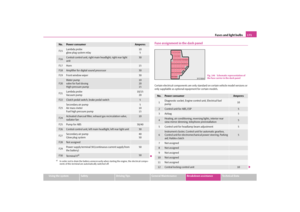 172
172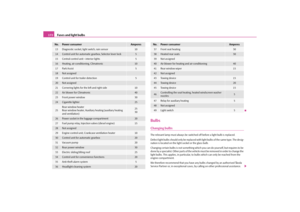 173
173 174
174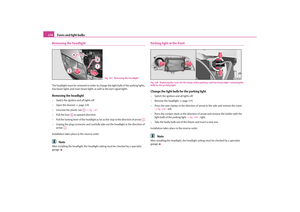 175
175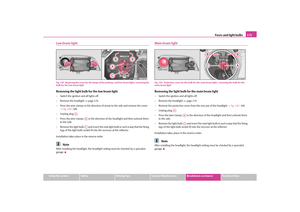 176
176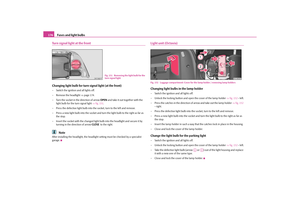 177
177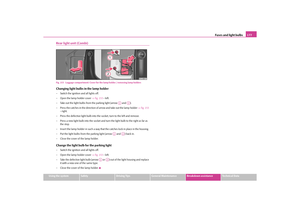 178
178 179
179 180
180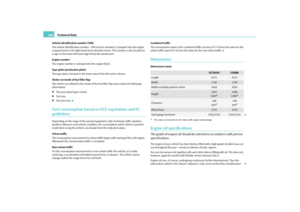 181
181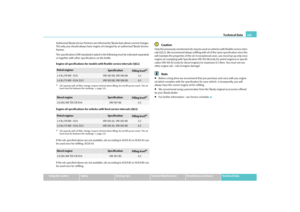 182
182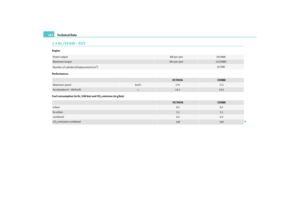 183
183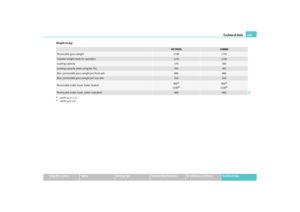 184
184 185
185 186
186 187
187 188
188 189
189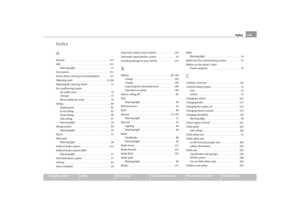 190
190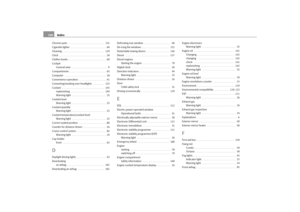 191
191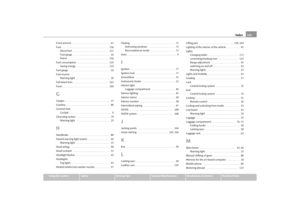 192
192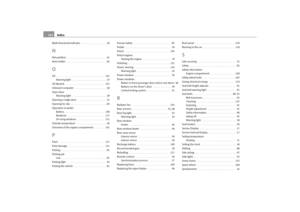 193
193 194
194 195
195 196
196 197
197 198
198