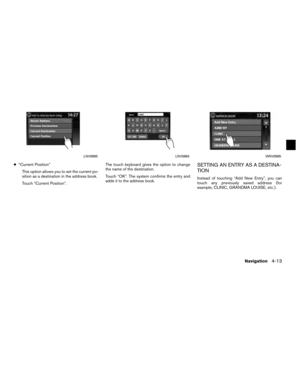
Page 49 of 79
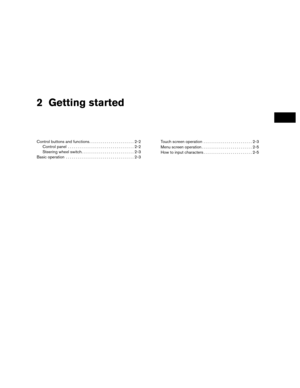
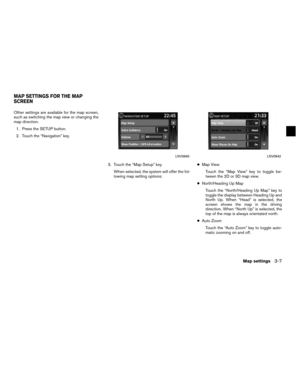
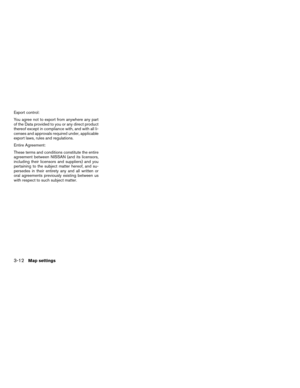
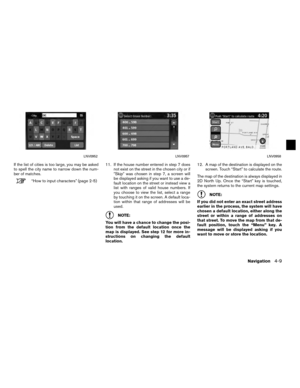
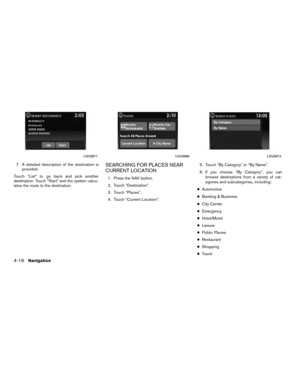
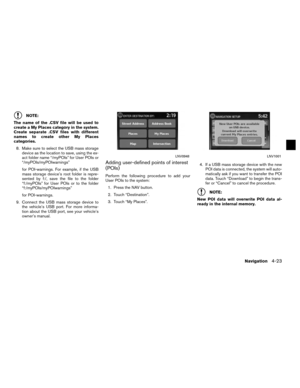
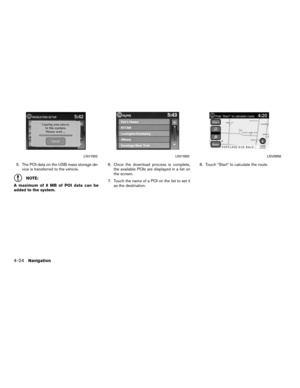
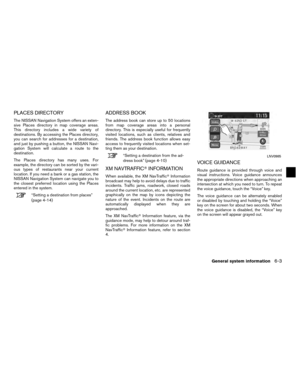
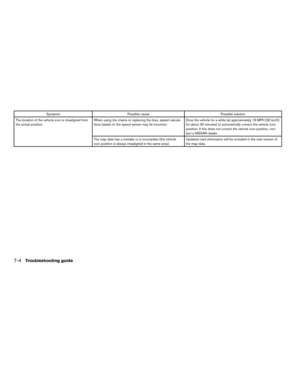
5. The POI data on the USB mass storage de-vice is transferred to the vehicle.
NOTE:
A maximum of 8 MB of POI data can be
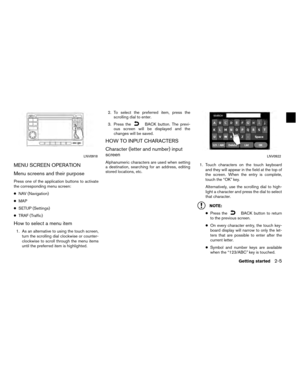
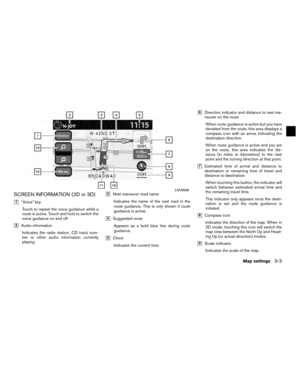
added to the system. 6. Once the download process is complete,
the available POIs are displayed in a list on
the screen.
7. Touch the name of a POI on the list to set it as the destination. 8. Touch “Start” to calculate the route.
LNV1002LNV1003LNV0958
4-24Navigation
Page 50 of 79
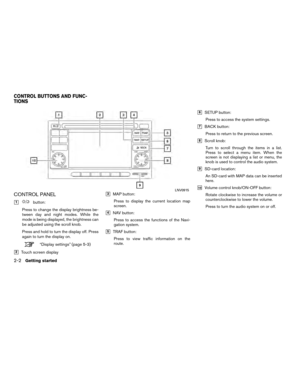
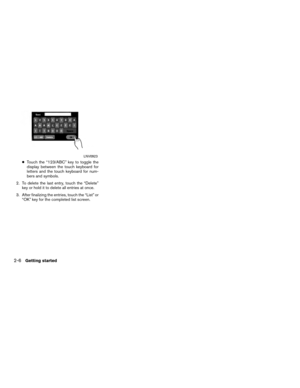
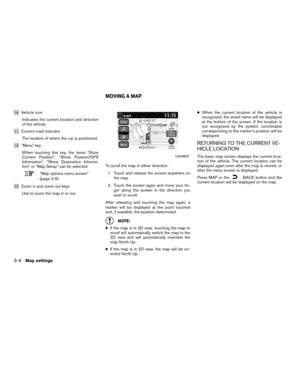
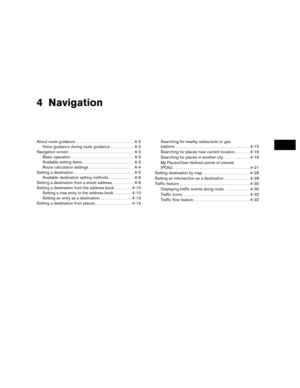
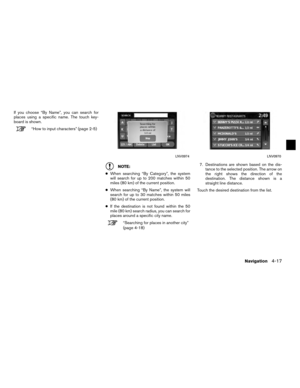
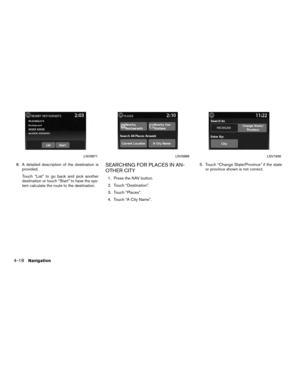
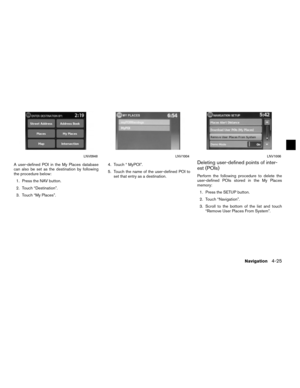
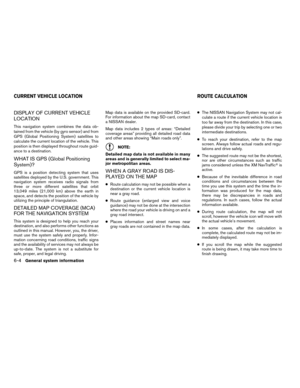
A user-defined POI in the My Places database
can also be set as the destination by following
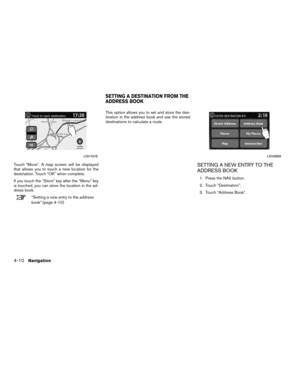
the procedure below:1. Press the NAV button.
2. Touch “Destination”.
3. Touch “My Places”. 4. Touch “ MyPOI”.
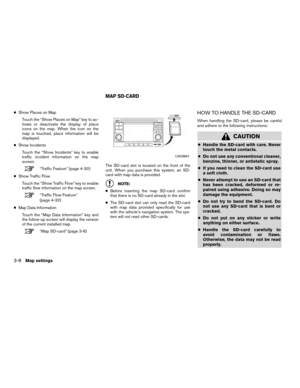
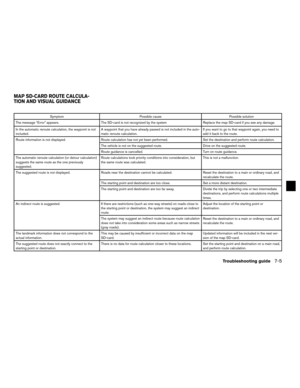
5. Touch the name of the user-defined POI to
set that entry as a destination.Deleting user-defined points of inter-
est (POIs)
Perform the following procedure to delete the
user-defined POIs stored in the My Places
memory:
1. Press the SETUP button.
2. Touch “Navigation”.
3. Scroll to the bottom of the list and touch “Remove User Places From System”.
LNV0948LNV1004LNV1006
Navigation4-25
Page 51 of 79
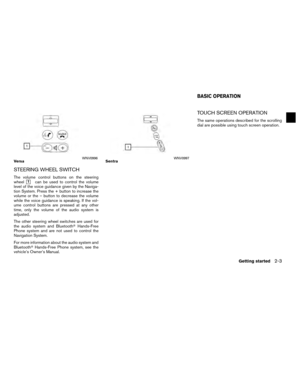
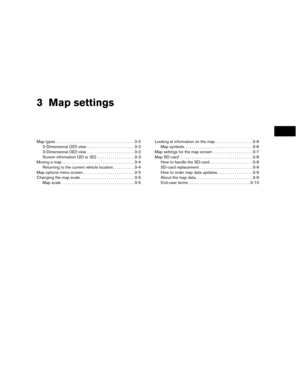
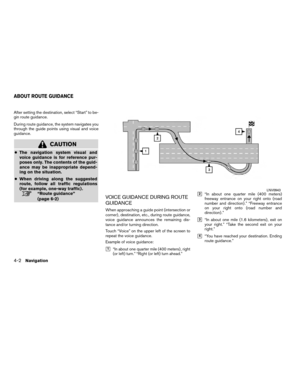
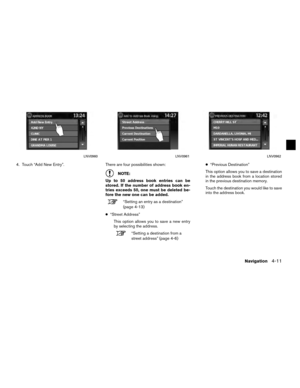
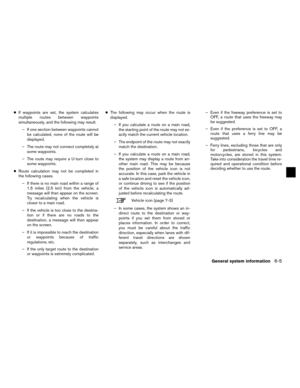
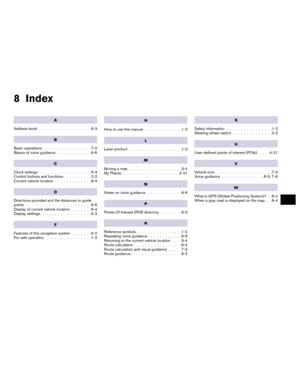
4. A pop-up is displayed to confirm that youwant to delete all User POIs (My Places)
from the system. Touch “Yes” to delete the
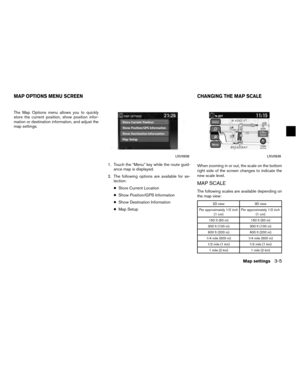
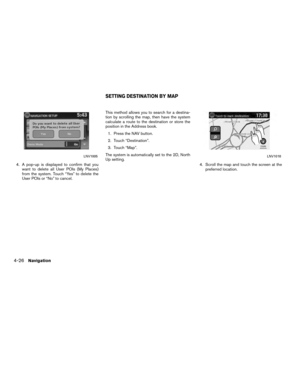
User POIs or “No” to cancel. This method allows you to search for a destina-
tion by scrolling the map, then have the system
calculate a route to the destination or store the
position in the Address book.
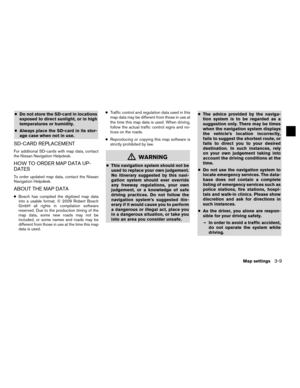
1. Press the NAV button.
2. Touch “Destination”.
3. Touch “Map”.
The system is automatically set to the 2D, North
Up setting. 4. Scroll the map and touch the screen at thepreferred location.
LNV1005LNV1018
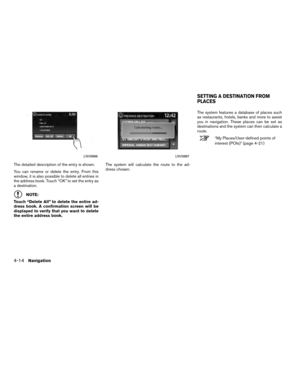
SETTING DESTINATION BY MAP
4-26Navigation
Page 52 of 79
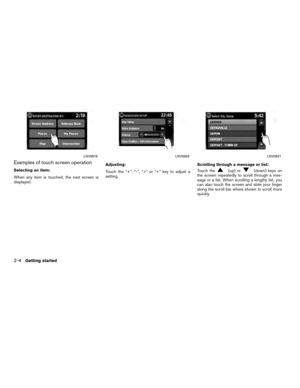
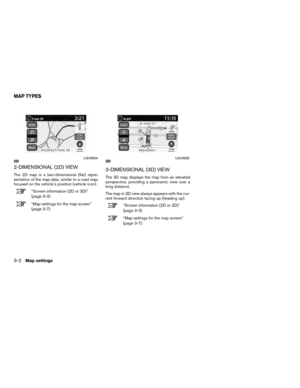
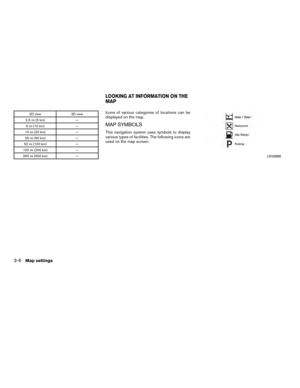
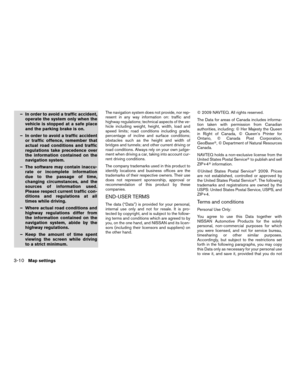
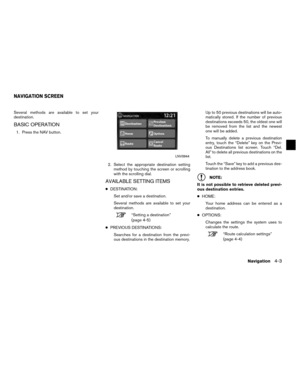
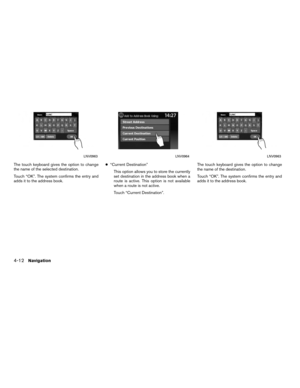
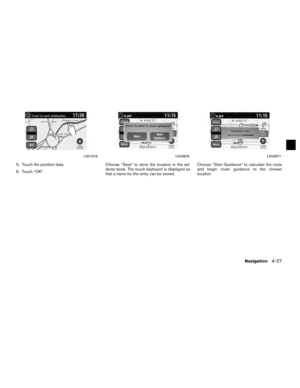
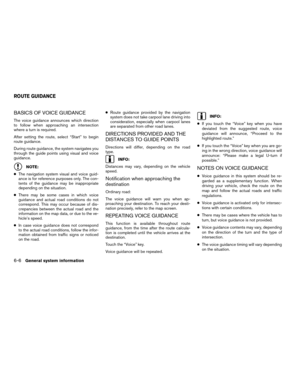
5. Touch the position data.
6. Touch “OK”.Choose “Save” to store the location in the ad-
dress book. The touch keyboard is displayed so
that a name for the entry can be stored. Choose “Start Guidance” to calculate the route
and begin route guidance to the chosen
location.
LNV1016LNV0978LNV0977
Navigation4-27
Page 53 of 79
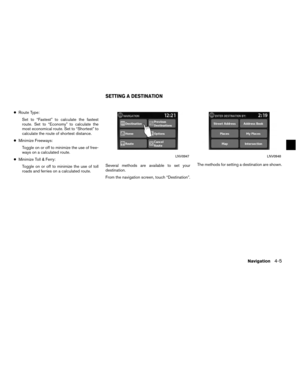
An intersection of two streets can be set as a
destination. To set an intersection as the desti-
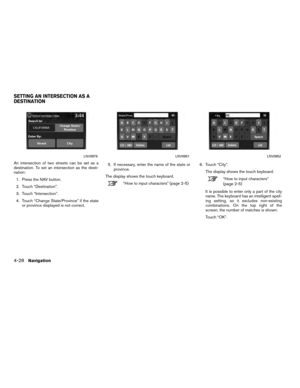
nation:1. Press the NAV button.
2. Touch “Destination”.
3. Touch “Intersection”.
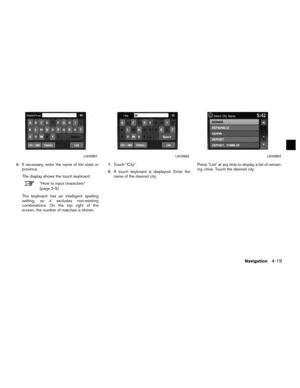
4. Touch “Change State/Province” if the state or province displayed is not correct. 5. If necessary, enter the name of the state or
province.
The display shows the touch keyboard.
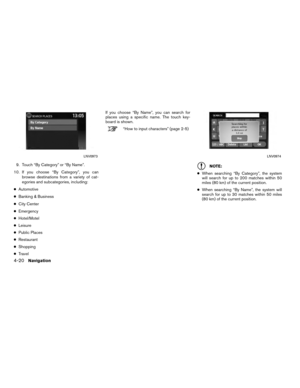
“How to input characters” (page 2-5) 6. Touch “City”.
The display shows the touch keyboard.“How to input characters”
(page 2-5)
It is possible to enter only a part of the city
name. The keyboard has an intelligent spell-
ing setting, so it excludes non-existing
combinations. On the top right of the
screen, the number of matches is shown.
Touch “OK”.
LNV0979LNV0951LNV0952
SETTING AN INTERSECTION AS A
DESTINATION
4-28Navigation
Page 54 of 79
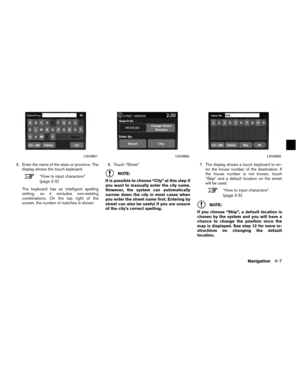
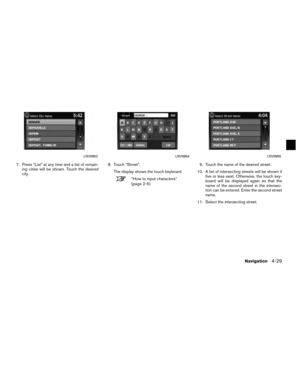
7. Press “List” at any time and a list of remain-ing cities will be shown. Touch the desired
city. 8. Touch “Street”.
The display shows the touch keyboard.
“How to input characters”
(page 2-5) 9. Touch the name of the desired street.
10. A list of intersecting streets will be shown if five or less exist. Otherwise, the touch key-
board will be displayed again so that the
name of the second street in the intersec-
tion can be entered. Enter the second street
name.
11. Select the intersecting street.
LNV0953LNV0954LNV0955
Navigation4-29
Page 55 of 79
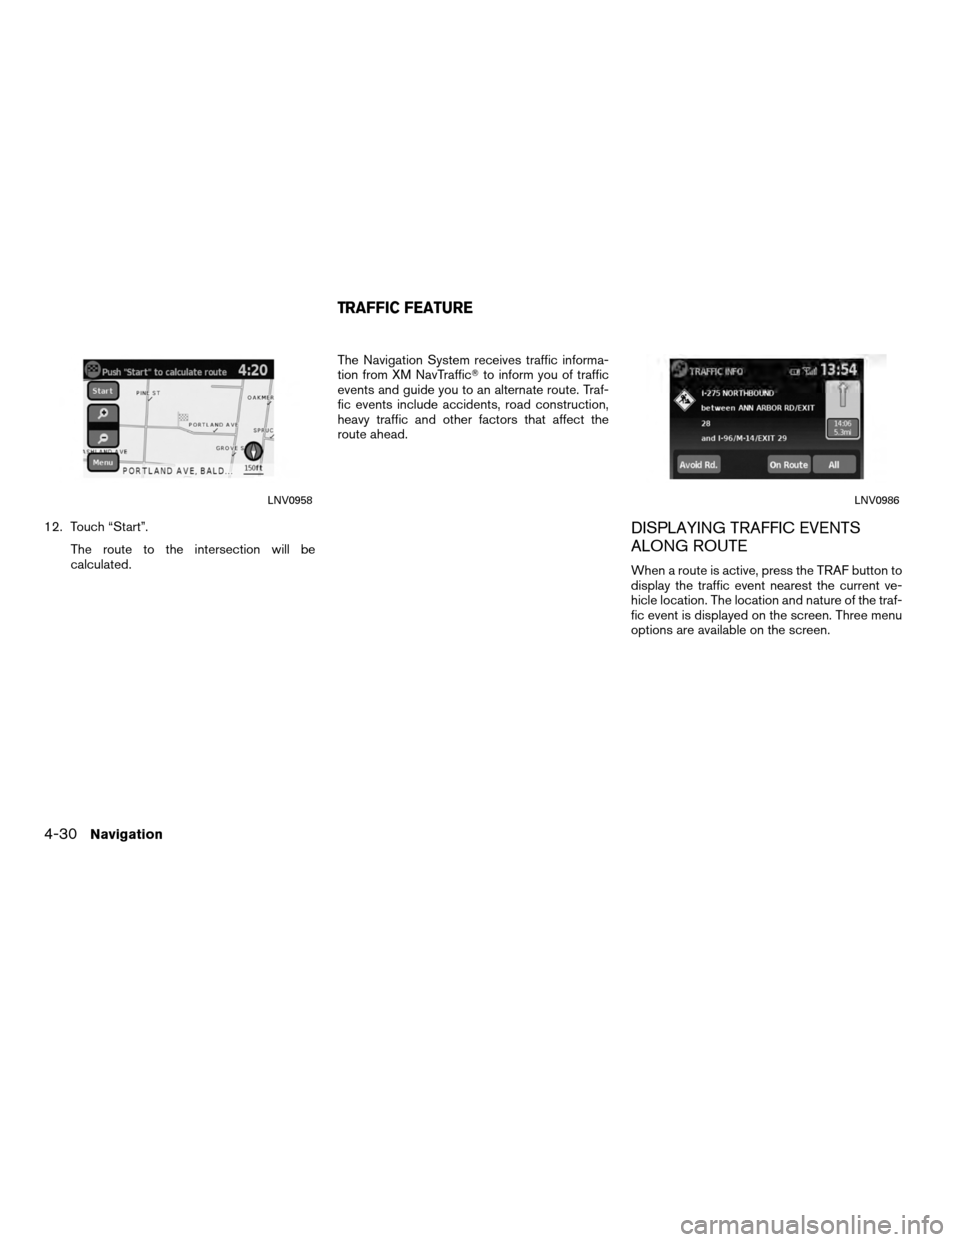
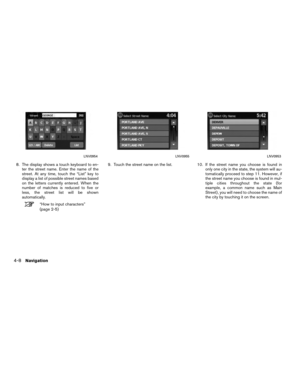
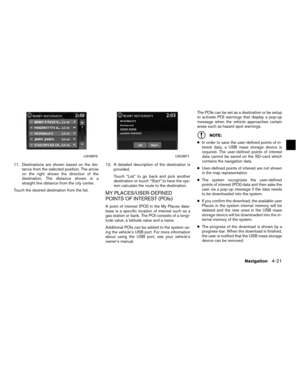
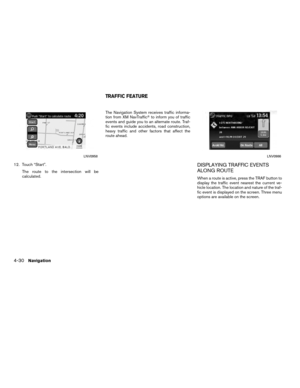
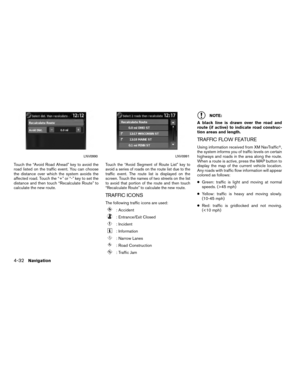
12. Touch “Start”.The route to the intersection will be
calculated. The Navigation System receives traffic informa-
tion from XM NavTraffic�
to inform you of traffic
events and guide you to an alternate route. Traf-
fic events include accidents, road construction,
heavy traffic and other factors that affect the
route ahead.DISPLAYING TRAFFIC EVENTS
ALONG ROUTE
When a route is active, press the TRAF button to
display the traffic event nearest the current ve-
hicle location. The location and nature of the traf-
fic event is displayed on the screen. Three menu
options are available on the screen.
LNV0958LNV0986
TRAFFIC FEATURE
4-30Navigation
Page 56 of 79
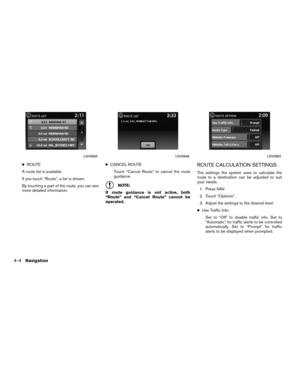
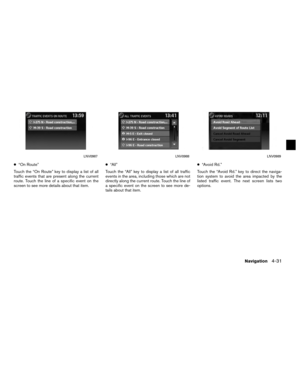
●“On Route”
Touch the “On Route” key to display a list of all
traffic events that are present along the current
route. Touch the line of a specific event on the
screen to see more details about that item. ●
“All”
Touch the “All” key to display a list of all traffic
events in the area, including those which are not
directly along the current route. Touch the line of
a specific event on the screen to see more de-
tails about that item. ●
“Avoid Rd.”
Touch the “Avoid Rd.” key to direct the naviga-
tion system to avoid the area impacted by the
listed traffic event. The next screen lists two
options.
LNV0987LNV0988LNV0989
Navigation4-31


from the system. Touch “Yes” to delete the
User POIs or “No” to cancel. This method allows you to search fo")