Page 57 of 79

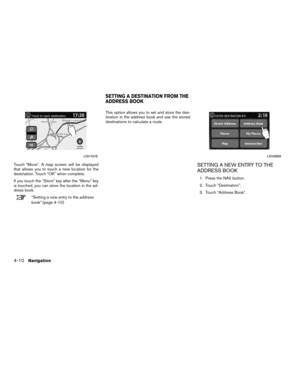
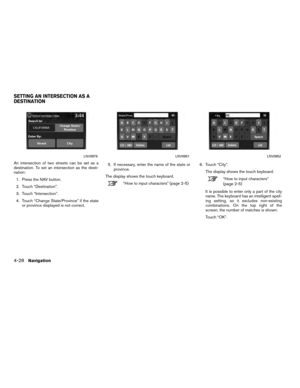
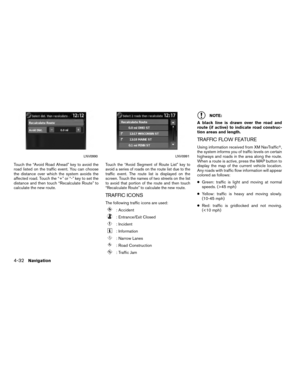
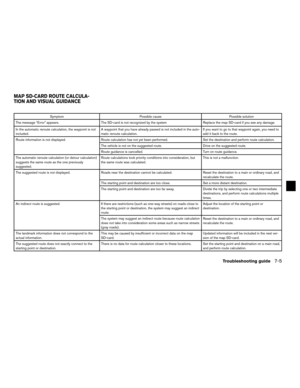
Touch the “Avoid Road Ahead” key to avoid the
road listed on the traffic event. You can choose
the distance over which the system avoids the
affected road. Touch the “+” or “-” key to set the
distance and then touch “Recalculate Route” to
calculate the new route.Touch the “Avoid Segment of Route List” key to
avoid a series of roads on the route list due to the
traffic event. The route list is displayed on the
screen. Touch the names of two streets on the list
to avoid that portion of the route and then touch
“Recalculate Route” to calculate the new route.
TRAFFIC ICONS
The following traffic icons are used:
: Accident
: Entrance/Exit Closed
: Incident
: Information
: Narrow Lanes
: Road Construction
: Traffic Jam
NOTE:
A black line is drawn over the road and
route (if active) to indicate road construc-
tion areas and length.
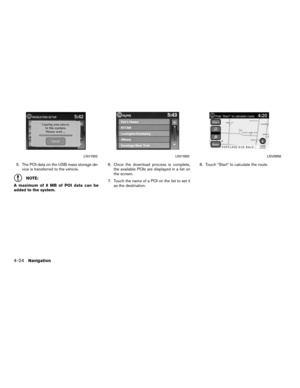
TRAFFIC FLOW FEATURE
Using information received from XM NavTraffic�,
the system informs you of traffic levels on certain
highways and roads in the area along the route.
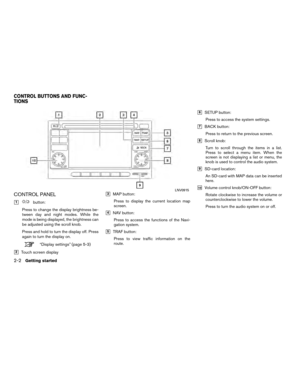
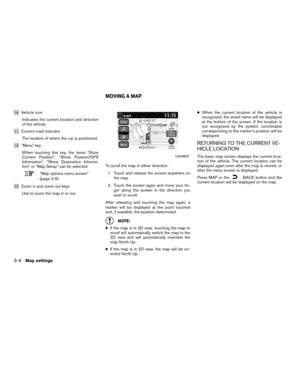
When a route is active, press the MAP button to
display the map of the current vehicle location.
Any roads with traffic flow information will appear
colored as follows:
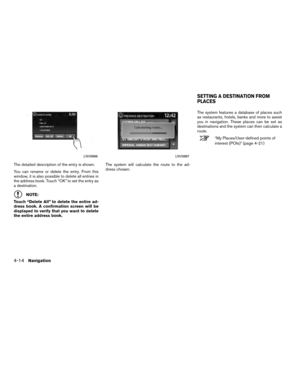
● Green: traffic is light and moving at normal
speeds. (>45 mph)
● Yellow: traffic is heavy and moving slowly.
(10-45 mph)
● Red: traffic is gridlocked and not moving.
(<10 mph)
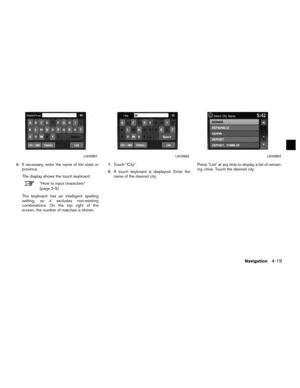
LNV0990LNV0991
4-32Navigation
Page 58 of 79
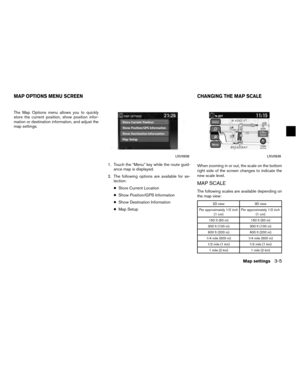
5 Other settings
System settings...................................5-2
Touch clicks ...................................5-2
Beep tones . . ..................................5-2
Reset settings ..................................5-2
Display settings ...................................5-3 Display
........................................5-3
Brightness .....................................5-3
Clock settings.....................................5-4 Set clock ......................................5-5
Language settings .................................5-5
Page 59 of 79

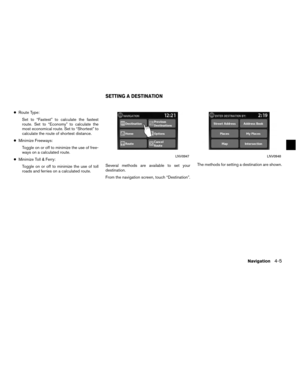
The system can be customized according to
your preference.1. Press the SETUP button.
2. Touch “System”.
3. Select the preferred setting item on the screen and the next screen will be shown.
You may need to use the scrolling dial or the
touch screen to scroll if more than one
screen of options is available.
The following settings are available:
● Display
“Display settings” (page 5-3)
● Clock
“Clock settings” (page 5-4)
● Language
“Language and unit settings”
(page 5-5)
● Touch click
“Touch clicks” (page 5-2)
● Beep tones
“Beep tones” (page 5-2) ●
“Reset All Settings/Memory”
“Reset settings” (page 5-2)
4. Select the button of the preferred item and adjust the setting. (Alternatively, use the
scrolling dial or steering wheel scrolling
switch) .
5. Press the
BACK button to return to
the previous screen or press the NAV but-
ton to return to the current location map
screen.
TOUCH CLICKS
Use this setting to change the audible confirma-
tion between the on or off position when a
screen button is touched.
Select the “Touch Clicks” key to toggle between
On and Off.
BEEP TONES
Use this setting to change the audible confirma-
tion when:
● a button on the unit is pressed and held for
about two seconds, such as the
button.
● a pop-up message appears on the screen.
Select the “Beep Tones” key to toggle between
On and Off.
RESET SETTINGS
Use this setting to restore the factory default
settings.
Touch the “Reset All Settings/Memory” key and
then confirm the message. If you choose “Yes”,
the system will reset the settings to the default
settings. If you choose “No”, the default settings
will not be restored and the display returns to the
system settings screen.
SYSTEM SETTINGS
5-2Other settings
Page 60 of 79

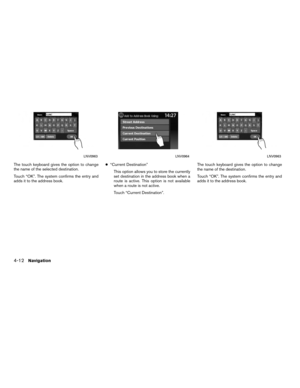
DISPLAY
Switching the display on or off
This setting allows you to turn the display on or
off. When the display is turned off, the clock will
still be displayed.
To turn off the display, press and hold the
button for more than 2 seconds.
The display will switch on when:
●the
button is pressed.
● any other button is pressed.
● receiving incoming calls or during a phone
call. When the call is ended, the display re-
turns to clock display.
Voice guidance (if active) continues even when
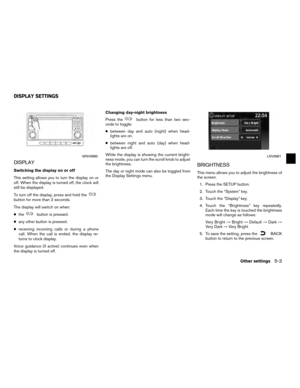
the display is turned off. Changing day-night brightness
Press the
button for less than two sec-
onds to toggle:
● between day and auto (night) when head-
lights are on.
● between night and auto (day) when head-
lights are off.
While the display is showing the current bright-
ness mode, you can turn the scroll knob to adjust
the brightness.
The day or night mode can also be toggled from
the Display Settings menu.
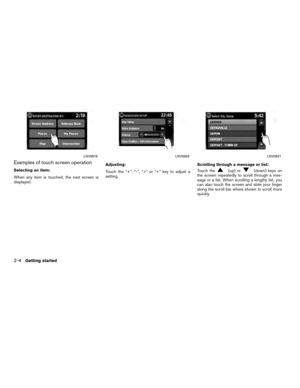
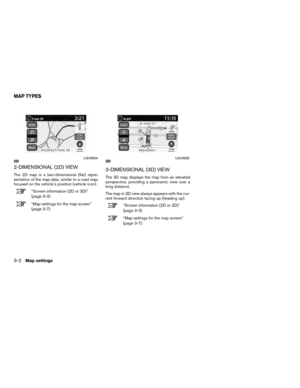
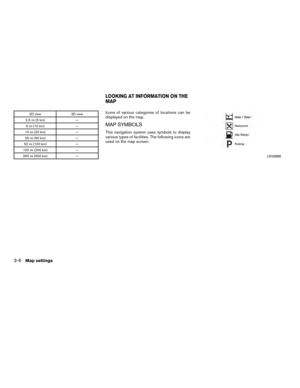
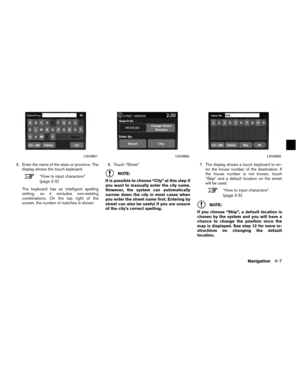
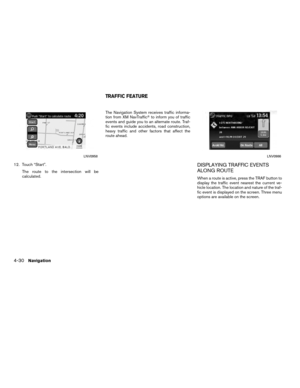
BRIGHTNESS
This menu allows you to adjust the brightness of
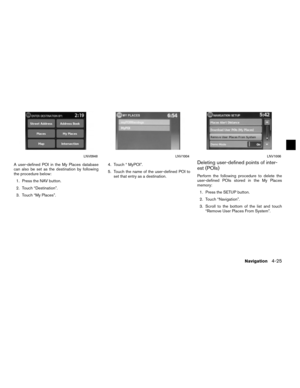
the screen. 1. Press the SETUP button.
2. Touch the “System” key.
3. Touch the “Display” key.
4. Touch the “Brightness” key repeatedly. Each time the key is touched the brightness
mode will change as follows:
Very Bright →Bright →Default →Dark →
Very Dark →Very Bright
5. To save the setting, press the
BACK
button to return to the previous screen.
WNV0980LNV0981
DISPLAY SETTINGS
Other settings5-3
Page 61 of 79

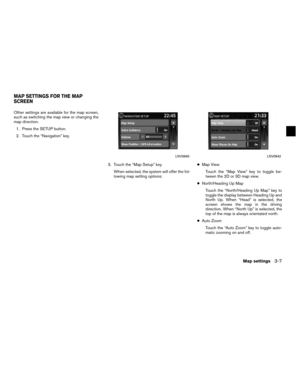
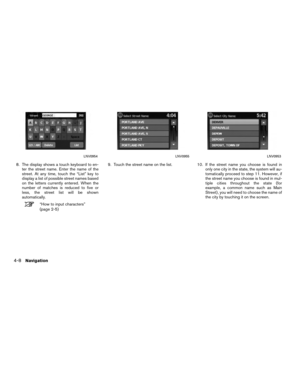
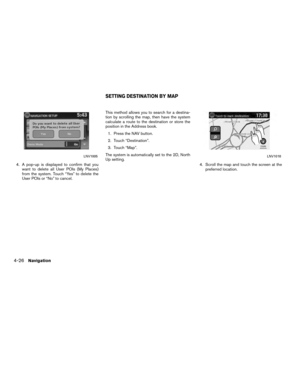
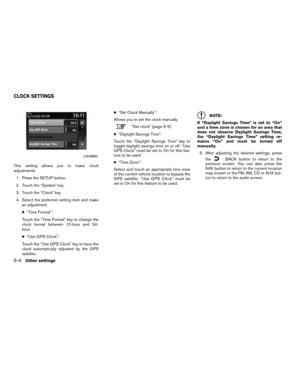
This setting allows you to make clock
adjustments.1. Press the SETUP button.
2. Touch the “System” key.
3. Touch the “Clock” key.
4. Select the preferred setting item and make an adjustment.
● “Time Format”:
Touch the “Time Format” key to change the
clock format between 12-hour and 24-
hour.
● “Use GPS Clock”:
Touch the “Use GPS Clock” key to have the
clock automatically adjusted by the GPS
satellite. ●
“Set Clock Manually”:
Allows you to set the clock manually.
“Set clock” (page 5-5)
● “Daylight Savings Time”:
Touch the “Daylight Savings Time” key to
toggle daylight savings time on or off. “Use
GPS Clock” must be set to On for this fea-
ture to be used.
● “Time Zone”:
Select and touch an appropriate time zone
of the current vehicle location to bypass the
GPS satellite. “Use GPS Clock” must be
set to On for this feature to be used.
NOTE:
If “Daylight Savings Time” is set to “On”
and a time zone is chosen for an area that
does not observe Daylight Savings Time,
the “Daylight Savings Time” setting re-
mains “On” and must be turned off
manually. 5. After adjusting the desired settings, press the
BACK button to return to the
previous screen. You can also press the
NAV button to return to the current location
map screen or the FM, AM, CD or AUX but-
ton to return to the audio screen.LNV0982
CLOCK SETTINGS
5-4Other settings
Page 62 of 79
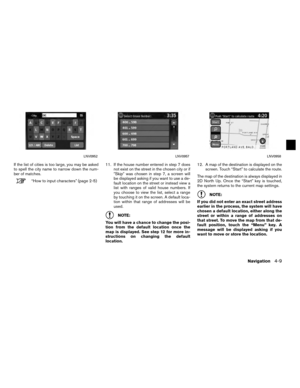
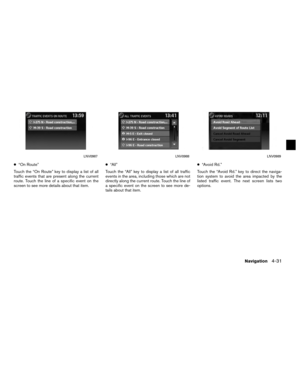
SET CLOCK
Adjust the hour or minute using the “+” and “–”
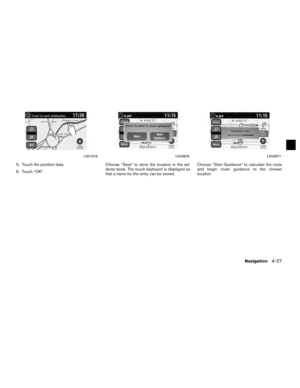
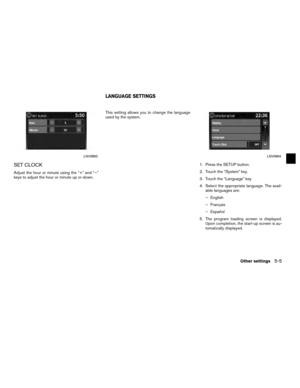
keys to adjust the hour or minute up or down.This setting allows you to change the language
used by the system.
1. Press the SETUP button.
2. Touch the “System” key.
3. Touch the “Language” key.
4. Select the appropriate language. The avail-able languages are:
– English
– Français
– Español
5. The program loading screen is displayed. Upon completion, the start-up screen is au-
tomatically displayed.
LNV0983LNV0984
LANGUAGE SETTINGS
Other settings5-5
Page 63 of 79
Page 64 of 79

6 General system information
Safety information.................................6-2
Features of this navigation system ...................6-2
Route guidance ................................6-2
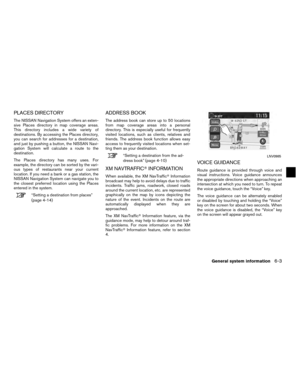
Places directory ................................6-3
Address book ..................................6-3
XM NavTraffic� information......................6-3
Voice guidance .................................6-3
Current vehicle location ............................6-4
Display of current vehicle location ................6-4
What is GPS (Global Positioning System)? ........6-4
Detailed map coverage (MCA) for the
navigation system ..............................6-4 When a gray road is displayed on the map
........6-4
Route calculation ..................................6-4
Route guidance ...................................6-6
Basics of voice guidance ........................6-6
Directions provided and the distances to
guide points ...................................6-6
Repeating voice guidance .......................6-6
Notes on voice guidance . . . .....................6-6
How to handle the display ..........................6-7
Characteristics of a liquid crystal display ..........6-7
Maintenance of the display ......................6-8