Page 180 of 371
433
Driving your vehicle
1
2
3
4
5
6
7
8
9
INSTRUMENT CLUSTER
1. Tachometer
2. Turn signal indicators
3. Speedometer
4. Warning and indicator lights
5. Shift position indicator (Automatic transaxle only)
6. Odometer
7. Tripmeter/Trip computer (if equipped)
8. Fuel gauge
OKM020095C/OKM029095C
Type A
Type B
Page 182 of 371
435
Driving your vehicle
1
2
3
4
5
6
7
8
9
Odometer
The odometer indicates the total dis-
tance the vehicle has been driven.
Tripmeter (trip odometer)
You can choose the tripmeter A and
tripmeter B by pressing the tripmeter
mode button.TRIP A: Tripmeter A
TRIP B: Tripmeter B
The tripmeter indicates the distance
of individual trips selected by the dri-
ver. Tripmeter A and B can be reset
to 0 by pressing the reset button for
1 second or more, and then releas-
ing.
1KMA2102OKM0291001KMA2101
Page 185 of 371

Driving your vehicle
38
4
1
2
3
4
5
6
7
8
9
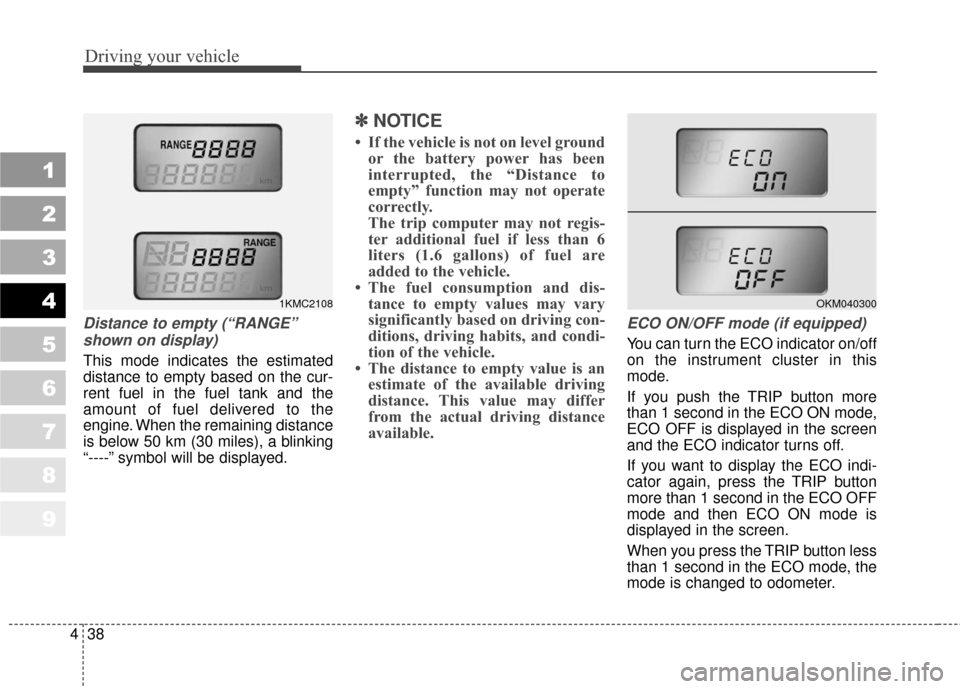
Distance to empty (“RANGE”
shown on display)
This mode indicates the estimated
distance to empty based on the cur-
rent fuel in the fuel tank and the
amount of fuel delivered to the
engine. When the remaining distance
is below 50 km (30 miles), a blinking
“----” symbol will be displayed.
✽ ✽
NOTICE
• If the vehicle is not on level ground
or the battery power has been
interrupted, the “Distance to
empty” function may not operate
correctly.
The trip computer may not regis-
ter additional fuel if less than 6
liters (1.6 gallons) of fuel are
added to the vehicle.
• The fuel consumption and dis- tance to empty values may vary
significantly based on driving con-
ditions, driving habits, and condi-
tion of the vehicle.
• The distance to empty value is an estimate of the available driving
distance. This value may differ
from the actual driving distance
available.
ECO ON/OFF mode (if equipped)
You can turn the ECO indicator on/off
on the instrument cluster in this
mode.
If you push the TRIP button more
than 1 second in the ECO ON mode,
ECO OFF is displayed in the screen
and the ECO indicator turns off.
If you want to display the ECO indi-
cator again, press the TRIP button
more than 1 second in the ECO OFF
mode and then ECO ON mode is
displayed in the screen.
When you press the TRIP button less
than 1 second in the ECO mode, the
mode is changed to odometer.
1KMC2108OKM040300
Page 266 of 371

Driving tips
34
5
1
2
3
4
5
6
7
8
9
If you do decide to pull a trailer
Here are some important points if
you decide to pull a trailer:
State, provincial, county and
municipal government have vary-
ing trailering laws. Make sure your
hitch, mirrors, lights and wiring
arrangements are legal, not only
where you live, but also where
you’ll be driving. A good source for
this information is provincial or
local law enforcement agencies.
Consider using a sway control. You can ask a hitch dealer about sway
control.
After your odometer indicates 800 km (500 miles) or more, you can
tow a trailer. For the first 800 km
(500 miles) that you tow a trailer,
don’t drive over 80 km/h (50 mph)
and don’t make starts at full throt-
tle. This helps your engine and
other parts of your vehicle “wear” in
at the heavier loads. Always drive at a safe speed (less
than 100 km/h) commensurate
with road conditions.
On a long uphill grade, do not exceed 70 km/h (45 mph) or the
posted towing speed limit,
whichever is lower.
The important considerations have to do with weight: Weight of the trailer
How heavy can a trailer safely be? It
should never weigh more than the
maximum trailer weight with trailer
brakes. But even that can be too
heavy.
It depends on how you plan to use
your trailer. For example, speed, alti-
tude, road grades, outside tempera-
ture and how much your vehicle is
used to pull a trailer are all important.
The ideal trailer weight can also
depend on any special equipment
that you have on your vehicle.
Page 350 of 371

741
Maintenance
1
2
3
4
5
6
7
8
9
Wheel replacement
When replacing the metal wheels for
any reason, make sure the new
wheels are equivalent to the original
factory units in diameter, rim width
and offset.
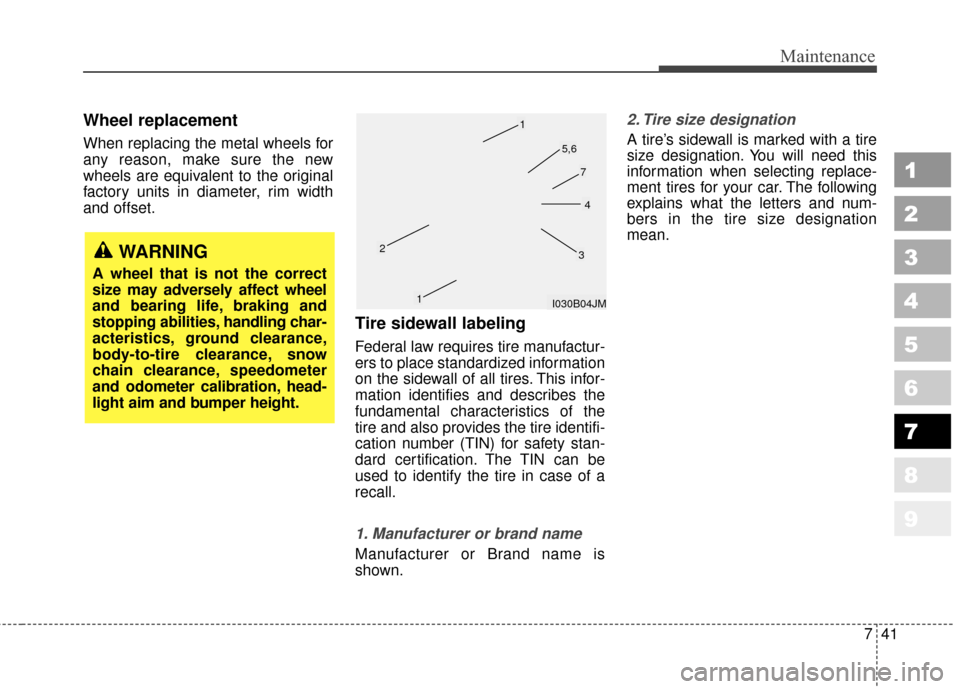
Tire sidewall labeling
Federal law requires tire manufactur-
ers to place standardized information
on the sidewall of all tires. This infor-
mation identifies and describes the
fundamental characteristics of the
tire and also provides the tire identifi-
cation number (TIN) for safety stan-
dard certification. The TIN can be
used to identify the tire in case of a
recall.
1. Manufacturer or brand name
Manufacturer or Brand name is
shown.
2. Tire size designation
A tire’s sidewall is marked with a tire
size designation. You will need this
information when selecting replace-
ment tires for your car. The following
explains what the letters and num-
bers in the tire size designation
mean.
WARNING
A wheel that is not the correct
size may adversely affect wheel
and bearing life, braking and
stopping abilities, handling char-
acteristics, ground clearance,
body-to-tire clearance, snow
chain clearance, speedometer
and odometer calibration, head-
light aim and bumper height.
I030B04JM
1
1
23
4
5,6
7