Page 2550 of 3039
Wipers and Washers - Windshield Washer Reservoir
Removal and Installation
Removal Published: 11-May-2011
1.
2. Refer to: Fender Splash Shield (501-02 Front End Body Panels, Removal and Installation).
3. CAUTION: Be prepared to collect escaping fluids.
Page 2553 of 3039
Wipers and Washers - Windshield Wiper Motor
Removal and Installation
Removal
NOTE: Removal steps in this procedure may contain installation details. Published: 11-May-2011
1. Refer to: Battery Disconnect and Connect (414-01 Battery, Mounting and Cables, General Procedures).
2. Refer to: Cowl Vent Screen (501-02 Front End Body Panels, Removal and Installation).
3. CAUTION: Tighten the bolts in the sequence shown.
NOTE: LHD illustration shown, RHD is similar.
Torque: 12 Nm
4. NOTE: LHD illustration shown, RHD is similar.
5. NOTE: LHD illustration shown, RHD is similar.
Page 2555 of 3039
Wipers and Washers - Windshield Wiper Pivot Arm
Removal and Installation
Removal
CAUTION: Always protect paintwork and glass when removing exterior components.
1. Published: 11-May-2011
Installation
2. NOTE: Do not disassemble further if the component is
removed for access only.
1. Install the wiper blade.
2. CAUTION: Align the wiper blades onto the centre of the
windshield circle mark.
NOTE: After the wiper pivot arm nuts have been
tightened to the correct torque value, lift the wiper pivot
arm from the windshield and return to the windshield. Make
sure that wiper blades are not positioned below any point
of the windshield circle mark.
Page 2557 of 3039
Wipers and Washers - Windshield Washer Pump
Removal and Installation
Removal Published: 11-May-2011
1. Refer to: Fender Splash Shield (501-02 Front End Body Panels, Removal and Installation).
Installation
2.
3. CAUTION: Be prepared to collect escaping fluids.
4. CAUTION: Take extra care not to damage the seal.
1. CAUTION: The seal is to be reused unless damaged.
To install, reverse the removal procedure.
Page 2759 of 3039

Front End Sheet Metal Repairs - Fender Apron Panel
Removal and Installation
Removal Published: 11-May-2011
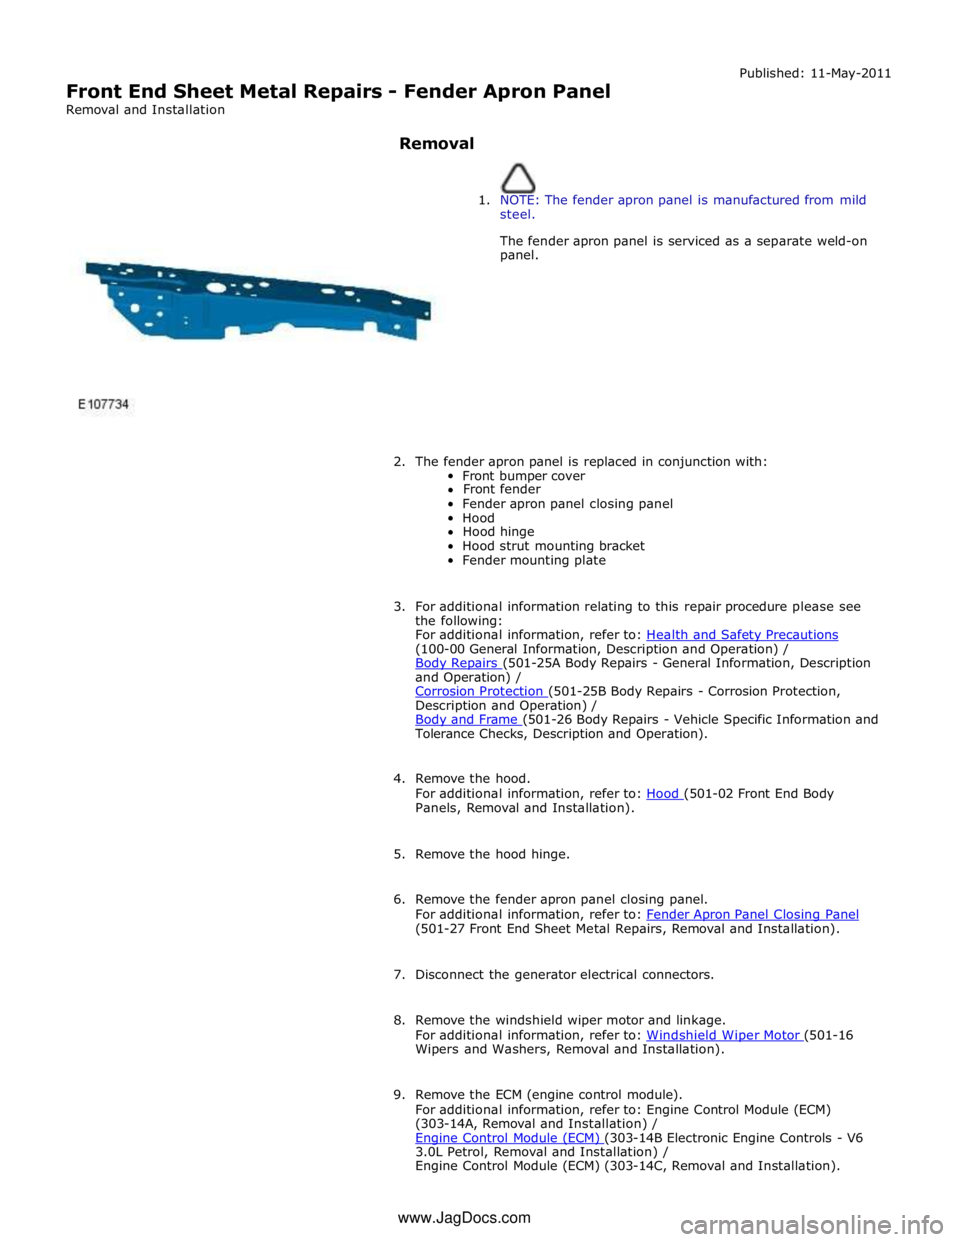
1. NOTE: The fender apron panel is manufactured from mild
steel.
The fender apron panel is serviced as a separate weld-on
panel.
2. The fender apron panel is replaced in conjunction with:
Front bumper cover
Front fender
Fender apron panel closing panel
Hood
Hood hinge
Hood strut mounting bracket
Fender mounting plate
3. For additional information relating to this repair procedure please see
the following:
For additional information, refer to: Health and Safety Precautions (100-00 General Information, Description and Operation) /
Body Repairs (501-25A Body Repairs - General Information, Description and Operation) /
Corrosion Protection (501-25B Body Repairs - Corrosion Protection, Description and Operation) /
Body and Frame (501-26 Body Repairs - Vehicle Specific Information and Tolerance Checks, Description and Operation).
4. Remove the hood.
For additional information, refer to: Hood (501-02 Front End Body Panels, Removal and Installation).
5. Remove the hood hinge.
6. Remove the fender apron panel closing panel.
For additional information, refer to: Fender Apron Panel Closing Panel (501-27 Front End Sheet Metal Repairs, Removal and Installation).
7. Disconnect the generator electrical connectors.
8. Remove the windshield wiper motor and linkage.
For additional information, refer to: Windshield Wiper Motor (501-16 Wipers and Washers, Removal and Installation).
9. Remove the ECM (engine control module).
For additional information, refer to: Engine Control Module (ECM)
(303-14A, Removal and Installation) /
Engine Control Module (ECM) (303-14B Electronic Engine Controls - V6 3.0L Petrol, Removal and Installation) /
Engine Control Module (ECM) (303-14C, Removal and Installation). www.JagDocs.com
Page 2778 of 3039

(100-00 General Information, Description and Operation) /
Body Repairs (501-25A Body Repairs - General Information, Description and Operation) /
Corrosion Protection (501-25B Body Repairs - Corrosion Protection, Description and Operation) /
Body and Frame (501-26 Body Repairs - Vehicle Specific Information and Tolerance Checks, Description and Operation).
4. Disconnect the battery ground cable.
For additional information, refer to: Battery Disconnect and Connect (414-01 Battery, Mounting and Cables, General Procedures).
5. Remove the front bumper cover.
For additional information, refer to: Front Bumper Cover (501-19 Bumpers, Removal and Installation).
6. Remove the fender splash shield.
For additional information, refer to: Fender Splash Shield (501-02 Front End Body Panels, Removal and Installation).
7. If the right-hand front fender is to be repaired, remove the windshield
washer reservoir.
For additional information, refer to: Windshield Washer Reservoir (501-16 Wipers and Washers, Removal and Installation).
8. Remove the headlamp assembly.
For additional information, refer to: Headlamp Assembly (417-01 Exterior Lighting, Removal and Installation).
9. Remove the rocker panel outer moulding.
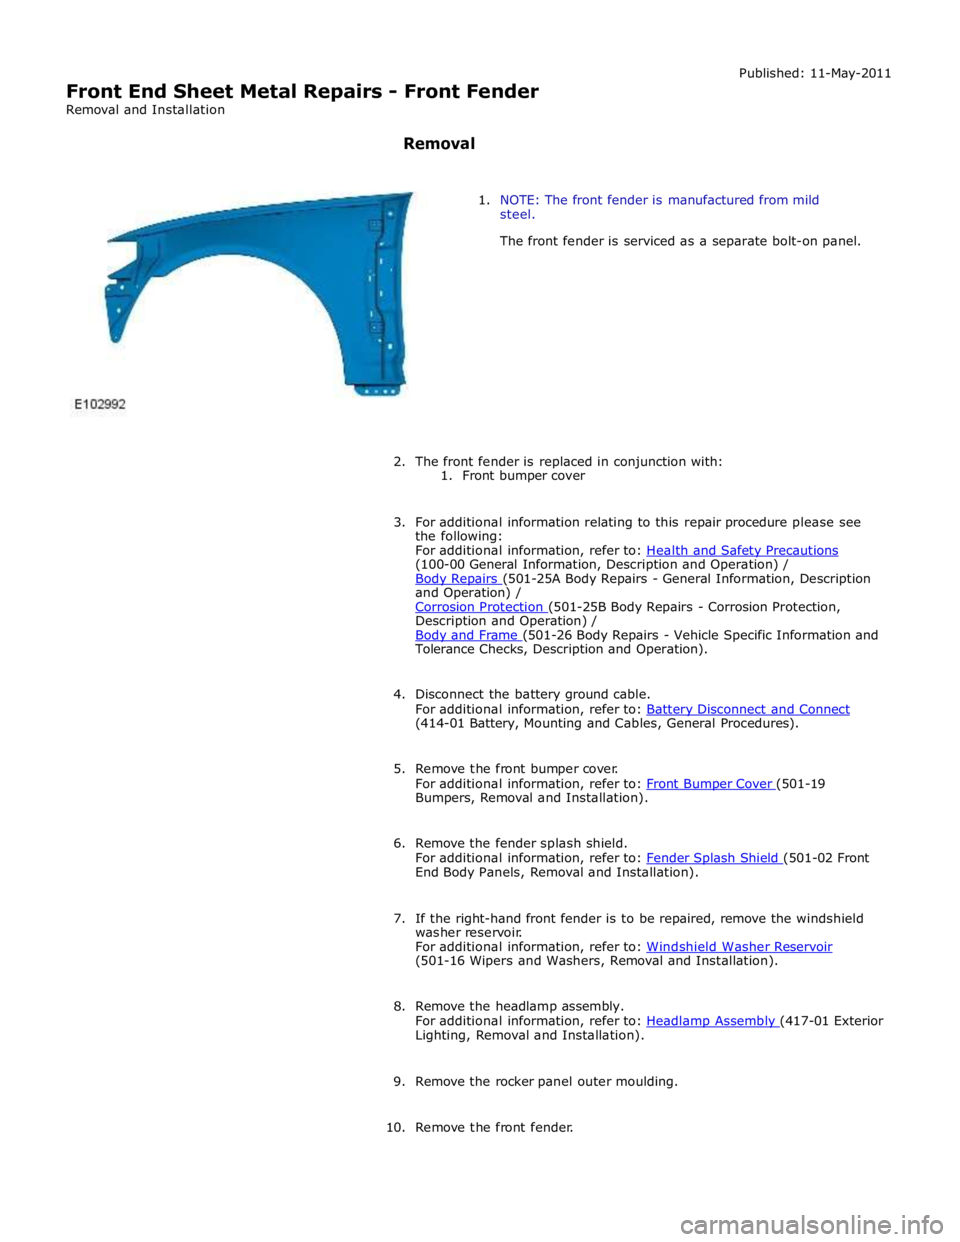
10. Remove the front fender.
Page:
< prev 1-8 9-16 17-24