2010 CHEVROLET SILVERADO ESP
[x] Cancel search: ESPPage 38 of 626
Tire Pressure Monitor
This vehicle may have a Tire Pressure Monitor
System (TPMS).
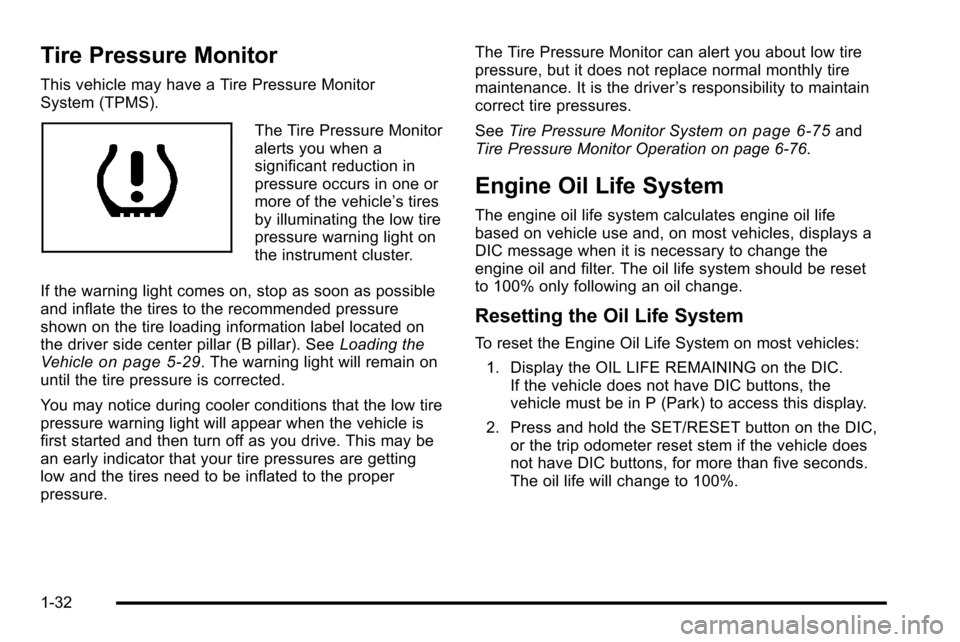
The Tire Pressure Monitor
alerts you when a
significant reduction in
pressure occurs in one or
more of the vehicle’s tires
by illuminating the low tire
pressure warning light on
the instrument cluster.
If the warning light comes on, stop as soon as possible
and inflate the tires to the recommended pressure
shown on the tire loading information label located on
the driver side center pillar (B pillar). See Loading the
Vehicle
on page 5‑29. The warning light will remain on
until the tire pressure is corrected.
You may notice during cooler conditions that the low tire
pressure warning light will appear when the vehicle is
first started and then turn off as you drive. This may be
an early indicator that your tire pressures are getting
low and the tires need to be inflated to the proper
pressure. The Tire Pressure Monitor can alert you about low tire
pressure, but it does not replace normal monthly tire
maintenance. It is the driver
’s responsibility to maintain
correct tire pressures.
See Tire Pressure Monitor System
on page 6‑75and
Tire Pressure Monitor Operation on page 6‑76.
Engine Oil Life System
The engine oil life system calculates engine oil life
based on vehicle use and, on most vehicles, displays a
DIC message when it is necessary to change the
engine oil and filter. The oil life system should be reset
to 100% only following an oil change.
Resetting the Oil Life System
To reset the Engine Oil Life System on most vehicles:
1. Display the OIL LIFE REMAINING on the DIC. If the vehicle does not have DIC buttons, the
vehicle must be in P (Park) to access this display.
2. Press and hold the SET/RESET button on the DIC, or the trip odometer reset stem if the vehicle does
not have DIC buttons, for more than five seconds.
The oil life will change to 100%.
1-32
Page 40 of 626

Roadside Assistance Program
U.S.:1-800-CHEV-USA (1-800-243-8872)
TTY Users: 1-888-889-2438
Canada: 1-800-268-6800
As the owner of a new Chevrolet, you are automatically
enrolled in the Roadside Assistance program. This
program provides technically trained advisors who are
available 24 hours a day, 365 days a year, minor repair
information or towing arrangements.
For more information see Roadside Assistance Program
on page 8‑7.
Roadside Assistance and OnStar
If you have a current OnStar subscription, press the
OnStar button and the current GPS location will be sent
to an OnStar Advisor who will assess your problem,
contact Roadside Assistance, and relay exact location
to get you the help you need.
Online Owner Center
The Online Owner Center is a complimentary service
that includes online service reminders, vehicle
maintenance tips, online owner manual, special
privileges and more.
Sign up today at:www.gmownercenter.com/chevrolet
(U.S.) or www.gm.ca (Canada).
OnStar®
OnStar®uses several innovative technologies and live
advisors to provide a wide range of safety, security,
navigation, diagnostics, and calling services.
Automatic Crash Response
In a crash, built in sensors can automatically alert an
OnStar advisor who is immediately connected to the
vehicle to see if you need help.
How OnStar Service Works
Q
: This blue button connects you to a specially
trained OnStar advisor to verify your account
information and to answer questions.
]: Push this red emergency button to get priority help
from specially trained OnStar emergency advisors.
X: Push this button for hands‐free, voice‐activated
calling and to give voice commands for turn‐by‐turn
navigation.
1-34
Page 42 of 626
OnStar Steering Wheel Controls
This vehicle may have a Talk/Mute button that can be
used to interact with OnStar hands-free calling. See
Audio Steering Wheel Controls
on page 4‑143for more
information.
On some vehicles, the mute button can be used to dial
numbers into voice mail systems, or to dial phone
extensions. See the OnStar Owner's Guide for more
information.
Your Responsibility
Increase the volume of the radio if the OnStar advisor
cannot be heard.
If the light next to the OnStar buttons is red, the system
may not be functioning properly. Press
Qand request a
vehicle diagnostic. If the light appears clear (no light is
appearing), your OnStar subscription has expired and
all services have been deactivated. Press
Qto confirm
that the OnStar equipment is active.
1-36
Page 50 of 626
Heated Seats
{WARNING:
If you cannot feel temperature change or pain to
the skin, the seat heater may cause burns even at
low temperatures. To reduce the risk of burns,
people with such a condition should use care
when using the seat heater, especially for long
periods of time. Do not place anything on the seat
that insulates against heat, such as a blanket,
cushion, cover or similar item. This may cause the
seat heater to overheat. An overheated seat
heater may cause a burn or may damage
the seat.
On vehicles with heated front seats, the controls are
located on the driver and passenger doors.
I (Heated Seatback): Press to turn on the heated
seatback.
J (Heated Seat and Seatback): Press to turn on the
heated seat and seatback.
The light on the button will come on to indicate that the
feature is working. Press the button to cycle through the
temperature settings of high, medium, and low and to turn the heat to the seat off. Indicator lights will show
the level of heat selected: three for high, two for
medium, and one for low.
The heated seats will be canceled 10 seconds after the
ignition is turned off. To use the heated seat feature
after restarting the vehicle, press the heated seat or
seatback button again.
Memory Seat, Mirrors, and Pedals
Your vehicle may have the memory package.
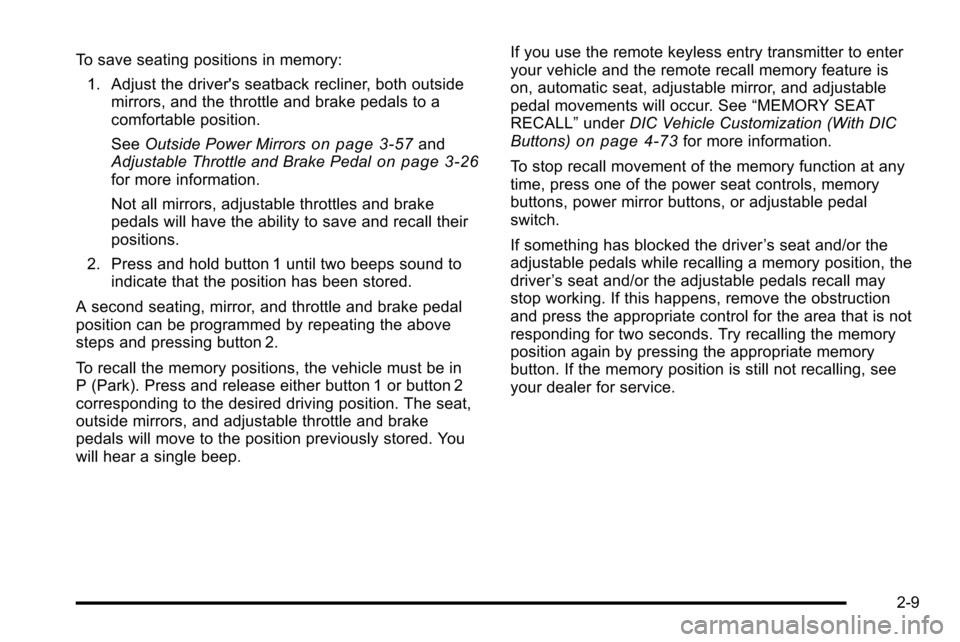
The controls for this
feature are located on the
driver's door panel, and
are used to program and
recall memory settings for
the driver's seat, outside
mirrors, and the
adjustable throttle and
brake pedal.
2-8
Page 51 of 626
To save seating positions in memory:1. Adjust the driver's seatback recliner, both outside mirrors, and the throttle and brake pedals to a
comfortable position.
See Outside Power Mirrors
on page 3‑57and
Adjustable Throttle and Brake Pedalon page 3‑26for more information.
Not all mirrors, adjustable throttles and brake
pedals will have the ability to save and recall their
positions.
2. Press and hold button 1 until two beeps sound to indicate that the position has been stored.
A second seating, mirror, and throttle and brake pedal
position can be programmed by repeating the above
steps and pressing button 2.
To recall the memory positions, the vehicle must be in
P (Park). Press and release either button 1 or button 2
corresponding to the desired driving position. The seat,
outside mirrors, and adjustable throttle and brake
pedals will move to the position previously stored. You
will hear a single beep. If you use the remote keyless entry transmitter to enter
your vehicle and the remote recall memory feature is
on, automatic seat, adjustable mirror, and adjustable
pedal movements will occur. See
“MEMORY SEAT
RECALL” underDIC Vehicle Customization (With DIC
Buttons)
on page 4‑73for more information.
To stop recall movement of the memory function at any
time, press one of the power seat controls, memory
buttons, power mirror buttons, or adjustable pedal
switch.
If something has blocked the driver ’s seat and/or the
adjustable pedals while recalling a memory position, the
driver ’s seat and/or the adjustable pedals recall may
stop working. If this happens, remove the obstruction
and press the appropriate control for the area that is not
responding for two seconds. Try recalling the memory
position again by pressing the appropriate memory
button. If the memory position is still not recalling, see
your dealer for service.
2-9
Page 62 of 626
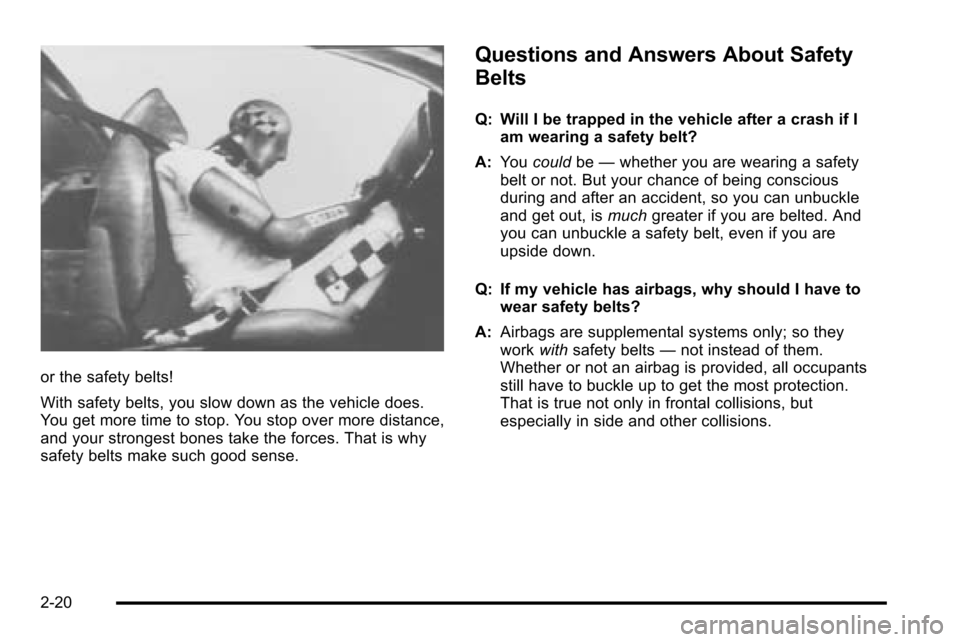
or the safety belts!
With safety belts, you slow down as the vehicle does.
You get more time to stop. You stop over more distance,
and your strongest bones take the forces. That is why
safety belts make such good sense.
Questions and Answers About Safety
Belts
Q: Will I be trapped in the vehicle after a crash if Iam wearing a safety belt?
A: You could be—whether you are wearing a safety
belt or not. But your chance of being conscious
during and after an accident, so you can unbuckle
and get out, is muchgreater if you are belted. And
you can unbuckle a safety belt, even if you are
upside down.
Q: If my vehicle has airbags, why should I have to wear safety belts?
A: Airbags are supplemental systems only; so they
work withsafety belts —not instead of them.
Whether or not an airbag is provided, all occupants
still have to buckle up to get the most protection.
That is true not only in frontal collisions, but
especially in side and other collisions.
2-20
Page 143 of 626
/(Remote Vehicle Start):For vehicles with this
feature, press /to start the engine from outside the
vehicle using the RKE transmitter. See Remote Vehicle
Start
on page 3‑7for additional information.
Q(Lock): Press to lock all the doors.
If enabled through the Driver Information Center (DIC),
the turn signal lamps flash once to indicate locking has
occurred. If enabled through the DIC, the horn chirps
when
Qis pressed again within three seconds. See DIC
Vehicle Customization (With DIC Buttons)
on
page 4‑73for additional information.
Pressing
Qarms the content theft‐deterrent system.
See Content Theft-Deterrent on page 3‑17.
K(Unlock): Press once to unlock only the driver door.
If
Kis pressed again within three seconds, all
remaining doors unlock. The interior lamps may come
on and stay on for 20 seconds or until the ignition is
turned on.
If enabled through the DIC, the turn signal lamps flash
twice to indicate unlocking has occurred. See DIC
Vehicle Customization (With DIC Buttons)
on
page 4‑73. If enabled through the DIC, the exterior
lights may turn on. See “APPROACH LIGHTING” under
DIC Vehicle Customization (With DIC Buttons)
on
page 4‑73. Pressing
Kon the RKE transmitter disarms the content
theft‐deterrent system. See Content Theft-Deterrent
on
page 3‑17.
L(Vehicle Locator/Panic Alarm): Press and release
to locate the vehicle. The turn signal lamps flash and
the horn sounds three times.
Press and hold
Lfor more than two seconds to
activate the panic alarm. The turn signal lamps flash
and the horn sounds repeatedly for 30 seconds. The
alarm turns off when the ignition is moved to ON/RUN
or
Lis pressed again. The ignition must be in LOCK/
OFF for the panic alarm to work.
The vehicle comes with two transmitters. Each
transmitter will have a number on it, “1”or“2”. These
numbers correspond to the driver of the vehicle. For
example, the memory seat position for driver 1 will be
recalled when using the transmitter labeled “1”,
if enabled through the DIC. See Memory Seat, Mirrors,
and Pedals
on page 2‑8and DIC Vehicle
Customization (With DIC Buttons)on page 4‑73for
more information.
3-5
Page 147 of 626
Doors and Locks
Door Locks
{WARNING:
Unlocked doors can be dangerous.
.Passengers, especially children, can easily
open the doors and fall out of a moving
vehicle. When a door is locked, the handle will
not open it. The chance of being thrown out of
the vehicle in a crash is increased if the doors
are not locked. So, all passengers should
wear safety belts properly and the doors
should be locked whenever the vehicle is
driven.
.Young children who get into unlocked vehicles
may be unable to get out. A child can be
overcome by extreme heat and can suffer
permanent injuries or even death from heat
stroke. Always lock the vehicle whenever
leaving it.(Continued)
WARNING: (Continued)
.Outsiders can easily enter through an
unlocked door when you slow down or stop
your vehicle. Locking your doors can help
prevent this from happening.
There are several ways to lock and unlock your vehicle.
From the outside, use the Remote Keyless Entry (RKE)
transmitter or the key in the driver's door.
From the inside, use the power door locks or manual
door locks. To lock or unlock the door with the manual
locks, push down or pull up on the manual lock knob.
Power Door Locks
With power door locks, the switches on the front doors
can be used to lock and unlock the vehicle.
"(Unlock): Press to unlock the doors.
Q(Lock):Remove the key from the ignition and press
to lock the doors.
3-9