2010 CHEVROLET IMPALA stop start
[x] Cancel search: stop startPage 241 of 432
Antilock Brake System (ABS)The vehicle might have the Antilock Brake System
(ABS), an advanced electronic braking system that helps
prevent a braking skid.
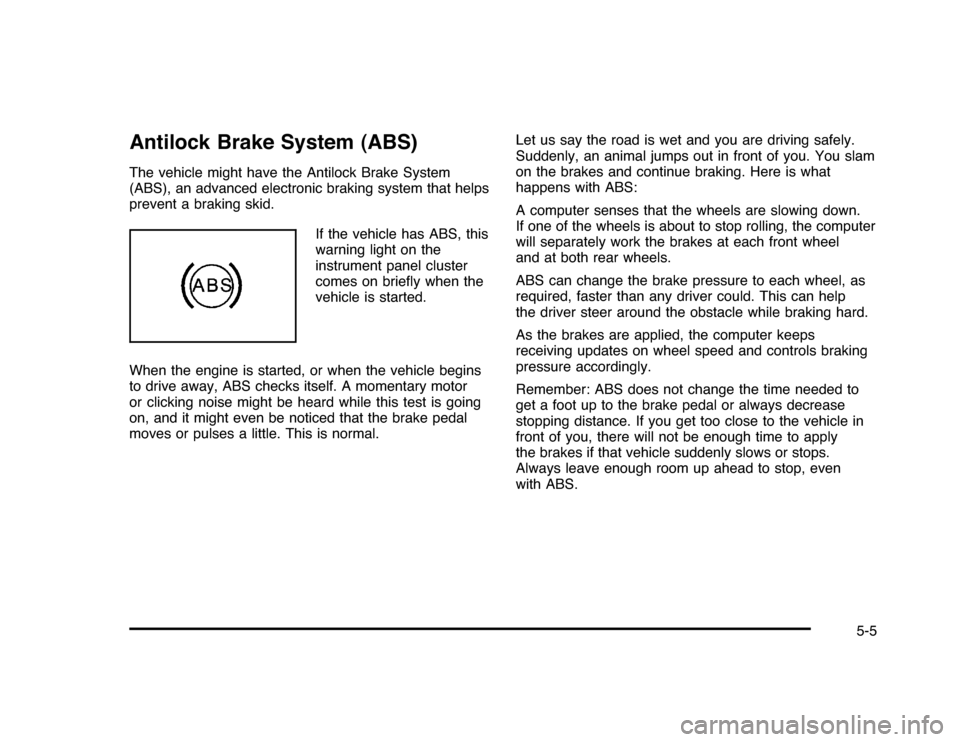
If the vehicle has ABS, this
warning light on the
instrument panel cluster
comes on briefly when the
vehicle is started.
When the engine is started, or when the vehicle begins
to drive away, ABS checks itself. A momentary motor
or clicking noise might be heard while this test is going
on, and it might even be noticed that the brake pedal
moves or pulses a little. This is normal.Let us say the road is wet and you are driving safely.
Suddenly, an animal jumps out in front of you. You slam
on the brakes and continue braking. Here is what
happens with ABS:
A computer senses that the wheels are slowing down.
If one of the wheels is about to stop rolling, the computer
will separately work the brakes at each front wheel
and at both rear wheels.
ABS can change the brake pressure to each wheel, as
required, faster than any driver could. This can help
the driver steer around the obstacle while braking hard.
As the brakes are applied, the computer keeps
receiving updates on wheel speed and controls braking
pressure accordingly.
Remember: ABS does not change the time needed to
get a foot up to the brake pedal or always decrease
stopping distance. If you get too close to the vehicle in
front of you, there will not be enough time to apply
the brakes if that vehicle suddenly slows or stops.
Always leave enough room up ahead to stop, even
with ABS.
5-5
Page 248 of 432

SkiddingIn a skid, a driver can lose control of the vehicle.
Defensive drivers avoid most skids by taking reasonable
care suited to existing conditions, and by not overdriving
those conditions. But skids are always possible.
The three types of skids correspond to the vehicle’s
three control systems. In the braking skid, the wheels
are not rolling. In the steering or cornering skid, too
much speed or steering in a curve causes tires to slip
and lose cornering force. And in the acceleration
skid, too much throttle causes the driving wheels
to spin.
If the vehicle starts to slide, ease your foot off the
accelerator pedal and quickly steer the way you want
the vehicle to go. If you start steering quickly enough,
the vehicle may straighten out. Always be ready for
a second skid if it occurs.
Of course, traction is reduced when water, snow, ice,
gravel, or other material is on the road. For safety, slow
down and adjust your driving to these conditions. It is
important to slow down on slippery surfaces because
stopping distance will be longer and vehicle control more
limited.While driving on a surface with reduced traction, try your
best to avoid sudden steering, acceleration, or braking,
including reducing vehicle speed by shifting to a lower
gear. Any sudden changes could cause the tires to
slide. You may not realize the surface is slippery until
the vehicle is skidding. Learn to recognize warning
clues — such as enough water, ice, or packed snow on
the road to make a mirrored surface — and slow down
when you have any doubt.
If the vehicle has the Antilock Brake System (ABS),
remember: It helps avoid only the braking skid. If
the vehicle does not have ABS, then in a braking skid,
where the wheels are no longer rolling, release
enough pressure on the brakes to get the wheels rolling
again. This restores steering control. Push the brake
pedal down steadily when you have to stop suddenly. As
long as the wheels are rolling, you will have steering
control.
5-12
Page 269 of 432
Turn Signals When Towing a TrailerThe arrows on the instrument panel flash whenever
signaling a turn or lane change. Properly hooked up, the
trailer lamps also flash, telling other drivers the vehicle
is turning, changing lanes or stopping.
When towing a trailer, the arrows on the instrument
panel flash for turns even if the bulbs on the trailer are
burned out. For this reason you may think other
drivers are seeing the signal when they are not. It is
important to check occasionally to be sure the
trailer bulbs are still working.Driving on GradesNotice:Do not tow on steep continuous grades
exceeding 6 miles (9.6 km). Extended, higher
than normal engine and transmission temperatures
may result and damage the vehicle. Frequent
stops are very important to allow the engine and
transmission to cool.
Reduce speed and shift to a lower gearbeforestarting
down a long or steep downgrade. If the transmission is
not shifted down, the brakes might have to be used so
much that they would get hot and no longer work well.
On a long uphill grade, shift down and reduce the
vehicle’s speed to around 45 mph (70 km/h) to reduce
the possibility of the engine and the transmission
overheating. If the engine does overheat, seeEngine
Overheating on page 6-29.
Parking on Hills
{
WARNING:
Parking the vehicle on a hill with the trailer
attached can be dangerous. If something goes
wrong, the rig could start to move. People can be
injured, and both the vehicle and the trailer can be
damaged. When possible, always park the rig on a
flat surface.
If parking the rig on a hill:
1. Press the brake pedal, but do not shift into P (Park)
yet. Turn the wheels into the curb if facing downhill
or into traffic if facing uphill.
2. Have someone place chocks under the trailer
wheels.
3. When the wheel chocks are in place, release the
brake pedal until the chocks absorb the load.
4. Reapply the brake pedal. Then apply the parking
brake and shift the transmission into P (Park).
5. Release the brake pedal.
5-33
Page 270 of 432
Leaving After Parking on a Hill1. Apply and hold the brake pedal while you:
•
start the engine,
•
shift into a gear, and
•
release the parking brake.
2. Let up on the brake pedal.
3. Drive slowly until the trailer is clear of the chocks.
4. Stop and have someone pick up and store the
chocks.
Maintenance When Trailer TowingThe vehicle needs service more often when pulling a
trailer. SeeScheduled Maintenance on page 7-3for more
information. Things that are especially important in traileroperation are automatic transmission fluid, engine oil,
belts, cooling system and brake system. It is a good idea
to inspect these before and during the trip.
Check periodically to see that all hitch nuts and bolts
are tight.
Engine Cooling When Trailer TowingThe cooling system may temporarily overheat during
severe operating conditions. SeeEngine Overheating on
page 6-29.Changing a Tire When Trailer TowingIf the vehicle gets a flat tire while towing a trailer,
be sure to secure the trailer and disconnect it from the
vehicle before changing the tire.
5-34
Page 271 of 432

Service............................................................6-3
Accessories and Modifications..........................6-3
California Proposition 65 Warning.....................6-4
California Perchlorate Materials Requirements.....6-4
Doing Your Own Service Work.........................6-4
Adding Equipment to the Outside of the
Vehicle . . . . ..................................................6-5
Fuel................................................................6-5
Gasoline Octane............................................6-6
Gasoline Specifications....................................6-6
California Fuel...............................................6-6
Additives.......................................................6-7
Fuel E85 (85% Ethanol)..................................6-8
Fuels in Foreign Countries...............................6-9
Filling the Tank............................................6-10
Filling a Portable Fuel Container.....................6-12
Checking Things Under the Hood....................6-12
Hood Release..............................................6-13
Engine Compartment Overview.......................6-14
Engine Oil...................................................6-15
Engine Oil Life System..................................6-18
Engine Air Cleaner/Filter................................6-19
Automatic Transmission Fluid.........................6-22
Cooling System............................................6-24Engine Coolant.............................................6-25
Engine Overheating.......................................6-29
Overheated Engine Protection
Operating Mode........................................6-32
Power Steering Fluid.....................................6-32
Windshield Washer Fluid . . ..............................6-33
Brakes........................................................6-35
Battery........................................................6-38
Jump Starting...............................................6-39
Headlamp Aiming...........................................6-43
Bulb Replacement..........................................6-43
Halogen Bulbs..............................................6-43
Headlamps, Front Turn Signal, Sidemarker,
and Parking Lamps....................................6-44
Taillamps, Turn Signal, Sidemarker,
Stoplamps and Back-up Lamps...................6-47
License Plate Lamp......................................6-49
Replacement Bulbs.......................................6-49
Windshield Wiper Blade Replacement..............6-49
Tires..............................................................6-51
Tire Sidewall Labeling . . .................................6-52
Tire Terminology and Definitions . . ...................6-56
Inflation - Tire Pressure.................................6-59
Section 6 Service and Appearance Care
6-1
Page 281 of 432
{
WARNING:
Fuel can spray out on you if you open the fuel cap
too quickly. If you spill fuel and then something
ignites it, you could be badly burned. This spray
can happen if the tank is nearly full, and is more
likely in hot weather. Open the fuel cap slowly and
wait for any hiss noise to stop. Then unscrew the
cap all the way.
Be careful not to spill fuel. Do not top off or overfill the
tank and wait a few seconds after you have finished
pumping before removing the nozzle. Clean fuel from
painted surfaces as soon as possible. SeeWashing
Your Vehicle on page 6-91.
When replacing the fuel cap, turn it clockwise until it
clicks. Make sure the cap is fully installed. The diagnostic
system can determine if the fuel cap has been left off or
improperly installed. This would allow fuel to evaporate
into the atmosphere. SeeMalfunction Indicator Lamp on
page 4-31.The TIGHTEN GAS CAP message displays on the
Driver Information Center (DIC) if the fuel cap is
not properly installed. SeeDIC Warnings and Messages
on page 4-44for more information.
{
WARNING:
If a fire starts while you are refueling, do not
remove the nozzle. Shut off the flow of fuel by
shutting off the pump or by notifying the station
attendant. Leave the area immediately.
Notice:If you need a new fuel cap, be sure to get
the right type. Your dealer/retailer can get one
for you. If you get the wrong type, it may not fit
properly. This may cause the malfunction indicator
lamp to light and may damage the fuel tank and
emissions system. SeeMalfunction Indicator Lamp
on page 4-31.
6-11
Page 298 of 432
How to Add Coolant to the Radiator
{
WARNING:
An electric engine cooling fan under the hood can
start up even when the engine is not running and
can cause injury. Keep hands, clothing, and tools
away from any underhood electric fan.{
WARNING:
Steam and scalding liquids from a hot cooling
system can blow out and burn you badly. They are
under pressure, and if you turn the surge tank
pressure cap — even a little — they can come
out at high speed. Never turn the cap when the
cooling system, including the surge tank pressure
cap, is hot. Wait for the cooling system and surge
tank pressure cap to cool if you ever have to turn
the pressure cap.If coolant is needed, add the proper mixture directly to
the radiator, but be sure the cooling system is cool
before this is done.
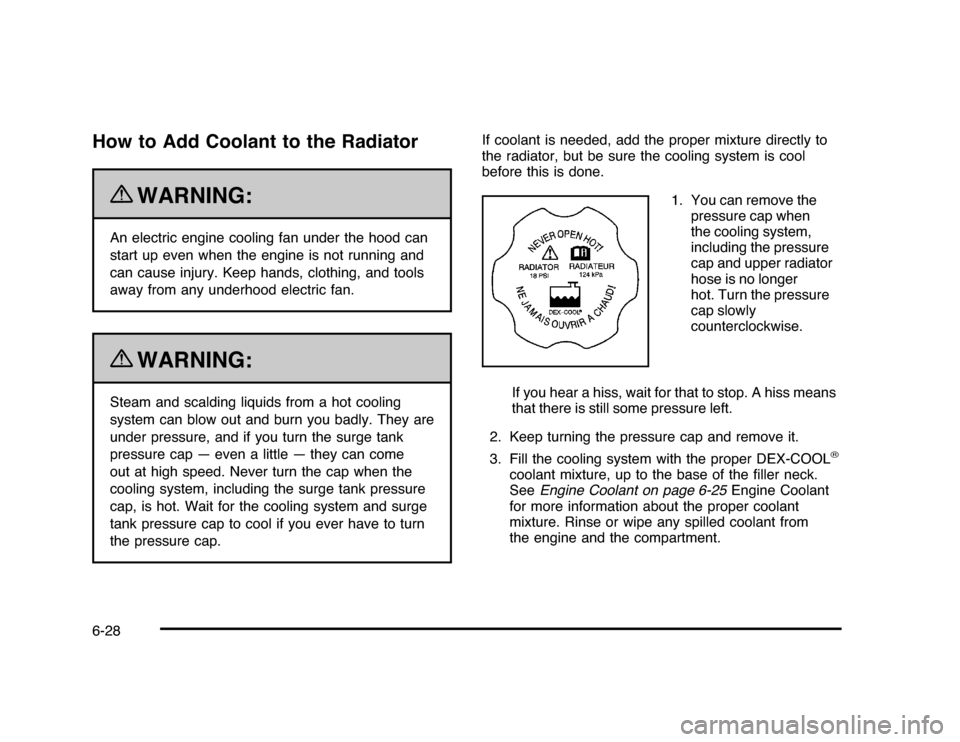
1. You can remove the
pressure cap when
the cooling system,
including the pressure
cap and upper radiator
hose is no longer
hot. Turn the pressure
cap slowly
counterclockwise.
If you hear a hiss, wait for that to stop. A hiss means
that there is still some pressure left.
2. Keep turning the pressure cap and remove it.
3. Fill the cooling system with the proper DEX-COOL
®
coolant mixture, up to the base of the filler neck.
SeeEngine Coolant on page 6-25Engine Coolant
for more information about the proper coolant
mixture. Rinse or wipe any spilled coolant from
the engine and the compartment.
6-28
Page 331 of 432
Accordingly, when the low tire pressure telltale
illuminates, you should stop and check your tires as
soon as possible, and inflate them to the proper
pressure. Driving on a significantly under-inflated tire
causes the tire to overheat and can lead to tire failure.
Under-inflation also reduces fuel efficiency and tire
tread life, and may affect the vehicle’s handling
and stopping ability.
Please note that the TPMS is not a substitute for proper
tire maintenance, and it is the driver’s responsibility to
maintain correct tire pressure, even if under-inflation
has not reached the level to trigger illumination of
the TPMS low tire pressure telltale.
Your vehicle has also been equipped with a TPMS
malfunction indicator to indicate when the system is not
operating properly. The TPMS malfunction indicator is
combined with the low tire pressure telltale. When
the system detects a malfunction, the telltale will flash
for approximately one minute and then remain
continuously illuminated. This sequence will continue
upon subsequent vehicle start-ups as long as the
malfunction exists.When the malfunction indicator is illuminated, the
system may not be able to detect or signal low tire
pressure as intended. TPMS malfunctions may occur
for a variety of reasons, including the installation
of replacement or alternate tires or wheels on the vehicle
that prevent the TPMS from functioning properly.
Always check the TPMS malfunction telltale after
replacing one or more tires or wheels on your vehicle
to ensure that the replacement or alternate tires
and wheels allow the TPMS to continue to function
properly.
SeeTire Pressure Monitor Operation on page 6-62for
additional information.
Federal Communications Commission
(FCC) and Industry and Science CanadaSeeRadio Frequency Statement on page 8-20for
information regarding Part 15 of the Federal
Communications Commission (FCC) Rules and
RSS-210/211 of Industry and Science Canada.
6-61