2010 CHEVROLET IMPALA lights
[x] Cancel search: lightsPage 159 of 432

Ending Cruise ControlThere are three ways to end cruise control:•
Step lightly on the brake pedal.
•
Press the
[
button on the steering wheel.
•
Press the
T
button on the steering wheel.
Erasing Speed MemoryThe cruise control set speed memory is erased by
turning off the cruise control or the ignition.Exterior Lamps
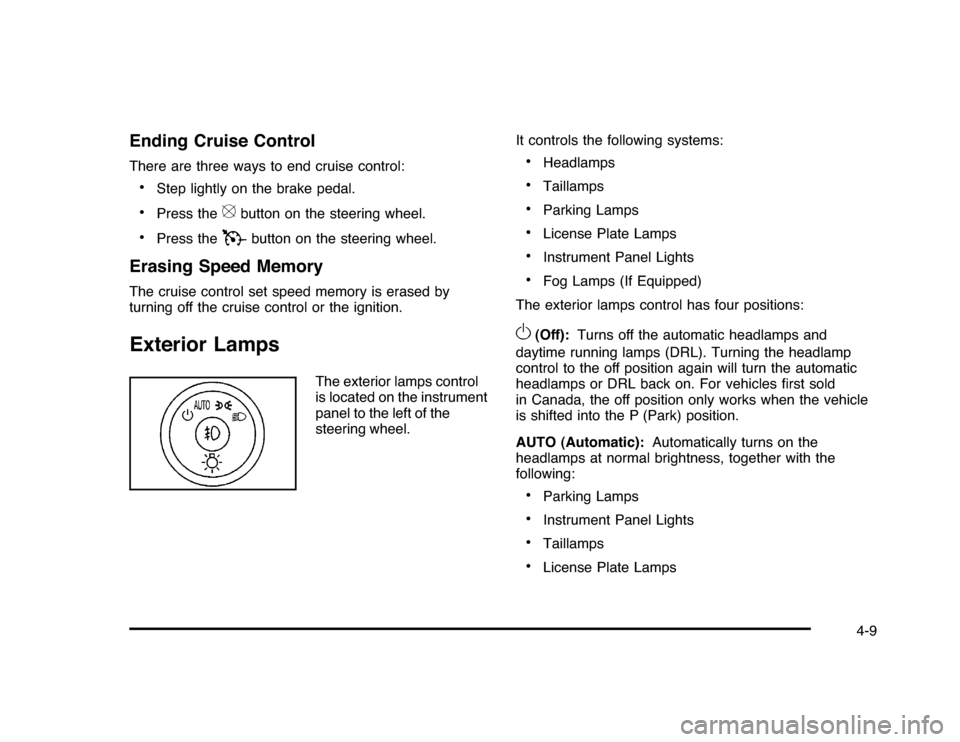
The exterior lamps control
is located on the instrument
panel to the left of the
steering wheel.It controls the following systems:
•
Headlamps
•
Taillamps
•
Parking Lamps
•
License Plate Lamps
•
Instrument Panel Lights
•
Fog Lamps (If Equipped)
The exterior lamps control has four positions:
O
(Off):Turns off the automatic headlamps and
daytime running lamps (DRL). Turning the headlamp
control to the off position again will turn the automatic
headlamps or DRL back on. For vehicles first sold
in Canada, the off position only works when the vehicle
is shifted into the P (Park) position.
AUTO (Automatic):Automatically turns on the
headlamps at normal brightness, together with the
following:•
Parking Lamps
•
Instrument Panel Lights
•
Taillamps
•
License Plate Lamps
4-9
Page 160 of 432

;
(Parking Lamps):Turns on the parking lamps
together with the following:
•
Instrument Panel Lights
•
Taillamps
•
License Plate Lamps
2
(Headlamps):Turns on the headlamps together with
the following lamps listed below. When the headlamps
are turned on while the vehicle is on, the headlamps will
turn off automatically 10 minutes after the ignition is
turned off. When the headlamps are turned on while the
vehicle is off, the headlamps will stay on for 10 minutes
before automatically turning off to prevent the battery
from being drained. Turn the headlamp control to off
and then back to the headlamp on position to make
the headlamps stay on for an additional 10 minutes.•
Parking Lamps
•
Taillamps
•
License Plate Lamps
•
Instrument Panel Lights
#
(Fog Lamps) (If Equipped):Turns on the fog
lamps.
SeeFog Lamps on page 4-11.
Daytime Running Lamps (DRL)/
Automatic Headlamp SystemDaytime Running Lamps (DRL) can make it easier for
others to see the front of your vehicle during the day.
Fully functional daytime running lamps are required
on all vehicles first sold in Canada.
The DRL system makes the low-beam headlamps
come on at a reduced brightness when the following
conditions are met:•
The ignition is in the ON/RUN position.
•
The exterior lamps control is in AUTO.
•
The engine is running.
When the DRL are on, the regular headlamps, taillamps,
sidemarker, and other lamps are not on. The instrument
panel and cluster are also not on.
The headlamps automatically change from DRL to
the regular headlamps depending on the darkness of
the surroundings. The other lamps that come on with
the headlamps will also come on.
When it is bright enough outside, the headlamps go off
and the DRL come on.
The regular headlamp system should be turned on
when needed.
Do not cover the light sensor on top of the instrument
panel because it works with the DRL.
4-10
Page 161 of 432

Fog Lamps#
(Fog Lamps):For vehicles with fog lamps,
the button is located on the exterior lamps control.
The exterior lamps control is located on the instrument
panel to the left of the steering column.
The ignition must be in the ON/RUN position for the fog
lamps to come on.
Press
#
to turn the fog lamps on or off. A light will
come on in the instrument panel cluster.
When the headlamps are changed to high-beam, the
fog lamps also go off.
Some localities have laws that require the headlamps to
be on along with the fog lamps.
Instrument Panel BrightnessD
(Instrument Panel Brightness):The knob with this
symbol on it is located next to the exterior lamps control
to the left of the steering wheel. Push the knob in all the
way until it extends out and then turn the knob clockwise
or counterclockwise to brighten or dim the lights. Push
the knob back in when finished.
Courtesy LampsWhen a door is opened, the courtesy lamps
automatically come on. They make it easy for you to
enter and leave your vehicle. You can also manually
turn these lamps on by fully turning the instrument
panel brightness control clockwise.
The reading lamps, located on the rearview mirror,
can be turned on or off independent of the automatic
courtesy lamps, when the doors are closed.Dome LampThe center mounted dome lamp overhead comes on
when a door is opened. This lamp can also be turned
on by turning the instrument panel brightness control
clockwise.
4-11
Page 171 of 432

4. Remove the air inlet grille retainers.
5. Lift the air inlet grille and disconnect the washer
hose at the quick-connect.
6. Remove the air inlet grille.
7. Remove the water deflector plate.
8. Remove the old passenger compartment air filter.
9. Reverse the steps to install the new air filter.
For best climate control system performance, reinstall
the air filter.
For the type of filter to use, seeMaintenance
Replacement Parts on page 7-11.
Warning Lights, Gages, and
IndicatorsWarning lights and gages can signal that something is
wrong before it becomes serious enough to cause an
expensive repair or replacement. Paying attention to the
warning lights and gages could prevent injury.
Warning lights come on when there might be or there
is a problem with one of the vehicle’s functions. Some
warning lights come on briefly when the engine is started
to indicate they are working.
Gages can indicate when there might be or there is a
problem with one of the vehicle’s functions. Often gages
and warning lights work together to indicate a problem
with the vehicle.
When one of the warning lights comes on and stays on
while driving, or when one of the gages shows there
could be a problem, check the section that explains
what to do. Follow this manual’s advice. Waiting to
do repairs can be costly and even dangerous.
4-21
Page 174 of 432

Passenger Safety Belt Reminder LightSeveral seconds after the engine is started, a chime
sounds for several seconds to remind the front
passenger to buckle their safety belt. This only occurs
if the passenger airbag is enabled. SeePassenger
Sensing System on page 2-66for more information.
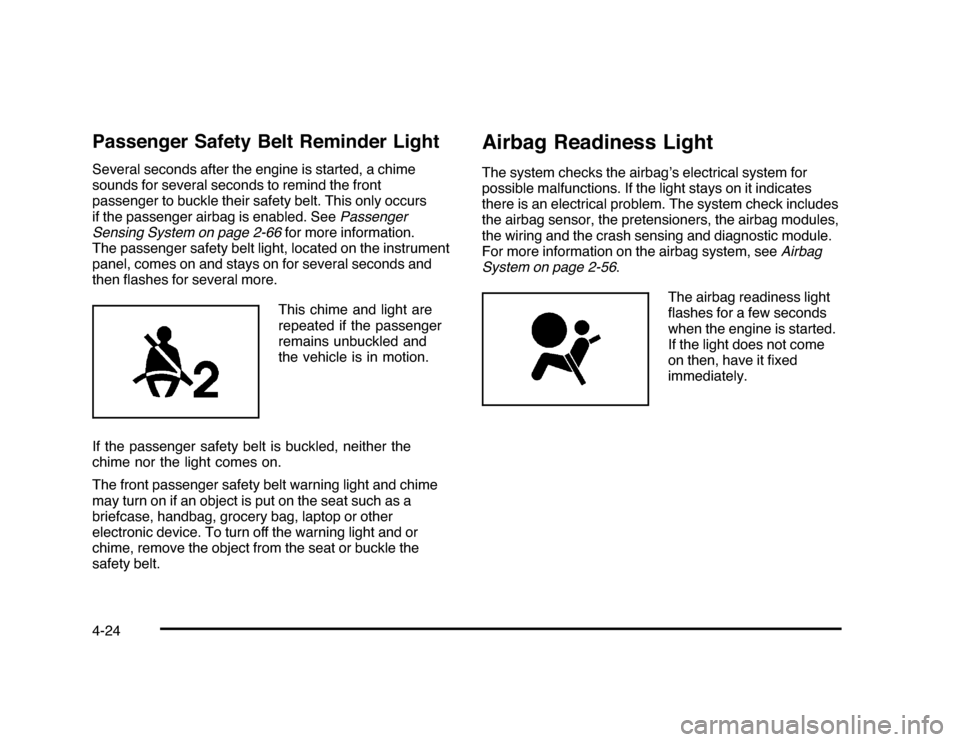
The passenger safety belt light, located on the instrument
panel, comes on and stays on for several seconds and
then flashes for several more.
This chime and light are
repeated if the passenger
remains unbuckled and
the vehicle is in motion.
If the passenger safety belt is buckled, neither the
chime nor the light comes on.
The front passenger safety belt warning light and chime
may turn on if an object is put on the seat such as a
briefcase, handbag, grocery bag, laptop or other
electronic device. To turn off the warning light and or
chime, remove the object from the seat or buckle the
safety belt.
Airbag Readiness LightThe system checks the airbag’s electrical system for
possible malfunctions. If the light stays on it indicates
there is an electrical problem. The system check includes
the airbag sensor, the pretensioners, the airbag modules,
the wiring and the crash sensing and diagnostic module.
For more information on the airbag system, seeAirbag
System on page 2-56.
The airbag readiness light
flashes for a few seconds
when the engine is started.
If the light does not come
on then, have it fixed
immediately.
4-24
Page 176 of 432

If the word ON or the on symbol is lit on the passenger
airbag status indicator, it means that the right front
passenger frontal airbag is enabled (may inflate).
If the word OFF or the off symbol is lit on the airbag
status indicator, it means that the passenger sensing
system has turned off the right front passenger
frontal airbag.
If, after several seconds, both status indicator lights
remain on, or if there are no lights at all, there may be
a problem with the lights or the passenger sensing
system. See your dealer/retailer for service.
{
WARNING:
If the airbag readiness light ever comes on and
stays on, it means that something may be wrong
with the airbag system. To help avoid injury to
yourself or others, have the vehicle serviced right
away. SeeAirbag Readiness Light on page 4-24
for more information, including important safety
information.
Charging System Light
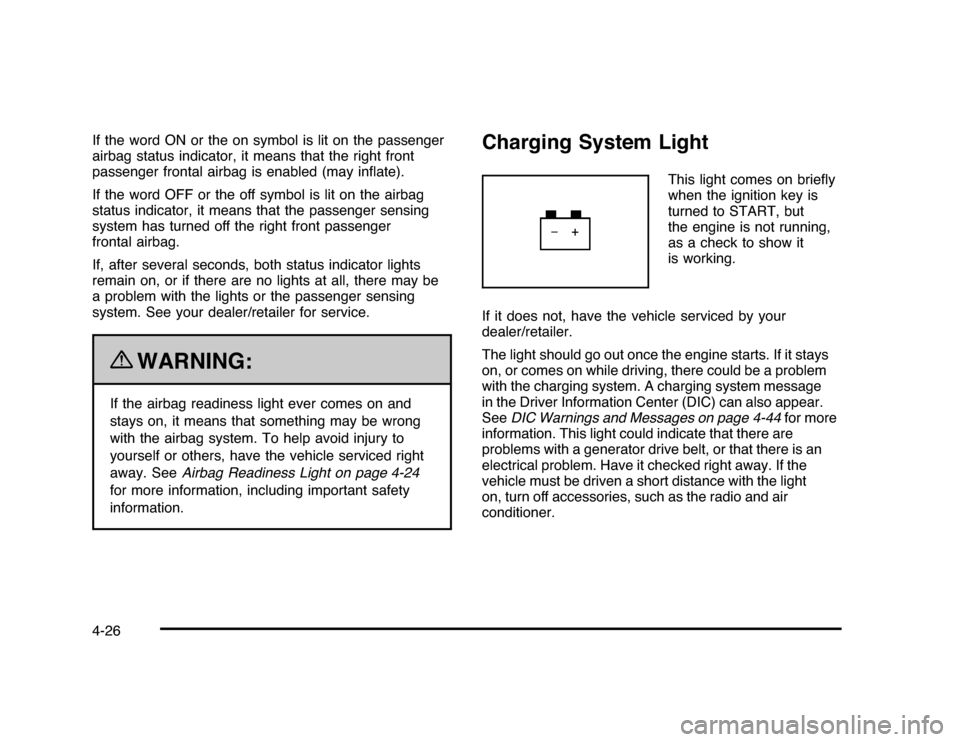
This light comes on briefly
when the ignition key is
turned to START, but
the engine is not running,
as a check to show it
is working.
If it does not, have the vehicle serviced by your
dealer/retailer.
The light should go out once the engine starts. If it stays
on, or comes on while driving, there could be a problem
with the charging system. A charging system message
in the Driver Information Center (DIC) can also appear.
SeeDIC Warnings and Messages on page 4-44for more
information. This light could indicate that there are
problems with a generator drive belt, or that there is an
electrical problem. Have it checked right away. If the
vehicle must be driven a short distance with the light
on, turn off accessories, such as the radio and air
conditioner.
4-26
Page 203 of 432

AUTO DOOR UNLOCKThis feature allows you to select whether or not to
turn off the automatic door unlocking feature. It also
allows you to select which doors and when the doors will
automatically unlock. SeeProgrammable Automatic
Door Unlock on page 3-11for more information.
Press the customization button until AUTO DOOR
UNLOCK appears on the DIC display. Press the
set/reset button once to access the settings for this
feature. Then press the customization button to scroll
through the following settings:
OFF:None of the doors will automatically unlock.
DRIVER AT KEY OUT:Only the driver’s door will
unlock when the key is taken out of the ignition.
DRIVER IN PARK:Only the driver’s door will unlock
when the vehicle is shifted into P (Park).
ALL AT KEY OUT:All of the doors will unlock when
the key is taken out of the ignition.
ALL IN PARK (default):All of the doors will unlock
when the vehicle is shifted into P (Park).
NO CHANGE:No change will be made to this feature.
The current setting will remain.
To select a setting, press the set/reset button while the
desired setting is displayed on the DIC.
REMOTE DOOR LOCKThis feature allows you to select the type of feedback
you will receive when locking the vehicle with the
Remote Keyless Entry (RKE) transmitter. You will not
receive feedback when locking the vehicle with the RKE
transmitter if any of the doors are open. SeeRemote
Keyless Entry (RKE) System Operation on page 3-4
for more information.
Press the customization button until REMOTE DOOR
LOCK appears on the DIC display. Press the set/reset
button once to access the settings for this feature.
Then press the customization button to scroll through
the following settings:
HORN & LIGHTS OFF:There will be no feedback
when you press the lock button on the RKE transmitter.
LIGHTS ONLY:The exterior lamps will flash when
you press the lock button on the RKE transmitter.
HORN ONLY:The horn will sound on the second press
of the lock button on the RKE transmitter.
HORN & LIGHTS ON (default):The exterior lamps
will flash when you press the lock button on the
RKE transmitter, and the horn will sound when the lock
button is pressed again within five seconds of the
previous command.
NO CHANGE:No change will be made to this feature.
The current setting will remain.
4-53
Page 204 of 432

To select a setting, press the set/reset button while the
desired setting is displayed on the DIC.REMOTE DOOR UNLOCKThis feature allows you to select the type of feedback you
will receive when unlocking the vehicle with the Remote
Keyless Entry (RKE) transmitter. You will not receive
feedback when unlocking the vehicle with the RKE
transmitter if the doors are open. SeeRemote Keyless
Entry (RKE) System Operation on page 3-4for more
information.
Press the customization button until REMOTE DOOR
UNLOCK appears on the DIC display. Press the
set/reset button once to access the settings for this
feature. Then press the customization button to scroll
through the following settings:
LIGHTS OFF:The exterior lamps will not flash when
you press the unlock button on the RKE transmitter.
LIGHTS ON (default):The exterior lamps will
flash when you press the unlock button on the
RKE transmitter.
NO CHANGE:No change will be made to this feature.
The current setting will remain.
To select a setting, press the set/reset button while the
desired setting is displayed on the DIC.
EXIT LIGHTINGThis feature allows you to select the amount of time you
want the exterior lamps to remain on when it is dark
enough outside. This happens after the key is turned
from ON/RUN to LOCK/OFF.
Press the customization button until EXIT LIGHTING
appears on the DIC display. Press the set/reset button
once to access the settings for this feature. Then press
the customization button to scroll through the following
settings:
OFF:The exterior lamps will not turn on.
30 SECONDS (default):The exterior lamps will stay on
for 30 seconds.
1 MINUTE:The exterior lamps will stay on for
one minute.
2 MINUTES:The exterior lamps will stay on for
two minutes.
NO CHANGE:No change will be made to this feature.
The current setting will remain.
To select a setting, press the set/reset button while the
desired setting is displayed on the DIC.
4-54